Custom OPP header Bags for Stationery refill packs work because they keep the package simple: clear film for visibility, a printed header for branding and retail information, and a hang feature for peg display. That combination helps small refill items move through packing and merchandising without requiring a box that adds cost or bulk.
For stationery brands, the format is especially useful when the product is sold by count, size, or compatibility. A clean bag makes it easier for shoppers to identify the refill quickly, and it gives buyers a structure that can be repeated across multiple SKUs with fewer changes. If you are comparing options across a wider line, our Custom Packaging Products page is a useful starting point.
What custom OPP header bags for stationery refill packs are
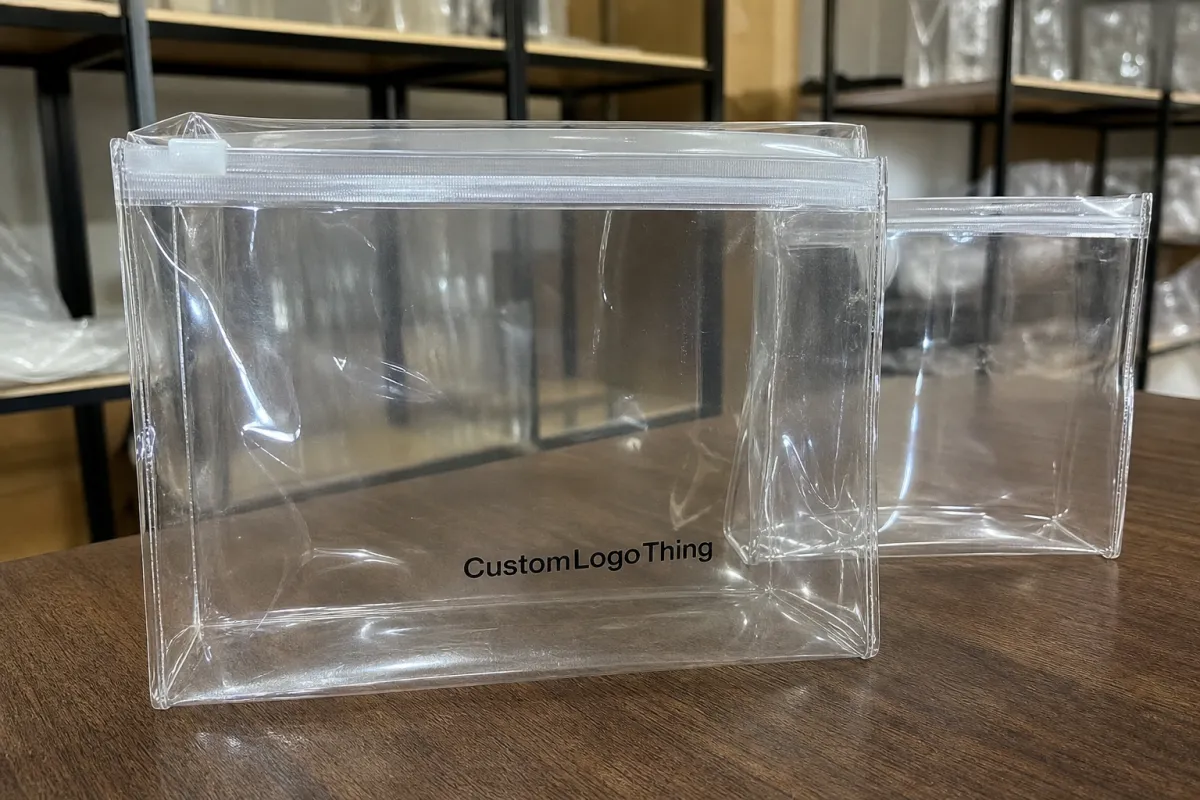
OPP, or oriented polypropylene, is a clear film known for its stiffness, gloss, and neat presentation on retail hooks. Compared with softer films, it hangs more cleanly and gives the front of the pack a sharper look. For stationery refills, that matters because the package should help the buyer identify the product fast, not distract from it.
A header bag has two zones. The lower body holds the refill pack, while the upper header carries the logo, SKU name, quantity callout, barcode, and hang feature. That division keeps the layout readable and makes the product information easy to scan from arm’s length.
This format suits pencil refills, pen refills, sticky note refills, eraser packs, clip sets, divider tabs, and similar desk items that do not need a rigid carton. It also works well for product families with several variants, because the base structure can stay the same while the artwork changes by count, color, language, or retailer.
It is not the right answer for every product. Heavy items, fragile components, or awkward shapes may need a backer card, extra structure, or a different package entirely. The best packaging choice is the one that matches the actual fill, the way the pack is handled, and the shelf it will live on.
How the bag structure works on shelf and in use
On a peg wall, the package has only a few seconds to explain itself. Shoppers should be able to see what the refill is, how many pieces are inside, and whether it fits the intended use without reading a dense paragraph. The clear body helps the product do part of that work, while the header handles the branding and practical details.
The front panel needs to stay flat enough to read cleanly. If the film wrinkles too much, the pack starts to look careless. If the artwork is too busy, the window loses value. The strongest layouts are usually restrained: product visible, quantity obvious, brand easy to find, and enough contrast to stay legible under store lighting.
Header height is one of the decisions that affects both appearance and function. Too short, and the logo, SKU, and barcode crowd each other. Too tall, and the pack can feel top-heavy, especially with lightweight stationery. The hang feature matters too. A round hole may be fine for light items, while a euro slot is often safer for products that will be handled often or hung on busier fixtures.
What looks balanced in a flat proof can shift once the pack is filled, sealed, and hanging under its own weight. Too much headroom can make the bag feel loose, while too little can cause the film to buckle or press too tightly against the contents. That is why a filled sample is more valuable than a screen mock-up.
A refill pack usually sells best when the shopper can read it in three seconds. If the count, fit, and brand are obvious, the package has already done most of the work.
There is also a production benefit. Compared with many carton-based options, this format is often quicker to fill and easier to carton in high-volume stationery programs. Less handling usually means fewer opportunities for mix-ups, crushed corners, or damaged packs.
Cost, pricing, and MOQ for custom OPP header bags
Price is driven by more than size. Film thickness, print coverage, number of colors, hang-hole style, seal width, and artwork registration all affect the quote. A simple logo and product name will cost less than a layout with multiple colors, full back coverage, and fine text that must stay sharp across the run.
MOQ follows the same logic. Setup cost is spread across the order, so unit price usually improves as volume rises. Smaller orders are possible, but they carry a higher per-piece cost because prepress, proofing, and conversion do not shrink much on short runs. For recurring stationery programs, the best savings usually come from standardizing the dimensions and reusing the same structure.
| Example order size | Typical unit range | What drives the number | Best fit |
|---|---|---|---|
| 5,000 pieces | $0.18-$0.28 each | Setup cost, basic one- or two-color print, standard header | Test launches, regional retail, short seasonal runs |
| 10,000 pieces | $0.12-$0.20 each | Better spread on prepress and press setup | Core stationery refill lines |
| 25,000 pieces | $0.08-$0.15 each | Higher efficiency, steadier material purchasing, lower conversion cost per unit | National retail programs and repeat reorders |
Those numbers are directional, not fixed. The quote can move if the spec changes, even in small ways: thicker film, larger header, extra color, special finish, or barcode placement that needs more room. Freight also matters. One supplier may quote ex-works while another includes delivery, so the lowest-looking price is not always the cheapest landed cost.
Buyers should ask for like-for-like pricing. That means the same dimensions, film gauge, print method, artwork coverage, pack-out, and shipping basis. A complete quote is not just a number; it is a number that reflects the actual job.
Hidden costs can include artwork revisions, plate or cylinder charges, sample proofs, extra cartons, and QC checks for mixed-SKU programs. The cheapest run is often the one with the fewest corrections, which is why proofing belongs in the cost conversation.
For a practical durability benchmark, it can help to think in terms similar to ISTA test standards. Not every stationery refill pack needs formal lab testing, but the same concerns apply: drop resistance, vibration, seal strength, and pack stability can reveal problems before a retailer does.
Process, timeline, and production steps from proof to ship
Good jobs start with complete information. The essential details are product dimensions, fill count, artwork files, barcode needs, hang style, and whether the finished pack should be checked with the actual contents before approval. A refill pack often changes shape once it is filled, so the empty product size alone is not enough.
Proofing is where the layout should be checked for text hierarchy, seal-safe margins, barcode position, and the relationship between the visible product window and the printed header. It is also the stage where small problems show up: a logo too close to a seal line, a quantity callout hidden by a hanging hook, or a fine line that disappears under store lighting.
The production sequence is usually straightforward: print the film, convert it, slit it, form the bag, seal it, punch the hang feature, then carton the finished units with checks along the way. Some runs use preprinted film that is later converted into bags; others tie print and conversion more closely together. Either way, alignment and seal placement have to stay consistent.
Lead time depends on artwork readiness, quantity, print complexity, and whether special materials need to be sourced. A simple order can often move in about 10-15 business days after proof approval. More complex programs, especially those with multiple SKUs or detailed print work, may need 15-25 business days or longer. If the launch date is fixed, it is safer to build in cushion than to assume every approval happens on the earliest possible day.
For stationery brands using backing cards or inserts, FSC-certified stock may be relevant. The bag itself does not change, but the paper component can support a more complete packaging story. That matters only if the material choice fits the product and the budget.
Key factors that affect fit, clarity, and retail display
Fit is the first technical issue to solve. The refill should sit securely without excess slack, but it should not be squeezed so tightly that the film wrinkles or the seams are stressed. A little headroom is fine if the product needs it, but the finished silhouette should still feel intentional.
Header height, hole placement, and seal position work together. If the hang feature sits too close to the top edge, repeated handling can weaken the material. If the header is too short, the logo and barcode have nowhere to live without crowding the product area. A euro slot is often the safer choice when the item will hang for a long time or be pulled often.
Clarity depends on both film and print. A 30-40 micron structure is a common starting point for light retail use, but the right gauge depends on pack size and contents. Gloss level matters too. Thin lines and low-contrast type can look fine on a monitor and disappointing on a bright hook, so compatibility notes and refill counts should be tested at actual size.
The product itself can change the look more than buyers expect. Sharp corners, stiff inserts, and slight batch variation all affect how the bag hangs. A pack with a rigid backer card behaves differently from a soft refill bundle, which is why the filled sample matters so much.
- Base the bag size on the filled pack, not on the empty contents alone.
- Keep the window clean and readable, so the shopper can verify quantity and fit quickly.
- Leave safe zones around seals and barcodes, especially on small stationery SKUs.
- Match the hang feature to the fixture, not just the artwork concept.
Some refill lines work best in a simple clear bag. Others need a backer card, more structure, or a different format entirely. The right choice depends on the shelf, the margin, the expected handling, and how much information the shopper needs before buying. The goal is not to make every pack look premium in the same way; it is to make it work reliably.
Common mistakes to avoid, with practical expert tips
The most common mistake is approving artwork before the filled dimensions are final. That usually creates one of three problems: crowded copy, a bag that looks too large, or a window that feels off once the refill is inserted. None of those problems is dramatic on paper, but all of them show up in retail.
Another frequent miss is overloading the header with text. A small peg-hung pack is not a brochure. Stronger contrast and fewer claims usually do more for the package than squeezing in another sentence. If the product has one main selling point, let that point breathe.
Sample with the actual fill weight whenever possible. Flat proofs are useful, but they do not show how the bag behaves once it is sealed, hanging, and handled in the real world. Lighting also matters. Thin lines and low-contrast type may look acceptable on a monitor and weak under strong store lighting.
Barcode placement deserves its own check. Keep it away from folds, seals, and high-rub zones, and make sure it will still scan after carton compression and shipping. If several SKUs are being produced together, standardizing barcode placement across the line can simplify packing and reduce rework.
One more issue is structure drift across reorders. A stationery brand may approve one version, then quietly change the product thickness or insert style on the next run without updating the spec. That is how a good pack starts to behave badly. Reuse the same spec only if the contents are truly the same.
For buyers building a broader family of products, starting with a simple reusable structure is usually the smartest move. Custom Packaging Products can provide a useful reference point before the final spec is locked.
Next steps for a clean, printable bag spec
The fastest way to Get an Accurate Quote is to prepare a one-page spec sheet. Include product dimensions, refill count, target retail hook style, artwork requirements, expected order quantity, and any special constraints such as insert cards or language versions. If several SKUs will share the same base bag, note which elements stay fixed and which ones can change.
Ask for a dieline, a sample, and a timeline before approving production. Then check the filled mock-up for hang fit, front visibility, barcode readability, and balance. If the packs will be sold on a peg wall, test them on a similar hook rather than assuming they will behave the same in every fixture.
Lock the practical details early: euro slot or round hole, header height, carton count, freight pack-out, and whether multiple versions can share one setup. That is the point where the packaging stops feeling like a one-off project and starts feeling like a repeatable order.
For stationery programs, that reliability is the real value. The bag should protect the refill, present the brand clearly, and stay simple enough that reorders do not turn into redesigns. Done well, the format remains visible on shelf, straightforward to fill, and consistent enough to support a steady production rhythm.
FAQ
Are custom OPP header bags for stationery refill packs strong enough for hanging retail display?
Yes, as long as the film gauge, seal width, and header layout are matched to the refill weight. A proper hang hole or euro slot helps the bag sit correctly on peg hooks, and a filled sample is the safest way to confirm that the package holds up under handling.
What details should I send for a quote on OPP header bags for refill packs?
Share the product dimensions, fill count, artwork files, print colors, hanging style, and expected quantity. It also helps to note whether you want a clear bag or printed coverage, how the barcode should be placed, and whether the pack includes a card insert or other stiffener.
How do I choose the right header height for stationery refill packaging?
Leave enough room for the logo, product name, and retail codes without crowding the hanging area. The header should read clearly on a peg wall, but it should not dominate the front panel so much that the refill pack itself becomes hard to see.
What causes the biggest pricing changes in custom OPP header bags?
Bag size, film thickness, print coverage, and order quantity usually have the biggest effect on unit cost. Special finishing, multiple versions, extra proofing, and tighter color matching can also move the quote upward, especially on smaller runs.
How can I reduce mistakes before approving stationery refill bag artwork?
Check the dieline against the filled product, not just a blank file. Confirm text, barcodes, and seal-safe margins at actual size, then review one printed proof under bright light so contrast and readability are confirmed before the run starts.

