Cheap giveaway packaging can annoy people fast. Custom plastic goodie bags are only worth buying if they hold up, show the logo clearly, and fit the items without turning into wrinkled junk that gets tossed before the event is over.
That may sound blunt, but it reflects how these bags are actually judged in the field. Buyers often spend most of their attention on the artwork, then discover too late that the bag feels flimsy, looks off-center, or tears when someone adds a few samples and a brochure. The bag is part of the experience, and if the construction is wrong, even strong branding starts working against you.
Custom plastic goodie bags: what they are and why people still use them
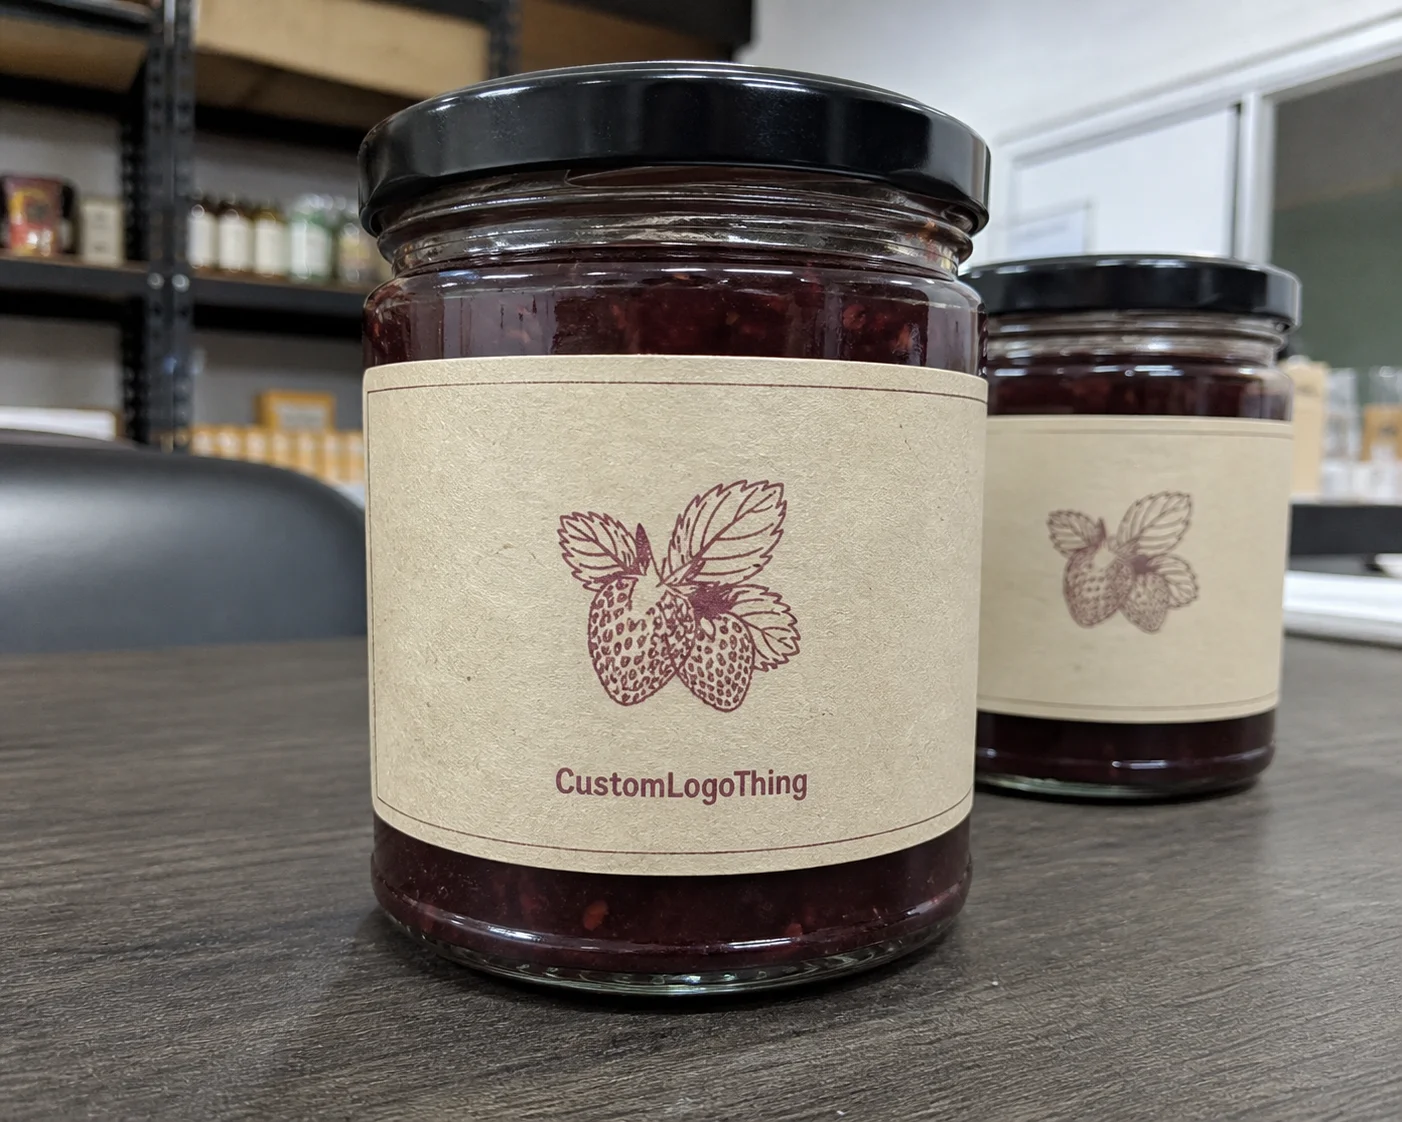
At the simplest level, custom plastic goodie bags are Printed Plastic Bags made for giveaways, retail handouts, event favors, and small promotional kits. They can be clear or colored, plain or printed, and they usually exist to do three things well: protect the contents, carry the brand, and stay inexpensive enough to order in quantity.
People still use them because the economics are hard to beat. A bag that costs only a few cents, or at most a few tenths of a dollar per unit on larger runs, can organize a table, keep items dry, and put a logo in front of a customer for far longer than the few seconds it takes to grab a sample. For event planners and retail teams, that combination is practical, not flashy, and practicality tends to win.
There are a few common formats that show up again and again:
- Handle bags for trade shows, conferences, and event giveaways where people need to carry items around.
- Die-cut bags for a cleaner, more retail-friendly appearance with a built-in handle opening.
- Zipper bags for reusable kits, sample packs, and items that should be resealed after opening.
- Clear favor bags for candy, small gifts, and presentation-driven packaging where the contents should remain visible.
From a buyer’s point of view, the appeal is practical. Plastic bags are lightweight to ship, resistant to moisture, and easy to print at scale. They also fit neatly into broader product packaging or retail packaging programs, especially when you need a low-cost carrier for small items that do not need rigid protection.
What they are not: a universal solution, a premium luxury item, or a safe choice for heavy or sharp products. A thin bag with a bright logo does not become durable just because the art looks polished. Plastic bags are also not interchangeable with paper, compostable films, or other alternative materials. Those options can be the better fit for some brands, but they come with different costs, strengths, print limits, and handling characteristics.
“The best bag is the one that matches the product, not the one that just looks good in a mockup.”
If your event includes samples, small merch, candy, brochures, or starter kits, custom bags can be a very efficient piece of package branding. If the contents include heavy bottles, sharp-edged tools, or anything that can puncture a thin film, a different format is usually the smarter decision. Common sense saves money; decorative artwork does not fix weak packaging.
There is also a presentation issue that buyers sometimes underestimate. A bag that is too large for the contents looks underfilled, while a bag that is too tight wrinkles at the edges and can stress the seams. That visual balance matters in retail, at registration desks, and anywhere the package is handled in public.
How the printing and production process works
The production flow is straightforward, but it has enough steps to create problems if it is rushed. First comes artwork setup, then proofing, then printing, cutting, sealing, inspection, and packing. If a supplier skips one of those stages or the buyer rushes through them, the order gets expensive in all the usual ways: wrong colors, unreadable text, and logos sitting too low on the panel.
For most orders, the printing method depends on quantity and design complexity. Flexographic printing is common for larger runs because it handles repeated designs efficiently and keeps per-unit cost down once setup is covered. Digital printing is more practical for smaller runs or tighter timelines, especially when you need fewer setup restrictions or a faster proof-to-production cycle. The tradeoff is simple: flexo usually wins on economy at scale, while digital gives more flexibility for short runs.
Color count matters too. Many print runs use spot colors because they are easier to control and cheaper than full-process artwork. If your design uses two solid brand colors and a logo, the job is usually simpler. If you want gradients, photos, or tiny type in four different colors, the price and the risk both rise. Packaging buyers often love complex artwork right up until they see the proof.
What should you send with the order?
- Vector logo files such as AI, EPS, or PDF if available
- Final bag size or a target size range
- Print colors with clear PMS references if possible
- Placement notes for logo position, safe margin, and front/back printing
- Finishing notes for zipper closures, die-cuts, gussets, or special packing needs
The proof is the money-saving step. Review it as though the event depends on it, because often it does. Check spelling, alignment, contrast, and whether the artwork remains readable at actual bag size. A font that looks fine on a monitor can disappear on a glossy bag once it is reduced to production scale. If a proof is shown smaller than the final bag, ask for the real size or a 100% layout. That detail affects judgment more than most people expect.
Typical use cases include candy, samples, favors, promo items, trade show materials, and small retail kits. If your items vary a lot in shape, the production team should know that before cutting begins. A bag sized for folded brochures may be awkward for snack packs or boxed samples. Packaging design is not decoration first; it is fit, function, and presentation in that order.
For broader packaging standards and handling context, many teams refer to general guidance from the Institute of Packaging Professionals and, where shipping durability matters, test approaches aligned with ISTA methods. That does not mean every goodie bag needs laboratory testing. It does mean stronger suppliers think about transport, stacking, and handling, not only how the print looks on a screen.
Cost, MOQ, and unit pricing factors buyers should compare
Pricing is not random, even when it feels that way. Five factors usually drive cost: bag size, plastic thickness, print colors, bag style, and order quantity. Change two or three of those at once and the quote moves quickly. That is not a trick. It is how production works.
MOQ, or minimum order quantity, is where many buyers get frustrated. The smaller the run, the higher the unit price, because setup costs still have to be paid. If a supplier needs to prepare plates, calibrate the press, confirm color, and run quality checks, those costs are spread across fewer bags when the order is tiny.
| Order type | Typical unit price range | Best for | Main tradeoff |
|---|---|---|---|
| Plain stock bag | $0.04-$0.12 | Very tight budgets, basic distribution | No branding, limited presentation |
| Simple one-color printed bag | $0.12-$0.28 | Events, samples, basic retail handouts | Setup costs still matter on small runs |
| Multi-color or specialty bag | $0.25-$0.70+ | Premium kits, retail promotions, stronger visual impact | Higher print complexity and longer lead time |
Those numbers are intentionally broad. A 5,000-piece run with one-color print and a standard thickness does not price like a 500-piece custom size with a zipper closure and full-coverage artwork. Simple one-color bags usually sit in the lower-middle range, while specialty finishes, unusual dimensions, or heavier material can push pricing up quickly.
Watch the hidden costs too:
- Rush fees when production or shipping time is shortened
- Custom sizing if the bag is not a standard dimension
- Freight for heavier or bulkier shipments
- Artwork corrections when the file needs cleanup before print
- Revisions after proof if the design changes late
A useful rule is to order enough for the event plus a buffer. For one-time events, that buffer is often 10% to 15%. For recurring promotions, extra inventory can make sense if storage is inexpensive and the design is unlikely to change. Reorders often cost more per unit than the first run because the quantity is smaller and there is less room to absorb setup. That is a very plain rule, but it saves real money.
If you are comparing with custom printed boxes or other branded packaging options from Custom Packaging Products, do not compare only the print price. Compare the total packaging job: protection, display, shipping, and labor at pack-out. A box can cost more but reduce damage. A bag can cost less and still be the better answer for lightweight giveaway items. The right choice depends on the contents and the environment in which the package is handled.
For buyers under pressure from budget approvals, the most useful comparison is often between a simpler bag with cleaner print and a more complex design with a lower run size. In many cases, a straightforward layout on a better-constructed bag gives a stronger result than trying to force too much detail onto a thin film.
Lead time and turnaround: what to expect from quote to delivery
The timeline usually runs through quote, artwork submission, proof approval, production, quality check, packing, and shipping. That sounds simple because it is. The delays come from the details. Most of the time, the biggest slowdown is not the factory. It is the buyer waiting several days to approve a proof or asking for a new logo version after the job is already queued.
Typical timing depends on the order type. Simple stock-style runs can move faster. Custom sizes, heavy print coverage, zipper features, or specialty closures take longer. For a practical range, many straightforward orders land around 12-15 business days from proof approval, while more complex jobs can take longer depending on volume and finishing. Shipping time sits on top of production time, and those two things are often confused.
Here is the part many buyers miss: a “two-week turnaround” rarely means two weeks door to door. It usually means two weeks after the proof is approved, followed by transit. If your event date is fixed, plan backward from the day the bags must be in hand, not from the day the purchase order is placed.
Useful planning buffer:
- 2-3 extra business days for proof corrections
- 3-7 extra business days for carrier delays on standard freight
- Additional time if split shipments or multiple delivery addresses are needed
For launches, trade shows, and seasonal events, place the order early enough that a minor issue does not become a crisis. It also helps to build in a cushion for quantity changes. If the final attendee count is still moving, rounding up is usually safer than trying to recover with an emergency reorder. Extra bags are easier to store than panic.
Some brands also ask whether their packaging should align with broader sustainability goals or companion materials such as inserts and cartons. That concern is valid, even if it matters more for paper components than for the plastic bag itself. For recycling context and local handling guidance, EPA recycling guidance is a useful baseline for buyers trying to understand how materials are managed in practice.
One production caveat worth keeping in mind: colder weather can affect flexibility in some films, and heavy compression during shipment can distort very thin bags. Those are not dramatic problems, but they are real ones. A good supplier will choose material thickness and packing method with transit in mind, not just print quality.
How to choose size, thickness, and style without overbuying
Start with the product, not the artwork. That sounds basic because it is. Yet plenty of buyers pick the bag size first because the mockup looks good, then find that the sample pack does not fit, the handle strains, or the bag looks puffy and cheap. That is avoidable.
Bag dimensions affect fit, presentation, and shipping cost. A bag that is too small will stress seams and crease the contents. A bag that is too large wastes material and often looks less polished. The sweet spot is a snug fit with enough room for easy insertion and closure.
Thickness is usually discussed in mils or microns depending on the supplier. In practical terms:
- Thinner bags work for light giveaways, candy, and low-weight inserts
- Mid-thickness bags suit sample kits, brochures, and standard event handouts
- Thicker bags feel sturdier, handle more weight, and reduce stretch risk
Style selection should follow use case:
- Handle bags for events where people walk around with the bag for hours
- Zip bags for reusable kits, cosmetics, or samples that may be opened more than once
- Clear bags when visibility matters and the product itself is part of the appeal
- Gusseted bags for bulkier contents or items that need extra side expansion
There is a simple buying framework that works well:
- Weigh the product or estimate the total pack weight.
- Decide whether the bag must be resealable.
- Choose the visual look: clear, colored, or fully printed.
- Set a budget ceiling per unit.
- Pick the size that fits the contents with a little room, not a lot.
Oversized bags are a common waste. They use more material, ship at a higher effective cost, and make small items look oddly underpacked. In retail packaging, presentation is part of the value. A tiny sample floating in a huge bag does not say premium. It says the dimensions were guessed.
If your brand uses a mix of custom printed boxes, bags, and inserts, keep the visuals consistent: same logo placement logic, same color discipline, and the same basic tone across the entire package. That is what makes the package branding feel deliberate instead of scattered.
Practical buyers also pay attention to closure type. A simple open-top bag may be fine for candy or handouts that are consumed immediately, but it is less suitable for items that need to stay contained during transport. A zipper or better sealing method adds cost, but it can save the pack-out team from dealing with spills and returns.
Common ordering mistakes that wreck budgets and deadlines
The classic mistakes show up again and again: low-resolution artwork, too many print colors, no proof review, and orders placed only days before the event. None of that is mysterious. It is just expensive.
1. Sending low-resolution artwork
Fix: send vector files whenever possible. If you only have a raster file, use the highest-resolution version you have and ask for a proof review before production starts.
2. Choosing too many print colors
Fix: simplify the art. One or two spot colors often look cleaner and cost less than a busy design with several shades fighting for attention.
3. Skipping the proof
Fix: review the proof line by line. Check logo placement, type size, spelling, and contrast. If a proof is unclear, ask for a revision. That is what proofing is for.
4. Picking the wrong bag style for the product weight
Fix: match style and thickness to the contents. Lightweight favors do not need the same construction as snack kits with bottles or rigid inserts.
5. Misreading MOQ
Fix: ask for pricing at two quantities: the minimum and the quantity you actually expect to use. That makes the unit economics visible fast.
6. Forgetting content and compliance needs
Fix: if the bags will touch food, cosmetics, or child-related items, confirm material suitability and any labeling requirements before ordering. Food use and retail compliance are not places to improvise.
7. Treating the bag as an afterthought in the pack-out process
Fix: consider who will fill the bags and how much labor the format requires. A bag that is hard to open, awkward to fill, or too narrow for the product can slow the entire line.
One more issue comes up often: buyers sometimes assume a cheaper bag is automatically the better buy because the unit price is lower. Not always. If the bag tears, looks weak, or causes a repack, the labor cost can wipe out the savings. Packaging should reduce friction, not create another task for the team.
Recycling expectations can also create confusion. Many plastic bags are handled differently from rigid plastics, and local rules vary. If a brand wants to make environmental claims, those claims need to match the actual material and the local disposal reality, not a vague assumption that “plastic” means recyclable everywhere.
Expert buying tips and next steps for a cleaner order
Start with what goes inside the bag. That is the part buyers should get right first. Once the product is defined, the bag choice gets much easier. Function first, decoration second. A good-looking bag that fails at carrying the item is just a mistake with a logo on it.
Ask for two quotes: one at the minimum quantity and one at the quantity you actually expect to use. The gap between those numbers is often revealing. It tells you whether a slightly larger run drops the unit cost enough to justify extra inventory. More often than not, it does.
Request a proof every time, even if the order feels simple. Check three things in particular: logo placement, color contrast, and copy readability. If the design includes tiny legal text or a tagline, zoom in and read it like a customer standing three feet away. That is the real use case.
For recurring programs, keep a reorder plan. If you run seasonal promotions, conference kits, or retail bundles more than once a year, lock the artwork and specs early. That reduces errors on repeat runs and usually speeds up approval. Good packaging operations are not glamorous. They are organized.
Before placing the order, use this quick checklist:
- Measure the product or contents
- Choose the style: handle, zip, die-cut, or clear
- Confirm thickness and closure type
- Gather vector artwork and brand colors
- Approve the proof carefully
- Compare total cost, not just unit price
- Build in lead time for shipping and revisions
If you are comparing custom bags with other Custom Packaging Products, keep the decision tied to the use case. The best option is the one that protects the contents, fits the budget, and supports the brand without extra complications. That is the whole point of good packaging design.
Done well, custom plastic goodie bags are simple, useful, and cost-effective. Done poorly, they become one more thing people notice for the wrong reasons. Measure carefully, keep the print clean, Choose the Right thickness, and buy with a buffer. That is how you get packaging that works instead of packaging that apologizes.
What are custom plastic goodie bags used for?
They are commonly used for party favors, trade show handouts, retail samples, promo kits, and event giveaways. They package small items neatly while adding brand visibility and basic protection from moisture and handling.
How much do custom plastic goodie bags usually cost?
Pricing depends on size, thickness, print colors, quantity, and bag style. Smaller orders usually have a higher unit cost, while larger runs reduce the price per bag because setup is spread out.
What is the typical turnaround for custom plastic goodie bags?
Turnaround depends on artwork approval, print method, and order size. Simple orders move faster; custom sizes, multiple colors, or rush shipping add time. A common range is about 12-15 business days from proof approval for straightforward runs, plus shipping.
What file should I send for the logo on custom plastic goodie bags?
Vector artwork is best because it prints cleanly at different sizes. If you only have a raster file, send the highest-resolution version you have and ask for a proof review before production starts.
How do I choose the right size for custom plastic goodie bags?
Measure the items you want to pack, then allow space for easy insertion and sealing. Choose a size that fits the product snugly enough to look polished but not so tight that it stresses the bag.