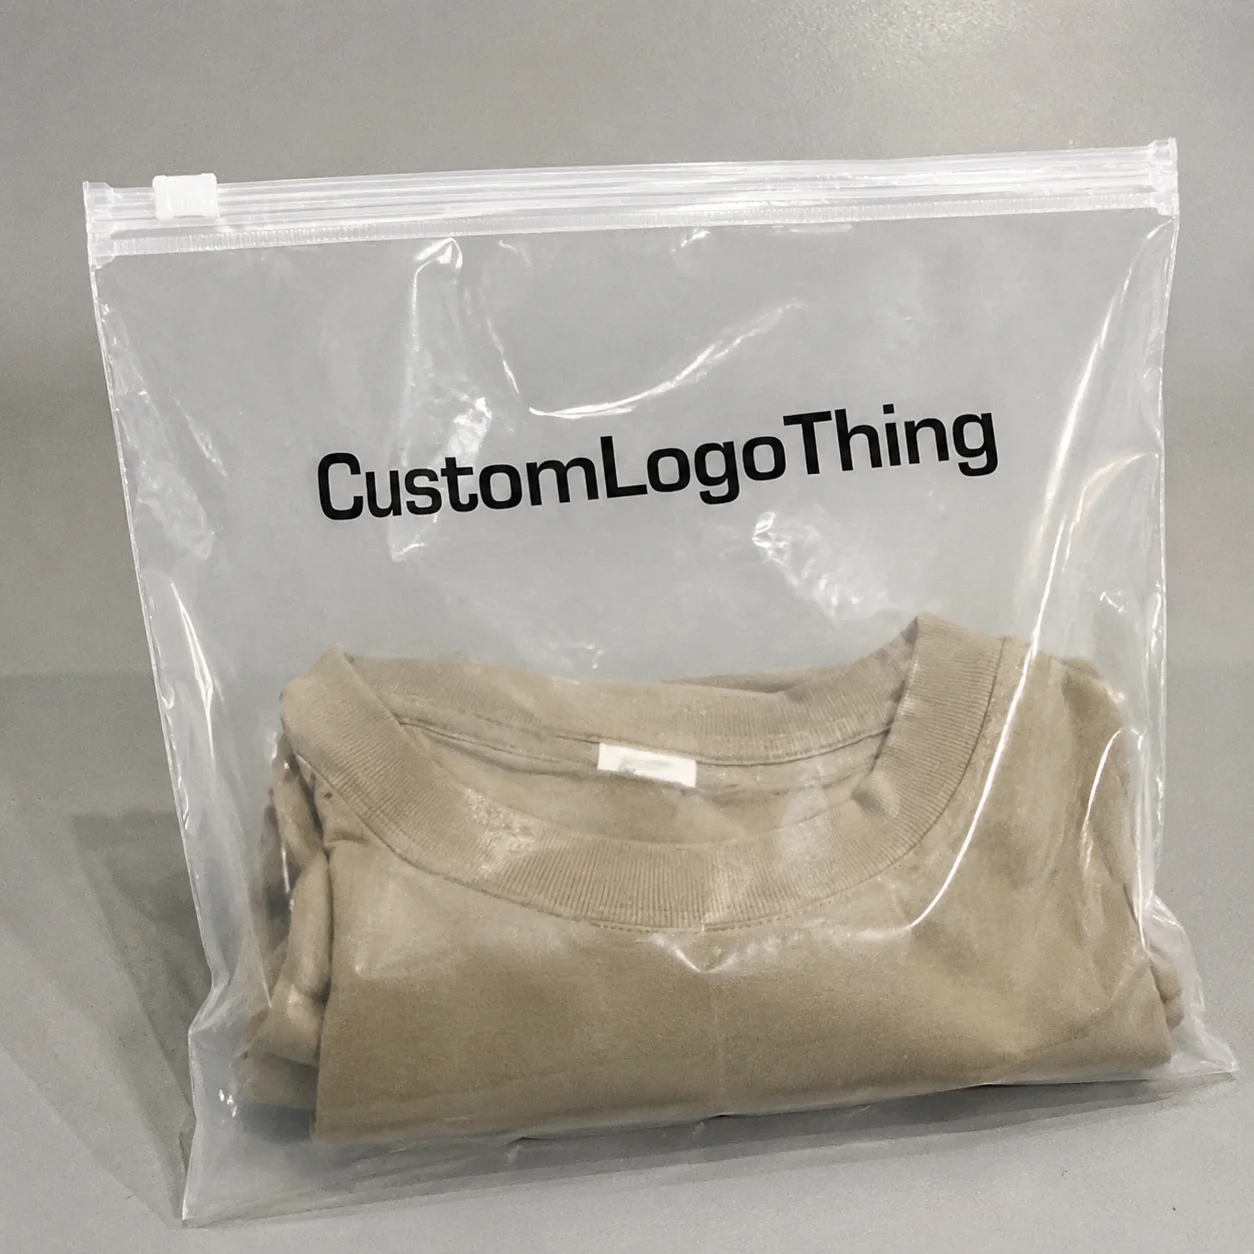
Custom poly Bags with Logo do a surprisingly large amount of work for a small piece of packaging. They protect the product, keep the presentation tidy, and put the brand in front of the customer before anyone opens a box, a mailer, or a display tray. That first contact matters. A clean bag makes the product feel intentional. A sloppy one makes the whole order look less finished, even when the item itself is solid.
That is why these bags keep showing up in apparel, accessories, samples, replacement parts, light hardware, and subscription inserts. They are not meant to be luxury theater. They are meant to solve a practical problem at a cost that still makes sense at scale. If a packaging format can protect the item, hold a logo cleanly, and keep packing labor under control, buyers pay attention.
The better way to think about them is as a working packaging component rather than a branding accessory. The logo is only one part of the decision. Material, thickness, closure, print method, and handling conditions matter just as much. Ignore those details and the bag becomes a liability instead of a tool.
Why custom poly bags with logo punch above their weight
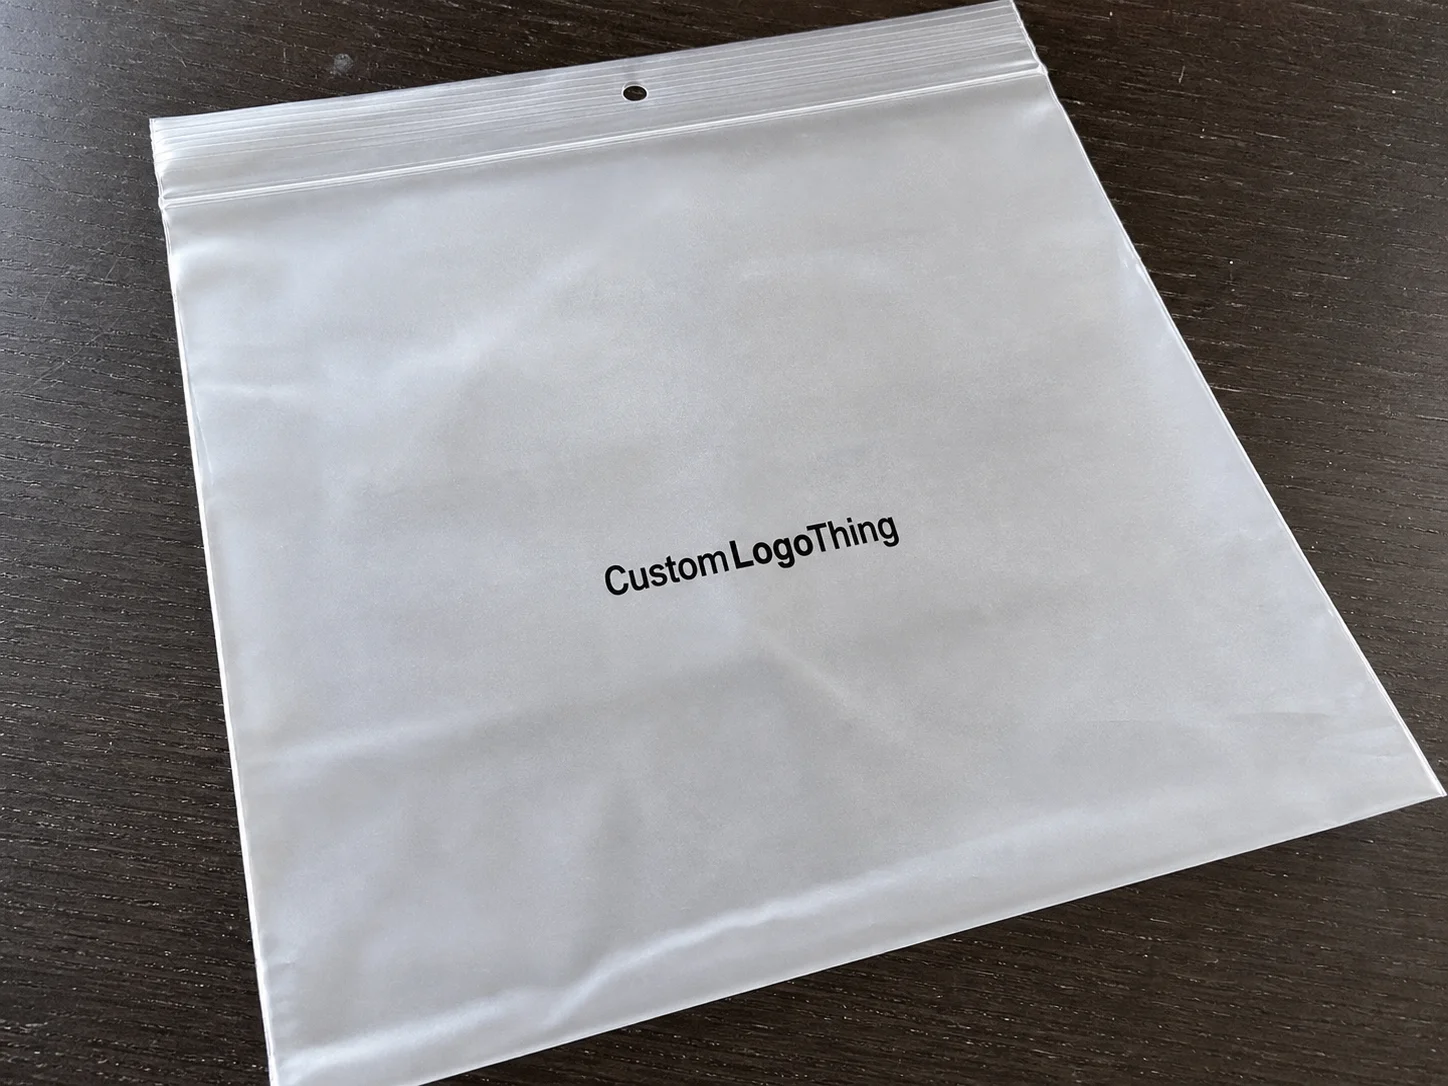
From a buyer's perspective, the appeal is straightforward. These bags are light, low-cost, and easy to store. They take far less shelf space than cartons, they do not add much shipping weight, and they can be reordered without much operational friction. For product lines that move quickly or ship in large quantities, that combination is hard to beat.
They also solve a presentation issue that gets underestimated. A folded tee in a plain bag looks like inventory. The same tee in a custom printed bag looks like a product. That shift is subtle, but buyers and customers register it immediately. Packaging does not need to shout to change perception. It only needs to look deliberate.
These bags are especially practical for items that are flexible, flat, or already protected by a primary product package. Apparel, textile goods, cables, beauty samples, small kits, and accessories fit the format well. A rigid box would add cost and weight without adding much value in those cases. Sometimes the better packaging is the one that gets out of the way.
A bag should support the product, not compete with it. If the packaging is the most complicated part of the order, something is off in the spec.
There is also a production advantage. Flat poly bags are simple to count, pack, and stack. They can be bundled by SKU, staged near a packing line, and inserted into a workflow without much training. That matters once orders move from a design problem into a repeatable operation. The more hands that touch the product, the more valuable that simplicity becomes.
If your packaging system includes more than one format, keep the lineup consistent. A bag, a mailer, a label, and a carton should feel like parts of the same brand family even when they serve different jobs. For that kind of broader mix, Custom Packaging Products is a useful starting point for comparing structures instead of forcing one format to do everything.
How printing, film, and seal choices work
The material choice changes how the bag looks and performs. LDPE is flexible, soft, and forgiving. It is common when the priority is durability and easy handling. PP usually looks crisper and glossier, which can work well when shelf appearance matters. Neither one is universally better. They create different impressions and behave differently on the packing line.
Thickness is just as important. Thin film can be fine for folded apparel or lightweight inserts, but it may feel flimsy on products with sharper edges or repeated handling. Many retail applications fall somewhere around 1.5 to 4 mil, with thicker gauges used when tear resistance matters more than saving a fraction of a cent. That range is not a rule. It is a starting point that still needs product testing.
Printing method affects both price and finish. Simple one-color art is easier to control and typically cheaper than multi-color coverage with heavy ink density. Large solid areas can look bold, but they also show registration issues and ink inconsistency more quickly. Small logos with good contrast usually print cleaner than complex artwork that tries to do too much on a thin film surface.
Functional details deserve equal attention. Matte or glossy finish changes the perceived quality. Heat seal, zipper closure, header style, hang hole, gusset, venting, and tamper-evident features all affect how the bag behaves. If the product is going onto a retail peg, into a warehouse bin, or through a packing line with speed targets, those choices matter more than they look on a spec sheet.
One thing buyers often miss: the logo is not the whole design. The bag surface, seam placement, print area, and closure style determine whether the branding feels clean or crowded. A simple mark on a well-made bag often looks better than a busy print on a format that was never right for the product.
Packaging language also varies by supplier, and that creates avoidable confusion. Use dimensions, material type, thickness, print colors, seal type, and finish in plain terms. If your team needs a neutral reference point for terminology, the Institute of Packaging Professionals is a useful source for basic packaging vocabulary and material context.
Cost, pricing, and MOQ: what actually moves the quote
Pricing comes down to a small set of variables: size, thickness, print colors, coverage, closure type, and quantity. Bigger bag means more material. Thicker film means more resin. More colors mean more setup. Custom dimensions add tooling and testing complexity. Each one moves the quote in a predictable way, even if the final number still depends on freight and supply conditions.
Buyers usually ask for the cheapest price first. The better question is which quote gives the lowest usable cost. A low unit price that produces waste, delays, or print defects is not really low-cost. It just hides the problem until production starts. Packaging buys are judged by what arrives, not what the spreadsheet promised.
| Option | Typical order profile | Approx. unit cost | Best fit |
|---|---|---|---|
| Simple one-color LDPE bag | 1,000 to 2,500 units | $0.14 to $0.35 | Small launches, samples, folded apparel |
| Standard retail bag with custom print | 5,000 to 10,000 units | $0.06 to $0.18 | Apparel, accessories, subscription inserts |
| Heavier gauge or more complex print | 10,000+ units | $0.09 to $0.24 | Hardware, sharper items, repeated handling |
Those figures are working ranges, not guarantees. Resin pricing shifts. Freight changes. Artwork complexity adds time. Setup fees and proofing can make a small order look expensive very quickly, which is normal. A short run always carries more overhead per unit than a larger one.
MOQ depends on the print method, the factory setup, and whether the bag is a standard size or a custom build. One-color jobs often have a lower entry point than multi-color or fully custom sizes. If volume is still uncertain, ask for breakpoints at several quantities instead of getting trapped in a single number that may not fit the buying plan. A tiered quote is more useful than a guess.
Freight deserves its own line item. Domestic, import-based, and rush shipments behave differently on both timing and cost. A quote that looks sharp until the cartons land is not a good quote. Ask for the delivered price, not just the factory price, especially if the launch date is fixed.
If the project is more about transit protection than shelf display, compare the bag against Custom Poly Mailers. The two formats are related, but they are not interchangeable. A retail bag can look better. A mailer can survive shipping abuse better. The right choice depends on the route the product takes.
Process, turnaround, and lead time from proof to delivery
The production path is usually simple once the brief is clear. It starts with a quote, moves to artwork and proofing, then sample approval if needed, and finally full production. The order of those steps matters. If dimensions, print placement, or closure style are still in flux, the schedule will slip. Usually because someone tried to save time by skipping the part that prevents delays.
- Measure the packed product, not just the item itself.
- State quantity, print colors, finish, closure, and any special handling needs.
- Send vector artwork and specify brand colors if matching matters.
- Review the proof line by line before approval.
- Request a sample or pre-production proof for high-visibility orders.
Lead times are easy to underestimate. Quote turnaround may take a few business days. Artwork cleanup and revisions can add another day or three if files are disorganized. Sampling adds more time, especially when the product has to be checked in the actual bag rather than on screen. Production often runs about 12 to 18 business days after proof approval, and shipping sits on top of that.
The biggest source of delay is almost always unclear input. A missing dimension, vague artwork placement, or an unconfirmed closure style can stall the entire job. That is avoidable with a better brief. If the bag will be used in a transit-heavy flow, it is reasonable to ask whether the package should align with an ISTA test method. It is not glamorous work, but it is cheaper than discovering a failure after inventory has already moved.
There is also a practical approval habit worth keeping: check one physical sample before you commit to a full run whenever the bag will be customer-facing. On a screen, most poly bags look fine. In hand, the weak seam, off-color logo, or awkward opening shows up immediately.
How to choose the right bag specs for your product
Start with the packed item, not the bare item. That sounds obvious, but it is the mistake that creates most sizing problems. A folded sweatshirt, a boxed accessory, and a cable bundle each need different clearance. If the bag is too tight, loading slows down, seams take more stress, and the print area can distort.
Start with the use case
Ask what the bag must do. Protect from dust? Support retail display? Survive shipping? Hold samples for a show? Store inventory cleanly? Each job sets a different priority. For display, clarity and presentation matter more. For shipping, puncture resistance and seal integrity matter more. For storage, fit and repeat handling matter more than gloss.
That decision point is where a lot of packaging strategy gets sorted out. A bag can be the right answer for one SKU and the wrong answer for another. If the product needs a stronger premium signal, custom printed boxes may be the better fit. If the real goal is low cost and fast packing, the bag usually wins.
Match thickness to risk
Light, soft products can often use thinner film without trouble. Heavier items, sharp edges, and products handled many times need more gauge. In practical terms, many brands land around 2 mil for soft goods, 3 mil for more handled retail items, and 4 mil or above for rougher use cases. That number matters less than the failure rate it produces.
A tear rate of even one percent becomes expensive when the run is large enough. It creates rework, wasted labor, and customer complaints. Once the bag is carrying your logo, the failure becomes visible. The packaging is no longer invisible inventory. It is part of the product experience.
Check the environment and compliance
Heat, moisture, static, and product sensitivity can change the right spec faster than most buyers expect. Scuff-prone items may need a smoother finish. Static-sensitive products may need a different material choice or handling step. Food-adjacent or regulated products need compliance questions answered before the order is placed, not after the proof is approved.
If sustainability is part of the brief, ask what is actually available in the target quantity and print method. Recycled-content film, sourcing declarations, and paper-based inserts are useful only if they fit the real production path. A sustainability claim that ruins performance is not a useful claim.
One more operational detail: size the bag for easy loading, not for a perfect visual squeeze. A little extra room often reduces labor and protects seams. Tight can look neat on paper. Slightly generous usually works better on a live packing line.
Common mistakes that cause weak seams or muddy print
The most common failure is undersizing. When the bag is too small, the packer has to stretch the film, angle the product awkwardly, or force the seal. That increases seam stress and makes the print area harder to control. It also slows the line, which is its own hidden cost.
Artwork problems come next. Low-resolution logos, thin strokes, ignored bleed, and too many colors still show up in production files more often than they should. Poly film can look sharp, but it will not rescue bad source art. If a logo depends on tiny detail, ask whether the print method and bag size can hold it cleanly. Sometimes the right answer is to simplify the mark, not to hope the press fixes it.
Price-only buying creates another set of problems. Thin film, weak seals, poor ink coverage, and rushed proofing can make a quote look attractive and the finished order look amateur. That is a bad trade in retail packaging, where the bag sits in front of the customer and becomes part of the product story whether anyone planned for that or not.
Samples are not optional when the order matters. A sample tells you whether the product fits, whether the logo reads cleanly, whether the seal holds, and whether the bag behaves as expected when packed at speed. It is much cheaper to reject one sample than to discover the same flaw on a full pallet.
QC should be practical, not ceremonial. Check seam strength, print registration, color consistency, thickness, bag opening, and any closure function. If the bag scratches easily, collapses in the wrong place, or prints faintly on the test unit, those issues will not disappear in a larger run. They usually get worse.
There is also a category mistake that buyers make when they compare bags to rigid packaging. Custom printed boxes and poly bags solve different problems. Boxes can add structure, protection, and a more premium presentation. Bags can add speed, efficiency, and lower unit cost. Choosing the wrong format for the channel is a larger problem than choosing the wrong logo placement.
Short version: weak seams and muddy print are usually caused by bad sizing, bad files, bad assumptions, or bad purchasing discipline. Sometimes the order contains all four. That is more common than people admit.
Next steps: build a quote-ready spec sheet
If you want better quotes, send better input. Start with the non-negotiables: finished product dimensions, target quantity, print colors, finish, closure type, packing orientation, and required delivery date. Add brand color references if matching matters. Include the file format you are sending and whether the artwork has already been approved internally.
Then ask for the details that separate a useful quote from a placeholder. Request a sample or pre-production proof if the bag will be visible to retail customers. Ask for production lead time and separate freight timing. Ask what the quoted price includes and what it excludes. Ask for multiple quantity breakpoints if you are near a threshold. Those questions make comparisons honest.
Supplier evaluation should not stop at unit cost. Look at proof quality, response speed, minimum order, consistency across repeat runs, and whether the team asks useful questions before production starts. A supplier that catches a missing dimension early is often worth more than one that replies quickly and ships a problem.
For brands building a broader packaging system, keep the spec sheet centered on the product and the channel. The right mix of bags, mailers, inserts, and cartons should support the sale, not complicate fulfillment. If the package works on paper but slows the line, it is not working.
Custom poly Bags with Logo still earn their place because they are affordable, efficient, and easy to scale when the spec is right. Treated as a real packaging decision, they do their job well. Treated as a cheap afterthought, they usually do not.
If the next order needs more than one format, start with Custom Packaging Products and compare the structure to the product, the packing speed, and the customer experience. That is the cleaner way to choose than forcing every SKU into the same packaging shape.
How much do custom poly bags with logo cost per unit?
Price depends on size, film thickness, print colors, coverage, and order quantity. Smaller runs cost more per unit because setup and production overhead are spread across fewer pieces. Ask for a delivered cost that includes freight and any setup fees so the comparison is real.
What is the minimum order for custom poly bags with logo?
MOQ varies by print method, factory setup, and whether the bag is a standard or custom size. One-color jobs often start lower than multi-color or fully custom builds. If your volume is uncertain, request a price ladder at several quantities rather than guessing.
How do I choose the right thickness for custom poly bags with logo?
Match thickness to the product's weight, shape, and handling risk. Soft folded goods can often use thinner film, while sharper or more frequently handled items need heavier gauge to reduce tears and seam failures. A sample test with the actual packed product is the safest check.
What is the usual turnaround for custom printed poly bags?
Turnaround depends on artwork readiness, proof approval, material availability, print complexity, and shipping method. Simple repeat jobs move faster than first-time custom sizes. Ask for a production window and a separate transit estimate so the date is realistic.
What artwork file do suppliers need for a clean logo print?
Vector artwork is best because it keeps edges sharp at any size. Send the requested color format and note exact brand colors if matching matters. Clear placement instructions help avoid proof delays and reduce revisions.