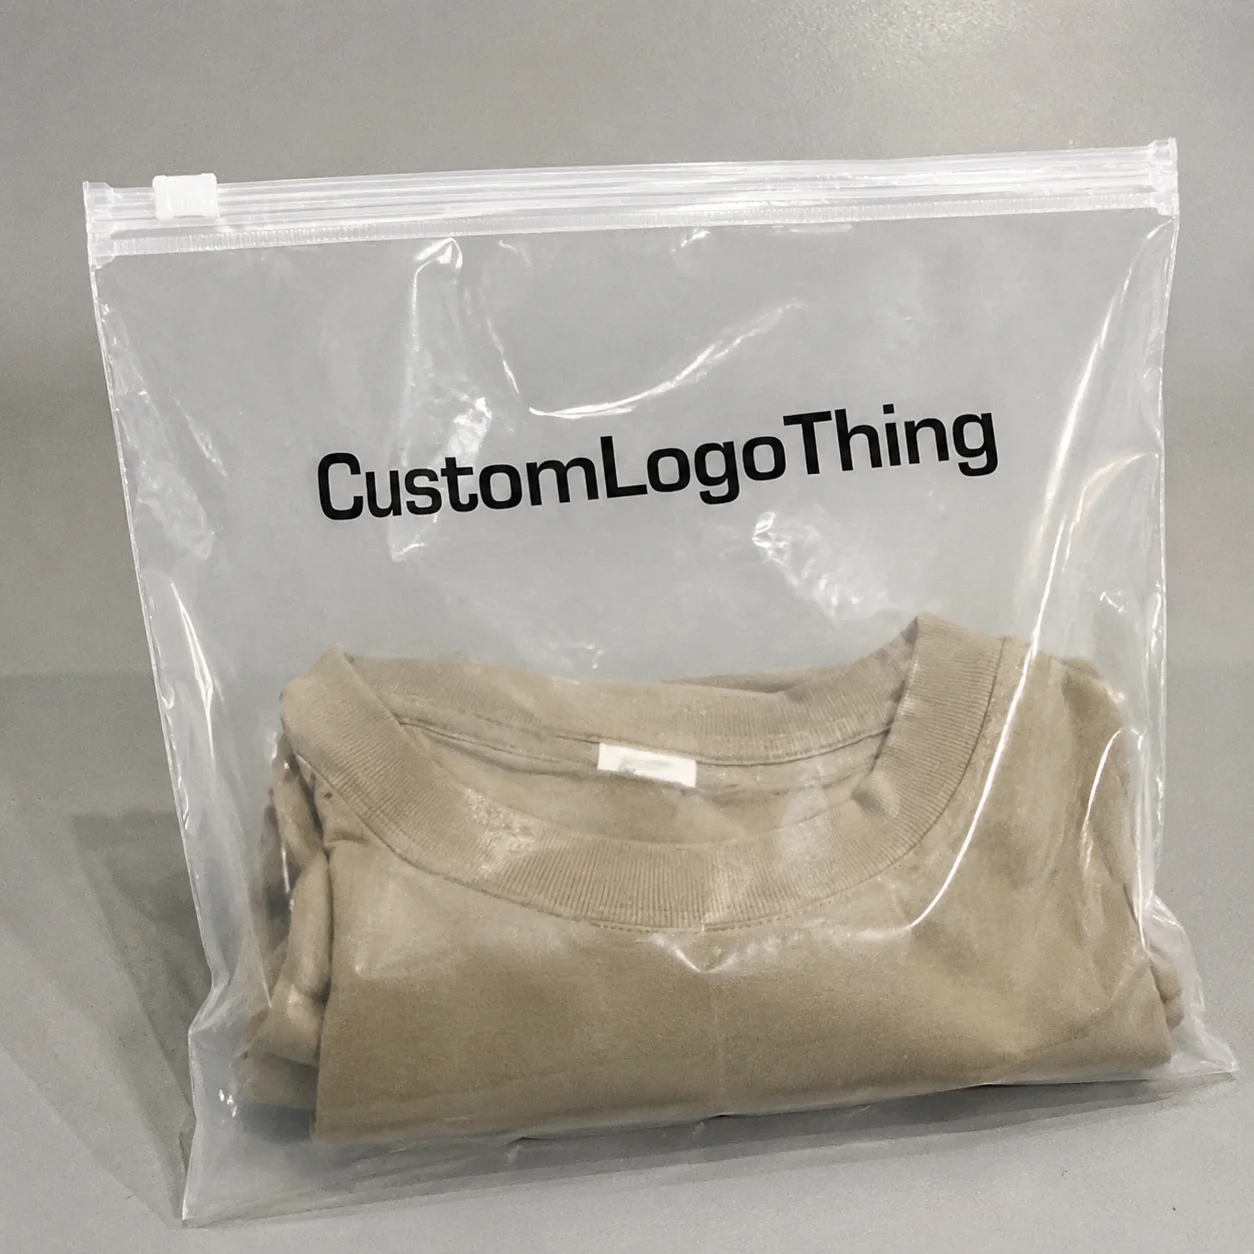
Custom Poly Bags with Logo: How to Order the Right Fit
custom poly Bags with Logo affect how a product is perceived before it is opened. A clean print, proper film thickness, and the right closure make the packaging feel deliberate. Weak seals, cloudy film, or a fuzzy logo do the opposite, especially in retail packaging, ecommerce inserts, subscription kits, and fulfillment lines.
What custom poly bags with logo actually change for a product line
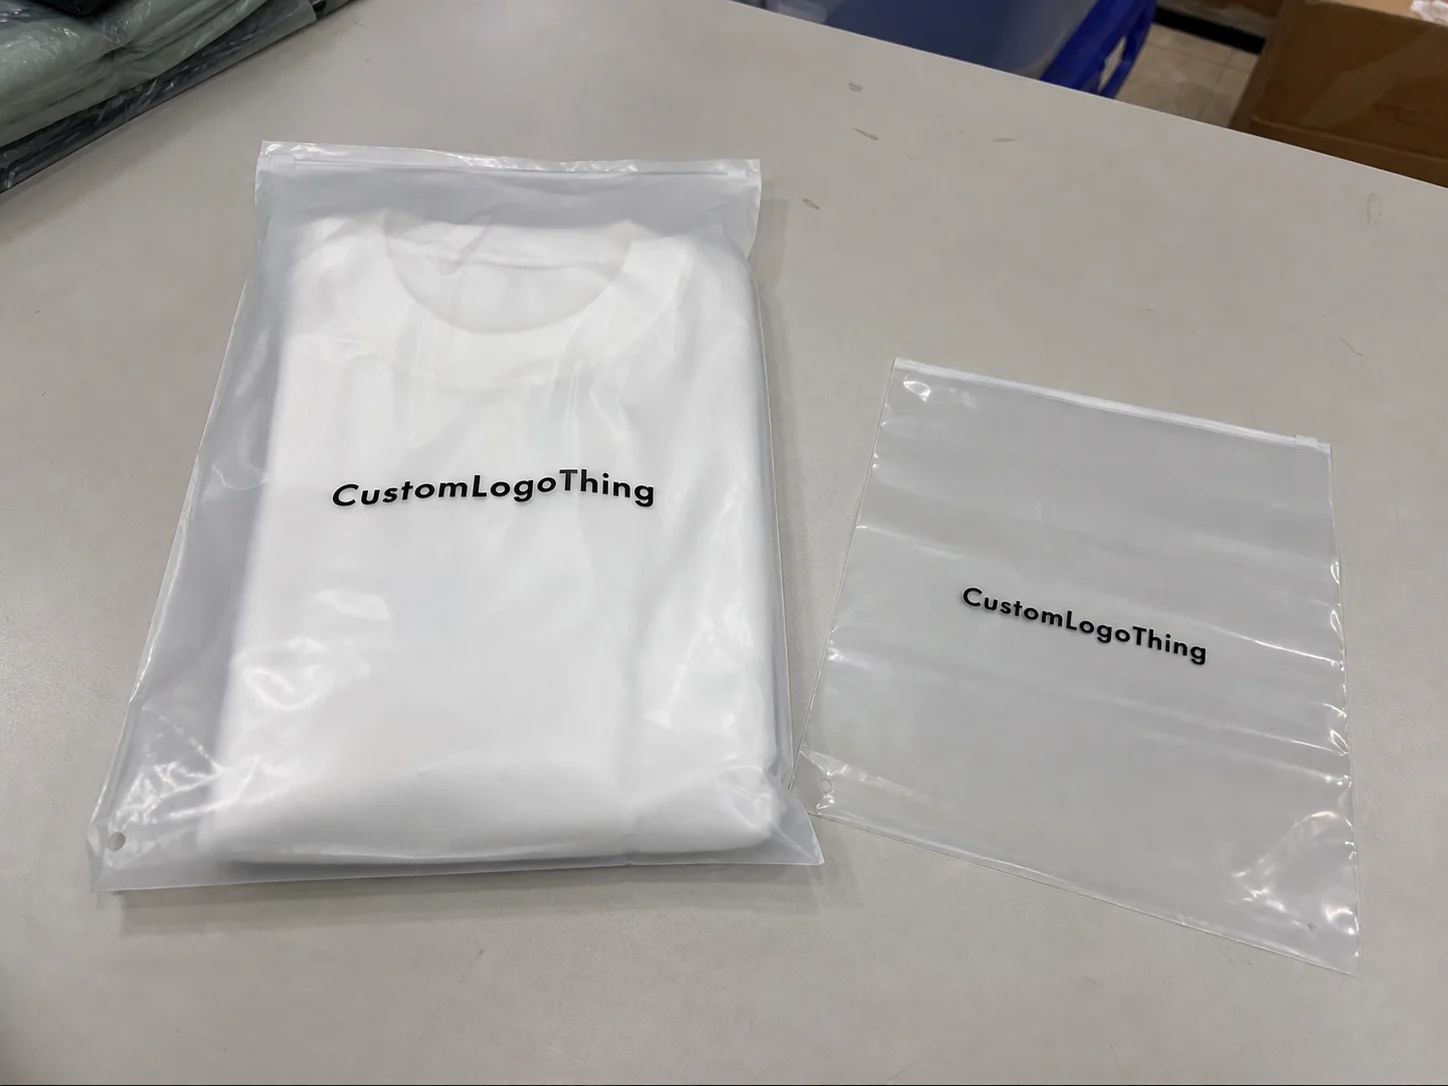
These bags do more than carry an imprint. They can make a product line look organized, reduce scuffing in transit, and help a pack-out process move faster. A crisp bag with a centered logo reads as intentional packaging; a flimsy bag with off-register print looks like a leftover supply choice.
Most versions are made from polyethylene, usually LDPE or LLDPE blends, then converted into flat bags, wicketed stacks, resealable formats, or heat-seal designs. They are used for apparel, accessories, samples, inserts, and some food-adjacent applications where the material and compliance requirements are confirmed in advance.
The comparison that matters is not bag versus no bag. It is a bag that fits the product and supports the brand versus one that creates waste, wrinkles, and handling problems. A bag that is too large can look sloppy; one that is too tight can stress the seal or slow packing. For teams already sourcing Custom Packaging Products, logo poly bags belong in the same decision set as mailers, inserts, sleeves, and cartons.
How printing and sealing work on branded poly bags
The production flow is straightforward: film is extruded, converted into bag form, printed, cured or dried, cut, and sealed. The predictable part ends there. Flexible film behaves differently from paperboard or label stock, so ink laydown, tension, stretch, and heat all affect how the logo looks on press.
Flexographic printing is common for higher-volume runs because the setup cost is spread across more units and the print stays consistent once the press is dialed in. Digital printing works well for shorter runs, launch versions, or jobs with faster approval cycles. It usually costs more per bag, but it can be the better trade when SKU counts are high or the quantity is uncertain.
Artwork should be prepared with the substrate in mind. Clean vector files, strong contrast, and sensible spacing give the best chance of sharp output. Tiny type, hairline rules, and detailed artwork can soften on film. A poly bag is not a coated carton, so the artwork needs to respect the material.
Bag style changes the result too. Flat bags offer the simplest printable area. Side gussets add room but create more movement in the film. Wicketed bags are better for fast pack lines because they dispense in stacks. Resealable and heat-seal formats change how the bag is opened, closed, and handled during fulfillment.
Sampling is worth the time. A physical sample or pre-production proof checks placement, seal quality, opacity, and print clarity under normal lighting, not just in a render. If the bags will pass through distribution, it is reasonable to ask whether the supplier works with common transport and handling expectations such as ISTA-style distribution testing.
Key specs that determine performance, look, and protection
Film thickness is usually the first spec buyers compare. It is measured in mils and affects puncture resistance, drape, stiffness, and the way the bag feels in hand. A 1.5 to 2 mil bag is often enough for lightweight apparel, folded inserts, or low-risk packaging. A 3 to 4 mil bag is more appropriate for heavier items, sharper edges, or presentations that need a more substantial feel.
Dimensions should follow the product, not the other way around. Measure width, height, and any closure allowance before requesting quotes. Too much slack makes the package look loose and can waste storage space. Too little creates stress on the film and complicates sealing.
Clarity, opacity, and finish change the way the packaging reads. Clear film shows the product and works well for visual merchandising. Opaque or tinted film gives more privacy and can increase contrast for printed art. Matte and frosted finishes often feel more premium and reduce glare, while gloss can make color appear brighter but also expose wrinkles and handling marks more easily.
- Open-top bags are simple and usually the lowest-cost option.
- Zip or resealable bags fit reusable items and accessory kits.
- Adhesive strip bags work well for presentation-focused retail packaging.
- Heat-seal formats create a cleaner, more secure finish.
Sustainability claims need careful handling. Recyclable film options exist, but the claim depends on the resin, the collection system, and the local market. If a supplier offers downgauged film, that can reduce resin use, but only if the lower gauge still protects the product during shipping and storage. For general material and recovery context, the EPA is a better reference point than a sales pitch.
If the bag touches food or sits close to consumable goods, confirm food-contact suitability. Generic polyethylene is not a substitute for the proper documentation.
Custom poly bags with logo pricing, MOQ, and unit cost
custom poly Bags With Logo pricing usually comes down to size, thickness, print colors, print method, closures, and quantity. A one-color flat bag is not comparable to a thicker bag with two-sided print and a zipper closure. Both may be called custom poly bags, but they are not the same product.
MOQ behavior is predictable. Smaller runs carry a higher unit price because setup, proofing, and any plate or press prep costs are spread across fewer bags. Higher quantities usually reduce unit cost, sometimes sharply, but they also increase inventory exposure. If the brand changes direction later, unused stock becomes expensive quickly.
Hidden costs are common. Artwork cleanup, plates, proofs, freight, rush fees, and color matching can change the real landed price. If a vendor does not separate those items clearly, comparison shopping gets misleading.
| Run type | Typical MOQ | Typical unit cost | Best fit |
|---|---|---|---|
| Digital short run | 1,000 to 3,000 bags | $0.25 to $0.60 | Launches, limited SKUs, fast proof cycles |
| Flexographic mid run | 5,000 to 10,000 bags | $0.10 to $0.24 | Recurring orders, retail packaging, steady sellers |
| Flexographic larger run | 25,000+ bags | $0.06 to $0.15 | High-volume product lines and lower landed cost |
For some buyers, the larger run is the obvious choice. For others, warehouse space, SKU volatility, and cash flow make a shorter run safer. Good purchasing is not about choosing the lowest unit cost in isolation. It is about matching price, inventory risk, and the value of the product inside the bag.
Process and timeline: from artwork approval to delivery
Most smooth orders follow the same sequence: request specs, submit artwork, review the proof, approve a sample if needed, enter production, then ship and receive. Delays usually start when one of those steps is assumed instead of confirmed.
- Send exact dimensions, thickness target, closure style, quantity, and use case.
- Upload vector artwork or a print-ready file with color references.
- Review the proof for placement, spelling, seal clearance, and orientation.
- Approve a sample if color match or premium appearance matters.
- Confirm lead time, freight terms, and delivery window before production starts.
Timelines vary by print method and approval speed. A digital short run may ship in about 7 to 12 business days after approval if the file is clean and materials are available. Flexographic production often takes about 12 to 20 business days, especially if plates, tooling, or special material sourcing are involved. Rush orders can happen, but they usually cost more and reduce flexibility.
Artwork revisions are one of the most common bottlenecks. Material shortages and freight delays can also push schedules. For seasonal launches, trade show kits, or retail resets, add buffer time rather than assuming the quoted date is final. If you are also ordering matching Custom Poly Mailers, keep the approvals separate unless the artwork and specs are truly identical.
Common mistakes that make logo bags look cheaper than they are
The first mistake is placing the logo too close to the seal or too low on the bag. On a mockup, the art may look centered. On the actual bag, folding, filling, and heat lines can crowd the design and make the package feel cramped.
The second mistake is choosing film that is too light for the product. Thin film wrinkles more easily, tears at the edges, and can look dull under retail lighting. If the item has corners, edges, or any weight, the thickness spec should reflect that.
The third mistake is overcomplicating the artwork. Too many colors raise cost, add setup complexity, and reduce clarity on flexible film. A strong logo on a clean substrate usually beats a dense panel of copy.
Skipping a physical sample is another frequent failure point. Screen proofs do not show cloudiness, glare, print softness, or how the bag looks under warehouse lighting. One sample can prevent a reprint, and a reprint is almost always more expensive than the sample would have been.
Compliance gets ignored until it becomes a problem. Food-contact status, recyclability claims, and material disclosures should be checked before approval. If the bag is part of a broader packaging set, the claims should match across the bag, carton, and insert.
Expert tips for tighter specs, fewer revisions, and better results
Start with the product, not the artwork. Size the bag around the item first, then place the logo where it will still be visible after filling, stacking, and transport. That ordering prevents a lot of last-minute adjustments.
A sample is cheaper than a reprint, especially if the bag is tied to a launch or a high-visibility retail rollout.
Ask for a spec comparison if you are choosing between suppliers. Film thickness, print coverage, closure type, and shipping format should sit side by side so the differences are visible.
Keep the artwork focused if the bag has to do multiple jobs. The available print area is limited, and the substrate does not reward clutter. Clear typography, strong spacing, and one visible focal point usually outperform a dense layout.
Test samples under real lighting. Warehouse fluorescents, daylight, and retail shelf lights all affect how ink and film read. Matte finishes and low-contrast logos are especially sensitive to lighting changes.
Use a short approval checklist before signing off:
- Dimensions and tolerance
- Film thickness
- Color expectation
- Seal or closure type
- Ship date and freight terms
That checklist is basic, but it reduces the assumption gap that leads to revisions. The best supplier conversations sound like a manufacturing brief, not a price hunt.
Next steps: how to compare samples, quotes, and order details
Use a side-by-side comparison with identical specs from each supplier. If one quote uses 2 mil film and another uses 3 mil, or one includes a zipper while another does not, the prices are not comparable.
Ask for the exact file format before final artwork cleanup starts. A supplier that wants vector art, Pantone references, and a placement guide is usually trying to reduce revision cycles.
If brand color matters, request a digital proof or a sample before approval. A mismatch between the bag and the carton can make the whole line feel less finished, even when each piece looks acceptable alone.
Confirm the practical terms before the order is released:
- MOQ and price at multiple quantities
- Lead time after approval
- Freight terms and delivery window
- Reprint policy for supplier error
- Material and compliance notes for sensitive applications
If the bags support a launch, work backward from the launch date and leave time for proofing, production, and shipping. For buyers comparing several formats, including mailers and accessory packs, the best option usually answers the same question: which packaging protects the item, supports the brand, and keeps handling simple without adding unnecessary cost?
FAQ
What are custom poly bags with logo used for beyond branding?
They protect products from dust, moisture exposure, and handling damage while creating a cleaner presentation in retail packaging and fulfillment. Depending on the closure style, they can also help with product identification and a more controlled unboxing experience.
How much do custom poly bags with logo usually cost per unit?
Unit cost depends on size, thickness, print colors, order quantity, and print method. A short run can sit in the $0.25 to $0.60 range per bag, while larger flexographic orders can move much lower. The cheapest quote is not always the best value if it comes with thin film, extra freight, or hidden setup fees.
What is the typical lead time for custom logo poly bags?
Lead time depends on proof approval speed, material availability, and print method. Short digital runs may ship in about 7 to 12 business days after approval, while flexographic runs often take longer. Rush orders can be possible, but they usually cost more and reduce flexibility.
What artwork works best for printed poly bags?
Vector logos, clean typography, and limited color complexity usually print more reliably on flexible film. Fine detail, small text, and low-contrast color combinations can blur or disappear depending on the substrate, the ink system, and the print method.
How do I choose the right size and thickness for custom poly bags with logo?
Size the bag to the product first, then choose thickness based on weight, sharp edges, and how premium the package should feel. If you are unsure, ask for a sample or a spec recommendation so the bag works for handling and presentation, not just storage.