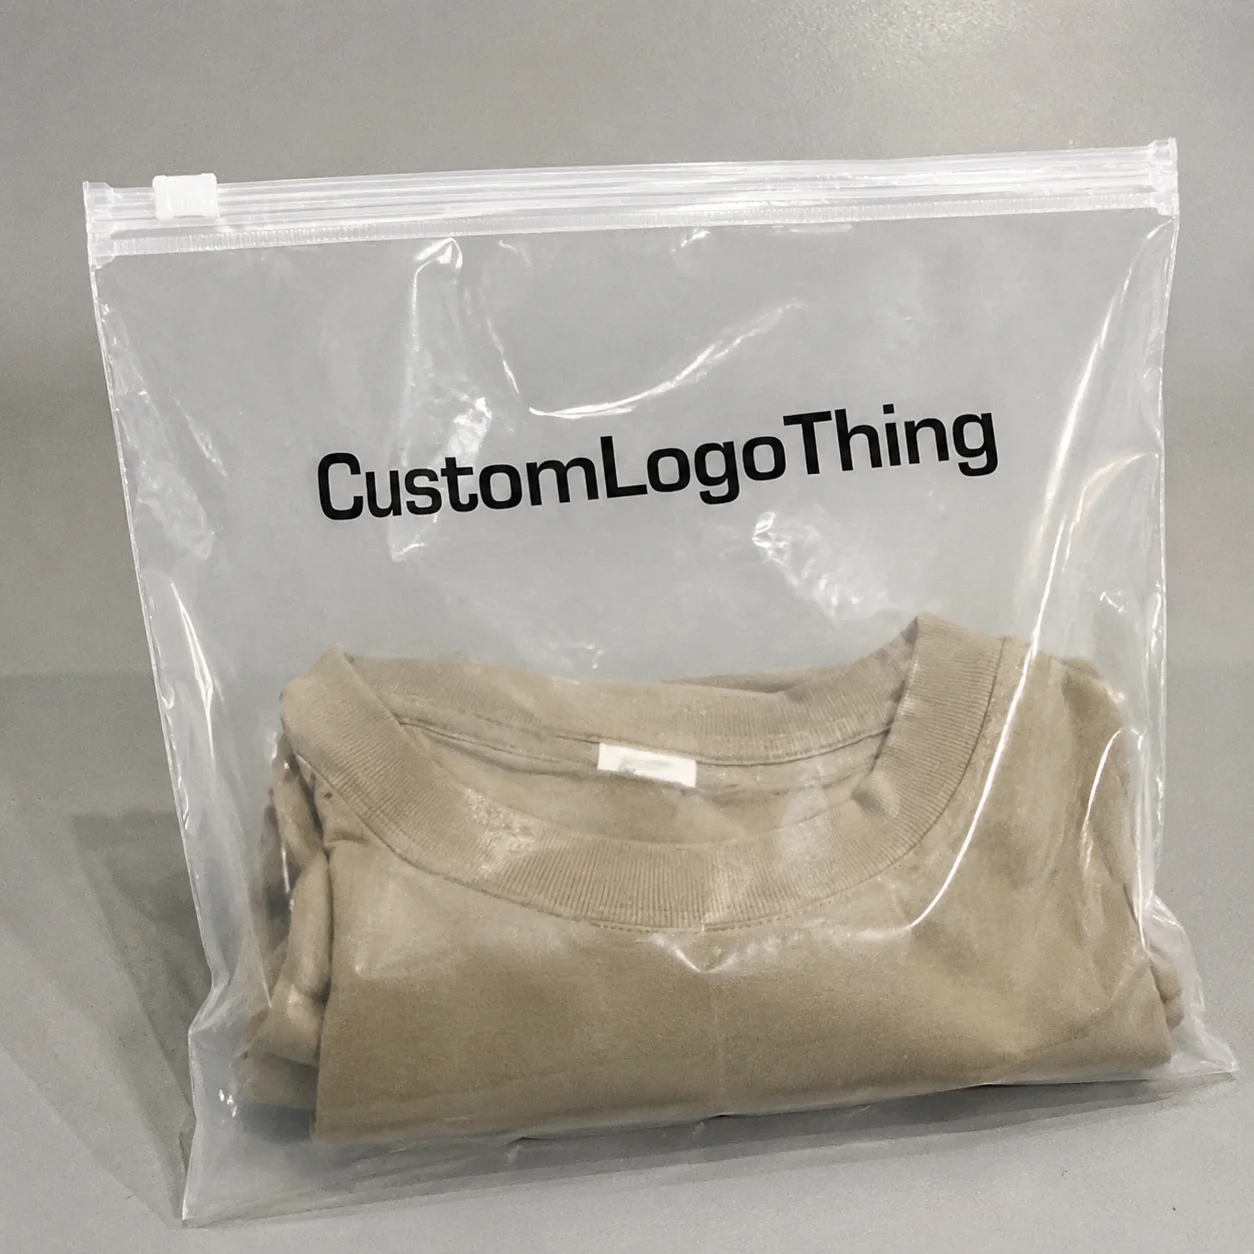
Custom Poly Mailer Bags custom logo packaging is rarely the flashiest part of an e-commerce brand, but it does a lot of work. It protects soft goods, keeps outbound weight low, and gives every shipment a branded surface that the customer sees before they ever touch the product. That combination is why apparel labels, beauty brands, accessory sellers, and subscription businesses keep coming back to it. The challenge is not deciding whether to use mailers. The challenge is choosing the right size, film, print method, and quality controls so the bag performs in transit instead of just looking good on a mockup.
Packaging buyers usually run into the same tension: lower cost versus better presentation. With poly mailers, those two goals do not always fight each other. A well-specified mailer can be cheaper to ship than a box because it adds very little dead weight and almost no empty volume. That matters because carriers charge on actual or dimensional weight, depending on the parcel. A compact soft-goods order often pays for the difference in packaging format before you even factor in storage efficiency.
Why custom poly mailer bags punch above their weight
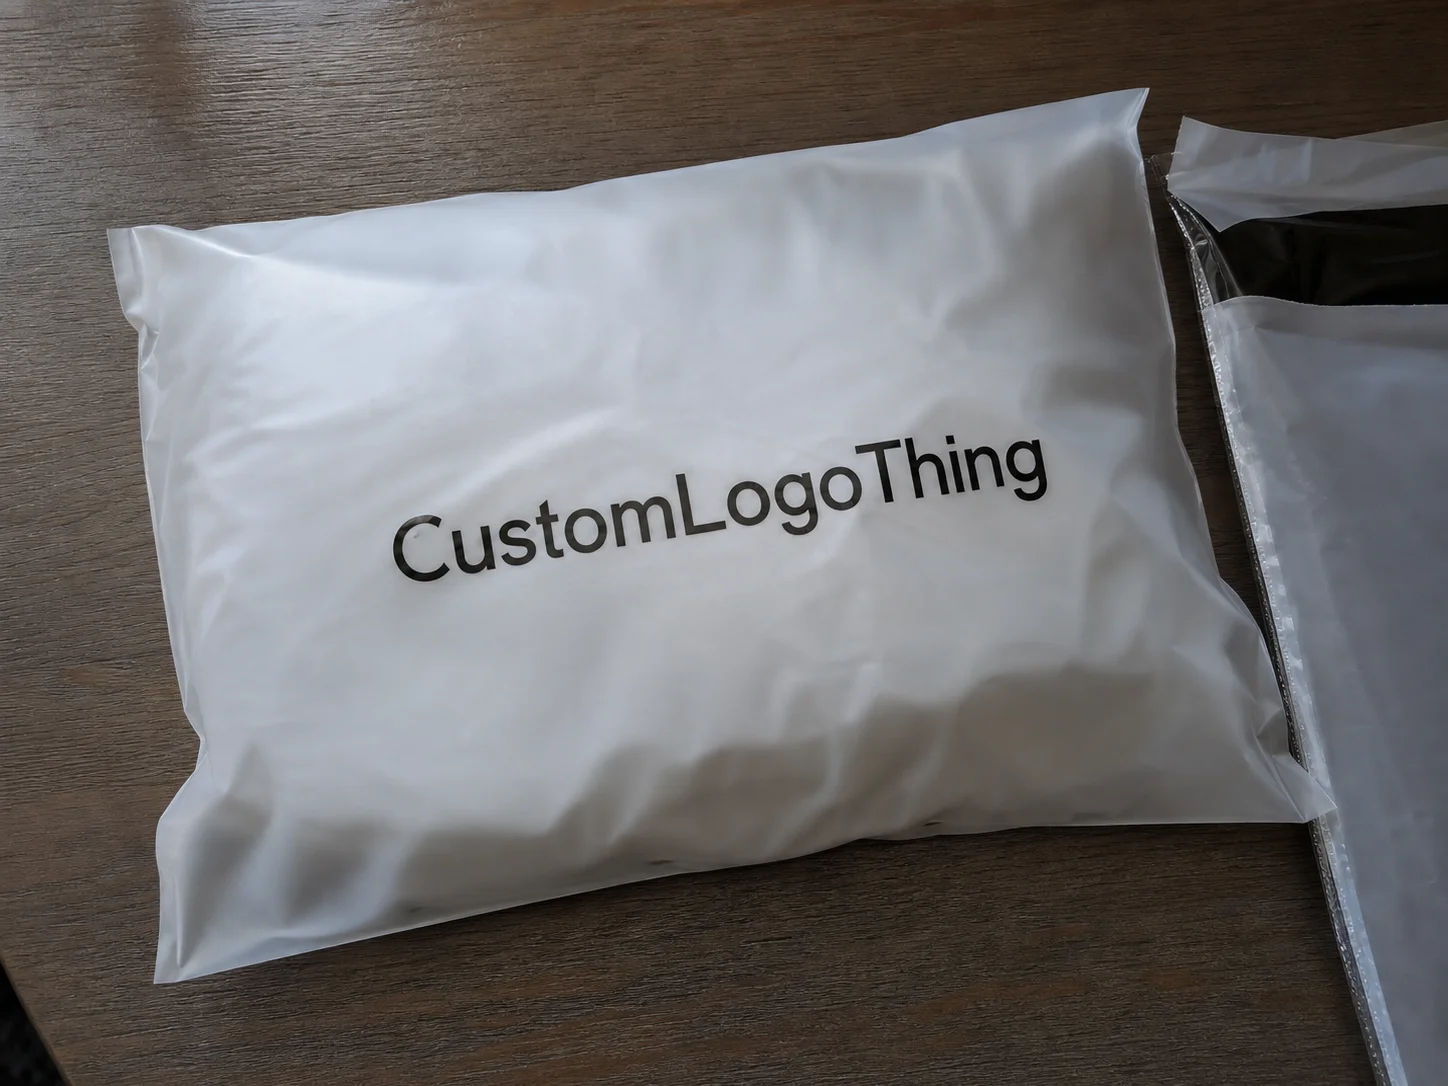
For tees, leggings, socks, small accessories, cosmetics, and similar items, mailers are efficient. They slide through fulfillment faster than cartons, take up less warehouse space, and usually reduce the chance of overpacking. In a high-volume operation, that is not a cosmetic detail. It is labor and freight.
The other advantage is brand exposure. A parcel with a printed logo is a moving touchpoint. It arrives on doorsteps, in office mailrooms, and on social media unboxing clips. That does not mean the packaging has to be loud. Often the strongest result is a clear logo, good color contrast, and a finish that looks deliberate rather than shiny for the sake of being shiny.
Custom mailers are best suited to items that are flexible, lightweight, and not easily crushed. Typical use cases include:
- T-shirts, hoodies, socks, and other apparel
- Beauty and skincare kits
- Phone cases, charging accessories, and cable sets
- Promotional packs and event giveaways
- Flat inserts paired with lightweight retail items
There are limits. A mailer is not a replacement for rigid protection. If the item is sharp, breakable, moisture-sensitive, or prone to compression damage, the packaging system needs another layer. The right takeaway is simple: poly mailers are strong for their category, not universal.
That is why brand teams compare them against the actual item mix, not against packaging in the abstract. A carton may look more premium, but it also tends to add cubic volume and cost more to ship. A mailer may look simpler, yet deliver the better operating result for soft goods. Good packaging decisions usually come down to what breaks first, what weighs most, and what the parcel network actually does to the package after it leaves the warehouse.
Size, film thickness, and material choices that matter
Three specifications decide whether a mailer works: flat size, material thickness, and material construction. If those are wrong, print quality does not save the order. A bag that is too small stresses the seal and adhesive. A bag that is too large lets the product shift around, which looks sloppy and can create corner wear during shipping.
The right sizing method is to measure the packed product, not the bare item. Include tissue paper, inserts, hang tags, polybags, or anything else that changes the footprint. Then choose the smallest bag that closes cleanly with a little tolerance. Oversizing wastes film and tends to make the packaging feel less considered.
Film thickness is usually discussed in mils. In practice, these are common ranges:
- 1.5 to 2.0 mil: suitable for light apparel and lower-stress shipping lanes
- 2.0 to 2.5 mil: a practical middle range for mixed e-commerce orders
- 2.5 to 3.0 mil: better for heavier soft goods, bulkier kits, or harsher handling
Material choice matters just as much as thickness. Standard polyethylene is common because it is flexible, seals reliably, and prints well. Co-extruded films can improve puncture resistance and opacity. Recycled-content film is increasingly used, but it should be tested instead of assumed to behave like virgin material. The feel, stiffness, and seal behavior can shift depending on the blend.
If sustainability claims are part of the buying brief, verify them carefully. Ask what the recycled content is, what documentation exists, and whether the material statement matches the actual production spec. For reference, the EPA has useful guidance on plastic and recycled-content claims at EPA sustainable materials guidance.
Finish also affects how the mailer reads. Gloss can make colors look sharper and more saturated, especially in photography. Matte usually hides glare better and can look more restrained and premium on shelf or camera. Neither is automatically superior. The right choice depends on how the brand is photographed, how it presents in person, and whether the design relies on contrast or on texture.
Custom poly mailer bags custom logo: print methods and artwork setup
Printing on film is where many orders go wrong for avoidable reasons. The two main production paths are flexographic printing and digital printing. Flexo is usually the better fit for larger runs and repeatable artwork. Once setup costs are absorbed, it can be efficient for simple logos, flat colors, and stable designs. Digital printing is more flexible for smaller batches, seasonal artwork, or frequent artwork changes, though the per-unit cost is usually higher.
There is no universal winner. The right method depends on quantity, number of print colors, coverage area, and how likely the artwork is to change. A one-color logo is usually the easiest and least risky. It gives cleaner registration and fewer chances for the artwork to drift. Multi-color layouts can look excellent, but they ask more of the file setup, proofing, and color control.
Artwork preparation should be treated like a production task, not a graphic exercise. Send vector files when possible, preferably AI, EPS, or a PDF with outlined fonts. If the brand color needs to match across runs, use a spot color reference or a documented color standard. Keep critical text away from seams, fold lines, and the adhesive area. Build bleed and safety margins into the layout. Most important of all, approve a proof at the actual bag size instead of relying on a flat screen mockup.
That last step saves real money. Artwork often looks fine in a digital proof and then feels off on the bag because the logo sits too low, the scale is too small, or the print clashes with the closure zone. Flexible film changes how artwork reads. A design that works on a box or label does not always translate cleanly to a mailer.
A good mailer is judged by the shipping lane first and the mockup second.
For brands building a consistent packaging system, the mailer should fit the same visual language as the rest of the package set. A stable logo treatment, repeating color family, and predictable typography across mailers, inserts, and cartons creates continuity without requiring elaborate structure. If you are expanding a packaging program beyond one format, it often makes sense to compare custom poly mailers with the broader range of Custom Poly Mailers and other Custom Packaging Products that support heavier or retail-facing SKUs.
For transit-heavy programs, it also helps to think in practical terms: abrasion, compression, and seal integrity. A supplier should be able to explain how the print will hold up, how the seal is made, and what consistency checks are used during production. If you want a benchmark, ISTA test methods are a sensible reference for packaging that needs to survive real parcel handling; see ISTA test methods.
Production steps and turnaround timeline
Most custom mailer orders move through the same sequence: quote, artwork review, proof, pre-production approval, plate or file preparation, printing, curing, converting, packing, and shipment. The machine time is rarely the bottleneck. The delays usually come from approvals. A small logo tweak can easily add days if it happens after proofing has already begun.
Typical lead times vary by method and complexity:
- Digital short run: often 7 to 10 business days after artwork approval
- Standard flexo production: often 12 to 15 business days after proof approval
- Multi-color or special-material run: often 15 to 20 business days or more, depending on the schedule
Those numbers are production time only. Shipping time is separate, and that is where buyers often lose margin. A run that finishes on time can still miss a launch if freight was not planned early. If the bags are for a seasonal promotion, a subscription cycle, or a retailer deadline, the calendar needs buffer. Rush freight is almost always expensive because the timeline itself has become urgent.
Color consistency deserves real attention. On film, even small changes in ink density are visible, especially across large solid areas. A credible supplier should be able to explain how registration is checked, how repeat runs are matched, and what tolerance they allow for production variation. You do not need a long explanation. You need evidence that the process is controlled.
One useful habit is to ask whether the supplier keeps a retained sample or reference proof for repeat orders. That makes reorders more predictable and reduces disputes over whether the new batch matches the last one. Small process controls like that are often more valuable than a sales pitch about speed.
Cost, pricing, MOQ, and quote drivers
Price is driven by a few predictable variables: bag size, film thickness, print count, print coverage, recycled content, finish, and total quantity. The cheapest quote is not always the lowest-cost option once quality, freight, and rework are included. A thin bag that splits in transit or a print that misses brand standards is not a bargain. It is a second purchase.
Minimum order quantity matters because setup cost has to be spread across the run. Smaller orders are convenient, especially for launches and packaging tests, but the unit price usually rises. That is not a flaw in the model; it is how setup-intensive printing works. If the bag is a repeat item, larger runs often produce better economics. If the artwork or product line is still moving, a smaller MOQ can be the safer move even at a higher per-piece price.
| Option | Typical MOQ | Typical unit price | Best for | Notes |
|---|---|---|---|---|
| Standard one-color flexo | 3,000 to 5,000 pcs | $0.18 to $0.28 | Apparel and simple branded mailers | Clean reproduction, low setup burden |
| Two-color or larger coverage | 5,000 to 10,000 pcs | $0.24 to $0.38 | Brand-forward packaging with more visual impact | More proofing and tighter registration control |
| Heavier gauge or recycled content | 5,000 pcs and up | $0.26 to $0.42 | Rougher shipping, stronger feel, sustainability targets | Material cost rises, but durability can improve |
| Digital short run | 500 to 2,000 pcs | $0.35 to $0.80 | Test launches, seasonal variants, low-volume runs | Flexible artwork changes, higher per-unit cost |
These are practical ranges, not fixed pricing. A 10 x 13 inch one-color bag and a 12 x 15.5 inch bag may look similar in a quote and still price differently because the second uses more film, more ink, or a different converting setup. The same is true for gauge changes. A thicker film can improve durability, but it also raises cost and may change how the bag folds and seals.
Watch for hidden costs that do not show up in the headline price:
- Artwork changes after proof approval
- Rush production or split shipments
- Overspecifying thickness because thicker sounds safer
- Extra print coverage that adds cost without improving visibility
- Reprinting because the bag size was guessed instead of measured
If you want a quote that can be compared across suppliers, every supplier needs the same brief: exact size, thickness, print count, finish, quantity, pack configuration, and delivery location. Without that, you are not comparing like for like. You are comparing different products with the same broad name.
Common mistakes that make mailers fail in the real world
The most common mistake is sizing the bag to the product instead of the packed product. Once you add tissue, inserts, tags, or an inner polybag, the footprint changes. If that extra thickness is ignored, the mailer may tear at the seam or force the item to sit awkwardly inside the bag. That problem is simple to prevent and expensive to fix after the fact.
Logo placement causes another round of avoidable issues. Art that sits too close to the edge can get cut off by trimming or distorted near the seal. Art that drifts into the adhesive zone can look crooked once packed. Oversized logos can wrap too far around the bag and become hard to read. None of those problems are mysterious; they are proofing failures.
Film thickness is another area where buyers tend to overtrust the sample. A single hand-packed test on a desk does not recreate a warehouse run. Once fulfillment starts moving quickly, weak corners and marginal seals show up. If the product has a hard edge or the shipping network is rough, under-specced film can fail even if the sample looked fine.
Color contrast is also easy to get wrong. Dark ink on dark film often reads poorly, especially in low light or in product photos. Thin ink on glossy material can disappear under store lighting. If the logo is difficult to read, the packaging underperforms even when the unit price is high. Brand visibility is not decorative. It is part of the function.
A simple quality-control routine catches most of these issues early. Check the seal, inspect the print registration, review the finish under real light, and run a few drop and abrasion tests. If the parcel network is rough, a basic ISTA-style test plan is not excessive. It is a normal safeguard.
Practical next steps before you place the order
Start with a one-page specification sheet. Keep it plain and complete: product dimensions, packed dimensions, target ship weight, finish preference, print count, quantity, and any inserts or accessories that go inside the bag. Good suppliers can work fast when they do not have to guess.
Then request samples in at least two thicknesses. A spec sheet tells you the theory. A packed sample tells you whether the bag works in your actual workflow. Pay attention to loading speed, seal quality, scuff resistance, and whether the pack still looks straight after it is closed. Ten minutes of testing can prevent a reprint later.
Ask for a pre-production proof that shows logo placement, scale, and color intent on the actual dimensions. That step is worth it because it catches small problems that are hard to see on a flat digital mockup. A logo that is 10 or 12 mm out of position may not sound serious until an entire batch lands that way.
A basic internal test usually covers enough ground:
- Pack 10 to 20 orders exactly as fulfillment would.
- Seal the mailers and inspect the adhesive line.
- Drop a few sealed bags from a realistic handling height.
- Check for corner wear, seam stress, and visible print defects.
- Review the package under the same lighting used for photos or retail display.
Once the sample passes, lock the spec and reorder on that exact build. That is how a custom packaging item turns into a repeatable operating standard instead of a recurring source of corrections. For many brands, Custom Poly Mailer Bags custom logo are the most efficient place to build that standard because they balance cost, protection, and presentation without adding unnecessary bulk.
FAQ
How do I choose the right size for custom poly mailer bags with custom logo?
Measure the packed product, not just the item itself. Include tissue, inserts, hang tags, and any inner packaging, then select the smallest size that seals cleanly without stretching the film. That keeps the bag neat and reduces wasted material.
What is the usual minimum order for custom poly mailer bags custom logo?
MOQ depends on the print method and construction. Flexographic runs usually start in the thousands, while digital short runs can go lower. Lower quantities are useful for testing, but the per-unit price usually rises because setup cost is spread across fewer pieces.
Are printed poly mailers strong enough for shipping apparel?
Yes, for most apparel and other soft goods, provided the film thickness matches the product and the shipping environment. They are not a good choice for fragile, sharp, or rigid items that need more protection. Apparel is the best-fit category.
How long does production usually take for custom printed mailer bags?
Lead times vary by artwork complexity, print method, and production queue. Digital runs often move faster, while standard flexo production commonly takes a couple of weeks after proof approval. Shipping time is separate, so it needs its own buffer.
What should I lock before reordering the next batch?
Lock the size, thickness, print method, and color reference after the sample passes packing and transit checks. When those variables stay fixed, reorders are far more predictable and the packaging stays consistent from batch to batch.