Custom Printed Logo Stickers: Specs Before You Order
Custom Printed Logo Stickers Are Small, But They Carry the Brand
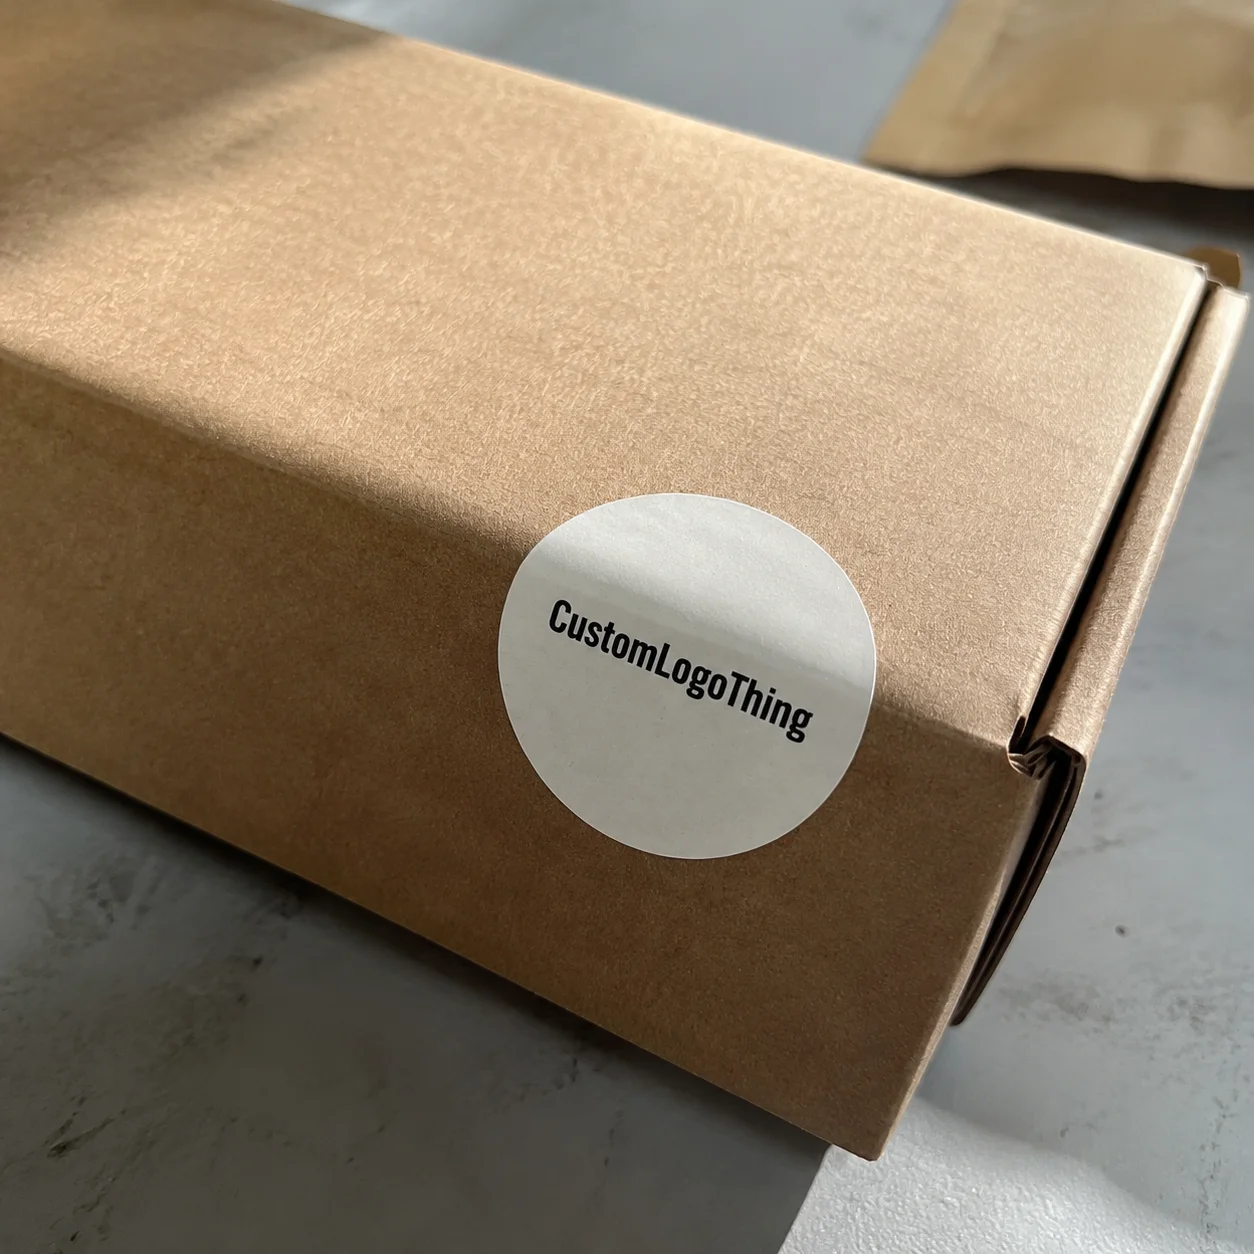
A plain white mailer can look like somebody packed an order between meetings. Add one clean, well-placed logo sticker seal, and the same package feels intentional: branded, closed properly, worth opening with a little more care.
Tiny print area. Big judgment call.
Customers notice packaging because it sits in the awkward space between product and promise. A sticker on tissue paper, a jar, a retail bag, or a sample kit is often the first branded touchpoint after the shipping label. If it wrinkles, peels, smears, or looks off-center, the customer may not name the problem. They still feel it.
Custom printed logo stickers are adhesive pieces printed with a company logo, color palette, message, QR code, product identifier, campaign mark, or seal graphic. Common materials include coated paper, uncoated paper, vinyl, BOPP film, kraft paper, clear film, foil stock, and specialty textured stocks. They can be round, rectangular, oval, square, kiss-cut, die-cut, supplied on rolls, packed on sheets, or individually cut.
The usual uses are practical: packaging seals, product labels, tissue paper closures, shipping box branding, retail bag stickers, event giveaways, sample kit identifiers, subscription box inserts, and promotional handouts. They also help smaller brands dress up stock packaging without committing to full Custom Packaging Products or large runs of printed boxes.
Logo stickers are not always the same thing as full product labels. A product label may need ingredients, barcode data, regulatory copy, batch numbers, net weight, warnings, or SKU information. A logo sticker is usually more flexible. It can promote, seal, decorate, identify, or add a branded moment. Still, the production rules matter. Guessing on adhesive, size, finish, or artwork setup is how brands end up with pretty little circles That Peel Off by lunch. Cute. Also useless.
How Sticker Printing Works From Artwork to Finished Roll or Sheet
The production path is not mysterious, but every step affects the finished piece. A typical order moves through artwork submission, size and shape confirmation, material selection, adhesive selection, finish selection, proofing, approval, printing, die-cutting or kiss-cutting, weeding or trimming, quality check, packing, and shipping.
Format matters early. Roll stickers are best for higher-volume hand application, label dispensers, or automatic applicators. If a team seals 1,000 mailers a day, rolls usually beat sheets because they are faster to peel and easier to stage at packing stations. For machine application, roll direction, core size, outside wound versus inside wound, and gap between labels can matter. Common cores are 1 inch or 3 inches, depending on the applicator.
Sheet stickers work well for small teams, events, pop-up shops, mixed artwork sets, and low-volume packaging. They are easy to store and easy to hand out. Individually cut stickers feel more premium for giveaways, product inserts, or retail counter promotions, but they require more handling and often cost more per piece because cutting and packing take extra labor.
Printing method depends on quantity, artwork, and material. Digital printing is flexible for short runs, multiple designs, variable artwork, and lower minimums. It is the usual choice for 250, 500, or 1,000 stickers with a full-color logo. Flexographic printing is efficient for large roll orders, especially simple repeat designs that may run in the tens of thousands. Screen printing is durable and can lay down heavy ink, though it is less common for standard packaging stickers because setup is slower and less flexible.
Die-cutting and kiss-cutting are related, not identical. Die-cut stickers follow the outer shape of the finished sticker, so the backing is trimmed to match. Kiss-cut stickers are cut through the sticker layer but not the backing sheet, which makes them easier to peel and safer for delicate shapes. If your logo has skinny tails, tiny points, or thin script lettering, kiss-cutting may save you from a peeling nightmare.
Proof review is not decoration. A digital proof confirms size, artwork placement, cut line, bleed, safe area, and color expectations before production starts. Skipping proof review is not brave. It is just expensive.
For artwork, vector files such as AI, EPS, or print-ready PDF are usually best because they scale cleanly. Raster files can work if they are high resolution, commonly 300 dpi at final size, but a screenshot grabbed from a website is not print-ready. It is a cry for help with a file extension.
Materials, Adhesives, and Finishes That Actually Matter
Material choice should start with the surface and environment, not with the prettiest sample in the book. Paper stickers are affordable and perfectly fine for dry indoor packaging, tissue seals, mailers, hangtags, and retail bags. Coated paper gives sharper color. Uncoated paper feels softer and more natural. Kraft paper gives earthy branding, especially for candles, coffee, handmade goods, and wellness products.
Vinyl is tougher. It handles more abrasion, outdoor exposure, and general abuse. BOPP, short for biaxially oriented polypropylene, is common for product packaging because it resists moisture and oils better than paper. Clear BOPP or clear film creates a no-label look on glass, plastic jars, bottles, and glossy surfaces. Foil, holographic, textured, and metallic stocks add premium impact, but they also add cost and may require longer lead times.
Adhesive is where cheap decisions become visible. Permanent adhesive is the default for boxes, jars, bags, and retail packaging where the sticker should stay put. Removable adhesive is better for temporary promotions, pricing, seasonal messages, or surfaces where residue would annoy customers. Freezer-grade adhesive is built for cold storage and condensation. High-tack adhesive helps on textured, recycled, dusty, or difficult surfaces.
Paper stickers are fine on dry mailers. A refrigerated bottle, oily jar, flexible pouch, or damp cooler pack needs film stock and the right adhesive unless the brand enjoys customer complaints. Nobody needs that hobby.
Finishes change both appearance and durability. Matte feels soft, understated, and premium. Gloss makes colors brighter and gives a retail pop. Satin sits between the two. UV coating adds scuff resistance. Lamination adds stronger protection against moisture, rubbing, and handling. Foil stamping can make a logo or seal look expensive fast, especially in gold, silver, copper, or holographic accents.
Shape and size create another set of tradeoffs. Round seals feel classic and work well across tissue paper, mailers, and boxes. Rectangles maximize logo space and are better for QR codes, website URLs, and product names. Ovals sit nicely on jars and bottles. Custom shapes stand out, but they can create more material waste and raise tooling or cutting costs. A starburst sticker may look fun on a mood board. It may also be a pain to peel 5,000 times.
| Material | Best Use | Typical Strength | Buyer Caution |
|---|---|---|---|
| Coated Paper | Dry mailers, tissue seals, retail bags | Low cost, sharp print | Not ideal for moisture or oily products |
| Vinyl | Outdoor stickers, durable giveaways | Strong handling resistance | Higher cost than paper |
| BOPP Film | Jars, bottles, beauty, food packaging | Moisture and oil resistance | Needs correct adhesive for curves |
| Kraft Paper | Natural, handmade, rustic branding | Warm organic look | Colors print more muted |
| Clear Film | Glass, plastic, no-label look | Clean premium finish | White ink may be needed under color |
If sustainability matters, ask about paper sourcing, liner waste, adhesive behavior, and recycling compatibility instead of assuming every “eco” claim means much. FSC certification is one useful reference point for responsibly sourced paper materials; the Forest Stewardship Council explains how FSC labeling works. For broader packaging waste considerations, the EPA recycling guidance is a useful reality check.
Cost, Pricing, and MOQ Factors Before You Request a Quote
Sticker pricing is driven by material, size, quantity, number of designs, adhesive type, finish, shape complexity, roll or sheet format, and premium effects such as foil stamping, embossing, spot UV, holographic stock, or specialty varnish. Freight can also surprise people, especially for heavy roll orders. Stickers are small, but 50,000 of them are not imaginary weight.
For simple custom printed logo stickers, small digital runs may land anywhere from a few cents to several dozen cents per sticker. A 2-inch round paper sticker might cost roughly $0.12 to $0.35 each in low quantities, depending on supplier, finish, and setup. At 2,500 or 5,000 pieces, the unit cost may drop into the $0.04 to $0.12 range for basic paper or film roll stickers. Premium foil, custom die-cuts, laminated vinyl, or specialty adhesives can push higher.
Those ranges are directional, not a universal price list. Anyone who quotes exact pricing without knowing size, material, quantity, finish, and adhesive is either guessing or selling magic beans. Production specs decide the quote.
MOQ, or minimum order quantity, depends on the printing method and material. Digital sticker orders can often start at 100, 250, or 500 pieces. Custom roll labels, specialty materials, foil effects, embossing, or custom dies may require 1,000, 2,500, or more because setup time and material waste are real things. Flexographic runs often make more sense at higher quantities because plates and setup get spread across more units.
The cost tradeoff is simple. Ordering 250 stickers is flexible but expensive per piece. Ordering 2,500 or 10,000 lowers the unit cost, assuming the design will not change next week because marketing had feelings. If the logo, tagline, QR destination, compliance copy, or product size is still in flux, do not buy a heroic quantity just to shave three cents off the unit cost.
- Good quote details: final size, shape, material preference, quantity, and number of designs.
- Surface details: cardboard, glass, plastic, kraft paper, pouch film, fabric, metal, or coated stock.
- Use conditions: indoor, outdoor, refrigerated, freezer, wet, oily, handled often, or single-use.
- Format preference: rolls, sheets, or individually cut pieces.
- Finish request: matte, gloss, satin, UV coating, lamination, foil, or no coating.
- Deadline: delivery date, not just “soon,” because soon is not a production schedule.
If the sticker functions more like a product label with barcode, ingredients, variant names, or compliance copy, compare specs with Custom Labels & Tags before ordering. A decorative seal and a sellable retail label do different jobs.
Process and Timeline: What Happens After You Send the File
A clean order moves through predictable steps: request quote, confirm specs, submit artwork, receive proof, approve proof, production, quality check, packing, and shipping. The clock usually starts after proof approval, not after the first email. That distinction saves arguments.
Proofing speed depends on complete information. If a buyer sends a blurry logo, no size, no material direction, and says “make it pop,” production does not magically begin. It begins after the questions stop. A supplier needs final dimensions, file format, quantity, material, finish, and use case before preparing a reliable proof.
Simple digital orders can often move faster than complex jobs. A basic 2-inch round paper sticker on sheets may be straightforward once artwork is approved. Logo stickers with foil stamping, white ink on clear film, specialty adhesive, custom dies, multiple SKUs, or large roll quantities take longer because they involve more setup, material checks, or finishing steps.
Typical production windows vary by supplier, season, and workload, but practical planning looks like this: simple digital sticker runs may take about 3 to 7 business days after proof approval. Larger roll sticker orders may need 7 to 12 business days. Foil, custom shapes, specialty materials, or complex multi-design runs may take 10 to 20 business days or more. Rush options may exist, but rush production usually limits material choices and increases cost.
Production time and delivery time are separate. Production means the stickers are being made. Delivery means a carrier is moving them from the supplier to your door. Ground shipping can add 2 to 6 business days depending on distance. Air freight costs more but can rescue a launch date if the specs were finalized late. Not ideal, but sometimes the packaging calendar gets spicy.
Build buffer into any launch, retail reset, subscription box assembly, influencer kit, trade show, or seasonal promotion. Leave time for proof revisions, sample review, holiday shipping delays, and packaging assembly. If stickers need to be applied to 3,000 boxes before a warehouse pickup, the delivery date is not the real deadline. The application date is.
For packaging performance projects that include shipping stress, compression, vibration, or transit validation, standards from groups such as ISTA can help frame testing expectations. A logo sticker alone is not a shipping test, obviously, but package branding still has to survive normal handling if it sits on the outside of a box.
Common Ordering Mistakes That Make Logo Stickers Look Cheap
The first problem is almost always artwork. Low-resolution logos, missing vector files, no bleed, thin borders too close to the cut line, tiny text, and muddy colors can ruin otherwise decent materials. A 1.5-inch sticker is not the place for a mission statement, three social handles, a QR code, a tagline, and a tiny illustrated mascot. Pick a job for the sticker. Then let it do that job.
Bleed and safe area matter. For most stickers, 0.0625 inch to 0.125 inch of bleed is common, though suppliers vary. Important text and logo details should sit inside the safe area, often at least 0.0625 inch from the cut line. Thin circular borders are risky because even a tiny cutting shift becomes obvious. Nothing says “budget” like a border that is thick on one side and shaved bald on the other.
Size mistakes are just as common. Brands order stickers too small because the unit cost looks attractive, then discover the logo is unreadable on a mailer, jar, or retail box. A 1-inch circle may work as a tissue seal. It is not enough space for a detailed logo plus website on a 10 x 13 inch mailer. For package branding, print the design at actual size on office paper and hold it against the package before ordering. Fancy? No. Useful? Absolutely.
Adhesive mismatches create the most annoying failures. Standard adhesive can lift, wrinkle, bubble, or tunnel on cold, wet, dusty, textured, curved, or oily surfaces. The sticker gets blamed. Usually the spec was wrong. Curved containers need flexible material and adhesive that can handle the radius. Freezer products need adhesive designed for low temperatures and condensation. Recycled kraft boxes may need stronger tack because the surface fibers are rougher.
Finish mismatches can also make branded packaging feel off. Glossy stickers on quiet luxury kraft packaging may look too loud. Matte stickers on bright promotional packaging may look too flat. Clear stickers on dark bottles may need white ink behind the logo or the design can disappear. Metallic foil can look premium, but if every element is foil, nothing stands out. Restraint is allowed. Wild concept.
Do not order the full run before testing if the sticker touches glass, plastic, coated paper, fabric, freezer packaging, curved containers, or anything exposed to oil, water, heat, cold, or heavy handling. Test at least a small batch under real conditions for 24 to 72 hours. Check edges for lifting, watch for bubbles, rub the print with a thumb, and scan any QR code from normal viewing distance. Adhesive physics does not care about brand decks.
Step-by-Step Specs to Finalize Before You Place the Order
Good ordering starts with the use case, not the catalog. Decide whether the sticker is a packaging seal, product label, giveaway, retail sticker, tamper seal, QR sticker, shipping box badge, or tissue closure. Each one has a different success metric. A tamper seal needs adhesion and tear behavior. A giveaway needs feel and durability. A QR sticker needs scan distance and contrast.
- Choose the exact use case. Name the job before choosing size or material. “Logo sticker” is too vague. “2.5-inch matte roll seal for kraft mailers” is useful.
- Measure the application area. Leave breathing room around the logo while keeping it readable from normal viewing distance. For mailers, 2 to 3 inches often reads better than 1 inch. For small jars, 1.5 to 2 inches may be enough.
- Pick material and adhesive by surface. Cardboard, glass, plastic, kraft, pouch film, and metal behave differently. Storage conditions, moisture, temperature, and handling matter more than personal preference.
- Choose shape, format, and finish. Round roll stickers are efficient for sealing. Sheets are easy for events. Custom die-cuts feel premium. Matte, gloss, satin, UV coating, and lamination all create different visual and durability results.
- Prepare print-ready artwork. Send vector logo files, outlined fonts, correct color mode, bleed, safe area, and cut line instructions. For clear stickers, ask whether white ink is needed under the design.
- Request quantity breaks. Ask for 500, 1,000, 2,500, and 5,000 pieces if those volumes are realistic. Compare unit cost against actual use rate, not someone’s heroic spreadsheet fantasy.
Color deserves a quick reality check. Screens display RGB light. Printing uses ink, often CMYK or spot colors. Some bright blues, neon greens, and saturated oranges shift in print. If color is critical, ask about a hard proof, drawdown, or Pantone matching. Not every sticker job needs that level of control, but retail packaging and premium product packaging often do.
Also think about application. If staff apply stickers by hand, make sure the size is easy to peel and position. Tiny kiss-cut stickers on crowded sheets slow people down. Large thin rectangles may trap air bubbles if the material is too rigid. Roll orientation matters if a dispenser or applicator is involved. Give the supplier that information before production, not after 20 rolls arrive wound the wrong way.
Before contacting a supplier, collect surface details, final artwork, target quantity, preferred deadline, and any packaging design requirements. Custom printed logo stickers are easy to buy well when the specs are not guessed. They are also easy to mess up when the only instruction is “make it cute.” Cute is not a spec.
FAQ
What are custom logo stickers usually made from?
Common materials include paper, vinyl, BOPP, clear film, kraft paper, foil stock, and specialty textured stocks. Paper works for dry indoor packaging, while vinyl and BOPP are better for moisture, handling, or longer-term durability. The right choice depends on the surface, storage conditions, budget, and finish.
How much do custom printed logo stickers cost?
Cost depends on size, quantity, material, adhesive, finish, shape, roll or sheet format, and specialty effects. Small digital runs usually cost more per sticker, while larger roll orders reduce unit cost. For accurate pricing, request quantity breaks such as 500, 1,000, 2,500, and 5,000 pieces.
What file type is best for printing logo stickers?
Vector files such as AI, EPS, or print-ready PDF are usually best because they scale cleanly. High-resolution PNG or TIFF files may work for simple designs, but low-resolution screenshots should be avoided. Artwork should include bleed, safe margins, outlined fonts, and clear cut line instructions for custom shapes.
Should I order logo stickers on rolls, sheets, or individually cut pieces?
Rolls are best for packaging teams, high-volume sealing, and label applicators. Sheets are convenient for short runs, events, sample kits, and mixed designs. Individually cut stickers feel more premium for giveaways, but they usually require more handling and packing.
How long does it take to produce custom logo stickers?
Simple digital sticker orders can often move quickly after proof approval, while specialty materials, foil, custom dies, or large quantities take longer. Production time starts after the proof is approved, not when the first email is sent. Build in extra time for artwork fixes, proof revisions, shipping, launch deadlines, and packaging assembly.


