Custom return labels look small on a screen. In a clothing operation, they can save a lot of pain. The right label keeps returns moving, reduces guesswork in the warehouse, and cuts down on the usual pileup of mis-sorted apparel, delayed exchanges, and customer service tickets that should never have existed in the first place.
From a packaging buyer’s point of view, these labels are not decoration. They are part of the post-purchase system. If the label is weak, vague, or hard to scan, the return flow gets sloppy fast. If it is built correctly, it supports cleaner sorting, better package branding, and a calmer back end. Not glamorous. Very useful.
The tricky part is that a return label has to work on real packaging, not just in a mockup. It has to stick to the actual surface, survive shipping abrasion, and still read cleanly after it has been handled by customers, carriers, and warehouse staff. That is a narrower target than most buyers expect.
What Custom Return Labels Actually Solve
Returns get messy fast when labels are missing, generic, or easy to peel off the wrong way. One bad label can send a returned item to the wrong bin, delay a refund, or force an associate to stop and sort by hand. That sounds minor until it repeats across hundreds or thousands of units. Then it becomes a labor problem, not just a print problem.
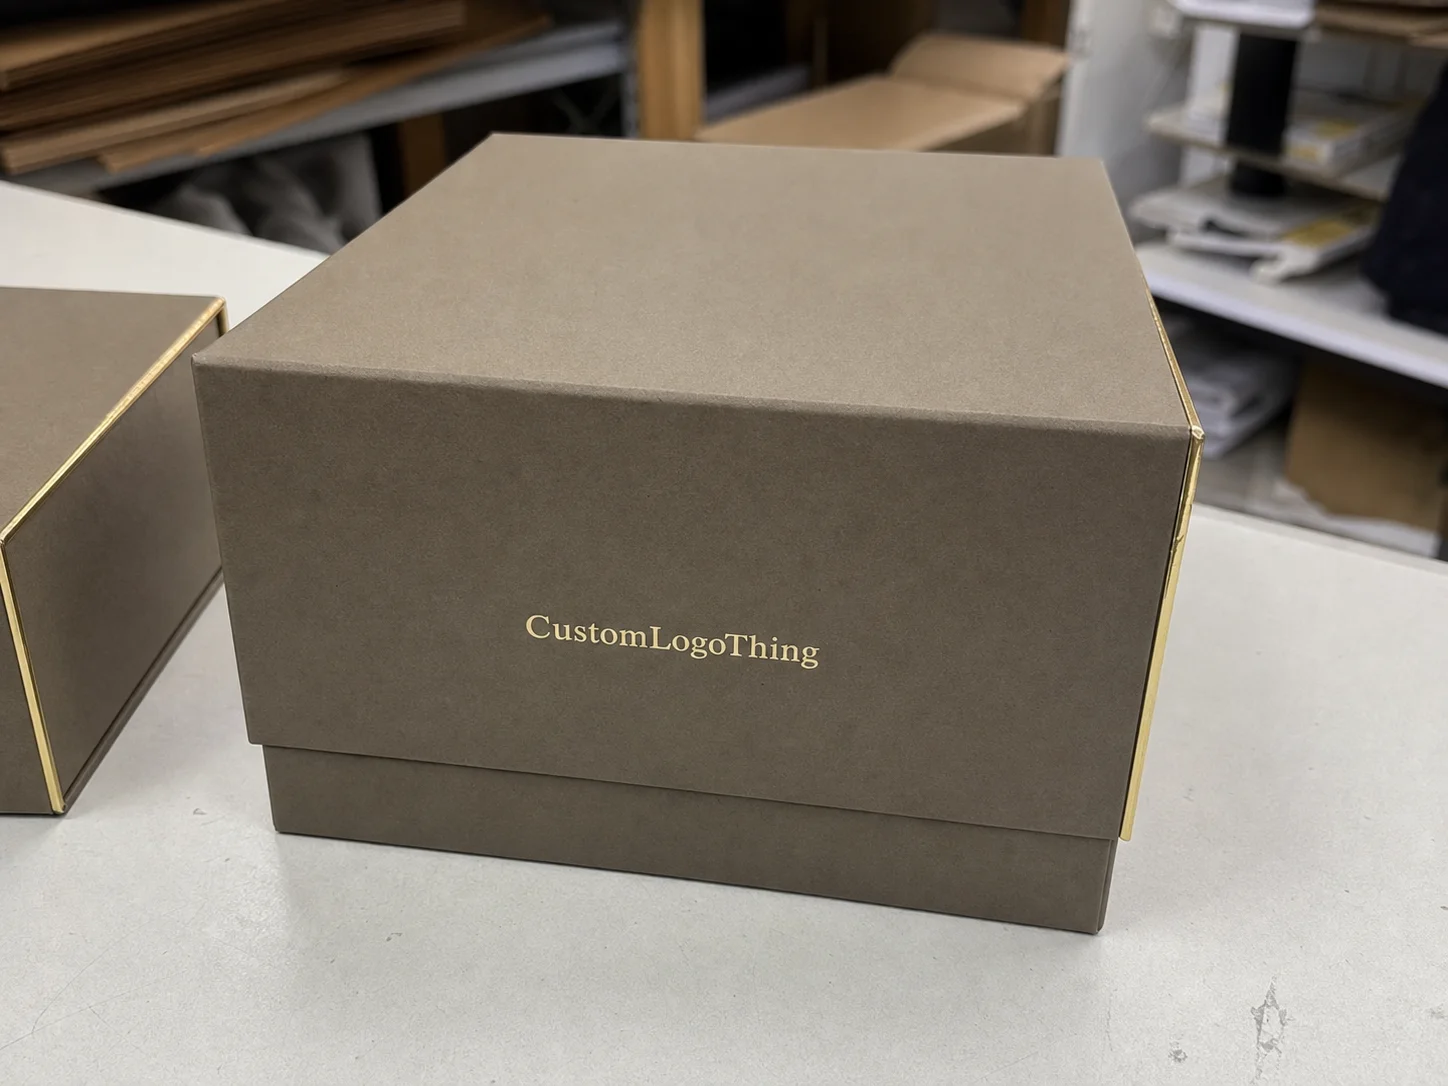
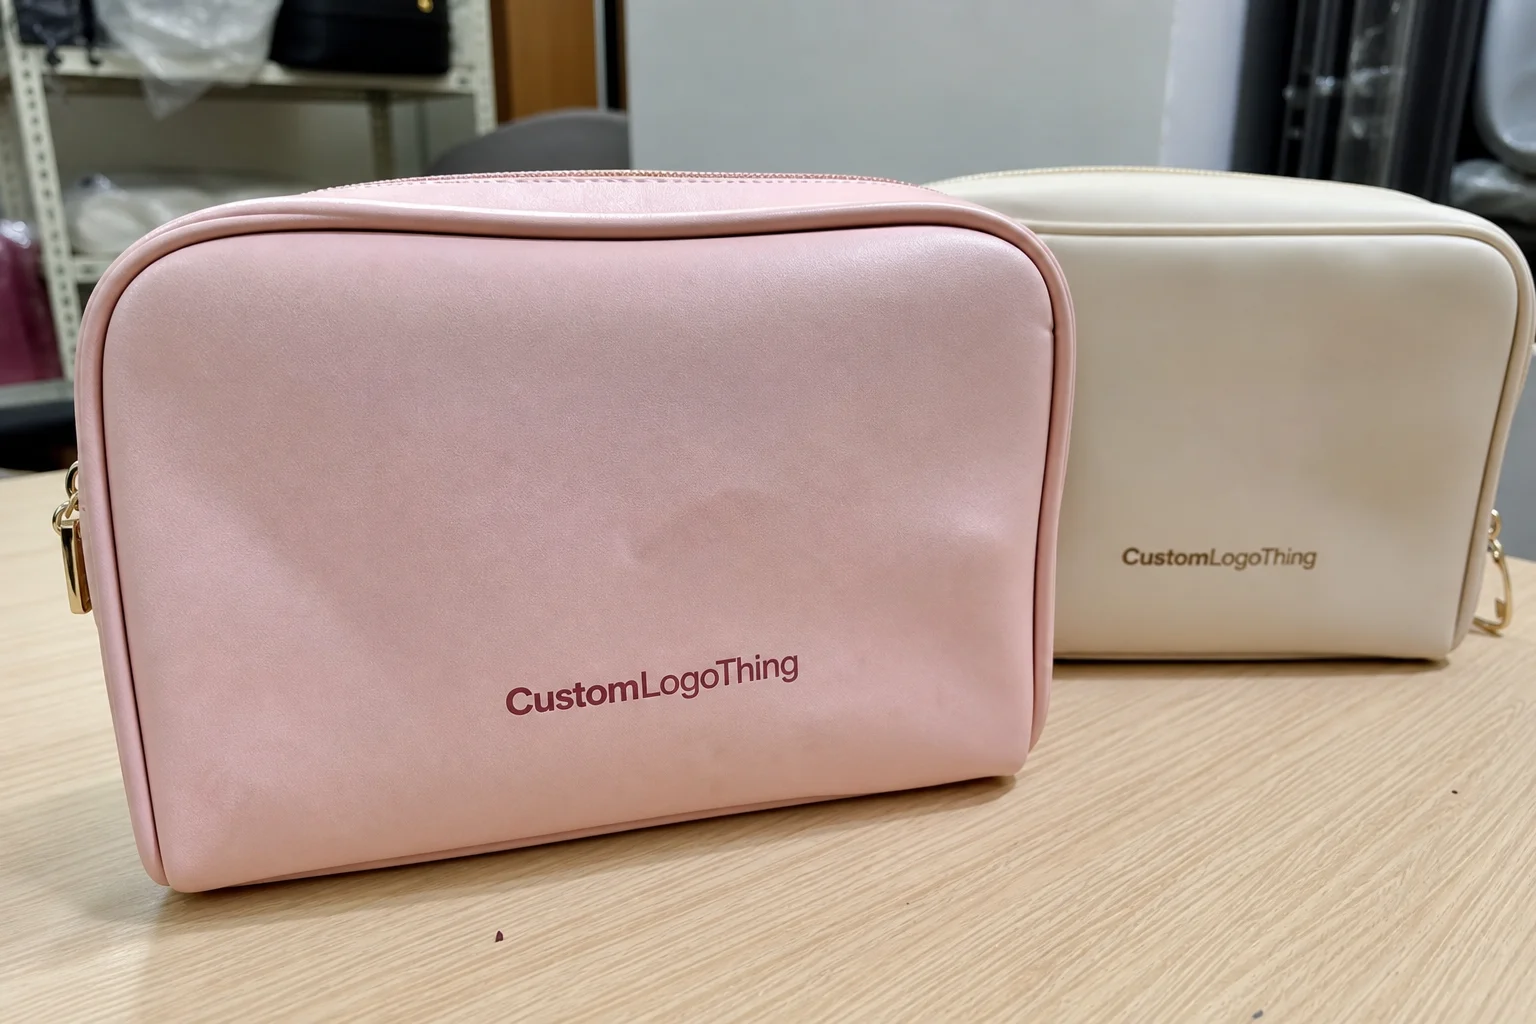
Custom return labels solve that by adding clear, job-specific information to the item or its packaging. In practice, that may mean product identification, a return route, a scan code, handling instructions, or a reference tied to the brand’s internal system. For apparel brands, they often live on cartons, poly mailers, garment bags, inserts, or retail packaging that has to move through a return workflow without confusing anyone.
The buyer benefit is simple: fewer mistakes, faster processing, and a more professional experience after the sale. That matters for direct-to-consumer apparel brands, subscription boxes, wholesale programs, and any operation that wants returns to move cleanly without extra handholding. It also matters if you are coordinating branded packaging across multiple SKUs, because returns usually expose weak spots in the system quickly.
These labels do not need to survive forever. They do need to survive normal handling, shipping abrasion, storage, and the occasional customer who treats a mailer like it owes them money. That means material, adhesive, and print quality all matter. You are not buying a sticker. You are buying a small piece of workflow control.
If your current process relies on a generic return slip or a handwritten note, that may work at low volume. It stops working once the brand grows, the packaging gets more complex, or fulfillment starts dealing with multiple product tiers. That is where custom labels, better packaging design, and standardized instructions start earning their keep.
There is also a brand angle here that gets ignored too often. The return experience is still part of the customer relationship. If the label is clean and easy to follow, the customer feels less friction and the operations team gets less noise. If it looks improvised, the brand feels improvised. Customers notice that, even if they never say it out loud.
How the Return Label Process Works
The workflow is usually straightforward, but only if the spec is clear. It starts with an artwork brief or spec sheet, then moves to proofing, material selection, print setup, and final production. Most problems happen before the press starts running. Missing dimensions, vague adhesive requirements, and half-finished artwork waste more time than the print run itself.
Here is the practical flow most buyers should expect:
- Define the use case: garment tag, mailer label, carton label, insert label, or return-routing label.
- Confirm the surface: poly mailer, coated carton, recycled board, garment bag, or mixed materials.
- Choose the format: roll, sheet, kiss-cut, or integrated label set.
- Approve artwork and check readability for text, barcode, or QR code elements.
- Run production, then pack and ship with the correct count per carton or roll.
Setup also includes checking file quality and deciding whether the label needs variable data. If it does, the print method has to support that cleanly. A simple branded label is one thing. A label that needs unique identifiers, routing numbers, or barcode logic is another. Those are different jobs, and they should be quoted differently.
For clothing brands, application matters as much as print quality. A peel-and-stick label may be perfect for outer packaging. A hang-tag style solution may be Better for Retail Packaging or premium product packaging. Some brands pair labels with return instructions or a QR code so the customer can scan, read, and act without contacting support. That is not magic. It is just less friction.
Operationally, the warehouse or fulfillment team needs a defined placement point. If the label is part of the returns system, somebody has to know where it gets applied, who verifies it, and what happens when a SKU has a special case. If that process is vague, the label spec can be flawless and the system still falls apart.
A good return label does not just look right. It behaves right on the actual packaging surface, under real handling, with real people moving fast.
For broader packaging setup, it helps to keep related items aligned with the label spec. Brands often source Custom Labels & Tags alongside Custom Packaging Products so the unboxing and return flow follows the same logic instead of being stitched together later.
Cost, Pricing, and MOQ Factors
Pricing depends on more than size. The main drivers are material, adhesive strength, finish, color count, quantity, and whether the job needs variable data or special handling. If someone quotes a label without asking what surface it goes on, that quote is thin in the wrong places.
MOQ matters because setup costs spread across fewer units on small runs. That raises unit price. Larger quantities lower per-piece cost, but the upfront spend climbs. Most buyers already know that in theory. What they miss is the cost of failure. A cheap label that peels, smears, or jams a workflow costs more than the invoice suggests.
For apparel buyers, rough pricing often falls into these bands:
| Label Type | Typical Use | Common Price Range | Notes |
|---|---|---|---|
| Basic paper label | Simple return routing on dry packaging | $0.03-$0.08 per unit at larger runs | Lowest cost, but weakest durability |
| Synthetic label | Moisture resistance, stronger handling | $0.08-$0.18 per unit | Better for shipping and storage abuse |
| Premium adhesive label | Harder-to-stick surfaces, cleaner performance | $0.12-$0.28 per unit | Useful on recycled cartons or textured mailers |
| Variable-data label | Unique codes or routing logic | Usually quoted case by case | Needs tighter setup and proofing |
That table is a starting point, not a promise. Adhesive type, print coverage, and finishing can push the number up or down. If you need coated stock, laminated surfaces, or tighter barcode tolerances, expect the price to move. That is normal.
The smarter budgeting move is to price the label against the full returns workflow, not just the print line. If a more durable stock cuts sorting mistakes or keeps the label readable on damp mailers, the higher unit cost may be cheaper overall. That is especially true in product packaging programs where returns volume spikes during launches, promotions, or seasonal resets.
Good quoting also depends on good input. A clean spec with dimensions, quantity, material preference, adhesive type, finish, and use case gets a faster, more accurate response than “something nice for returns.” The latter is how projects get vague, and vague projects become expensive.
One practical note: buyers often compare labels only on print price and ignore application speed. A roll format that feeds cleanly through a packing line can save labor. A label that forces manual adjustment does the opposite. If your team applies labels at scale, the format matters as much as the ink.
Spec Choices That Affect Performance
Material choice comes first. Paper labels can work for lightweight, low-stress applications. Synthetic stocks are usually better when moisture resistance, smudge resistance, or general durability matters. If the label may encounter shipping condensation, rough handling, or long storage, synthetic is the safer bet. Not flashy. Just less likely to fail.
Adhesive choice is where many buyers get burned. Removable, permanent, and high-tack adhesives solve different problems. A removable adhesive can be right for some retail packaging or internal routing. A permanent adhesive is better if the label must stay put through transit and sorting. High-tack is useful on difficult surfaces, but if you choose it casually, you may end up with residue in the wrong place.
Size affects both readability and behavior. Too small, and the text becomes a mess. Too large, and the label gets in the way of the packaging structure. You need enough room for instructions, a barcode or QR code, and any return-specific copy without turning the label into a cluttered postage stamp. The human eye and a scanner both need space.
Finishing matters more than people think. Matte can help reduce glare for scanning. Gloss can improve appearance but sometimes makes smears or reflections more likely. Lamination adds protection, but it also changes cost and may affect flexibility. Rounded corners help reduce lift. Perforation can be useful for tear-off behavior. Roll format is usually easier for automated application; sheet format may suit manual packing better.
Compatibility testing is not optional if the label has to stick to garment bags, recycled cartons, or textured mailers. Packaging surfaces are annoyingly inconsistent. Two cartons that look identical can behave differently because of coating, fiber content, or humidity. If you skip testing, you are guessing.
For brands that care about sourcing standards, it is worth checking whether label materials fit the same broader values as the rest of the packaging program. The FSC framework is relevant if paper components need certified fiber, and the ISTA testing approach is useful when you want packaging to survive real transit abuse instead of theoretical optimism. That is the level of thinking that keeps Custom Printed Boxes and labels aligned instead of working against each other.
If you are dealing with multiple packaging substrates, ask for a surface matrix before approving the full run. A label that performs well on coated carton stock may behave differently on kraft board, soft-touch mailers, or plastic garment bags. A small matrix test saves money. Reprints are what cost money.
Production Timeline and Lead Time
The typical sequence is file prep, proof approval, material sourcing, print production, finishing, packing, and shipment. Each step can add time if the project is underspecified. The fastest jobs are the ones that arrive with clean art, defined specs, and one decision-maker. The slow jobs are the ones where five people are still debating font size after the proof is already on hold.
Simple labels with approved artwork usually move faster than custom or variable-data runs. If you need special adhesive, unusual sizing, or precise barcode placement, lead time extends. That is not a surprise. It is just process.
Common delay points are easy to spot:
- Missing dimensions or incomplete dielines.
- Low-resolution artwork.
- Barcode or QR code issues.
- Color mismatch requests after proof approval.
- Waiting on internal sign-off from marketing, operations, and finance.
For seasonal apparel launches, work backward from the date you need labels in house. If the return activity is tied to a promo, a drop, or a busy retail period, build margin into the schedule. A five-day cushion is better than a rushed print order that still lands late and costs more.
Communication keeps the timeline sane. One point of contact. One approved proof. One change list. That is how you avoid turning turnaround into a committee sport. If the label is part of a wider retail packaging and fulfillment plan, keep the artwork and operations teams in the same loop from the beginning.
For larger programs, ask how the supplier handles reorders. A good production partner should be able to match prior specs, confirm inventory status, and flag any material substitution before it hits your dock. That matters more than a pretty proof if you are running the same label every month.
Common Mistakes Brands Make
The classics show up constantly. Wrong adhesive. Wrong size. No surface testing. Treating the return label as an afterthought. Every one of those errors is preventable, which is what makes them irritating.
Design mistakes are just as common. Too much text, weak contrast, tiny barcodes, and branding that overwhelms the functional information all create friction. A label has a job. If the visual treatment buries the job, the label fails even if the mockup looks polished on a laptop.
Quantity mistakes also bite. Order too few, and you trigger reprints, rushed freight, and extra coordination. Order too many before testing, and you can lock the brand into the wrong spec. A small pilot is usually smarter than a heroic initial run.
Workflow mistakes are subtle but expensive. If the label is supposed to support returns, but nobody has defined who scans it, stores it, or checks it at receiving, the whole system breaks down. The print piece cannot fix a process that does not exist.
Apparel adds another layer of difficulty because styles, materials, and packaging formats vary. A label that behaves beautifully on one mailer can fail on another. That is why one spec rarely works across every product line without at least a basic test.
Another common miss: brands approve artwork before they verify barcode contrast or quiet zone space. The label then looks fine in mockup and fails at the scanner. That is a bad trade, because the only thing worse than an ugly label is a pretty one that does not scan.
Expert Tips for Better Returns Labels
Start with a sample run or a small pilot. Test it on the actual packaging surface. Not a “similar” surface. The real one. That is the difference between a paper decision and an operational decision.
Design for scanning and handling first, branding second. A label that reads quickly and stays attached is more useful than one that only looks refined in a mockup. Good custom return labels should fit the brand, but they should never sacrifice the return workflow just to look prettier.
Standardize specs wherever possible. Fewer label variations usually mean simpler purchasing, easier inventory control, and fewer production errors. If one format can cover most of your product packaging, use it. Special cases can stay special. Everything else should be boring.
Keep a spec sheet on file with exact dimensions, adhesive, finish, use case, and application surface. That way reorders do not start from zero. Reorders should be a confirmation step, not a research project.
Coordinate with fulfillment and customer service. If the people handling returns know what the label does, they can spot problems faster and give better feedback. That feedback is useful because it shows whether the label is actually reducing friction or just moving it somewhere else.
The best return label is the one nobody has to think about twice. It shows up, sticks correctly, reads clearly, and disappears into the workflow.
If you are building out a broader packaging system, keep the labels aligned with the rest of the line. That means the same logic should carry across inserts, cartons, and any branded packaging that touches the customer after purchase. Good systems are boring in the best way.
One more practical point: if you handle returns across multiple warehouses or 3PLs, make sure the label spec is documented well enough that each site can apply it consistently. A great label spec loses value fast when every facility improvises its own version of “close enough.”
Next Steps Before You Order
Start by auditing the current returns flow. Where are labels applied? What surfaces do they touch? Where do mistakes happen? If you do not know the failure point, you are probably solving the wrong problem first.
Gather the basics for a quote before you ask for pricing:
- Dimensions.
- Quantity.
- Material preference.
- Adhesive type.
- Finish.
- Application surface.
- Barcode or QR code requirements.
Request a proof and a surface test before full production, especially if the label will touch unusual coatings, recycled materials, or textured mailers. That one step catches more mistakes than people like to admit.
Set a reorder threshold so you do not run out mid-season and end up in emergency print mode. Emergency print mode is expensive and usually sloppy. Better to reorder early than explain why the returns labels are stuck in production while the warehouse is already burning through inventory.
If the label is meant to support the returns process, it should be built for the actual workflow, not just the mockup. That is the difference between custom return labels that help and custom return labels that become shelf clutter.
It also helps to document who owns approval, who stores the approved artwork, and who signs off on substitutions. That sounds basic because it is basic. Basic process discipline is usually what keeps small print jobs from turning into expensive cleanup later.
FAQ
What are custom return labels used for in clothing packaging?
They identify returned items, routes, or handling instructions during the post-purchase workflow. They help fulfillment and warehouse teams sort returns faster and with fewer mistakes. They can also support branding, barcodes, or QR codes tied to the return process.
Which material is best for custom return labels on apparel mailers?
Synthetic label stocks are usually better when you need moisture resistance or stronger durability. Paper labels can work for simple, low-stress use cases on clean packaging. The best choice depends on the mailer surface, shipping conditions, and whether the label needs to be removed cleanly.
How much do custom return labels cost?
Pricing depends on size, material, finish, quantity, and print complexity. Higher quantities usually reduce unit cost, but the upfront spend goes up. The cheapest label is not always the lowest-cost option if it fails during returns handling.
What lead time should I expect for custom return labels?
Simple jobs with approved artwork usually move faster than custom or variable-data runs. Lead time depends on proof approval, material sourcing, finishing, and shipping distance. If the labels are tied to a launch or seasonal return surge, build in extra time.
What should I send when requesting a quote for custom return labels?
Include dimensions, quantity, material preference, adhesive type, finish, and intended surface. Share artwork files, barcode requirements, and any special handling needs. The clearer the spec, the faster the quote and the fewer production surprises later.