Custom Rubber Patches No Minimum: Small Orders Without Small Thinking
Custom Rubber Patches no minimum sounds like a shortcut. In practice, it is usually a way to buy control. You can test a design without locking yourself into hundreds of extras, outfit a small team without carrying dead inventory, or launch a limited run and see whether the patch actually works on fabric before you scale it.
That flexibility has a price. A supplier still has to review artwork, prepare the mold or tooling, match colors, trim the edges, inspect the pieces, and pack them correctly. The absence of a minimum order does not erase setup work. It only removes the requirement to buy in bulk.
That distinction matters because buyers often compare a no-MOQ quote against a bulk quote and assume the difference is markup. Usually it is not. On small orders, the fixed work behind the run is spread across fewer pieces, which pushes the unit cost up. If you want a lower number, the spec has to get smarter, not just the price conversation.
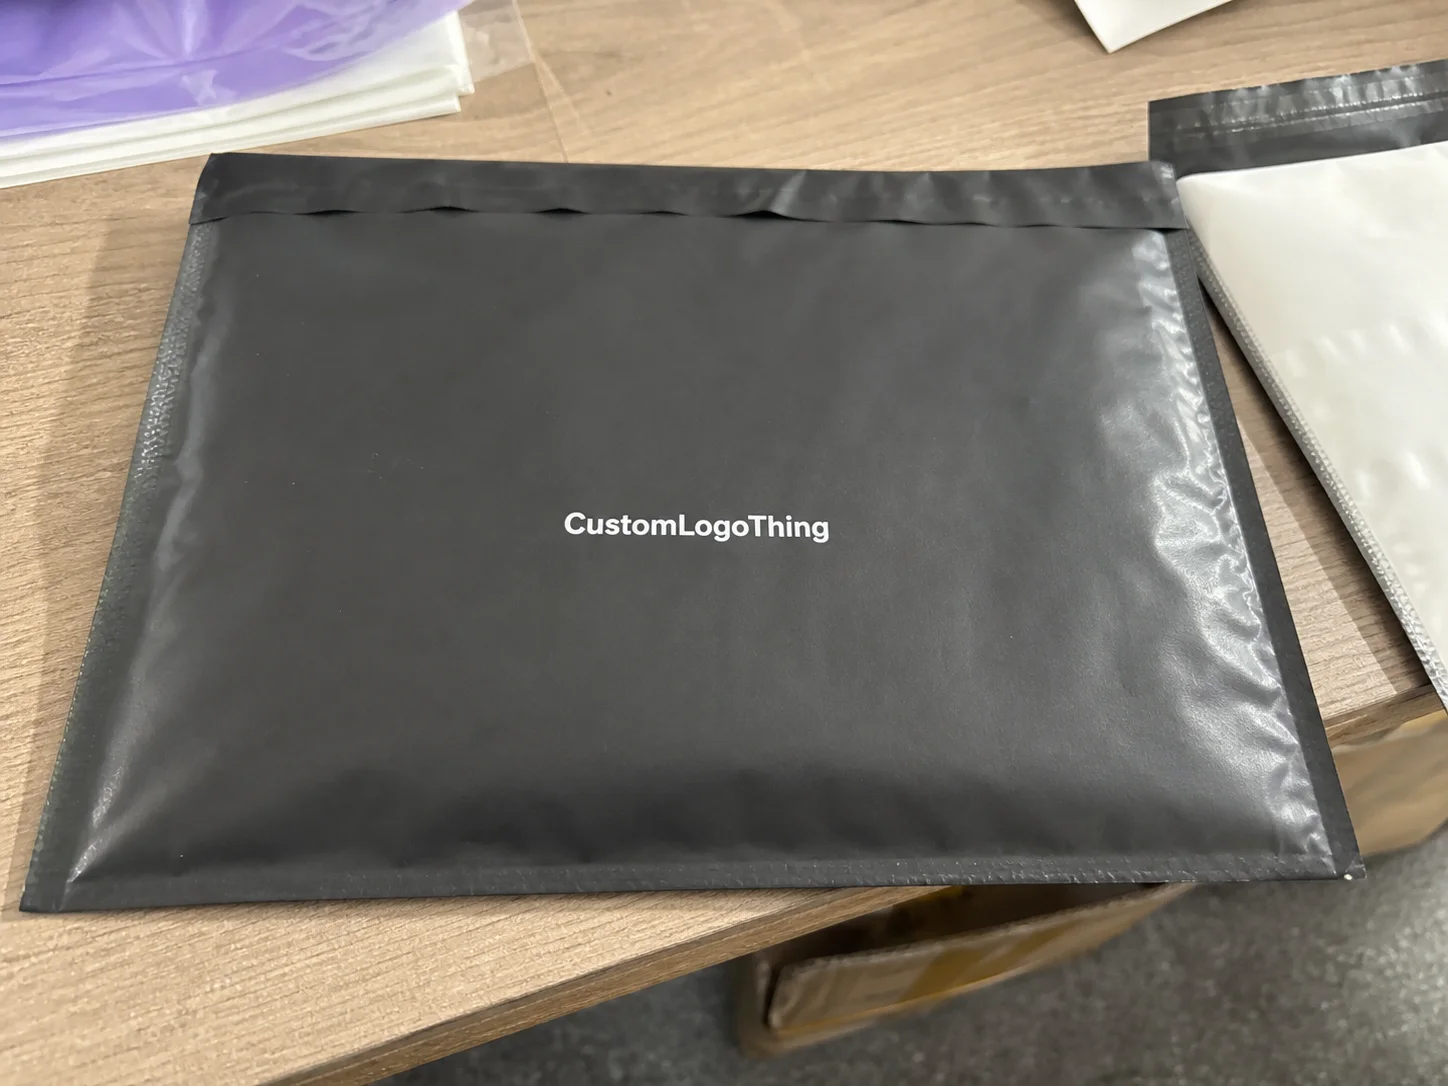
For teams that also care about the larger presentation, the patch is only one piece of the package. If it is being tucked into a merch kit or paired with branded packaging, coordinate it with Custom Packaging Products so the finish, size, and color treatment do not clash with the rest of the set.
A small order is most valuable when the design is still being tested. The point is to reduce risk, not to pretend a 25-piece run should behave like a 5,000-piece order.
Why small runs work
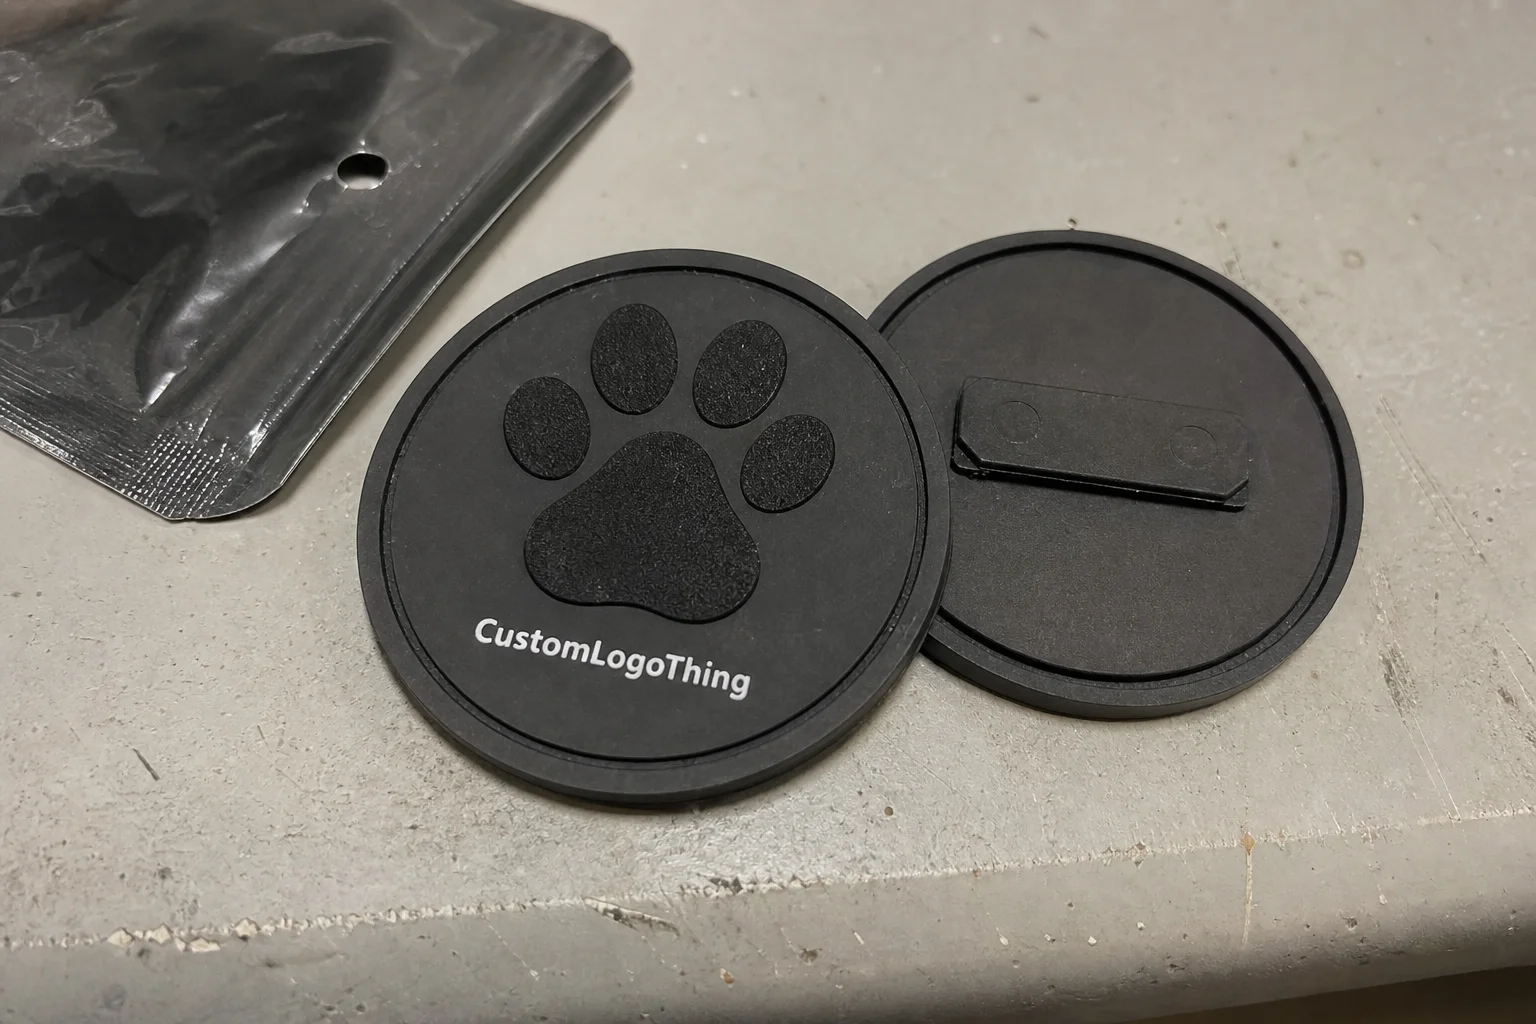
Custom Rubber Patches no minimum are useful for the jobs that do not justify inventory risk. New product launch? Small-batch patch order makes sense. Club uniforms? Same. A seasonal drop that may or may not repeat? Also sensible. If the artwork is still moving around, a short run lets you find the flaws before they become expensive.
They are also practical for buyers who need to see the patch in the real world. A mockup on a screen can hide a lot. A finished patch on a jacket, cap, or bag shows how the raised areas read from a distance, how the color behaves next to the garment, and whether the backing attaches the way you expected.
That last part is easy to underestimate. A patch can look clean in a proof and still feel wrong on the item it is attached to. A thick border may overpower a lightweight tote. A glossy finish may look too loud next to matte packaging. A patch meant for repeat wear needs different durability assumptions than one used for an event handout.
No minimum is also useful when the buyer wants to compare options before scaling. Order a small batch, check the fit, then decide whether to repeat the spec or revise it. That is a better habit than gambling on bulk volume and hoping the artwork survives production unchanged.
There is one caution worth stating plainly: no minimum does not mean every design is economical. The more elaborate the piece, the more setup and labor matter. If your logo relies on hairline text, dense internal detail, or a complicated outline, the cost of a tiny order can climb fast. Simpler art often produces a better patch anyway.
What happens after you send artwork
The process is not mysterious. First comes the artwork review. If the file is clean, the supplier confirms size, colors, backing, and finish. Then a digital proof is prepared. If the design needs adjustments, that happens before production starts, not after.
Vector artwork is the safest starting point. A clean AI, EPS, or PDF file gives the production team the information they need for outlines and color separation. Low-resolution images force someone to redraw the file or interpret edges that should already be obvious. That takes time and usually introduces avoidable differences between the concept and the finished patch.
Once the proof is approved, production begins. For a straightforward order, a realistic turnaround is often 12 to 15 business days from proof approval. Complex shapes, heavy revision cycles, unusual color matching, or special backing choices can stretch that timeline. If a quote promises a speed that seems too optimistic, ask what happens if the artwork needs revision. The answer tells you a lot about how the supplier handles pressure.
Shipping and packing are part of the timeline too. If the patches are heading into a retail box or a branded kit, ask whether they will be packed in bulk, individually bagged, or sorted by set. That sounds minor until the wrong packing method causes rework on your side.
For projects that care about transit performance, it helps to ask whether the supplier tests cartons to a standard such as ISTA. Not every order needs formal testing, but it is a better conversation than “we usually ship these fine.” If the patch is part of a broader product package, the surrounding materials matter as well. FSC-certified paper components can fit into the plan when the insert cards, sleeves, or cartons are part of the presentation; see FSC for the certification framework.
Pricing, MOQ, and what moves the quote
Price on custom rubber Patches No Minimum is driven by more than quantity. The biggest variables are size, shape complexity, number of colors, backing choice, border style, and whether the design requires special tooling or a revised mold. On a small run, fixed setup costs have a bigger impact because there are fewer units to absorb them.
That is why the unit cost on a short order is usually higher. The supplier still has to do the front-end work. The difference is that you are paying that work across 25 or 50 pieces instead of 500 or 1,000.
Broad ranges are more honest than fake precision, so here is a practical table for context:
| Order size | Typical unit cost | Common extras | Best use |
|---|---|---|---|
| 25 to 50 pieces | $2.50 to $5.50 each | $35 to $95 setup, proofing, shipping | Samples, small teams, design tests |
| 100 pieces | $1.25 to $2.80 each | Setup and freight still matter | Launches, clubs, short runs |
| 500 pieces | $0.70 to $1.60 each | Lower per-unit setup burden | Events, merch programs, resale add-ons |
| 1,000+ pieces | $0.45 to $1.10 each | Better freight efficiency, simpler packing | Repeat programs, larger distribution |
Those numbers are not fixed. A patch with three colors and a clean outline will price differently from a deeply layered design with a custom border and special backing. The quote is only meaningful when the specifications are identical. If one supplier quotes a thicker patch, a simpler mold, or a different attachment method, you are not comparing the same product.
Watch the hidden line items. Shipping, sample charges, rush fees, custom packing, and rework due to late artwork changes can matter more on a tiny order than the patch price itself. That is especially true if the patches are being included in a branded kit alongside custom printed boxes or other product packaging. The cheapest patch quote can become the most expensive program if it forces extra handling later.
There is also a basic buyer mistake that keeps repeating: comparing quoted prices without checking the backing. Sew-on, hook and loop, iron-on, and adhesive do not carry the same material or labor cost. If the application method is wrong for the end use, any savings are false savings.
Specs that change the result
Two rubber patches can share the same logo and still look completely different after production. Material is the first variable. PVC-style rubber patches usually feel firmer and read more graphic. Silicone-style patches are often softer and can present a smoother surface. The right choice depends on the artwork, the garment, and how much surface detail the design needs to keep.
Thickness affects both appearance and durability. A thin patch can sit cleanly on apparel, but if the design relies on relief or raised borders, a little extra thickness often helps the shape hold up visually. Too much thickness can make the patch bulky. Too little can flatten the art until it loses contrast. The sweet spot depends on where the patch will live.
Backing should match the real use case, not the mood board.
- Sew-on is the most reliable choice for permanence.
- Hook and loop works well for uniforms, tactical gear, bags, and removable use.
- Iron-on can work on appropriate fabrics, but heat sensitivity and wash behavior need to be checked.
- Adhesive is convenient for short-term placement, but it is not a substitute for a permanent attachment method.
Color matching deserves more care than most buyers give it. Pantone references help, but molded materials do not behave like ink on paper. Gloss increases perceived brightness. Matte finishes mute reflections and can hide small surface imperfections better. If the design uses subtle gradients, very fine text, or delicate internal lines, reconsider the artwork. Those details are the first to disappear in molded production.
If hardness or flexibility matters, ask for a material description in plain language and a durometer reference if available. ASTM D2240 is a useful measurement standard for hardness. A supplier who can discuss that number can usually explain the feel of the patch without hiding behind vague adjectives.
For buyers who care about presentation, finish and packaging should not fight each other. A bright, glossy patch can look out of place next to soft-touch custom packaging. A matte patch often fits better beside minimal product packaging. The details are small. The effect is not.
Quality checks worth requesting
On small runs, quality control matters more than it does on paper. A batch of 25 has less margin for error because each flaw is more visible. Ask how the supplier checks for color consistency, edge clean-up, and mold registration before the order ships.
Three things are worth confirming before approval: border sharpness, text legibility, and color separation. Border flash or rough trimming can make a patch look cheap even when the art is strong. Small text may look fine in a proof and fail in production if it is too tight. Color breaks need enough space to stay clean after molding, especially on tiny pieces.
If the order includes a sample or pre-production proof, inspect it at actual size, not just on a screen. Hold it against the intended garment or packaging if possible. That catches proportion issues early. A patch can be technically accurate and still read wrong once it is attached to the real product.
It also helps to ask what happens if one detail shifts during production. Not every variation is a defect. Some are normal material tolerances. The point is to know the acceptable range before the run starts. That expectation is part of professional ordering, and it avoids arguments later about what “close enough” means.
For resale or higher-visibility use, ask whether the supplier sorts rejects from accepted pieces and whether the final count includes replacements for obvious defects. On a no-minimum order, that question matters because the batch is too small to absorb sloppy inspection.
Ordering checklist for a clean first run
If you want custom rubber patches no minimum to go smoothly, the spec has to be clear before the quote goes out. The more decisions you lock down early, the fewer revisions you will need later.
- Confirm the finished size in inches or millimeters.
- Send vector artwork with clean outlines and readable text.
- Specify the number of colors and include Pantone references if exact matching matters.
- Choose the backing method based on the actual garment or item.
- Decide whether the finish should be matte, gloss, or mixed.
- Ask for a digital proof and review it at the final size.
- Check whether packing should be bulk, individually bagged, or set-ready.
- Allow one revision round if the design is new.
That last step is not optional if the artwork has never been produced before. A small revision to line spacing, border width, or color break can save an entire order. Once production begins, the room for adjustment gets much smaller.
If the patches are part of a larger rollout, align the timing with the rest of the package. A finished patch sitting in a warehouse while the boxes are still in transit does not help anybody. The patch, the packaging, and the schedule should all be planned as one system.
For common process questions, the FAQ page is still a useful checkpoint before you lock the order. It is faster to answer a basic spec question early than to correct the same confusion after the proof has already been approved.
Mistakes that cost money
The first mistake is easy to predict: low-resolution artwork. A supplier can sometimes clean up a file, but they should not have to redraw your logo from a screenshot. Poor source art adds time and increases the chance of a disappointing result.
The second mistake is overcomplication. Tiny text, too many colors, thin decorative lines, and crowded internal shapes tend to suffer in molded production. They may look sharp on a monitor and then blur, flatten, or disappear in the final patch. Simpler is often better because the material has room to carry the design.
The third mistake is choosing the wrong backing. If the patch will be stitched onto apparel, sew-on is usually the safest answer. If it needs to come off and go back on, hook and loop is a better fit. Iron-on and adhesive both have limits, and those limits show up fast on the wrong substrate.
The fourth mistake is quoting a vague order and expecting a useful comparison. If one supplier is quoting 50 pieces with sew-on backing and another is quoting 50 pieces with hook and loop plus individual bagging, the numbers do not mean much. Align the spec before you compare price.
The final mistake is scaling too quickly. If the design has not been tested on the actual item, do not jump straight to a large run because the unit price looks better. A bad patch in bulk is a more expensive problem than a slightly higher unit cost on a small order.
A clean file, realistic material choices, and a fixed spec sheet will save more money than trying to squeeze a lower price out of a confused quote.
FAQ
Are custom rubber patches no minimum worth it for small brands?
Yes, if the goal is testing a design, outfitting a small team, or avoiding unused inventory. The value comes from flexibility and reduced risk, not from bulk pricing.
What is the smallest order size?
That depends on the supplier and the patch spec. The important part is whether the quote forces a bulk commitment. A true no-minimum setup should still accept a small quantity without requiring a large order tier.
How long do these orders usually take?
For a straightforward run, a common range is 12 to 15 business days after proof approval. Complex shapes, multiple revisions, or special packing can extend that timeline.
Which backing is best?
Sew-on is the safest for permanent attachment. Hook and loop is better for removable use. Iron-on and adhesive can work in the right conditions, but they are not universal solutions.
How should I prepare artwork?
Send vector art with clean edges, readable text, and clear color callouts. Avoid very fine details that will not survive molding, and confirm the finished size before approving the proof.
Why is a small run more expensive per patch?
Because setup, proofing, and production labor are spread across fewer pieces. The fixed work does not disappear just because the order is small.
Can these patches be used with retail packaging?
Yes. If the patch is part of a merch kit or a product package, coordinate the finish and packing with the rest of the presentation so the whole set feels intentional.
Custom rubber patches no minimum make sense when the buyer wants flexibility, not fantasy pricing. Keep the design clean, Choose the Right backing, confirm the proof at real size, and compare quotes only when the specs match. That is usually enough to turn a small run into a useful one.