What Custom Vynil Stickers Are and When They Make Sense
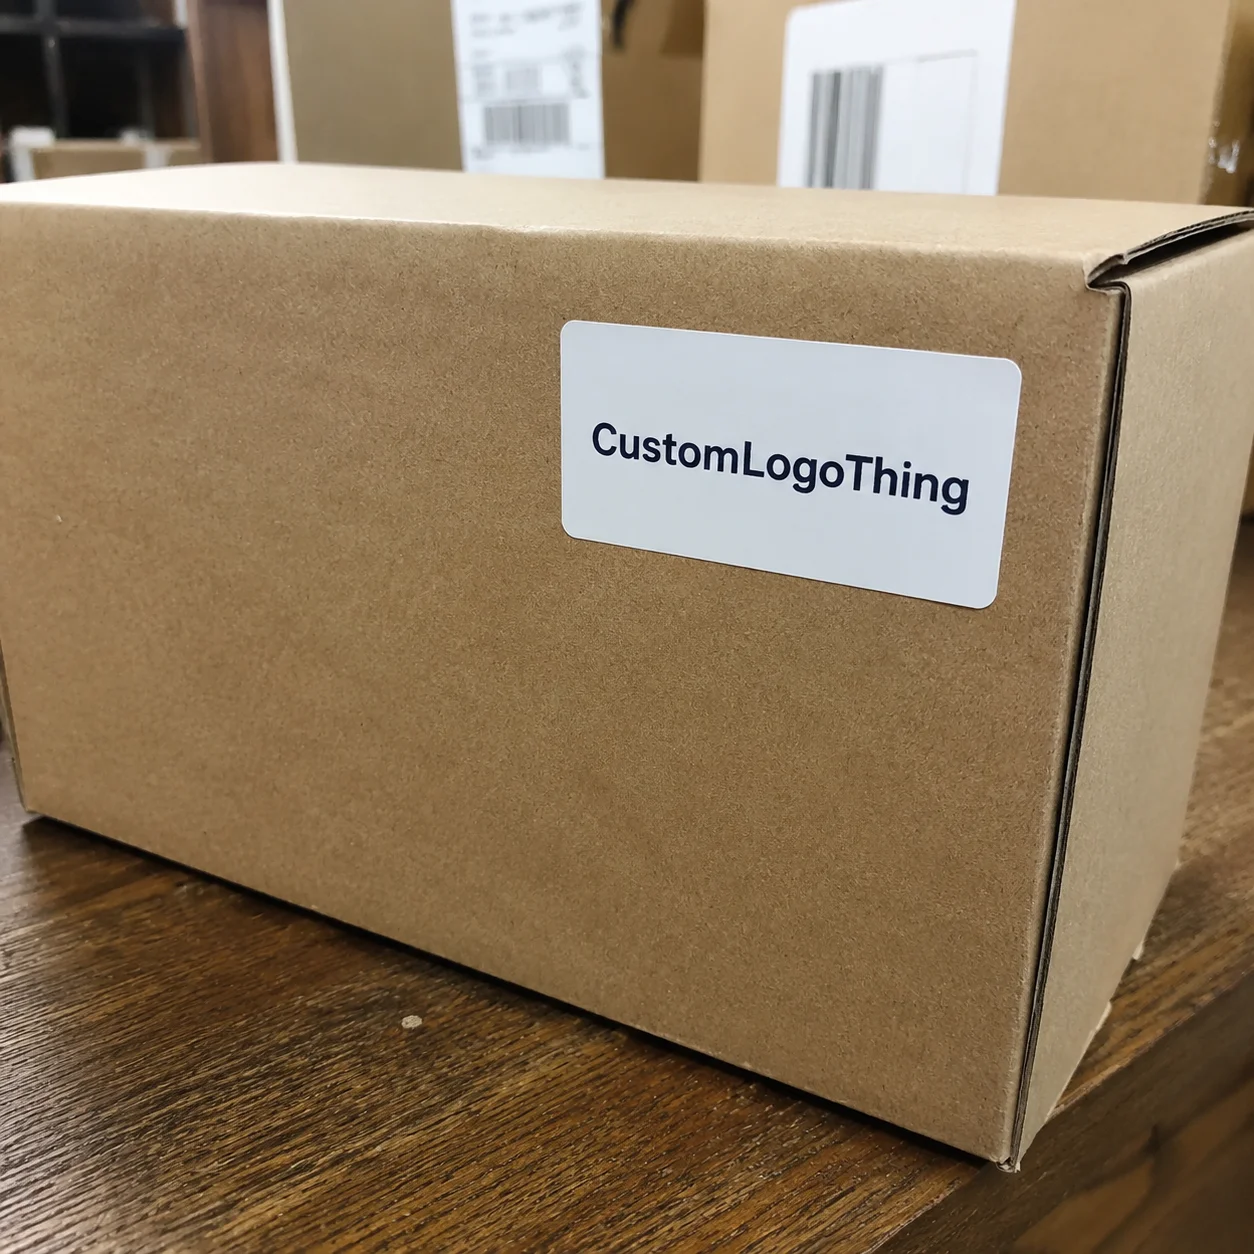
Sticker failures rarely start with the logo. More often, the wrong adhesive meets the wrong surface, or a finish chosen for appearance cannot survive the actual handling environment. Buyers searching for custom vynil stickers usually mean Custom Vinyl Stickers, decals, labels, or branded packaging seals. “Vynil” is a common misspelling, but the production questions are the same.
A vinyl sticker is a printed graphic on flexible plastic film with a pressure-sensitive adhesive and a removable liner. Peel, place, press. Simple motion; complicated chemistry. A sticker sealing a matte shipping mailer has a different job from one applied to a chilled glass bottle, powder-coated tumbler, retail window, or squeezable product tube.
Vinyl is not just a shinier paper sticker. Paper labels work well for dry, short-term packaging, especially cartons, inserts, and indoor retail use. Vinyl earns the extra cost when moisture resistance, flexibility, tear strength, or longer service life matters. Decals usually refer to vinyl graphics used for display, branding, or outdoor exposure. Labels often carry product details, barcodes, batch numbers, or compliance text. Transfer graphics use carrier tape to move separate vinyl elements, common for lettering and clean one-color designs.
On packaging projects, vinyl appears as mailer seals, water bottle decals, QR code stickers, laptop giveaways, retail window graphics, product labels, event handouts, pack inserts, and promotional pieces tucked into custom packaging products. It also lets brands update seasonal messaging without changing the whole box structure.
Packaging floor rule: start with the surface, use environment, design intent, and quantity. Shape and finish come after those four decisions, not before.
How Vinyl Sticker Printing Works From File to Finished Decal
A reliable sticker order follows a practical path: artwork review, material selection, proofing, printing, finishing, cutting, quality checks, packing, and shipping. None of those steps is decorative. Skip one, and the mistake often shows up later as white edges, muddy color, poor peel, curled corners, or a sticker that looks right but refuses to stay down.
The digital proof should show final size, cut line, bleed, safe area, material assumption, color notes, finish, and quantity before production begins. Treat it like a manufacturing document, not a preview image.
Most short-to-medium vinyl sticker runs use digital printing because it handles full-color art, smaller batches, and multiple versions efficiently. UV printing is common for durable full-color output because the ink cures quickly under ultraviolet light and performs well on many film stocks. Screen printing still has a place for high-volume runs, heavy spot colors, simple graphics, or specialty ink requirements, but setup is usually higher.
Color needs a sober conversation early. Most full-color stickers print in CMYK, using cyan, magenta, yellow, and black. CMYK is strong for photos, gradients, and standard packaging graphics, but it cannot always reproduce neon orange, metallic gold, fluorescent pink, or a strict Pantone target. Exact brand colors may require spot-color matching, specialty inks, foil-like materials, or a different production method.
White ink is the detail buyers miss most often. On white vinyl, the film gives printed color an opaque base. On clear vinyl, holographic film, metallic stock, or dark packaging, white ink may be needed under the artwork so the color does not shift. A red mark printed on clear film and applied to a black jar can turn dull brown without that underprint.
Cutting style affects both appearance and handling. Die-cut stickers follow the outer shape of the design, leaving a custom silhouette. Kiss-cut stickers are cut through the vinyl but not the backing sheet, leaving extra liner around the graphic for easier peeling. Contour cutting handles curves and unusual shapes, although tiny points, hairline bridges, and tight inside corners can slow production and increase waste.
Finishing adds protection and changes the feel. Gloss laminate makes color pop and improves scuff resistance. Matte laminate reduces glare and gives packaging a quieter retail look. Soft-touch laminate feels premium beside rigid boxes or heavy cartons, but it can show fingerprints or oils depending on the environment. Scratch-resistant overlays and UV coatings are used where stickers face abrasion, sunlight, cleaning, or frequent handling.
Key Specs That Decide Durability, Adhesion, and Finish
A sticker can look perfect on screen and fail on the real product. The art is approved. The color is sharp. The cut path is clean. Then the sticker lifts from a low-energy plastic pouch or wrinkles around a small bottle radius. That is not an art failure. It is a specification failure.
White vinyl is the everyday workhorse for bold packaging stickers, handouts, and decals. Clear vinyl works when the package color should show through, especially on glass jars, clear bottles, or minimal retail packaging. Removable vinyl suits temporary promotions, events, rental equipment, short campaigns, and surfaces that need cleaner removal. Permanent vinyl grips harder over time and fits long-term labels, outdoor decals, and stickers that should stay put through shipping, stocking, and customer use.
Adhesive selection deserves more attention than it usually gets. A standard permanent adhesive may work well on coated paperboard, glass, smooth plastic, and painted metal. Removable adhesive releases cleaner, though heat, dwell time, and surface texture can still leave residue. Freezer-grade adhesive is designed for cold application or refrigerated products. High-tack adhesive helps on textured surfaces, kraft paper, some HDPE and PP containers, powder-coated finishes, and corrugated board with a rougher face.
Surface compatibility is not universal. Glass is smooth and usually friendly, but condensation can interfere with application. Coated paperboard often accepts stickers cleanly, while uncoated kraft can pull adhesive into the fibers and weaken the bond at the edges. PET bottles, HDPE jugs, metal tins, helmets, laptops, squeeze tubes, and curved jars each respond differently to pressure, temperature, moisture, and abrasion. For expensive or customer-facing items, samples are cheaper than a failed full run of custom vynil stickers.
Finish changes both appearance and use. Gloss is bright and energetic. Matte reduces reflection under retail lighting and photographs more calmly. Satin sits between the two, useful when packaging needs color strength without a mirror-like surface. Soft-touch can lift the perceived value of premium packaging, but it is not always the best choice for bath products, oily hands, warehouse handling, or loose-packed inserts.
Thickness and flexibility matter on curved surfaces. A thicker film can feel substantial on a laptop, equipment case, or giveaway decal, but it may resist wrapping around a narrow tube. A thinner, more flexible film conforms better to jars, bottles, and rounded containers. Outdoor use adds more variables: UV exposure, rain, abrasion, cleaning chemicals, oils, refrigeration cycles, and shipping scuffs.
Quality control should match the risk. Typical checks include dimensions, color tolerance, cut registration, liner release, laminate coverage, scuff resistance, count accuracy, and basic adhesion testing on representative surfaces. ASTM methods are often used across materials and adhesives for properties such as peel adhesion and abrasion, while broader packaging performance can be evaluated under standards from groups such as ISTA.
Sticker Cost, Pricing, MOQ, and Quote Drivers
Sticker pricing is not square inches multiplied by a fixed rate. A real quote reflects setup, material, ink coverage, finishing, cutting complexity, quantity, packing format, proofing needs, and sometimes application requirements. Two decals of the same size can price very differently if one is a white vinyl circle and the other uses clear film, white ink, matte laminate, and a detailed contour cut.
MOQ, or minimum order quantity, is the smallest run a supplier can produce efficiently. Very small runs carry higher unit costs because file handling, proofing, machine setup, calibration, and packing are spread across fewer pieces. A 100-piece test run may be exactly the right move for a new surface, but it will not price like 2,500 or 10,000 pieces.
For planning, small digitally printed vinyl stickers often land around $0.18-$0.45 per piece at a few thousand units, depending on size, laminate, cut complexity, packing, and material. Larger decals, specialty films, exact color work, heavy ink coverage, or intricate cuts can move well above that range. These are budgeting numbers, not universal prices.
| Format | Best Use | Typical Cost Effect | Buyer Note |
|---|---|---|---|
| Sheeted stickers | Small batches, handouts, organized SKU sets | Often economical for multiple designs | Good for teams applying by hand |
| Individually cut decals | Giveaways, inserts, premium unboxing | Higher packing and handling cost | Best when the sticker itself is a brand item |
| Roll stickers | Repeated application on packaging lines | Efficient at volume | Confirm core size and unwind direction |
| Specialty vinyl | Holographic, metallic, clear, premium effects | Higher material and proofing cost | White ink may be required for opacity |
The biggest quote drivers are sticker size, total quantity, number of versions, vinyl type, adhesive type, laminate, shape, cut style, color complexity, white ink, specialty effects, and final format: rolls, sheets, or singles. Circles, ovals, squares, and rectangles are usually more economical than intricate contour cuts with small points or tight inside corners.
There are sensible ways to improve cost without weakening the sticker. Use a standard size if the design allows it. Combine SKUs on shared sheets. Keep one laminate across related versions. Simplify a cut path that has decorative points nobody will notice once applied. Spending more makes sense when the sticker protects brand-critical color, needs outdoor durability, must remove cleanly, supports cold-chain packaging, or sits on Premium Retail Packaging where a weak finish would be obvious.
Send the use case with the artwork. Tell the supplier whether the sticker goes on a pouch, bottle, carton, window, laptop, refrigerated item, mailer, or textured container. Artwork alone can produce a cheaper quote for the wrong construction.
Production Process, Timeline, and Turnaround Expectations
A typical vinyl sticker timeline moves from inquiry to specification confirmation, artwork check, proof, approval, material staging, print production, finishing, cutting, packing, and shipping. The clock usually starts after proof approval, not after the first email. That difference matters. Size, material, adhesive, color expectations, and file quality all need to be confirmed before production can run cleanly.
Simple digitally printed vinyl stickers often produce in about 5-10 business days after proof approval. Specialty vinyl, exact color matching, multi-version orders, roll labels with specific unwind direction, or complex die cuts may need 10-15 business days or more. Shipping time sits on top of production time. Rush work may be possible, but ink curing, laminate bonding, cut accuracy, material availability, and packing still need proper control.
Several problems slow orders down: missing bleed, low-resolution logos pulled from websites, unclear cut lines, unoutlined fonts, vague sizing, late proof revisions, specialty film shortages, strict Pantone targets, and complex kitting. Multiple SKUs add time because each version must be checked, named, counted, packed, and labeled correctly.
Clean inputs speed everything up. Send print-ready vector artwork when possible, with outlined fonts, 0.125 inch bleed where appropriate, safe margins for small text, and a clear cut path on a separate layer. Confirm exact dimensions in inches or millimeters. Describe the surface and environment. Give a real delivery date instead of “as soon as possible,” because packing and shipping decisions may change.
Proof review is the buyer’s main control point. Check spelling, QR codes, barcode scanability, trim line, safe area, orientation, color notes, finish, quantity, and version names. Scan QR codes at final printed size if the sticker is small; a code that works on a monitor may fail when reduced to 0.6 inch square and printed with low contrast.
Higher-risk jobs deserve sampling or a pre-production proof. That includes stickers for textured containers, outdoor gear, refrigerated products, premium packaging, tight retail launches, and any surface that has not been tested before. If sustainability language appears near the sticker or package, keep it material-specific. The EPA’s recycling guidance is a useful reference for broad recycling principles, though local acceptance varies and sticker films can affect package recyclability.
Receiving is part of quality control. Individually cut decals may need protective packing so corners do not curl. Rolls need core size, label gap, roll outside diameter, and unwind direction confirmed if staff or equipment will apply them. Large decals should be stored flat or properly wound, not crushed under cartons on a hot receiving dock.
Step-by-Step Guide to Ordering the Right Vinyl Stickers
Ordering the right vinyl stickers is mostly about giving production the right information early. A ruler, a sample package, and the final art file can prevent days of revision.
- Define the job. Decide whether the sticker is for packaging, promotion, product labeling, equipment marking, outdoor use, QR tracking, or customer giveaways. A mailer seal and a cooler decal should not share the same specification by default.
- Measure the application area. Use real dimensions instead of a screen mockup. On curved jars, bottles, tubes, and cartons, test a paper printout at actual size so the graphic feels balanced in hand.
- Identify the surface and environment. Name the material: smooth glass, coated carton, kraft paper, plastic pouch, metal, refrigerated product, bathroom product, or outdoor gear. Add temperature, moisture, abrasion, and expected handling.
- Choose vinyl and adhesive by use. Permanent, removable, freezer-grade, and high-tack adhesives solve different problems. Appearance should not be the only filter.
- Select shape and format. Use die cut for a custom silhouette, kiss cut for easy peeling, rolls for repeated application, or sheets for organized handouts and multiple versions.
- Prepare the artwork. Provide vector cut lines, adequate bleed, safe margins, embedded or outlined fonts, high-resolution images, and clear notes for white ink, transparent areas, metallic film, or holographic effects.
- Review the proof as a production document. Confirm every dimension, cut path, color note, finish, material, quantity, and version name before approval.
- Plan receiving and application. Clean surfaces, apply at the recommended temperature, use firm pressure, allow adhesive dwell time, and store extras away from heat, humidity, and direct sunlight.
For brands coordinating stickers with custom labels and tags, consistency matters. Match finish, color temperature, and scale across the packaging set. A matte carton, gloss sticker, and satin hang tag can work together, but that mix should be intentional.
Application temperature is easy to overlook. Many pressure-sensitive adhesives perform best around normal room temperature, often near 65-75°F. Cold surfaces slow wet-out, the adhesive’s ability to flow into microscopic surface texture. Permanent adhesives also need time to build bond strength; full dwell can take 24-72 hours depending on construction.
Common Mistakes and Smart Next Steps Before You Order
The most common mistake is choosing the sticker by look alone, then discovering it will not stick well to the actual package, bottle, bag, or display surface. This is also one of the easiest problems to avoid. Put the real package on the table before requesting a quote. Touch it. Bend it. Chill it if it will be refrigerated. Think about how customers will handle it.
Artwork mistakes create production drag. No bleed can leave white edges. Raster logos pulled from websites may print fuzzy. Unclear cut lines force extra proof cycles. Tiny text can fill in, especially under 5-6 points. Low-contrast QR codes can fail. Borders placed too close to the trim line may look uneven because every cutting process has tolerance, often around ±1/32 inch depending on equipment and material.
Sizing mistakes are just as common. A sticker that looks balanced in a digital mockup may feel too large on a curved product or too small on a 10 x 13 inch shipping mailer. Print the art at actual size on office paper, cut it out, and tape it to the package. The test is crude. It works.
Adhesive mismatch creates expensive irritation. Permanent adhesive is a poor fit where clean removal matters, including temporary promotions, rental equipment, event signage, reusable containers, and seasonal window graphics. Removable adhesive is better there, but removal performance still depends on surface, dwell time, heat, sunlight, and cleaning method.
Finish mismatch affects the customer experience. Gloss stickers can glare under retail lighting or photography lights. Matte stickers may soften bright colors. Unlaminated stickers can scuff in transit, especially when packed loose with corrugated inserts or other components. Soft-touch may look beautiful for premium package branding, but it needs realistic handling expectations.
- Confirm surface material, size, quantity, shape, finish, adhesive, and indoor or outdoor use.
- Decide on roll, sheet, kiss-cut, or individually cut format before quote approval.
- Send the deadline, delivery location, and proof approval contact with the first request.
- Request a physical sample or pilot run for new surfaces, outdoor exposure, premium launches, or tight retail deadlines.
- Keep one approved proof and one version list so production, purchasing, and receiving are aligned.
Before ordering custom vynil stickers, gather the real package, final artwork, application details, preferred delivery date, and any retail or handling requirements. The best sticker specification is built around the job it has to survive, not just the design it has to display.
FAQ
Are custom vynil stickers the same as custom vinyl stickers?
Yes. Most buyers using the spelling custom vynil stickers are searching for custom vinyl stickers. Vinyl stickers are made from flexible plastic film rather than paper, giving them better moisture resistance, tear resistance, and durability. For an accurate quote, describe the application surface, handling, and environment so the correct film and adhesive can be specified.
What is the best material for waterproof custom vinyl stickers?
White or clear vinyl with a permanent adhesive is a common starting point for water-resistant stickers. A gloss or matte laminate improves resistance to scuffing, moisture, and repeated handling. Bottles, bath products, coolers, refrigerated goods, and outdoor items should be tested on the actual surface before full production.
How much do custom vinyl decals cost per piece?
Unit cost depends on size, quantity, vinyl type, adhesive, laminate, cut complexity, ink coverage, and whether the stickers are supplied on sheets, as individual decals, or on rolls. Small digitally printed stickers may fall around $0.18-$0.45 per piece at a few thousand units, while specialty films, white ink, intricate die cuts, and rush production can increase the quote.
How long does it take to produce custom sticker orders?
Production timing usually begins after artwork, specifications, and the digital proof are approved. Simple digitally printed vinyl stickers can often produce in about 5-10 business days, while specialty film, color-matched, multi-version, or complex die-cut orders may require 10-15 business days or more.
Should I order die-cut, kiss-cut, sheeted, or roll vinyl stickers?
Die-cut stickers are best when the finished shape is part of the branding or giveaway experience. Kiss-cut stickers are easier to peel and work well for handouts, inserts, and detailed shapes. Roll stickers are often better for repeated application on packaging lines, while sheets help organize multiple designs, small batches, or SKU sets.


