Custom Welcome Boxes: Pricing, Process, and Ordering
Custom welcome boxes are doing more work than they look like they should. They hold the contents, set the opening sequence, protect the shipment, and signal whether the brand paid attention to details or just ordered something generic with a logo on it. That is why good packaging design matters as much as the printed graphics.
The box is only one part of the system. The real job starts with the contents list, then moves through structure, inserts, board grade, finish, and pack-out logic. A good product packaging setup keeps the kit organized and repeatable. A weak one turns every order into a manual puzzle. The difference shows up in cost, damage rates, and how the recipient feels when the lid opens.
Custom Welcome Boxes: What They Do Beyond the First Impression
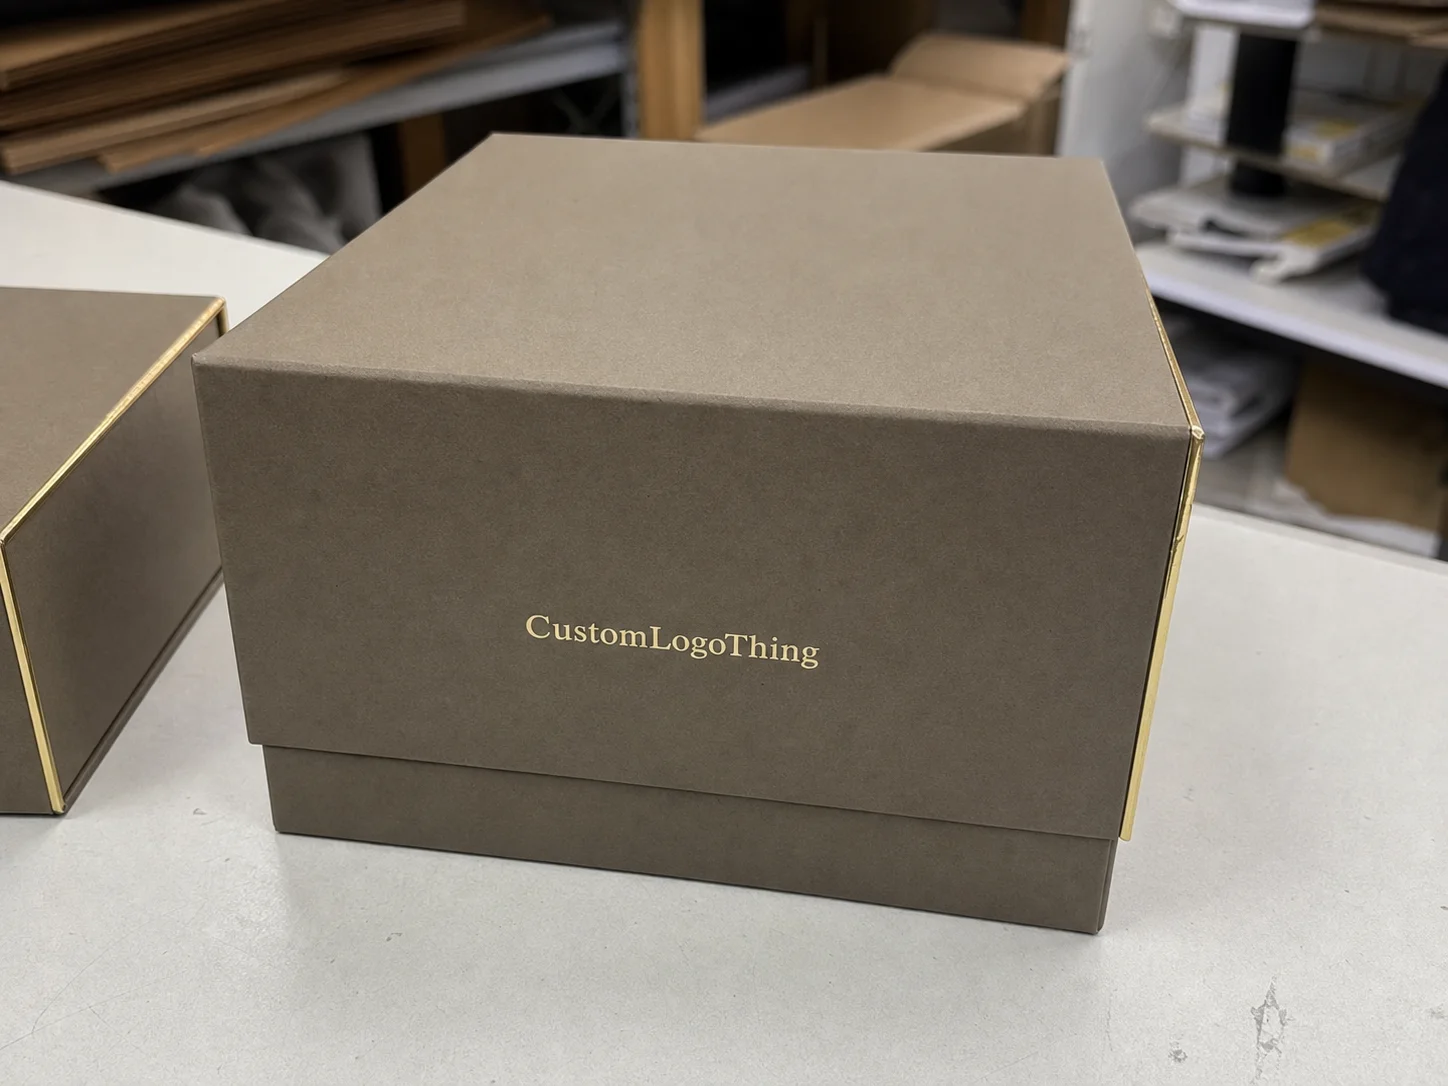
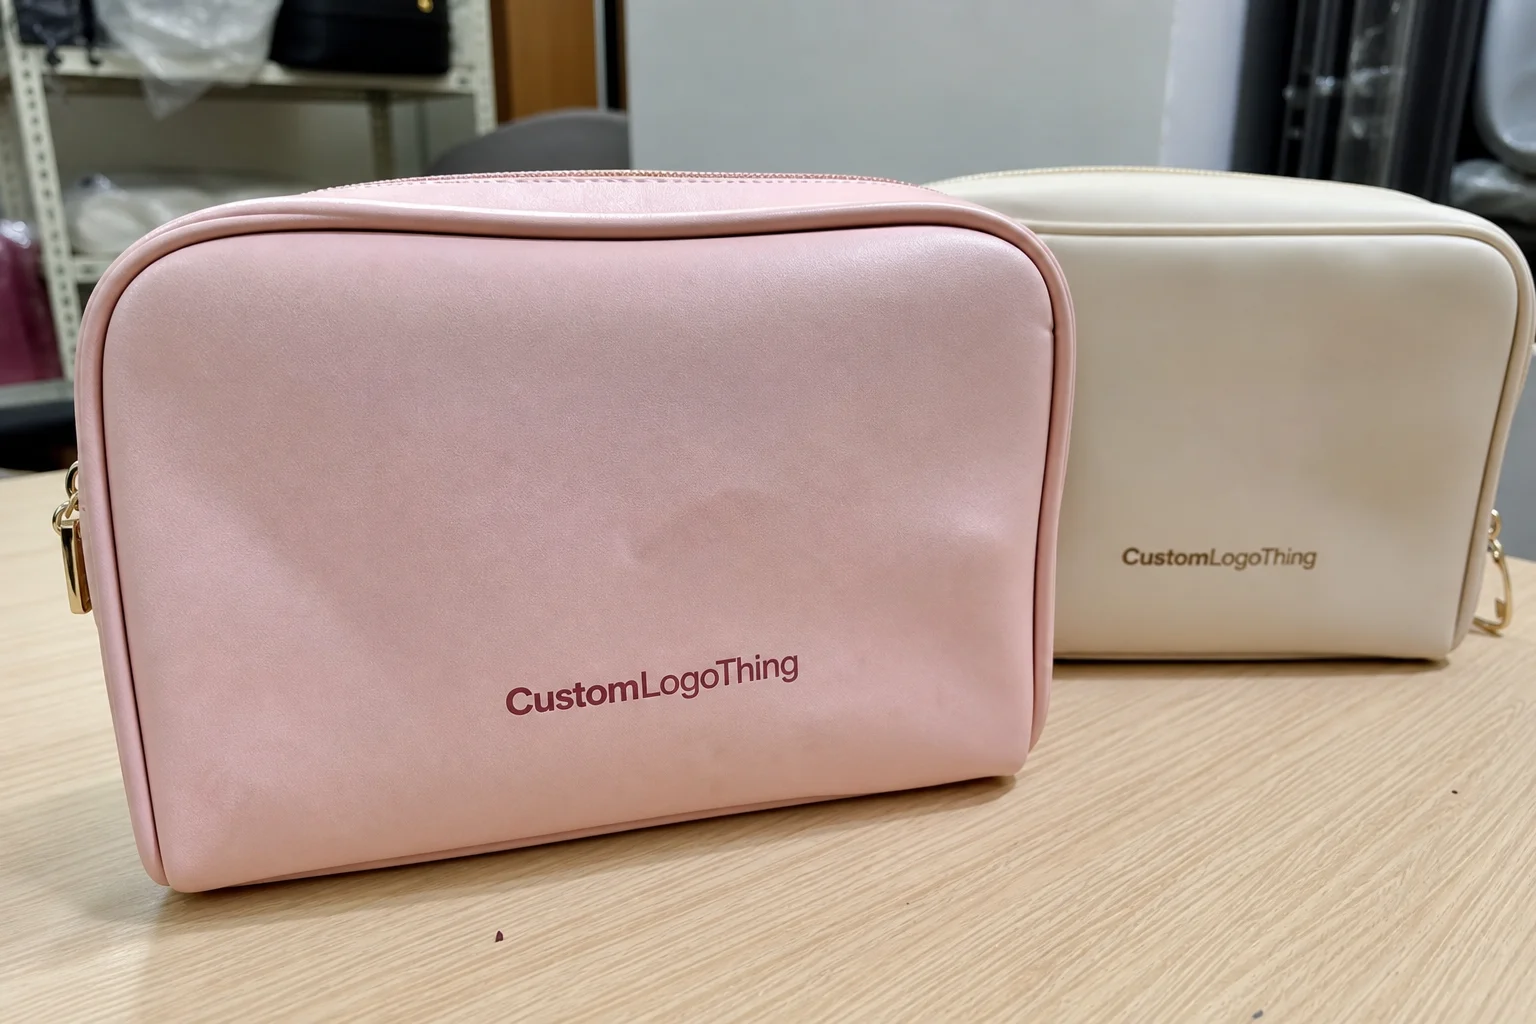
A useful kit starts with a clear use case. Onboarding boxes for employees need different priorities than client gifts, event kits, or influencer mailers. A retail launch package may need stronger presentation and more structure. A new-hire box may need fewer decorative touches and better space for documents, accessories, and items that get used immediately. Custom welcome boxes are not generic cartons with objects tossed inside. They are structured branded kits built around a specific opening order.
That sequence matters. People remember what they see first, what they find next, and what they have to dig for. If the top layer is a welcome card, the middle layer keeps fragile items locked in place, and the lower compartment holds the bulkier pieces, the whole package feels controlled. If the contents are loose, the opening feels careless even if the printed box looks expensive.
These kits show up anywhere presentation and logistics collide:
- Employee onboarding sets with access items, paperwork, and a few branded pieces.
- Client gifts that need to feel premium without wasting money on overspec’d materials.
- Event kits with literature, samples, and compact merchandise.
- Influencer mailers that need a tidy layout for photography and unboxing.
- Retail launch kits that support product packaging and training materials.
A box can look finished in a render and still fail in assembly. Once the contents are inside, loose cavities and weak inserts show up fast.
The value is not complicated. The box has to protect the contents, present the brand clearly, and stay efficient enough to build at scale. If one of those three breaks, the project gets more expensive later. Usually much later, after proofs are approved and the schedule is already tight.
How the Structure, Inserts, and Fill Work Together
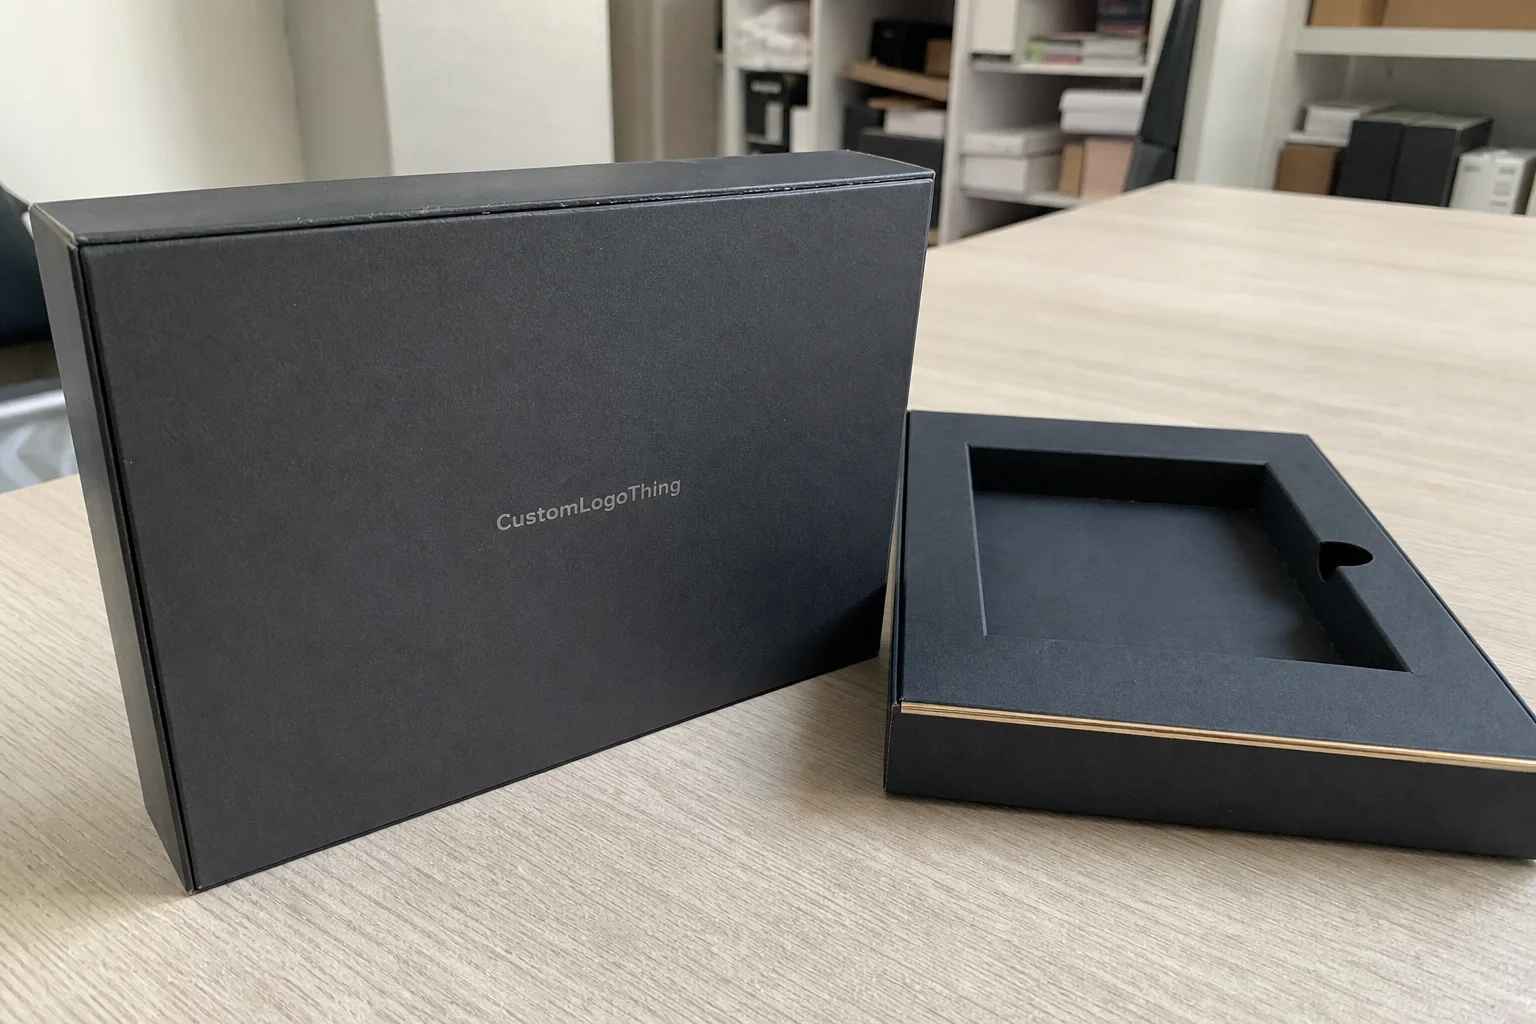
The outer structure is only the start. Folding cartons, mailers, rigid setup boxes, and sleeve-style packs all solve different problems. A folding carton fits lighter content and high-detail printing. A mailer is stronger for shipping and still feels branded. A rigid box creates a more premium opening experience, but it also adds weight, cost, and assembly time.
Inside the box, the insert does the stabilizing. Die-cut paperboard is a practical choice for lighter items. Foam protects fragile pieces but can complicate sourcing and recycling. Molded trays keep items positioned consistently, which helps on repeat runs. Paperboard partitions are often the most efficient option for multi-item kits because they are easier to produce and easier to pack. The best insert is the one that protects the contents without making the line crew fight the packaging.
Void fill can help, but it should support the layout instead of hiding a sizing mistake. Tissue, crinkle paper, padded wraps, and bagged components can all improve presentation and reduce movement. They do not fix a cavity that is too large or a layout that was never measured properly. If the box depends on fill to keep everything in place, the structure is wrong.
| Format | Best For | Typical Unit Cost Range | Practical Notes |
|---|---|---|---|
| Folding carton | Light contents, high print detail | $0.70-$1.80 | Efficient for volume, but less rigid for parcel shipping. |
| Mailer box | Shipping-first welcome kits | $1.10-$2.40 | Good balance of strength and branding for most custom printed boxes. |
| Rigid setup box | Premium presentation and heavier kits | $2.50-$6.50 | Higher perceived value, but assembly and freight can add real cost. |
| Sleeve + tray | Controlled reveal and layered content | $1.40-$3.20 | Works well for branded packaging that needs a clean opening sequence. |
Those numbers are a baseline, not a promise. Final price depends on dimensions, board type, print coverage, finishing, insert complexity, and quantity. A small run with foil, soft-touch coating, and multiple cavities will price very differently from a simple mailer with one divider. The structure should match the contents list, not the mood board.
For teams comparing suppliers or formats, the Custom Packaging Products page is a practical way to review materials and styles before requesting pricing. That keeps the early conversation tied to real structures instead of vague ideas.
For transit durability, shipping test methods from ISTA are a useful reference point. If the box is going into a formal retail or sustainability review, FSC is worth checking for chain-of-custody standards on paper sourcing.
What Drives Cost, Pricing, and MOQ
Price in this category is usually driven by setup, materials, and labor. Size is one of the biggest levers because bigger panels use more board and often need stronger construction. Board grade matters too. A light paperboard carton is not in the same class as a rigid setup box or double-wall corrugate, and it should not be priced like one.
Print and finish can change the number quickly. Full flood coverage, inside print, spot colors, foil stamping, embossing, and spot UV all add handling. None of those are bad choices on their own, but every extra step needs to justify itself. If the box will ship in volume, a clean matte finish often performs better than a decorative coating that scratches or scuffs before the recipient opens it.
The minimum order quantity is not arbitrary. It reflects fixed costs in setup, die cutting, finishing, and labor. A 250-piece run carries a heavy setup burden per unit. At 2,500 or 5,000 units, those same costs spread differently, which is why unit pricing tends to fall as quantity rises. That is normal. It is also why the cheapest quote on paper is not always the cheapest project in practice.
Common hidden costs include:
- Prototype or sample builds before approval.
- Artwork revisions after the dieline changes.
- Assembly labor if the boxes do not ship flat.
- Freight for rigid boxes or large-volume runs.
- Storage if the full order will not be used right away.
To get a real quote, send exact item dimensions, target quantity, destination, finish preferences, and whether the box ships flat or pre-assembled. If the supplier has to infer the contents, the number will be padded. Usually for a reason. A clean brief is the fastest way to keep the estimate honest.
Production Steps and Timeline: From Dieline to Delivery
The fastest projects begin with exact content data. Not close enough. Exact item counts, dimensions, weight, and any fragile surfaces that need protection. Once the contents are measured properly, the structure can be built around real objects instead of assumptions. That cuts rework faster than almost anything else.
The first technical step is the dieline. That is where panel sizes, folds, tabs, and insert geometry are set. If the dieline is off by a few millimeters, the lid may bow, the closure may fight the contents, or the insert may leave too much movement. A prototype or mock-up is worth the time because it exposes fit issues before the full run goes to press.
Proofing matters just as much. Artwork should be checked for bleeds, orientation, barcode placement, panel alignment, and color expectations. If the design includes inside printing, those panels need the same attention as the outside. Substrate selection belongs here too, because coating, board thickness, and print method all affect how the box looks and how it runs through production.
A typical production flow looks like this:
- Brief review and content measurement.
- Dieline creation and structural approval.
- Artwork preparation and proofing.
- Printing and finishing.
- Cutting, converting, and insert production.
- Assembly, pack-out testing, and quality control.
- Freight or distribution planning.
Turnaround depends on the build. A standard custom printed box with straightforward inserts may take 12-15 business days after proof approval. More complex kits with rigid construction, specialty finishes, or custom molded components usually take longer. If tooling or molded trays are involved, add another two to four weeks. Rush work can happen, but it narrows the material and finish options quickly.
Lead time should be planned around the slowest critical step, not the fastest one. That is often sample approval, insert tooling, or freight booking. If the ship date matters, the spec has to be locked early enough to leave room for one revision. That margin is what keeps a launch from turning into a production scramble.
Quality Control Checks Before Approval
A sample is not just a preview. It is the first real test of fit, finish, and assembly time. Flat samples can hide problems that show up as soon as the full kit is packed. A good sample review should cover more than the outside appearance. It should answer whether the box works on the bench, on the line, and in transit.
Check the closure first. If the lid lifts, bows, or feels too tight, the structure or insert is wrong. Then check item movement. Nothing should rattle, lean, or create pressure points that could crush corners or scuff coatings. If the kit includes printed cards or folded literature, verify that the sequence still works once everything is stacked in order.
Assembly time is another practical test. A box that takes five extra minutes to pack can erase the savings from a cheaper material choice. That matters more on recurring programs than on one-off gifts. Labor cost is easy to ignore on the quote and annoying to discover later.
A sample review should include these checks:
- Panel alignment and print registration.
- Closure strength and lid fit.
- Insert position and resistance to movement.
- Scuffing, rub marks, and finish durability.
- Barcode or label placement if shipping is involved.
- Pack-out speed and consistency for the team doing the work.
For shipping programs, the prototype should also be evaluated under realistic handling conditions. ISTA-style thinking is useful here because drop, vibration, and compression are what expose weak packaging. A box that looks polished on a table can still fail if it cannot survive stacked freight or parcel handling.
Size, Material, and Insert Choices That Protect the Contents
Measurement discipline is the foundation. Every item should be measured with tolerances, not guessed. A notebook that appears to be 8.25 inches wide on paper may need more cavity space once the sleeve, wrap, or tab is included. Multiply that by five or six components and a concept that looked tight can become a loose, awkward pack-out.
Weight matters as much as dimension. Heavy contents need stronger board, better corner support, and inserts that distribute load. A rigid box with a weak insert can still crush if the contents push into one area. A light folding carton can work well if the contents are flat and stable. Material choice should follow the load path, not the wording on the presentation deck.
For most custom welcome boxes, the main material choices are paperboard, corrugated board, and rigid board. Paperboard gives crisp print reproduction and suits lighter kits. Corrugated board is better for shipping strength and handling abuse. Rigid board offers the most premium feel and the most controlled opening, but it also increases weight, freight cost, and assembly effort.
Finish affects both feel and durability. Matte laminate hides handling marks better than gloss in many mail-forward programs. Soft-touch can feel upscale, but it can scuff if the box is packed tightly or stacked in transit. If sustainability messaging matters, ask early about recycled content and certified sourcing. That conversation is easier before the art is approved than after the carton spec is locked.
The easiest box to open is not always the easiest to assemble. That sounds obvious until a pack-out team has to fold, tape, position, and close too many pieces per unit. Good retail packaging and good kit packaging both respect the person doing the work. The best design is the one that still makes sense after a few hundred units, not just in the render.
If the contents are fragile, mixed in size, or arranged in a specific sequence, ask for a mock pack-out. It is cheaper to fix a bad fit in a sample than in a production run. That is especially true for kits with custom welcome boxes built around apparel, bottles, cards, and accessories that all behave differently in transit.
Common Mistakes That Waste Budget or Slow Delivery
The most common error is designing around the outer size instead of the contents. That seems minor until the kit needs filler, extra labor, or a reworked insert because the items move around. Once the box dimensions are locked before the products are measured, every later correction costs more.
Another mistake is adding too many finishes before the structure is proven. Foil, embossing, multiple inserts, and specialty coatings can all be useful, but they should not be stacked on top of a layout that has not been tested. Start with fit. Then presentation. Then decorative extras. Otherwise, the budget goes into making a pretty box that is still awkward to build.
Skipping a full pack-out test is a bigger risk than many teams admit. A flat sample can look fine on a desk and fail once every item is in place. The lid may bow. A bottle may lean. A brochure may slide under an insert flap. Those are small issues in a proof and expensive ones on the production floor.
Shipping assumptions create trouble too. A package that works for hand delivery may not survive parcel compression. That is where shipping testing matters. It helps teams see whether the box can handle vibration, drop, and stacking stress under realistic conditions. For fragile or higher-value programs, that testing is part of responsible packaging design, not an optional extra.
Reorder flexibility gets overlooked. If the original spec cannot adapt to seasonal inserts, quantity changes, or alternate contents, the next run becomes slower and more expensive than it should be. Good planning leaves room for the variations a brand will actually use. That matters a lot for onboarding kits and recurring retail packaging programs, where the shell may stay the same while the contents change every cycle.
One more problem: teams sometimes approve a beautiful concept without thinking about assembly time. A box can photograph well and still be a bad production choice if it takes too long to pack or if the contents require too much hand adjustment. Attractive only counts if it can be repeated consistently.
Next Steps for a Cleaner First Order
Start with a short checklist. Confirm the contents, measure every piece, define the target quantity, and decide how the box will ship. Those four inputs drive most of the quote. If they are vague, the estimate will be vague too.
If the kit has more than a couple of items, request a prototype or mock pack-out. That is especially important for fragile products, mixed-height components, or kits with a precise opening sequence. A solid sample should tell you three things: whether the fit works, whether the unboxing feels deliberate, and whether the pack-out can be done without friction.
Ask for pricing that separates the structure, insert type, print method, finishing, and lead time. That gives a real comparison instead of one number with too many assumptions hidden inside it. It also makes it easier to compare Custom Printed Boxes across vendors without losing track of what is actually included.
Leave room in the schedule for artwork review, proof approval, and one adjustment if the first sample reveals a problem. That buffer is not wasted time. It is the cost of making a package that arrives complete and looks intentional. Custom welcome boxes should protect the contents, present the brand clearly, and stay practical enough to build without unnecessary waste.
What should go inside custom welcome boxes for onboarding?
Start with the essentials: a branded welcome card, access items, key paperwork, and any product samples the recipient needs right away. After that, add sleeves, pouches, or inserts so small parts do not shift in transit. The strongest kits usually balance usefulness with a few well-chosen brand moments instead of crowding the box with filler.
How much do custom welcome boxes usually cost per unit?
Unit cost depends most on size, material, print coverage, finish, and how complex the insert system is. Higher quantities usually reduce pricing because setup costs are spread across more units. Freight, assembly, sampling, and revision rounds can change the real project total, so a proper quote should include more than the shell alone.
What is the typical turnaround for custom welcome boxes?
Turnaround depends on whether the build uses a standard structure or a fully custom dieline and insert system. Proofing, sample approval, finishing, and shipping all add time, so the schedule should include margin for review. Rush orders can be possible, but they usually reduce flexibility on materials, finishes, or assembly options.
Do I need a mailer, folding carton, or rigid box?
Choose a mailer when you want a shipping-first format with good presentation value. Choose a folding carton when the contents are lighter and the goal is efficient production with strong print detail. Choose a rigid box when the kit needs a premium feel, stronger structure, or a more controlled unboxing experience.
How do I reduce damage during shipping?
Use custom inserts or dividers so every item has a fixed position and cannot collide with the others. Test the full pack-out under realistic shipping conditions, including compression and handling, before approving the final build. Match the board strength and closure style to the contents so the box protects the product instead of only displaying it.