Order Die Cut Vinyl Stickers Custom for Your Brand
What Die Cut Vinyl Stickers Custom Orders Really Mean
A sticker’s shape often gets noticed before the artwork. That sounds backward until you see a shaped logo on a laptop, mailer, jar lid, or product box. The silhouette interrupts the usual grid of rectangles, labels, barcodes, and flat panels.
In plain terms, die cut vinyl stickers custom orders are vinyl stickers trimmed around the outer contour of a logo, illustration, wordmark, mascot, product shape, or icon. If a coffee brand has a bear mascot, the sticker follows the bear. If a skincare line uses a leaf mark, the edge can trace the leaf. The cut is not decoration after the fact; it becomes part of the brand system.
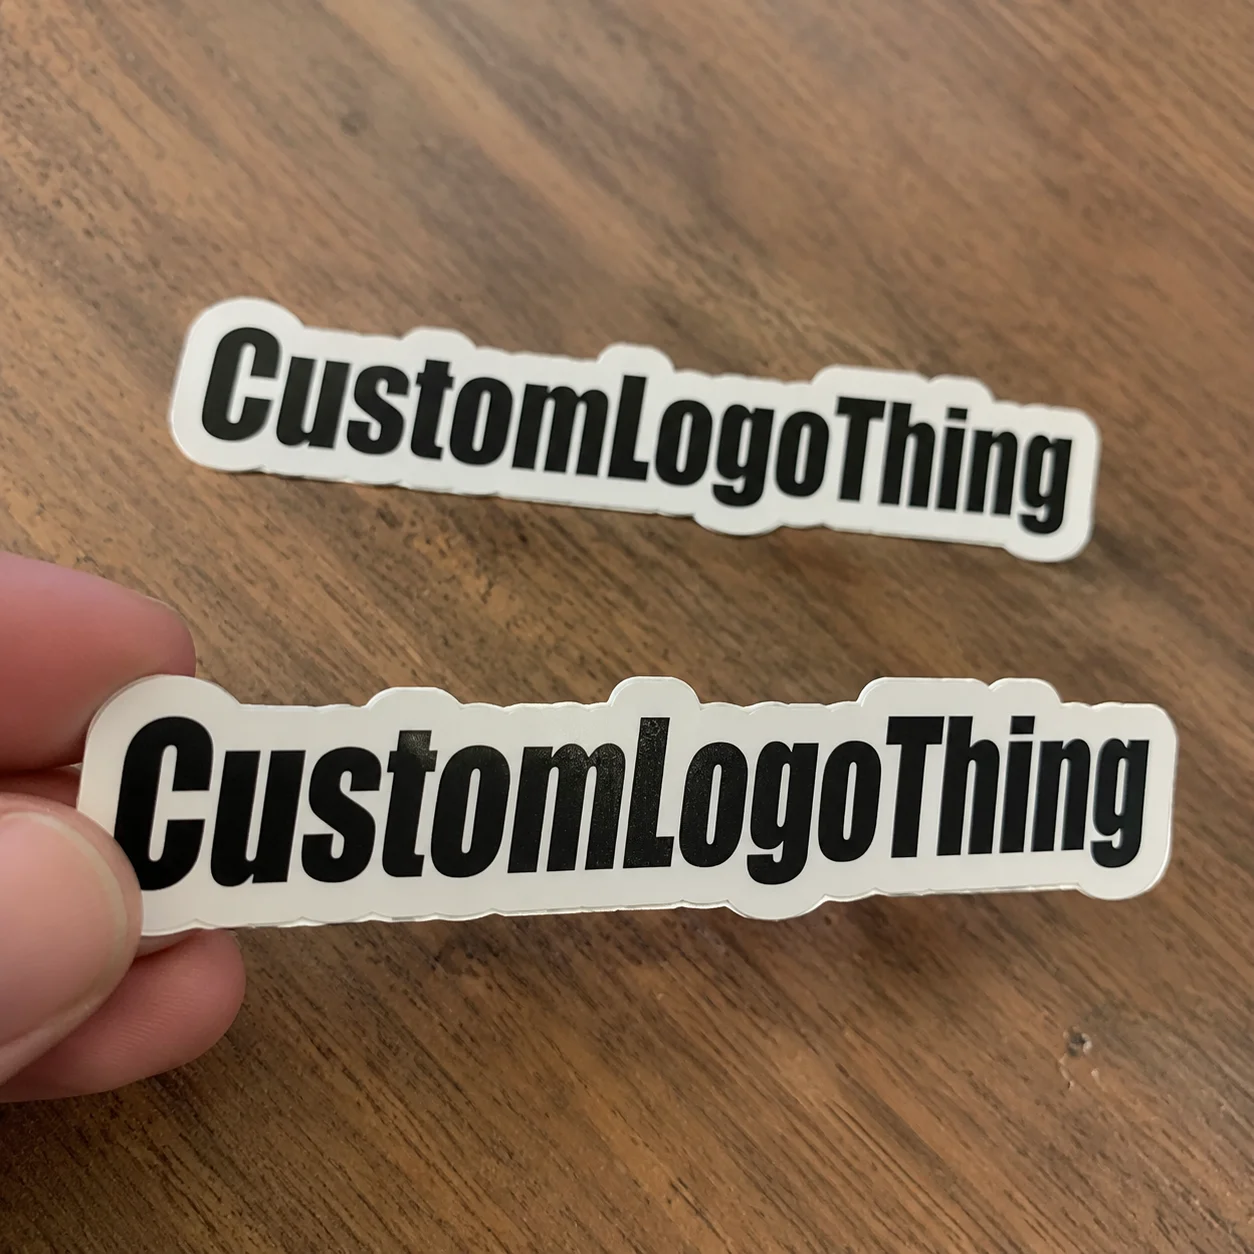
The terminology can get muddy, so the distinctions matter. A circle sticker is cut as a circle regardless of the artwork. A square sticker stays square. A kiss cut sticker is cut through the sticker layer but left on a larger backing sheet, which makes peeling easier for small, delicate, or multi-piece designs. A die cut sticker is cut through both the vinyl and the backing around the final outside shape. That clean finished edge is why it feels more intentional in the hand.
Brands use shaped vinyl stickers for package inserts, merch giveaways, event handouts, QR-code prompts, retail packaging accents, and loyalty extras tucked inside Custom Packaging Products. A 3-inch sticker on a plain mailer can add a branding moment without reprinting the entire shipping box. A 2-inch icon on a candle carton can work as a seal, label, and keepsake at the same time.
Vinyl is popular because it handles moisture and frequent contact better than paper in many applications. Not every application. Paper can be the smarter choice for short-life indoor labels, recyclable packaging programs, or low-cost promotional pieces that are not expected to last. Vinyl gives more room for indoor and outdoor use, especially with the right adhesive and laminate. Shape, material, adhesive, finish, file setup, quantity, price, and timeline all affect the result. Skip one of them and the proof may look fine while the finished sticker fails on the actual surface.
How the Cutting and Printing Process Works
The usual workflow is simple on paper: artwork review, digital proof, print setup, vinyl printing, optional lamination, contour cutting, quality check, packing, and shipping. The buyer sees a proof. The production team sees instructions for size, color placement, cut line, material, finish, quantity, and packing.
The cut path is the invisible line that tells the cutter where to trim. Think less “office scissors” and more GPS-guided blade. Traditional die tooling used a physical metal die, which made sense for very large repeat runs but added setup cost and time. Most modern custom vinyl sticker orders rely on digital contour cutting, so runs of 250, 500, or 1,000 pieces are practical without building a dedicated die.
A small border is often added around the artwork. Common borders run about 1/16 inch to 1/8 inch, depending on the design and finished size. That margin protects readability, masks tiny print-and-cut shifts, and helps fragile shapes peel without tearing. A cutter may be able to follow a needle-thin whisker, tiny star point, or sharp serif. The better question is whether customers can peel and apply it without mangling the edge.
Proofing is the buyer’s checkpoint. A useful proof confirms finished size, outer shape, border width, color placement, and special notes such as “clear vinyl,” “matte laminate,” or “kiss cut on backing.” It is not merely a pretty mockup. It is the last low-cost chance to catch a misspelled URL, a QR code that scans poorly, or a sticker that is too wide for the lid it needs to fit.
Production tolerances need honest discussion. Small shifts can happen between print and cut, often fractions of a millimeter to about 1/16 inch depending on equipment, material, speed, and design. Bleed and safe areas protect the artwork from those normal shifts. A print-ready file with extra background beyond the cut line performs better than art that ends exactly at the edge.
Practical buyer note: If the design has tiny gaps, sharp spikes, narrow bridges, or text under roughly 6 points, ask for a production recommendation before approving the proof. Clean peeling matters as much as clean printing.
Materials, Adhesives, and Finishes That Change Performance
Material choice is where many sticker projects get too casual. White vinyl is the common workhorse because colors print clearly against an opaque base. Clear vinyl works well on glass, bottles, windows, and packaging where the background should show through. Holographic and metallic vinyl add movement and shine, which can suit merch, limited drops, and event swag. Removable vinyl supports temporary campaigns. Outdoor-grade vinyl is built for tougher exposure, especially with protective lamination.
Adhesive choice matters just as much. Permanent adhesive is usually best for laptops, bottles, equipment cases, retail displays, and long-term promotional use. Removable adhesive is better for seasonal packaging, short promotions, window graphics, or surfaces where residue would create complaints. Specialty adhesives may be needed for textured, waxy, powder-coated, or low-energy plastic surfaces. Polyethylene and polypropylene packaging can be difficult because standard adhesive does not grip them as readily as glass, painted metal, or smooth coated board.
Finish changes appearance and performance. Gloss boosts color and makes saturated artwork pop. Matte reduces glare, which helps logos photograph better under trade show lights or retail shelf lighting. Soft-touch style finishes can make a sticker feel closer to merch, although they may show oils or scuffs faster depending on handling. Lamination adds a protective layer that can improve scratch resistance, water resistance, and UV durability. It is not armor. Sunlight, abrasion, cleaning chemicals, and the application surface still set the limits.
| Sticker Spec | Best Fit | Watch-Out |
|---|---|---|
| White vinyl with gloss laminate | Logo giveaways, laptops, product packaging inserts | Can glare in product photos |
| Clear vinyl with white ink support | Glass jars, bottles, windows, clear retail packaging | Colors may look weak without white ink behind them |
| Matte laminated vinyl | Premium mailers, candle boxes, boutique branded packaging | May mute very bright colors slightly |
| Holographic or metallic vinyl | Merch drops, event stickers, limited-run promotions | Fine text can lose contrast on busy reflective surfaces |
| Outdoor vinyl with protective laminate | Water bottles, bikes, skateboards, equipment cases | Costs more and still depends on surface prep |
The surface can matter more than the sticker itself. Glass, painted metal, cardboard, plastic bottles, laptops, waxy mailers, coated paperboard, and soft-touch cartons all interact with adhesive differently. A brewery label sticker, candle box seal, skateboard decal, and conference swag sticker should not use the same spec just because the logo is the same. Packaging turns every material decision into a real-world test.
For broader sustainability and material discussions, the EPA’s sustainable materials management resources are useful background reading, especially if stickers are part of a larger product packaging program. If paperboard sourcing is also part of the project, FSC certification can be relevant for boxes, hang tags, inserts, and labels.
Cost, Pricing, and Unit Cost Drivers to Check
Sticker pricing is usually driven by size, quantity, material, finish, shape complexity, lamination, artwork readiness, and shipping speed. The lowest unit price is not always the lowest project cost. Delivered cost, proof clarity, and fit for purpose deserve more weight than a half-cent saving that creates peeling complaints or missed deadlines later.
Unit cost drops as quantity rises because setup, proofing, machine calibration, material handling, and packing are spread across more stickers. A 250-piece order may look expensive per sticker. A 1,000-piece order often looks more efficient. The curve is not endless. After a certain point, vinyl area, ink coverage, press time, finishing, and freight become the larger share of cost.
Size surprises buyers. A 4-inch sticker is not just a little more expensive than a 2-inch sticker. It can use around four times the area, depending on shape, because area grows quickly as dimensions increase. Nesting also matters. Odd silhouettes may leave more unused vinyl between pieces, while compact shapes fit more efficiently on a sheet or roll layout.
Intricate cuts can add cost or production risk. Thin points, tiny gaps, interior notches, and delicate edges may require slower cutting or a design adjustment. Premium materials such as holographic, metallic, clear, or heavy-duty outdoor vinyl also change the quote. Lamination adds cost, but it may prevent more expensive problems if the sticker faces abrasion, moisture, sunlight, or repeated handling.
| Order Scenario | Typical Unit Cost Range | Common Timeline After Proof Approval |
|---|---|---|
| 250 basic white vinyl stickers, around 2-3 inches | $0.55-$1.20 each | 5-8 business days plus transit |
| 1,000 white vinyl stickers with matte or gloss laminate | $0.22-$0.55 each | 6-10 business days plus transit |
| 2,500 outdoor laminated stickers | $0.16-$0.38 each | 8-12 business days plus transit |
| 500 holographic or metallic die cut stickers | $0.60-$1.50 each | 7-12 business days plus transit |
These ranges shift with size, coverage, supplier, material availability, and freight. They are not a substitute for a quote. They do show the pattern: quantity breaks matter. Ask for 250, 500, 1,000, and 2,500 pieces if the campaign volume is uncertain. The answer often reveals that doubling the order adds less money than expected.
Hidden cost traps include rushed production, unclear artwork, repeated proof changes, oversized mailer packaging, and choosing a finish that does not match the actual use case. If stickers support a product launch, subscription box packing run, retail promotion, or event giveaway, quote the full landed cost: stickers, setup, proofing, shipping, taxes, and rush fees.
Timeline, Proofing, and Lead Time from File to Delivery
A realistic order timeline starts with file submission. Then comes prepress review, proof creation, customer approval, production, quality inspection, packing, and transit. The clock usually starts after proof approval, not when the first quote request is sent. That difference causes many missed trade show, launch, and fulfillment deadlines.
For standard die cut vinyl stickers custom orders, production might take 5-10 business days after proof approval. Specialty materials, high quantities, heavy ink coverage, or complex cuts can stretch that window. Rush options may be available, but rush fees can be steep and do not remove shipping time. If the stickers are going inside Custom Printed Boxes, mailer kits, or influencer packs, build a buffer before the packing date, not just before the public launch date.
The biggest delays are predictable: missing vector artwork, low-resolution images, unclear sizing, late proof approval, specialty material sourcing, production queues during promotional seasons, and changes after approval. One vague sentence can cost a day. “Make it about hand size” is not a production instruction. “Finished size 3 inches wide, matte laminate, white vinyl, 1/8-inch white border” is much better.
Review the proof slowly. Check finished size, cut line, border width, spelling, logo orientation, color expectations, quantity, and material. If there is a QR code, scan it from the proof and again from a printed sample if available. If the sticker must sit on a pouch, jar, bottle, or insert card, measure the physical placement area with a ruler. Screen previews have no scale.
Turnaround and delivery date are not the same. Production turnaround is the manufacturing window. In-hand date includes freight pickup, carrier movement, weekend gaps, and delivery to the correct address. For event handouts, retail drops, subscription boxes, and influencer mailers, a 3-5 business day transit estimate can still be affected by weather, carrier congestion, or receiving dock delays.
A small test run is sensible if fit matters. Order 25-100 pieces before committing to thousands when the sticker must wrap a curved bottle, seal a rigid box, or line up with printed artwork on Custom Labels & Tags. Testing feels slow until the alternative is reprinting 5,000 pieces.
Common Artwork and Ordering Mistakes to Avoid
The most common artwork problem is the tiny web logo. A 400-pixel PNG pulled from a website may look fine on screen but print soft, jagged, or pixelated at 3 inches wide. Vector files such as AI, EPS, SVG, or print-ready PDF usually scale cleanly and make cut paths easier to prepare. High-resolution PNG or PSD files can work, but screenshots and compressed social media images are risky.
Overly thin borders create another problem. A hairline white edge may disappear after normal print-and-cut tolerance. Tiny isolated shapes can lift during peeling. Sharp points may curl. Thin text can fill in, especially on reflective or textured materials. If the sticker needs to survive pockets, water bottles, laptops, or event tote bags, design for handling rather than only for the monitor.
Color expectations need a reality check. RGB screen colors can look different from printed colors, especially bright blues, neon tones, and saturated gradients. Many sticker presses print in CMYK or extended digital ink sets, but no print process perfectly matches every glowing screen color. Brand color references help. A Pantone reference, previous printed sample, or approved packaging design file gives prepress something concrete to target.
Transparent background artwork is not the same as clear vinyl. A transparent PNG simply means the file has no background pixels. The sticker could still be printed on white vinyl unless clear material is specified. If you want a window decal effect, ask for clear vinyl and discuss whether white ink is needed behind the artwork. Without white ink support, colors on clear material can look translucent or weak against dark surfaces.
Size misjudgment is brutal because it is so easy to avoid. A 2-inch sticker may look great on a laptop but feel lost on a 10-inch shipping box or large retail pouch. A 4-inch sticker may overpower a small candle carton. Print a paper mockup at actual size, cut it out, and place it on the real surface. Low-tech. Accurate.
- Confirm size: Finished width and height in inches or millimeters.
- Confirm file type: Vector preferred, high-resolution raster only when suitable.
- Confirm spelling: URLs, QR codes, social handles, ingredients, and claims.
- Confirm cut path: Border width, outer shape, and fragile areas.
- Confirm material: White, clear, outdoor, holographic, metallic, or removable vinyl.
- Confirm finish: Matte, gloss, soft-touch style, or laminate requirement.
- Confirm logistics: Quantity, deadline, shipping address, and in-hand date.
Do not approve proofs in a hurry. The proof is the last cheap place to catch mistakes. Surface testing matters too, particularly on textured packaging, coated paperboard, waxy mailers, curved containers, and soft-touch cartons. A sticker that performs beautifully on glass may not behave the same way on a coated pouch.
Next Steps Before You Request a Sticker Quote
Start with the use case. Is the sticker a giveaway, a box seal, a bottle decoration, a QR-code prompt, a retail packaging accent, or a durable decal? That decision should drive size, surface, durability needs, finish, quantity, and deadline. Too many orders start with “How much for 1,000 stickers?” before anyone has defined what the sticker must survive.
Measure the actual placement area with a ruler. If the sticker goes on a mailer, box, pouch, jar, or bottle, send the supplier the finished placement dimensions and, if possible, a photo of the surface. Curves, seams, flap edges, coatings, and textured boards affect the spec. For package branding programs, a sticker may need to coordinate with labels, inserts, custom printed boxes, and outer shippers rather than stand alone.
Prepare the best file available. AI, EPS, SVG, or print-ready PDF is usually preferred. Include brand color references, desired finished size, notes about border width, and whether the background should be white, clear, metallic, or holographic. If you only have a PNG, send it, but ask whether the resolution is acceptable before assuming it will print sharply.
Collect two or three quantity targets. A supplier can price useful breaks at 250, 500, 1,000, and 2,500 pieces, or whatever fits the campaign. That gives you a better read on the real cost curve. Also ask for proof details in writing: cut line, border, finished size, material, finish, production time, shipping method, and expected delivery date.
- Choose the use case and application surface.
- Measure the placement area at actual size.
- Select durability needs: indoor, outdoor, wet-use, or temporary.
- Prepare vector artwork or the highest-resolution file available.
- Request quantity breaks and total delivered pricing.
- Review the proof before production starts.
Done well, shaped vinyl stickers can make branded packaging feel sharper and more useful without redesigning every box or insert. The practical work is in the details: finished size, cut line, material, adhesive, finish, quantity, shipping method, and realistic timeline. The sticker is small. The decision is not.
FAQ
What are die cut custom vinyl stickers best used for?
They work well for logo giveaways, product packaging inserts, bottle and jar decoration, laptop decals, event swag, retail promotions, and branded mailer extras. They are especially useful when the sticker shape carries the brand identity, such as a mascot, icon, product silhouette, or bold wordmark. Choose vinyl over paper when the sticker may face frequent handling, moisture, outdoor exposure, or longer-term use.
How much do custom die cut vinyl stickers cost?
Cost depends on size, order quantity, vinyl type, finish, lamination, cut complexity, artwork readiness, and shipping speed. Unit cost usually decreases at higher quantities because setup and production handling are spread across more stickers. For accurate pricing on die cut vinyl stickers custom orders, request quantity breaks and compare total delivered cost rather than only the per-sticker price.
What file type is best for die cut vinyl sticker printing?
Vector files such as AI, EPS, SVG, or print-ready PDF are usually best because they scale cleanly and make cut paths easier to prepare. High-resolution PNG or PSD files may work for some designs, but screenshots, small web images, and compressed social media files often print poorly. Include brand color references, desired size, and notes about border width or clear areas when available.
How long does it take to make die cut vinyl stickers?
The timeline typically includes artwork review, proofing, proof approval, printing, cutting, quality control, packing, and shipping. Production usually begins after the proof is approved, so quick and careful proof review helps protect the delivery schedule. Specialty materials, rush seasons, large quantities, proof revisions, and shipping distance can extend the total lead time.
Are die cut vinyl stickers waterproof and outdoor safe?
Many vinyl stickers are water-resistant, and outdoor-grade vinyl with protective lamination can perform well in tougher conditions. Durability depends on the vinyl, adhesive, ink, laminate, surface, sunlight exposure, abrasion, and cleaning chemicals. For outdoor or wet-use applications, specify the environment before ordering so the material and finish match the job.


