The Embroidered Baseball Caps logo placement guide sounds straightforward until the logo leaves the flat screen and lands on a curved crown. That is where clean artwork starts negotiating with seams, panel height, and fabric tension. A design that looks balanced in a proof can feel crowded on a real cap, and a mark that seemed too small on paper may read perfectly once it is stitched.
Placement changes more than appearance. It affects stitch count, setup time, resale value, and whether the cap feels like a deliberate branded piece or a rushed promo item. Buyers often focus on color first. They should be looking at panel structure first. The cap decides a lot of the outcome before the first needle move.
What embroidered baseball caps logo placement controls
Placement controls visibility, cost, and the amount of technical work the embroidery shop has to do. A logo sitting on the correct front panel can be stitched cleanly with fewer adjustments. Move that same mark across a seam or onto a low-profile crown and the digitizer has to work harder to keep the edges readable.
It also changes the tone of the cap. A center-front logo feels direct and commercial. A left-front mark feels more restrained, closer to lifestyle apparel. A small back hit often reads like an afterthought unless it is part of the brand system from the start. That difference matters because caps are read from a distance first and inspected up close later. The eye notices balance before it notices thread count.
From a production standpoint, placement can move the price more than expected. A simple front logo on a standard structured cap might sit near the lower end of the quote range. Add a side hit, back text, or 3D puff, and the job can jump noticeably because each new location creates more hooping, more alignment checks, and more opportunity for rejection. For many orders, that means the same artwork can land anywhere from about $2.50 to $5.00 per cap before the blank itself is counted.
The other thing placement controls is wearability. Oversized embroidery stiffens the front panel and can make the cap feel overbuilt. Tiny, fragile lettering may disappear into the fabric grain. Good placement keeps the mark readable without forcing the hat to carry more thread than the fabric can comfortably support.
If the logo has to cross a seam, the seam usually decides the winner. Shops can compensate. The cap structure rarely compromises back.
Front, side, and back placement zones explained
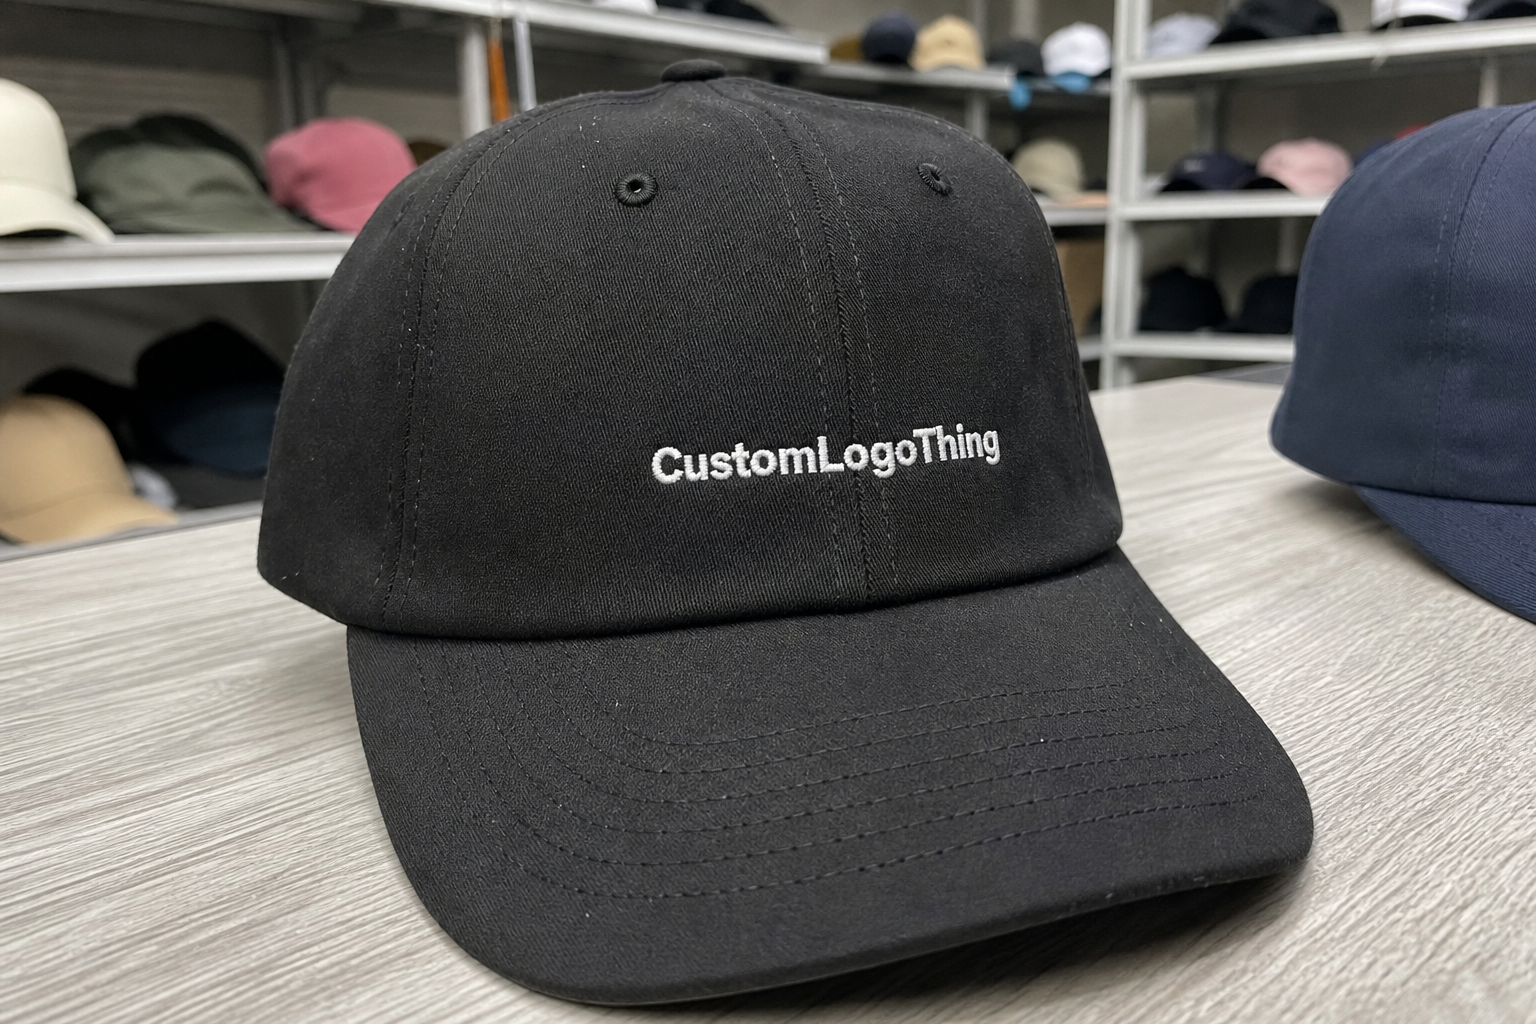
Center front remains the most common location because it gives the strongest read from a distance and works well on structured caps. Six-panel snapbacks, foam fronts, and other supported crowns hold embroidery more predictably than soft unstructured hats. On a typical structured front, logos between roughly 2.25 and 3.5 inches wide are common, though the real limit depends on panel width, crown depth, and the shape of the art.
Left-front placement feels quieter. It suits golf caps, premium merch, and brands that want the mark visible without treating the crown like a billboard. The tradeoff is obvious: less presence from a distance. A tasteful left-front logo can also disappear if it is too small or too close to the seam. That is why off-center placement works best with simple icons, initials, or compact wordmarks.
Side embroidery is usually secondary. It works for short URLs, sponsor marks, event dates, or a small icon that supports the main identity. The panel area is tighter than buyers expect, and side placement gets awkward fast if the design has multiple lines or thin letterforms. Side hits are often better on larger profile caps than on low crowns, where the available flat space is limited.
Back placement can handle a web address, small slogan, or compact logo near the closure. It should not be the default answer unless the front is intentionally clean. Adjustable closures add another variable because buckles, straps, and snaps can interfere with the embroidery field. A back arch that looks safe on a paper proof may end up too close to hardware once the cap is actually assembled.
Under-brim embroidery appears in special projects, but it is not a practical choice for most bulk orders. It is slower, harder to inspect, and easier to miss in normal wear. If a supplier suggests it for a large run, ask why. Often the answer is aesthetic, not operational.
Construction changes all of this. Five-panel caps give a broader front space with fewer interruptions. Six-panel caps often introduce a center seam or seam-adjacent shaping that narrows the usable area. Structured caps keep shape and support crisp outlines. Unstructured caps flex more and can distort circular badges, narrow text, or anything that depends on perfect symmetry. That is why the same art may work beautifully on one cap and look off by a quarter inch on another.
Key sizing, stitch, and cap construction factors
The guide only works if the logo can survive the stitch-out. That means size, stitch density, and cap construction have to be checked together. A file can look refined on screen and still fail once the needle starts pulling thread through curved fabric. Tiny type is the classic casualty. So are thin borders, hairline icons, and stacked copy that depends on spacing more precise than embroidery can hold.
As a practical floor, many embroidery shops try to keep fine details around 1.5 to 2 mm wide and letters tall enough that the counters and stems stay separate. That is not a universal rule. It is a sanity check. Once the design gets more delicate than that, thread begins to behave like paint brushed with a broom. It fills in, rounds off, and obscures what the vector file thought was obvious.
Digitizing is where the real placement strategy lives. Good digitizing adapts the art to the cap, not the other way around. It changes stitch direction to follow the crown, reduces unnecessary jumps, and keeps density low enough to avoid puckering. Bad digitizing does the opposite. It overpacks thread, pulls the fabric, and makes the logo ride up on itself after washing or wear.
Material matters too. Cotton twill, brushed cotton, polyester performance fabric, and wool blends all hold embroidery differently. Soft cotton can show puckering if stitch density is too aggressive. Performance fabric can slip under the needle if the backing is weak. Foam-front truckers can support bold 3D puff, but only if the design is simplified enough to sit on top of the foam cleanly. A fine script font on puff is a bad bet. So is a multi-layer crest that depends on subtle edge detail.
Quality checks should be specific. Ask for exact measurements from the center seam or bill seam, not just “centered.” Ask for stitch count, backing type, and whether the cap will be hooped directly or mounted with a specialty frame. These details sound technical because they are. They also explain why one logo may look expensive at first glance and cheap once it is stitched too tightly.
Different embroidery styles change the result quickly:
- Flat embroidery gives the cleanest read for text, icons, and most corporate logos.
- 3D puff embroidery adds height and a sportswear feel, but it needs bold shapes and wider borders.
- Mixed-thread designs can look rich when restrained and cluttered when every element tries to compete.
There is a reason experienced buyers ask for a sew-out. The proof tells you where the art sits. The sew-out tells you whether the thread, fabric, and placement actually agree.
Step-by-step: choose the right logo spot
Start with the use case. A staff uniform cap needs instant recognition. A retail cap can afford a quieter placement. A giveaway needs a logo that reads quickly in motion, because people are not studying it. They are taking it, wearing it, and deciding in a few seconds whether it feels worth keeping.
- Check the logo at actual stitch size, not full-page artwork scale.
- Match the logo to the cap profile: structured, unstructured, low-profile, or high-crown.
- Confirm whether the placement touches a seam, sits near closure hardware, or wraps around a curve.
- Review the design under arm’s-length viewing and indoor light, where most caps are actually seen.
- Approve a digital proof only after the placement has been measured against the real cap style.
The last step is where many orders either stay efficient or drift into revision purgatory. A proof is useful, but it cannot fully simulate thread bulk, fabric memory, or how the bill changes sightlines. A cap that looks centered on a monitor may need a slight shift once it is stitched. That is not a failure. It is the normal cost of working with a three-dimensional object.
One useful test is brutally simple: hold the cap at normal wearing distance and ask whether the logo still reads without effort. If someone needs to squint or tilt the hat to understand the mark, the design is asking too much of the placement. Either the art is too busy, the lettering is too small, or the zone is wrong.
Production steps and turnaround for embroidered caps
A typical order moves through artwork review, digitizing, proof approval, sample or sew-out, bulk production, and final packing. That sounds orderly. In practice, one weak file can slow the chain at several points. Low-resolution artwork is the usual culprit. So is a logo with gradients, tiny type, or no vector source. Before the first stitch runs, somebody has to rebuild the art so the needle can understand it.
Most delays come from a few predictable places: revised colors after proofing, uncertainty about placement on different cap styles, and waiting for a sample approval that was never budgeted into the timeline. Simple front-only embroidery on a standard cap can often move in about 10 to 12 business days after proof approval. Add multiple locations, puff, or dense stitch fields, and 15 to 20 business days is more realistic. Rush service exists, but it usually trims the margin for correction rather than magically removing the work.
Production quality is easier to protect when the supplier gives you measurable checkpoints. A good checkpoint list includes stitch count, thread color references, placement dimensions, and a sew-out photo on the actual cap model. If a supplier cannot provide those basics, the process is looser than it should be. Loose processes are fine for experiments. They are expensive for bulk orders.
Packaging also deserves more attention than it gets. If caps are going into retail-ready boxes or shipping cartons that need to hold shape, ask how the hats will be packed and protected. ISTA guidance is relevant when cartons need to survive stacking, vibration, and drops. If the order uses paper inserts, backing cards, or hang tags, FSC sourcing is a straightforward option for brands that want better material discipline without making a speech about it.
The fastest orders usually have one thing in common: the buyer makes the technical decisions before the schedule gets tight. Clean vector art, fixed cap specs, and fewer revision cycles save more time than any rush fee can.
Cost, pricing, and MOQ: what changes the unit price
Pricing is driven by stitch count, logo size, number of placements, thread changes, backing, and the blank cap itself. A small single-color front logo is the least expensive path. Add a side hit or back mark and the quote rises because the machine has to reposition and the shop has to manage another alignment point. Dense fills and 3D puff push the cost higher still because they take more prep and more machine time.
For rough planning, digitizing often falls somewhere around $25 to $75 per logo, depending on complexity and how much cleanup the art needs. Blank cap pricing varies too. A basic cotton twill cap may sit in a modest range, while a structured performance cap, foam-front trucker, or higher-end retail blank can move the order noticeably. The blank cost matters because embroidery is only part of the equation. A good quote separates the cap, the digitizing, the setup, and the decoration.
Minimums are another place where buyers get tripped up. Many programs start at 24, 48, or 100 units. That number matters, but the more useful question is how the per-cap price changes as quantity rises. A 24-piece run does not price like a 250-piece run. Setup costs are spread thinner at higher volume, and embroidery shops price accordingly.
| Placement option | Typical use | Relative cost impact | Notes |
|---|---|---|---|
| Center front, single-color logo | Uniforms, giveaways, core merch | Lowest | Best balance of visibility and simplicity |
| Left front or small side logo | Lifestyle caps, premium branding | Low to moderate | Needs careful sizing so it does not disappear |
| Front plus side or back mark | Retail collections, sponsor caps | Moderate to high | More setup, more repositioning, more labor |
| 3D puff or dense multi-color art | Bold retail drops, sports-style branding | Highest | Works best with simplified shapes and stronger borders |
Before comparing vendors, ask whether the quote includes digitizing, samples, thread changes, and shipping. A cheap line item often stops being cheap once the extras appear. The quote that looks higher on paper can still be the better deal if it avoids rework and hidden setup charges.
Common placement mistakes that waste an order
The most common mistake is trusting the mockup too much. A flat mockup does not show how the logo behaves over a seam, around a crown curve, or near a closure. A centered image on a screen can still land awkwardly on the real hat. That is especially painful when the art includes small text or a circular badge that depends on symmetry.
Another common error is oversizing the logo because the empty space feels wasteful. It rarely is. Push the embroidery too far across the front panel and the cap begins to look stiff, crowded, and overbranded. The same problem shows up with overly detailed art. Embroidery can handle quite a lot, but it cannot rescue a logo that needs hairline geometry to make sense.
Some mistakes are easier to spot but still happen all the time:
- Using text that is too small to remain legible in thread.
- Ignoring crown depth on low-profile caps.
- Forgetting that back hardware can block clean placement.
- Approving a proof without a sew-out or sample check.
- Assuming one placement works equally well across all cap styles in the order.
Fabric choice can amplify these problems. Soft cotton twill can pucker if the stitch density is too high. Stretch performance fabric can move under the needle if the backing is wrong. Foam-front caps can look sharp with puff, then fail if the logo is too intricate. Different materials do not simply hold embroidery. They negotiate with it.
Panel count matters too. Five-panel and six-panel caps do not behave the same way, even if the artwork is identical. If the placement plan ignores that difference, somebody will be adjusting the logo after the fact. That usually means more labor and a less precise result.
Expert tips and next steps before you approve
Ask for one primary placement and one fallback placement before the order is locked. That gives the shop room to adapt if the first version conflicts with seam lines or crown shape. A wide wordmark may need to move slightly or shrink a touch. A compact icon may stay on the front while the full brand name shifts to the side or back.
Request three things before approval: a sew-out photo, a thread color list, and exact placement measurements from a fixed reference point on the cap. That might be the center seam, bill seam, or a defined distance from the panel edge. Vague descriptions invite mistakes. Measurements reduce them.
Inspect the cap in hand, not only on a monitor. Curve changes the read of the logo. Thread catches light differently on a real crown than it does in a rendering. A smaller, tightly placed logo can look more premium than a larger one that was stretched just to fill space. That is one of the stranger truths of cap embroidery: restraint often looks more expensive than coverage.
For a final check, use the Embroidered Baseball Caps logo placement guide as a production filter. Keep the mark readable at actual size, make sure the cap shape supports it, and choose the placement that creates the fewest avoidable revisions. If the art, the material, and the stitch plan agree, the order is ready. If one of them is forcing the others to compensate, stop there and fix the problem before bulk production starts.
Where should a logo go on embroidered baseball caps for best visibility?
Center front gives the strongest visibility for uniforms, retail merch, and giveaways because people see it first. Left-front placement reads more subtle and can feel more premium, but it will not shout across a room. Avoid seam-heavy areas unless the artwork is simple and the cap construction can support it without distortion.
What size works best for embroidered baseball caps logo placement?
Most front logos need to stay compact enough to fit the panel without crowding the crown. Simple wordmarks can stretch wider, but detailed icons usually need to stay smaller so the stitches remain clean. Ask for the artwork at actual stitch size before you approve the production file, not after.
Does cap style change the logo placement decision?
Yes, and a lot. Structured caps hold front embroidery better, while unstructured caps flex and can distort the logo more easily. Trucker caps, dad hats, and performance caps each have different crown shapes and usable space. A placement that works on a snapback may look awkward on a low-profile cap.
How much does embroidery placement affect price and MOQ?
More placements, more stitches, and larger logos raise unit cost fast. Lower MOQs usually come with higher per-cap pricing because setup costs are spread across fewer units. Ask for a quote that separates digitizing, sample, production, and shipping so you can compare suppliers on the same basis.
What should I ask before approving embroidered baseball caps logo placement?
Ask for exact placement measurements, stitch count, and proof images on the actual cap style. Confirm thread colors, turnaround time, and whether setup fees are included. If the logo has fine detail, small text, or multiple color changes, request a sample or stitch-out before you release the bulk order.