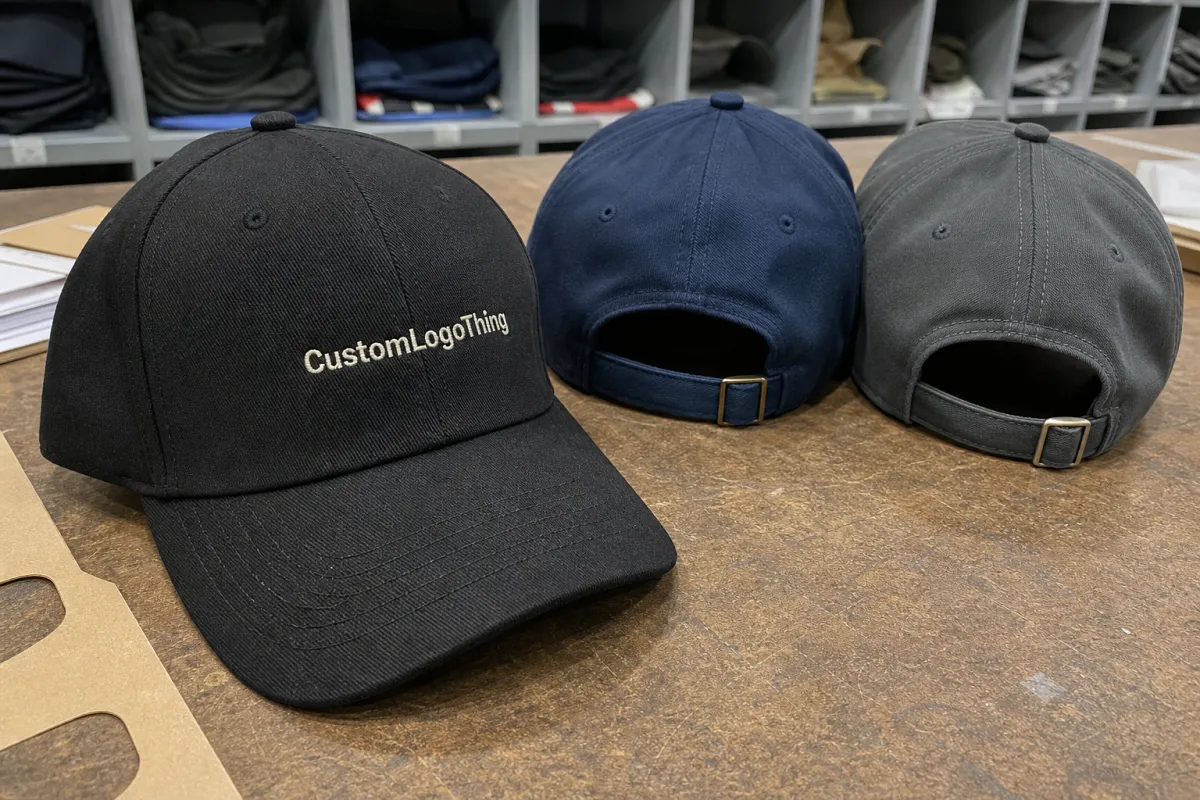
The embroidered baseball caps Material and Sizing guide starts before the needle ever hits fabric. Embroidery changes the front panel: it adds stiffness, reduces stretch, and can make the same labeled cap wear smaller after stitching. That is why a blank that feels fine in hand can fit differently once a logo is added.
This matters most when the buyer is choosing between soft unstructured caps, structured six-panel styles, truckers, fitted caps, or adjustable options. Each body reacts differently to thread density, backing, and crown depth. A cap that looks right on a proof can still feel wrong on the head if the construction and artwork are not matched.
For bulk orders, the useful questions are practical: who will wear the cap, how deep should it sit, how dense is the design, and what material will hold the shape after decoration? The right answers usually save more money than chasing the cheapest blank.
Dense embroidery does more than decorate a cap. It changes how the front panel stands, how the crown relaxes, and how much softness the wearer actually feels.
Embroidered baseball caps material and sizing guide: why fit changes after stitching
Embroidery is structural. Thread, underlay, and backing all add body to the front panels, so the cap can feel tighter even when the size label stays the same. Low-profile caps show this effect fastest because there is less crown height to absorb the change.
Two caps with the same size tag can wear very differently once decorated. A structured cotton twill cap usually supports a larger logo because the front panels already have support. An unstructured brushed chino cap may buckle or pinch if the artwork is wide, dense, or placed too close to the brim. That is why fit cannot be judged from size alone.
The order should begin with three decisions: who wears it, how the crown should sit, and how much embroidery is going on the front. A giveaway cap for a broad audience needs a different spec from a retail-style cap that has to feel exact and premium.
Even small design choices affect comfort. A thick satin-stitch mark, a large fill area, or a logo pushed too far down the front can make the crown feel heavy and less breathable. That does not make embroidery a bad choice; it means the cap body and artwork need to be planned together.
- Low-profile caps sit closer to the head and show fit changes faster after stitching.
- Structured caps keep shape better and support larger front embroidery.
- Unstructured caps wear softer, but they need lighter designs and careful placement.
- Thick backing improves stitch stability, but it also increases firmness in the front panel.
That is the core buying lesson: fit is not just head circumference. It is how the blank behaves before decoration, how the embroidery is built, and how much the front panel changes once stitching is added.
How panel count, thread density, and fabric weight work together
Panel count shapes the sewing geometry. A six-panel cap has a center seam on the front, which can help the logo sit predictably. A five-panel cap gives a wide front panel, which is useful for clean graphics but can show puckering faster if the fabric is light or the stitch count is too high.
Thread density is the other side of the equation. A digitized logo with too many stitches can feel bulky, especially if underlay is heavy and the backing is stiff. Good digitizing balances stitch direction, pull compensation, and underlay so the embroidery lies flat instead of rippling the crown.
Fabric weight changes how forgiving the cap is. Heavier cotton twill and stable polyester twill usually carry embroidery well because the cloth resists distortion. Lighter materials can still work, but they often need simpler art, fewer fill areas, or more careful stabilization. Mesh-back truckers are a separate case: the front panels can handle embroidery, but the overall fit is looser because the back does not add structure.
Material choice also affects wear and feel. Polyester and blends usually hold up well through production and daily use, while very soft or brushed fabrics may show hoop marks or stitch drag more easily. If the caps will be worn outdoors, breathability and sweat management should be part of the decision, not an afterthought.
The best results come when panel count, fabric weight, and stitch density work together. When they do not, the crown fights the design and the wearer feels it immediately.
Materials, panel builds, and cost/pricing tradeoffs
Pricing is not just the embroidery charge. Buyers should compare the blank cap, stitch count, thread colors, digitizing complexity, and any extra structure needed to keep the logo clean. A small front mark on a standard cotton twill cap usually costs less than a large filled design on a premium structured body, even before freight and sampling.
Here is a practical comparison for mid-size runs. Actual pricing moves with quantity, design size, sourcing, and supplier capacity.
| Cap body | Blank cost at 500 pcs | Embroidery behavior | Best use |
|---|---|---|---|
| Structured cotton twill, 6-panel | $3.10-$5.25 | Supports medium to high stitch counts and keeps the front smooth | Corporate apparel, team caps, retail-style promos |
| Brushed chino cotton, unstructured | $3.40-$5.80 | Soft hand, but large fill areas can buckle the front panel | Lifestyle brands, casual giveaways, softer look |
| Polyester performance twill | $3.20-$5.60 | Stable under stitching and often better for outdoor wear | Sports events, field staff, active promotions |
| Mesh-back trucker cap | $2.60-$4.20 | Good for simpler logos; dense embroidery can distort lighter front panels | Casual merch, festival giveaways, bold logo programs |
Size choice also affects cost. Fitted caps may require several size SKUs, which increases planning and can leave leftovers if demand is uneven. Adjustable styles reduce that risk, but the closure quality matters; a cheap back closure can make the cap feel less usable even if the size range looks broad on paper.
For landed cost, compare the full order stack: blank cap price, digitizing, sampling, freight, customs if relevant, and packing. If the caps ship in corrugated cardboard cartons with kraft paper interleaving, the pack-out may cost a little more, but it can protect crown shape better than loose packing. Some programs also specify FSC certified cartons, recycled materials, post-consumer waste content, or even parts of biodegradable packaging where that aligns with the route to market.
For transit protection guidance, ISTA standards are useful at ista.org, and FSC certification details are available at fsc.org. Those references matter when the cap order is part of a larger branded packaging program.
In most cases, the best value is a moderate stitch-count logo on a stable twill cap. It gives a cleaner front, faster production, and fewer fit surprises than a dense design on a soft body.
Production steps and lead time from artwork to shipment
The production path is straightforward, but delays usually happen at the handoffs. A clean order moves from artwork review to digitizing, then cap selection, sample approval, bulk embroidery, finishing, packing, and final inspection. The better the first proof, the fewer revision loops later.
- Artwork review and cleanup. Vector files, spot colors, and logo size are checked first. Low-resolution art creates extra work for the digitizer.
- Digitizing. The embroidery file is mapped stitch by stitch. This is where stitch direction, density, and underlay are decided.
- Cap selection. The supplier confirms the exact cap body, crown height, and closure type. A shallow front and deep front are not interchangeable.
- Sample or proof approval. A pre-production sample can expose scale issues, thread sheen, or panel distortion before the bulk run starts.
- Bulk embroidery. The order moves into machine production once the proof is approved.
- Finishing and packing. Loose threads are trimmed, caps are shaped, and cartons are prepared for transit.
Timeline slips usually come from artwork cleanup, proof revisions, and waiting on sign-off. Logos with many small details or tight brand color requirements usually need more back-and-forth. Stock cap bodies can move faster once approval is in hand, while custom-sourced bodies or unusual closures add days or weeks.
Typical lead time depends on quantity and complexity, but a simple decorated cap run often lands in the 12-15 business day range from proof approval if the body is in stock. Larger runs, special sourcing, or dense artwork can stretch longer. Rushing production rarely fixes a weak approval process.
Step-by-step sizing for fitted, snapback, and adjustable caps
Start with a real measurement. Use a soft tape around the head where the cap will sit, usually just above the ears and across the forehead. Do not guess from shoe size or shirt size. Head circumference is the starting point and the cleanest way to map the wearer to the cap style.
For fitted caps, the size chart matters most. Typical fitted sizing uses labeled sizes such as 6 7/8, 7, 7 1/8, 7 1/4, and so on, with each step covering a narrow head range. There is no closure to hide a sizing miss, so fitted caps are precise but unforgiving.
Snapbacks and other adjustable caps make life easier for mixed groups. A common adjustment range covers roughly 21.5 to 24.5 inches in head circumference, though that changes with the closure hardware and back opening. The real question is whether the cap sits shallow, standard, or deep enough for the wearer.
Dad caps, strapbacks, and stretch-fit styles each behave differently. Dad caps are softer and usually sit a little lower, so they feel more casual after embroidery. Stretch-fit caps add comfort, but heavy stitching can reduce some of the elastic feel. Adjustable styles are usually the safest choice for promotional orders because they fit a wider audience without forcing multiple size SKUs.
A simple sizing checklist reduces surprises:
- Confirm the target head circumference range.
- Ask whether the cap runs shallow, standard, or deep.
- Verify the closure type: snapback, strapback, hook-and-loop, fitted, or stretch-fit.
- Check whether the brand needs a structured or unstructured crown.
- Ask for the supplier’s size chart before approving the order.
That checklist may look basic, but it prevents most fit problems before production starts. A buyer who knows the audience can choose a cap style that fits the wearer and still supports the logo cleanly.
Common ordering mistakes that cause fit problems
The biggest mistake is choosing the cap for the logo first and the wearer second. A design can look perfect on screen and still perform badly on a cap that is too shallow, too soft, or too lightly built for the stitch load. That usually shows up as returns, awkward wear, or caps that never leave storage.
Another common error is oversized embroidery on an unstructured front. The same artwork may work well on a structured retail cap, but it can buckle a soft panel and make the crown sit oddly. Once that happens, the cap can feel smaller even if the circumference is technically correct.
Skipping sample approval is another expensive shortcut. Without a sample or pre-production proof, buyers do not see thread sheen, logo scale, or stitch density until the bulk run is already underway. A flat proof image is never the full story; the physical sample shows how the logo, fabric, and closure actually behave together.
Packaging mistakes matter too. If caps are stacked too tightly or packed into weak cartons, the crown can flatten before the customer opens the box. Solid corrugated cardboard, sensible use of kraft paper, and the right transit spec help preserve the finished shape.
If a cap needs too much effort to fit the logo, the cap body and artwork are probably not matched well enough.
Finally, buyers often forget the use case. A promo cap for a trade show should not be spec'd the same way as a retail cap for a style-conscious audience or a field cap for outdoor staff. The wearer, the environment, and the logo all need to point in the same direction.
Expert tips and next steps for a cleaner bulk order
Ask for a sample or pre-production proof and review it like a real end user would. Put it on a head, not just on a desk. Check the front profile, the depth, the closure, the logo balance, and whether the stitch density feels right for the intended wear environment.
Choose the cap construction around the logo, not the other way around. A large filled logo needs a front panel with enough structure to carry the stitch load. A small wordmark can live comfortably on a softer body, which gives the cap a more relaxed hand. If the logo is highly detailed, simplify where you can; cleaner art usually looks more premium once embroidered.
Build the order around a realistic size plan too. If the audience is mixed, adjustable caps may be smarter than a spread of fitted sizes that leaves odd leftovers. If the audience is specific, fitted caps can feel better and look sharper, but the size chart has to be communicated clearly before production starts.
For shipping, ask how the caps will be packed. A carton spec with FSC certified outer boxes, recycled materials where practical, or parts of post-consumer waste content can support sustainability goals without sacrificing protection. In some programs, biodegradable packaging components make sense; in others, a sturdier recycled-fiber packout is the better call.
The cleanest next steps are simple: measure the wearer group, pick the cap construction, confirm the logo limits, review the proof, and then release the bulk run. That is what turns the Embroidered Baseball Caps material and sizing guide into a working order plan instead of a guess.
How do embroidered baseball caps fit compared with blank caps?
Embroidery adds structure to the front panels, so the cap can feel firmer and a little smaller than the same blank style. Heavier designs or dense stitching usually reduce stretch more than simple logos, especially on low-profile caps where there is less crown depth to absorb the change.
What material is best for embroidered baseball caps in hot weather?
Lightweight polyester and breathable cotton blends often feel cooler than heavier brushed twill or foam-front styles. If the cap will be worn outdoors, choose a fabric that balances airflow with enough structure to support the embroidery without collapsing the front.
How much does embroidery add to baseball cap pricing?
Price usually rises with stitch count, thread colors, logo size, and whether the design needs more complex digitizing. The blank cap material and construction matter too, so compare the decorated unit cost instead of only the embroidery fee if you want a real landed number.
How long does production usually take for embroidered baseball caps?
Timeline depends on sample approval, artwork readiness, order size, and whether the cap style is stocked or custom sourced. Simple orders move faster, while detailed logos or back-and-forth proof revisions can extend the lead time, especially if the cap body needs special sourcing.
What sizing details should I send before ordering embroidered baseball caps?
Send head circumference, preferred cap style, closure type, and whether the wearer group needs shallow, standard, or deep fit. If possible, include a reference hat that fits well so the supplier can match the feel more accurately; that gives the supplier enough context to apply the embroidered baseball caps Material and Sizing guide to real wear, not a generic size label.

