Get Fast Printed Matte Zipper Packaging Insert Checklist: What Buyers Actually Need
The product is approved. Inventory is boxed. A retailer wants ship dates. Then the zipper bag order freezes because nobody confirmed the insert size, matte finish, barcode placement, or print file setup. Very glamorous. Very avoidable.
A get fast printed matte zipper Packaging Insert Checklist is not administrative clutter. It is a way to keep a packaging order from bouncing between purchasing, design, compliance, and the supplier while everyone waits for one missing answer.
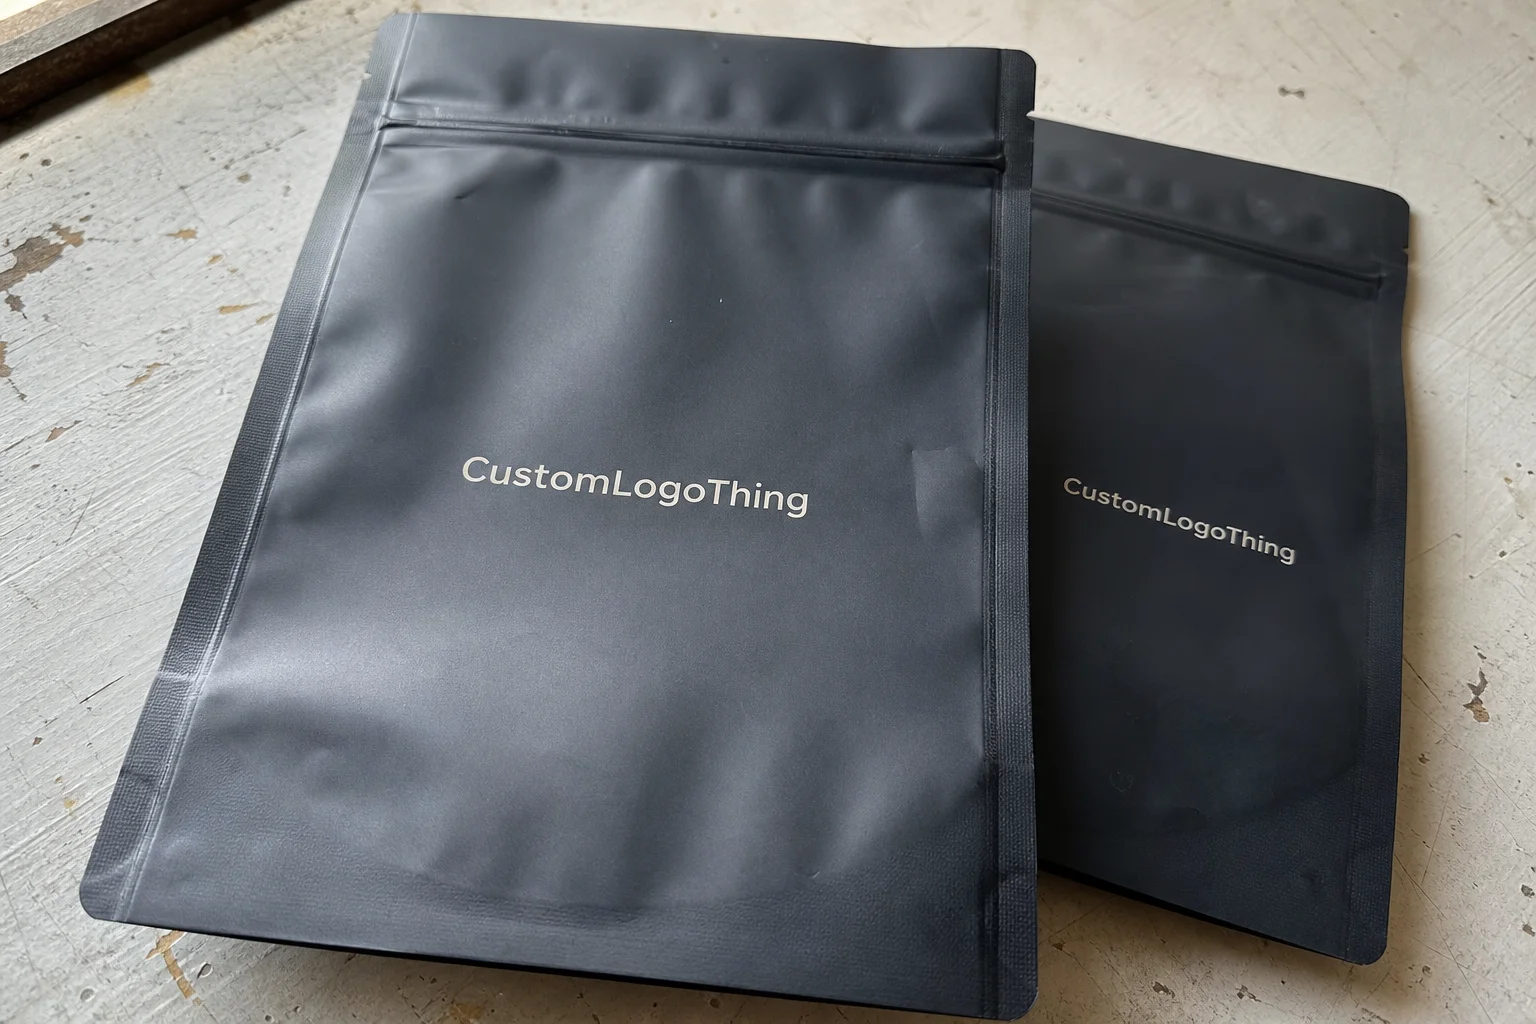
Printed Matte Zipper packaging usually means a resealable plastic bag, often a stand-up pouch or lay-flat bag, with a low-gloss exterior and a printed insert card inside. The insert may carry instructions, ingredients, warnings, QR codes, batch details, assembly steps, promotional copy, or a clean brand message that does not need to live on the bag itself.
Speed does not come from shouting “rush” at a manufacturer. It comes from removing uncertainty before quoting, proofing, plate-making, film ordering, digital printing, or conversion starts. A supplier can move quickly with clear specs. It cannot safely guess your fill weight, retailer warning text, barcode size, or whether the insert faces front or back.
This guide is for founders, purchasing teams, product managers, and operations staff ordering bags for snacks, supplements, apparel, accessories, samples, cosmetics, small tools, kits, or other compact consumer goods. The goal is simple: prepare a quote-ready brief that gives production fewer reasons to stop.
How Matte Zipper Bags and Printed Inserts Work Together
A matte zipper bag is a small packaging system. The film holds the product. The zipper supports repeated opening and closing. The matte surface controls the shelf look. The insert adds information, structure, and SKU flexibility. Good product packaging makes those parts feel planned, not patched together five minutes before launch.
Matte and gloss behave differently under retail lighting and cameras. Matte reduces glare, softens reflections, and often feels more premium in the hand. Gloss can make colors look brighter, but it also reflects light aggressively. On black, navy, charcoal, burgundy, or dark green artwork, matte can reduce contrast enough that small type becomes harder to read. Seven-point legal copy on a dark matte pouch is where optimism goes to die.
Common bag formats include stand-up zipper pouches, three-side-seal bags, bottom-gusset pouches, and hang-hole zipper bags. Stand-up pouches usually work best for shelf display. Flat zipper bags often make more sense for apparel trims, decals, samples, hardware, instruction kits, replacement parts, and lightweight accessories. Hang-hole bags help with pegboard merchandising, but they add another placement constraint: the header area has to stay functional and readable.
Insert formats vary too. A loose card can add brand polish or basic instructions. A folded leaflet can carry multi-language copy or safety details. A backing card can help a flexible bag look straighter in product photos. Window-visible cards can replace some exterior printing if the bag has a clear panel. Paper weight changes the result quickly: 120gsm works for folded sheets, 250gsm can support a backing-card feel, and 300-350gsm feels sturdier for premium cards.
The insert also affects operations. If cards are inserted by hand, labor cost and production time rise. If the card must face a specific direction, packing instructions need to say that. If different inserts support different SKUs, carton labeling and SKU separation become non-negotiable. One wrong insert in the wrong product is not a design issue anymore. It is a fulfillment problem.
Print method shapes cost and timing. Digital printing is useful for lower quantities, versioned SKUs, and faster artwork changes. Flexographic printing can make sense for repeat volume once setup costs are justified. Rotogravure is usually reserved for higher-volume work where print consistency, ink coverage, and long-run economics matter. The right choice depends on quantity, film structure, artwork complexity, tolerance for color variation, and deadline.
The zipper deserves more attention than it usually gets. Resealability invites repeated handling, and repeated handling exposes weak seals, scuffed matte areas, poor ink durability, and inserts that curl or shift after opening. If the package is meant to be used over several days or weeks, test it that way. A pouch that looks perfect for one photo may not survive normal customer use.
Key Specs to Confirm Before Artwork or Sampling Starts
The fastest quote-ready jobs usually start with a one-page spec sheet. Not a mood board. Not a vague email with “something premium.” A spec sheet.
- Bag style: stand-up pouch, flat zipper bag, bottom-gusset pouch, hang-hole bag, or another specialty format.
- Finished dimensions: width, height, gusset width, zipper position, tear notch, hang hole, and usable fill space.
- Film details: material structure, thickness, barrier needs, opacity, window placement, matte finish, and print coverage.
- Insert details: card size, paper weight, print sides, coating, fold pattern, corner shape, barcode, QR code, and packing method.
- Production details: quantity, target in-hand date, shipping address, carton labeling, proofing needs, and sample requirements.
Finished bag size is not the same as usable fill space. A 6 x 9 inch stand-up pouch with a 3 inch bottom gusset does not provide one neat rectangular cavity. The zipper, seal areas, gusset shape, product density, and required headspace all reduce what can actually fit. Powders settle. Snacks trap air. Apparel compresses. Hardware pokes corners. Liquids and oily products bring their own headaches.
Film materials commonly include PE, PET, CPP, metallized film, foil laminates, and multi-layer structures. A typical high-barrier pouch might use PET/AL/PE or PET/VMPET/PE, depending on the product and budget. Simpler PE-based bags may be enough for dry, low-risk goods that mainly need dust protection and branding. Compostable-style films may be available for some uses, but they are not automatic replacements for conventional barrier films. Test shelf life, seal strength, print quality, heat resistance, and retailer acceptance before committing.
Thickness should be discussed in real terms, usually microns or mils. A lightweight apparel bag may not need the same structure as a coffee pouch or supplement pouch. Thicker does not always mean better; it can affect folding, carton count, machine handling, and customer experience. Too thin, though, and the bag may feel cheap or fail during transit.
Barrier performance is separate from matte appearance. Snacks may need moisture protection. Coffee and scented products need aroma retention. Supplements may need oxygen and light protection. Cosmetics may need compatibility checks with oils, fragrances, or powders. Apparel may need clarity, dust protection, and a soft retail feel but not the same barrier as food. A matte finish can make the bag look expensive. It cannot preserve granola by itself.
Compliance can slow a project quickly. Check suffocation warnings, recycling marks, ingredient lists, nutrition panels, supplement facts, country-of-origin text, child-resistant requirements where relevant, and retailer-specific labeling rules. For distribution testing, standards from ISTA can help teams evaluate transit risk beyond the printed surface. For paper inserts, FSC-certified stock may be worth discussing; the Forest Stewardship Council explains chain-of-custody basics.
Send product samples or exact fill weight when sizing is uncertain. A supplier can estimate from dimensions, but volume assumptions are dangerous. Underfilled bags look sad. Overfilled bags stress seals, distort artwork, and make zippers hard to close.
Process and Timeline: From Quote to Delivered Zipper Bags
A packaging order usually moves through intake, quote, spec review, artwork setup, proofing, sampling if needed, production, insert printing, finishing, packing, quality check, and shipping. The slowest dependency controls the schedule. Not the fastest press. Not the most cheerful sales email.
For a fast-track digital job, the path is fairly direct: confirmed specs, print-ready files, approved proof, production scheduling, printing, bag conversion, insert printing, insertion if required, carton packing, inspection, and shipment. With clean files and available material, smaller custom runs may have production windows around 10 to 18 business days after proof approval. More complex laminated pouches, specialty matte structures, tight color targets, or high-volume runs can take longer.
That timing is not universal. It depends on supplier capacity, material availability, print method, queue position, quality requirements, and how fast approvals come back. If a supplier says lead time starts after proof approval, believe them. Unapproved proofs are not production-ready orders.
Lead time and transit time are also different. Production lead time covers manufacturing and quality checks. Transit time depends on shipping method, delivery location, customs if applicable, freight congestion, and carton volume. A five-day production improvement does not help much if the shipment then sits in a slow freight lane for two weeks.
Sampling is worth the extra step for new product fit, high-value launches, strict retailer display standards, unusual insert placement, or premium matte expectations. A physical sample can show whether a card curls, whether the zipper sits too low, whether the product blocks the insert, or whether a window makes everything look slightly off-center. Screens do not catch that. They are screens.
Practical rule: if packaging is tied to a launch, retailer ship window, subscription box drop, or seasonal promotion, work backward from the required in-hand date. Asking only for the fastest production date hides proofing, shipping, internal approval, and decision time.
Build a calendar with a quote approval date, artwork lock date, proof approval deadline, sample review window, production start, ship date, and in-hand date. Add risk buffers for holidays, film substitutions, print queue capacity, dieline revisions, barcode failures, color matching delays, and insert paper availability. The checklist should include dates, not just dimensions.
Cost, MOQ, and Quote Variables That Change the Final Price
Unit cost is shaped by more than bag size. Film structure, print method, color coverage, matte coating or lamination, zipper style, insert printing, insertion labor, setup costs, freight, and quantity all matter. Two 5 x 8 inch bags can price very differently if one is a simple PE zipper bag with a small logo and the other is a high-barrier laminated pouch with full-bleed matte artwork and inserted cards.
MOQ means minimum order quantity. In plain buyer language, it is the production floor where setup time, material purchasing, and machine scheduling start to make economic sense. Small runs carry higher unit costs because setup is spread across fewer bags. Larger runs usually reduce unit price but increase cash outlay, storage needs, and the risk of sitting on outdated packaging after a copy change.
| Order Scenario | Typical Use Case | Cost Behavior | Watch Item |
|---|---|---|---|
| 1,000 units | Launch test, sample drop, short promotion | Higher unit price; lower inventory exposure | Digital print may be the practical route |
| 5,000 units | Growing SKU or seasonal retail run | Better price curve as setup spreads out | Insert labor and freight become more visible |
| 10,000+ units | Repeat retail packaging or multi-location fulfillment | Lower unit cost; higher cash and storage commitment | Confirm film, color, and reorder consistency |
Realistic small-to-mid custom packaging ranges vary widely, but buyers may see matte printed zipper bags with inserts land around $0.35 to $1.20 per unit at lower quantities, depending on size, film, artwork, insert stock, insertion labor, and freight. Higher volumes can lower the unit cost, but landed cost still includes shipping, duties where applicable, warehousing, and possible overstock. Treat broad ranges as directional. Anyone promising a universal price without specs is guessing.
Inserts affect pricing through paper stock, printing, cutting, folding, collating, coatings, rounded corners, and manual or automated insertion. A simple 3 x 5 inch single-sided card on 300gsm stock is one cost profile. A folded instruction sheet with two languages, matte coating, rounded corners, batch-specific copy, and hand insertion is another.
Print coverage matters too. A small front logo usually costs less than full-bleed artwork with heavy ink, multiple spot colors, matte lamination, metallic effects, or tight color matching. Matte finishes can also show scuffs more readily than gloss on certain dark inks, so ask whether the supplier recommends a specific film, coating, or protective layer for the artwork.
Freight is the quiet budget wrecker. Plastic bags are light but bulky, especially once packed in cartons with inserts. Faster shipping can erase savings from a cheaper unit price. Ask for carton count, carton dimensions, gross weight, shipping method, and estimated landed cost before comparing suppliers.
Request quote tiers at 1,000, 5,000, and 10,000 units. Include bag size, material, thickness, quantity, print method, matte finish, insert specs, insertion requirements, shipping address, and target in-hand date. One supplier may quote thinner film, no insertion labor, no sample, or slower shipping. The cheapest number may not be the same package.
Step-by-Step Ordering Checklist for Faster Approval
Use this ordering sequence before sending files to a manufacturer or reviewing Custom Packaging Products. It keeps purchasing, design, compliance, and production aligned.
- Define product fit. Measure the product, confirm fill weight or volume, and decide whether the bag should stand, hang, or lie flat.
- Choose bag structure. Select a stand-up pouch, flat zipper bag, gusseted bag, hang-hole bag, or specialty pouch based on merchandising and customer use.
- Confirm material and finish. Define barrier needs, film thickness, matte texture, window placement, tear notch, zipper style, and any sustainability preference.
- Prepare artwork assets. Gather vector logo files, dieline layout, color values, barcode files, QR codes, safety warnings, compliance copy, and brand guidelines.
- Build the insert brief. Specify card size, paper weight, print sides, folds, finish, orientation inside the bag, and whether the supplier should insert cards during packing.
- Request a detailed quote. Ask for quantity tiers, setup fees, proofing method, sample options, production lead time, shipping cost, carton count, and payment terms.
- Review the proof like an investigator. Check spelling, dimensions, zipper clearance, gusset alignment, barcode scan, QR destination, color callouts, safe zones, and insert orientation.
- Approve production carefully. Confirm delivery address, required in-hand date, carton labeling needs, SKU separation, and who answers production questions.
That last person matters. If the supplier asks whether the insert should face front or back, waiting two days for an internal answer can push the job behind another order. The sign-off contact should have authority to approve practical production decisions, not just forward emails into the void.
For artwork, send editable vector files where possible: AI, EPS, or print-ready PDF. Include linked images, outlined fonts if requested, bleed, safe zones, dielines, and color values. Do not send a flattened low-resolution PNG and expect clean small type. Packaging print is not kind to wishful thinking.
Common Mistakes That Slow Down Matte Zipper Packaging Orders
The expensive mistakes are rarely dramatic. They are small omissions that travel through the job until they become delays, reprints, or awkward shelf presentation.
- Treating the insert as an afterthought. It may block product visibility, bend inside the pouch, hide package branding, or require extra manual packing.
- Approving artwork before confirming the dieline. That can force resizing, barcode movement, copy edits, and avoidable proofing loops.
- Choosing matte from screen mockups only. Low-gloss surfaces can change perceived contrast, especially with dark backgrounds, pale type, and subtle gradients.
- Ignoring zipper placement and headspace. Artwork can sit too close to the closure, or the product can interfere with resealing.
- Shopping only for the lowest unit cost. Film thickness, material structure, insert labor, freight, and delivery timing may not match across quotes.
- Skipping barcode and QR testing. Codes printed on small inserts or near folds should be tested at final size.
- Reviewing compliance copy too late. Food, supplements, cannabis-adjacent products, baby goods, and major-retailer programs need early review.
- Assuming lead time starts before proof approval. Manufacturers cannot reliably schedule production around unfinished files or open decisions.
The barcode issue deserves more attention than it gets. A UPC that scans beautifully on a full-size PDF can fail once printed on a small insert with coating, curve, low contrast, or glare. QR codes add another risk: the destination may change, expire, redirect incorrectly, or open a page that is not mobile-friendly. Test the code from the final proof, then test again from the physical sample if the launch depends on it.
For polished retail packaging, check how the insert sits after shipping. Does it slide? Rotate? Curl? Make the bag look lumpy? If the package is photographed for ecommerce, a crooked insert can create more visual damage than a slightly imperfect color match.
Also check scuff resistance. Matte surfaces can look beautiful on day one and tired after rough handling if the film, ink, or coating is wrong for the channel. Ecommerce mailers, retail cartons, warehouse bins, and subscription boxes all create different abrasion risks. Ask whether rub testing, tape testing, or sample handling is available before approving a large run.
Before You Send Files to a Packaging Manufacturer
Before sending files, gather product measurements, choose the bag format, confirm film needs, write insert requirements, prepare artwork, and set a realistic in-hand date. Put those decisions in one source-of-truth document. Purchasing, design, compliance, and the supplier should not be working from different assumptions.
Send product photos or samples when sizing is uncertain. Physical shape reveals issues that flat measurements miss: sharp corners, trapped air, compression, settling, loose parts, and whether the product hides the insert. If you are comparing Custom Packaging Products, use the same specifications for every quote request so each option is judged fairly.
Ask for one quote that separates bag cost, insert cost, insertion labor, setup, proofing, sampling, and shipping. That makes tradeoffs easier. Maybe you spend more on a thicker insert but simplify bag artwork. Maybe you use one matte bag design with different inserts for multiple SKUs. That can be smart packaging design, but only if SKU control, compliance, and packing instructions are tight.
If you already buy custom printed boxes, do not assume flexible pouches follow the same approval rhythm. Bags introduce seal zones, zipper clearance, film behavior, gusset distortion, heat sealing, and insert movement. A flat carton dieline and a flexible pouch dieline do not fail in the same ways.
Before ordering, use a get fast printed matte zipper Packaging Insert Checklist to turn the request into a quote-ready production brief. Finalize dimensions, lock insert copy, test barcodes, choose quantity tiers, upload proper files, define the approval contact, and ask for the proof timeline in writing. Fast packaging is rarely magic. It is usually just boring preparation done early enough to matter.
FAQs
What should be included in a fast printed matte zipper packaging insert checklist?
Include bag dimensions, material, film thickness, zipper type, matte finish, print method, quantity, insert size, insert paper stock, artwork files, barcode or QR codes, shipping address, and required in-hand date. Add compliance copy, product fill weight, packing instructions, carton labeling, and whether the supplier should print and insert the cards.
How fast can custom matte zipper bags with printed inserts be produced?
Speed depends on artwork readiness, material availability, print method, quantity, proof approval, insert complexity, and shipping distance. Smaller digital runs may move faster when files are clean and materials are available. Larger laminated runs, specialty finishes, or strict color requirements usually need more planning.
Do printed inserts make zipper bag packaging more expensive?
Yes. Inserts can add cost through paper stock, printing, cutting, folding, collating, coatings, and insertion labor. They may still be cost-effective if they reduce bag artwork complexity, support multiple SKUs, or let brands update instructions without redesigning the pouch.
What artwork files are best for printed matte zipper packaging?
Vector files such as AI, EPS, or print-ready PDF are usually preferred for logos, dielines, and sharp typography. Artwork should include correct dimensions, bleed, safe zones, color values, barcode files, QR code testing, and separate insert artwork if needed.
Can one matte zipper bag design use different printed inserts for multiple products?
Yes. Brands often use one printed bag structure with different inserts for flavors, instructions, batches, languages, or promotional messages. Confirm insert visibility, packing order, SKU separation, and compliance requirements so the wrong insert does not end up in the wrong bag.


