PVC Zipper Garment Bag Checklist Basics
A garment bag can look finished from the outside and still cause trouble in receiving. One missing barcode card. A hanger opening off by 20 mm. A care insert facing the back panel instead of the customer. Small misses, big mess.
A Shop PVC Zipper Garment Bags packaging insert checklist prevents that. It connects bag construction, zipper style, print placement, venting, hanger access, label position, carton needs, and every paper or card insert before sampling starts. Not after someone has already approved a pretty proof that cannot survive packing.
PVC Zipper Garment Bags are used for suits, gowns, dresses, uniforms, coats, choir robes, costumes, rental garments, and premium apparel. Clear or semi-clear PVC protects against dust, repeated handling, and light moisture splash while still showing color, trim, embroidery, buttons, or garment silhouette. For hanging apparel, the bag is often part storage cover, part transit protection, part retail packaging.
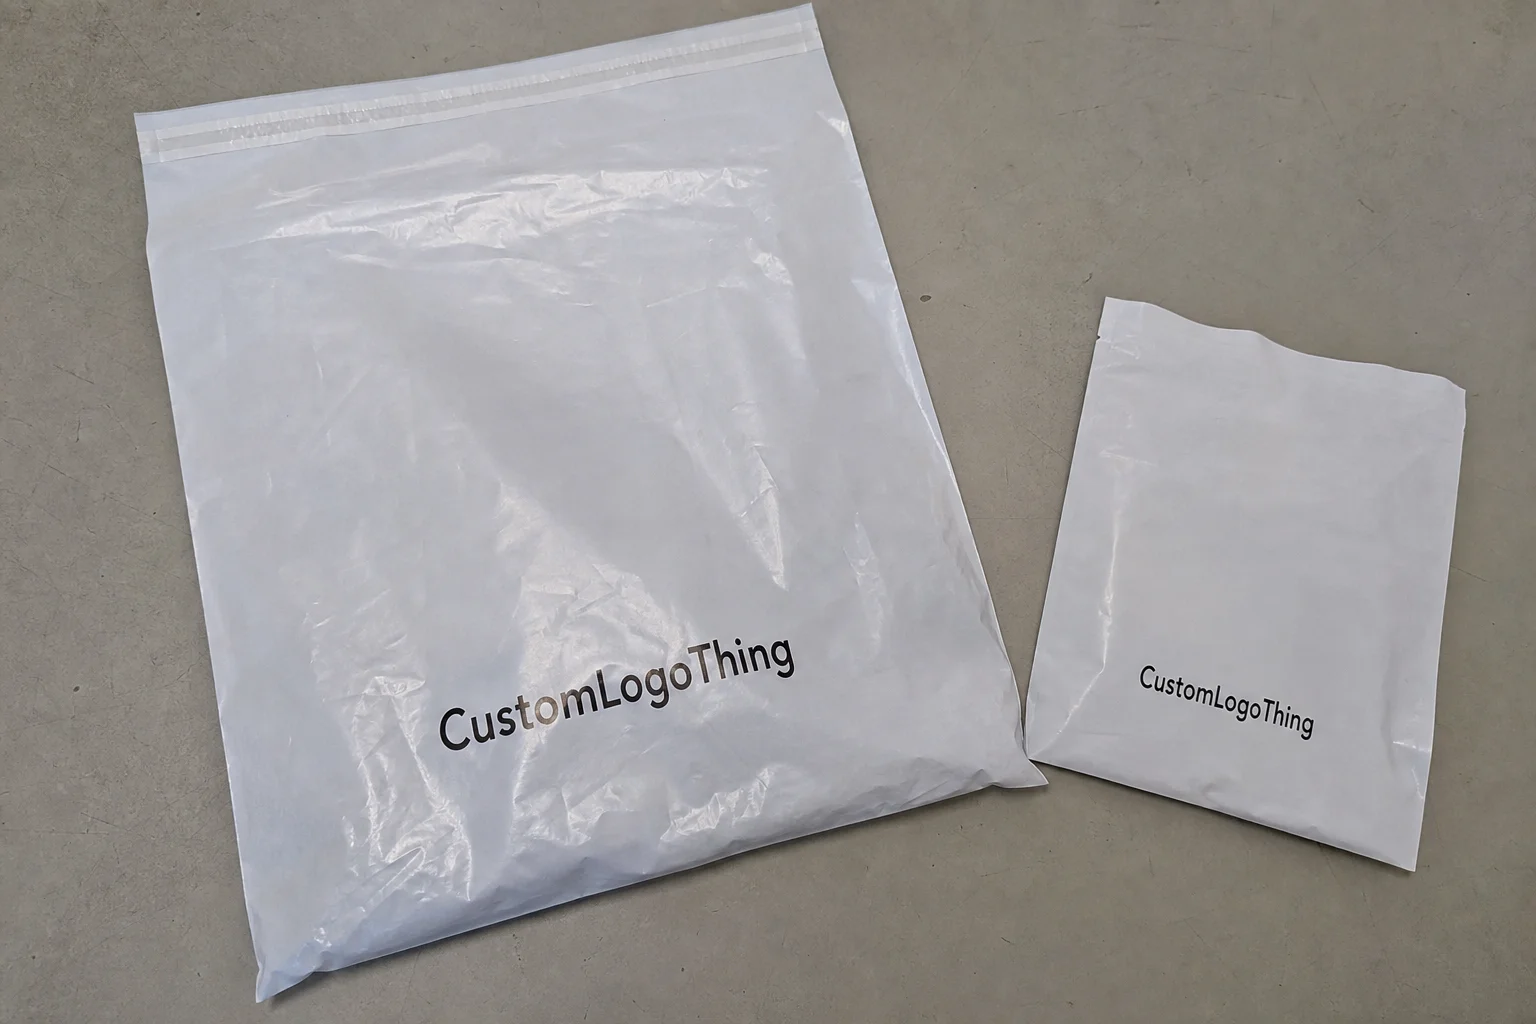
The insert does the talking the clear bag cannot do. It may be a branded note, size card, care instruction sheet, return information card, retail barcode, warranty note, promotional coupon, desiccant packet, tissue layer, or cardboard stiffener that keeps a folded item from collapsing. Good inserts are not random extras. They answer a specific packing, retail, compliance, or customer-service need.
Floor-level truth: a loose barcode card, hidden QR code, or zipper pull on the wrong side can slow packing, confuse a retailer, or force repacking before the garment ever reaches the sales floor.
The checklist also keeps departments from working from different assumptions. Marketing cares about brand presentation. Purchasing watches unit cost and MOQ. Production cares about loading speed, zipper direction, and carton count. Fulfillment cares about barcode visibility, returns, and damage prevention. Put those details in one written spec or enjoy the meeting where everyone insists they “thought it was obvious.”
How PVC Bags and Inserts Work Together
The basic structure is simple: the garment is hung, folded, or laid flat; the PVC bag protects it; the zipper allows repeated access; the insert identifies, explains, or supports the product. The bag carries the garment. The insert carries the instructions.
Common PVC options include clear PVC for maximum product visibility, frosted PVC for a softer boutique look, tinted PVC for brand color, and reinforced edge binding for heavier garments. Lightweight material may be fine for short-term dust covers. Coats, gowns, rentals, travel sets, and formalwear usually need heavier PVC, stronger seams, or binding tape because they are opened, handled, and hung repeatedly.
Thickness is often quoted in gauges or millimeters. Do not approve from the number alone. Ask for a material swatch or a prior production sample because stiffness, clarity, odor, and fold memory can vary. A bag that looks fine flat on a desk may feel flimsy once a wool coat is inside it.
Zipper choice changes function and perceived value. Nylon coil zippers are common, flexible, and forgiving around bends or folded areas. Molded plastic zippers feel more substantial and may suit heavier bags. Metal-look pulls can improve finish without making the full zipper expensive. Custom zipper pulls support branded packaging, but they usually add tooling, approval steps, and higher minimums.
Insert placement should be decided early. Options include loose placement inside the bag, an interior pocket, an exterior adhesive pouch, a card attached near the zipper pull, or a printed belly band around a folded garment. A card that works in a sweater polybag can look lost inside a 54-inch garment bag. A large card can bend if it rests across a shoulder seam, sleeve fold, or bulky embroidery.
The sales channel should drive the insert plan. E-commerce needs care and return clarity. Wholesale needs barcode, style, color, and size identification. Boutique retail may prioritize a clean reveal and a brand message. Rental programs need handling instructions and durable identification. If the line also uses Custom Packaging Products such as boxes, tissue, hangtags, or mailers, the garment bag insert should match that broader packaging design instead of looking like a spare office printout.
Key Specs to Confirm Before Artwork or Sampling
Lock the physical specs before artwork begins. Core measurements include garment length, shoulder width, folded or hanging presentation, gusset depth, hanger hole position, and zipper opening direction. For a hanging suit bag, shoulder width and hanger hook alignment matter most. For a gown, length and bottom clearance move to the top of the list. For folded garments, thickness and fold position decide whether the insert stays visible or disappears behind fabric.
PVC thickness should match the use case. A light dust cover may work for warehouse storage. Outerwear, rentals, formalwear, and travel pieces often need heavier material, reinforced hanger holes, and stronger zipper tape. The zipper and hanger opening take the abuse. Treat them like structural details, not decoration.
- Bag dimensions: length, width, gusset, fold style, and tolerance around the packed garment.
- Access points: hanger hole size, zipper side, zipper length, pull style, and opening direction.
- Construction: stitched or heat-sealed edges, reinforced hanger opening, side gussets, handles, vent holes, and binding color.
- Insert specs: finished card size, paper stock, coating, fold style, rounded corners, barcode area, QR code testing, and language version.
- Artwork controls: logo size, print color target, ink opacity on clear PVC, seam safe zones, and visibility after packing.
For inserts, list the finished size in millimeters or inches, paper weight, coating, fold style, print side, and exact placement. A 350gsm C1S card with matte lamination behaves very differently from a 157gsm folded instruction sheet. Rounded corners can reduce snagging during insertion. Gloss coating can look sharp, but it may create glare through clear PVC under retail lighting.
Barcode and QR code checks need their own line on the Shop PVC Zipper Garment Bags packaging insert checklist. Test codes at final size. Test them through the actual PVC if they will be scanned through the bag. Then test again after the garment is packed. A barcode that scans perfectly on a flat desk may fail when it curves over a sleeve or sits behind frosted material.
Artwork for PVC needs practical safe zones. Keep logos, care icons, QR codes, and small type away from seams, zipper tape, binding, and gusset folds. Ink opacity on clear PVC can shift depending on color and print method, so some logos need white underprint. If both the bag and insert carry strong graphics, review them together. Product packaging should look coordinated, not like two design teams refused to speak.
Also confirm ventilation and storage expectations. Some garments benefit from small vent holes to reduce trapped air and help loading. Others need more coverage because dust protection is the point. PVC is not breathable like fabric, so do not use it as a long-term solution for every delicate textile without checking garment care requirements.
Process and Timeline from Checklist to Finished Bags
A typical project moves through requirement gathering, bag size selection, insert content review, artwork setup, material and zipper confirmation, proofing, sampling if needed, production, inspection, packing, and shipment. The order matters. Change the insert size, zipper side, hanger hole shape, or logo position after sampling and you have created a new version, even if the email says it is “just a small update.”
A digital proof confirms layout. A physical sample confirms hand feel and packed presentation. Both are useful. They do not answer the same questions.
On the proof, review dielines, print placement, insert layout, spelling, care symbols, barcode readability, and front/back orientation. On the sample, check PVC clarity, stiffness, zipper movement, hanger fit, print visibility, insert scale, seam strength, and how the real garment sits inside the bag. If possible, approve a packed sample rather than an empty bag and a separate card.
Production timing depends on custom material sourcing, print coverage, order quantity, insert versions, special zipper pulls, reinforced construction, carton labeling, and freight method. A clear PVC zipper bag with one printed insert may move quickly. A frosted tinted bag with custom pulls, reinforced handles, three language inserts, and style-by-style carton labels will take longer. Approval speed can be as important as factory time.
Timelines vary by supplier and season, but buyers should plan for proofing, sample production when required, production, inspection, and shipping. Custom pulls, special color matching, and multiple insert versions add real days because they create more setup and more checkpoints. Rushing is possible on some projects. It is rarely free.
Standards and sourcing requirements should be discussed early. Transit testing programs from ISTA can help teams think about carton performance and shipping exposure. Insert paper sourcing may involve FSC certification if responsible fiber sourcing is part of the packaging program. Not every garment bag project needs formal testing or certified paper, but deciding late tends to create rework.
Practical approval rule: never approve the PVC bag and the insert as unrelated items if the customer will experience them together. Review the packed sample as one finished package.
Build a buffer for internal approvals. Legal may need to approve care language. Sales may need barcode files from a retailer portal. Merchandising may want presentation photos. Purchasing may need revised pricing after MOQ or material changes. A complete checklist reduces those loops because the questions are visible before production starts.
Cost, Pricing, MOQ, and Unit Cost Drivers
Pricing is shaped by the full package, not only the empty PVC bag. Material gauge, bag size, zipper type, print coverage, insert printing, insertion labor, carton requirements, and shipping volume all matter. A cheaper unit price may not be cheaper if it excludes barcode card printing, reinforced hanger holes, insertion, or carton labels that your team must handle later.
Bag size is one of the biggest drivers. Longer bags consume more PVC, take more carton space, and may need stronger seams. A short shirt or uniform bag is usually efficient to pack. A gown bag or coat bag raises material, labor, and freight exposure. Side gussets, carry handles, colored binding, vent holes, and reinforced openings add value when tied to handling or presentation. Otherwise, they are just cost wearing a nicer jacket.
| Spec Choice | Typical Use | Cost Impact | Buyer Checkpoint |
|---|---|---|---|
| Clear PVC, standard zipper | Basic suits, uniforms, storage covers | Lower to moderate | Confirm clarity, gauge, zipper side, and hanger hole reinforcement. |
| Frosted PVC with printed logo | Boutique apparel and premium retail packaging | Moderate | Check logo opacity, insert readability, and color contrast. |
| Heavy PVC with gusset and handles | Coats, gowns, rentals, travel sets | Moderate to higher | Test loaded weight, seam strength, carton fit, and zipper stress. |
| Multiple printed inserts | Wholesale, multilingual, warranty, or promotional packs | Variable | Separate insert cost, insertion labor, version control, and scan testing. |
For budgeting, a simple paper insert may add only a small amount per unit. Heavier coated cards, die-cut shapes, folded instruction sheets, multiple language versions, and retail-specific barcode cards can push cost higher. Insertion labor matters too, especially when inserts must be sorted by style, size, market, or channel.
Ask suppliers to separate bag cost, insert cost, insertion cost, carton labeling, and freight impact. That structure makes quote comparison cleaner. If one quote includes inserted barcode cards and reinforced hanger openings while another only includes empty bags, the two prices are not measuring the same product.
MOQ depends on customization. Lower quantities may be possible with standard clear PVC, standard zipper tape, and simple one-color printing. Special PVC colors, custom zipper pulls, multiple insert versions, or unique binding colors usually raise minimums because setup, material allocation, and sorting time increase. Supplier capability and current material availability also matter, so avoid treating one MOQ as a market rule.
Freight deserves a sober look. PVC garment bags can be bulky, especially for long gowns, coats, or styles packed flat instead of tightly folded. Carton dimensions may affect dimensional weight. A slightly thicker bag or added gusset can change carton count enough to matter. Have the supplier estimate packed carton quantity and carton size before approving a large run.
Use the same Shop PVC Zipper Garment Bags packaging insert checklist for every quote. It keeps suppliers pricing the same scope and helps buyers spot missing pieces before the lowest price turns into the most annoying project. If the program includes mailers, rigid boxes, hangtags, or tissue, review options through Custom Packaging Products so the garment bag does not fight the rest of the packaging system.
Step-by-Step Guide to Building the Insert Checklist
Start with the real use case. A suit going to wholesale receiving, a bridesmaid dress sold online, and a rental coat cycling through repeated handling need different packaging decisions. Begin with garment type, sales channel, and packing method rather than copying a bag size from an old order because it is “probably close.” Famous last words.
- Identify the garment and channel. Record whether the item is a suit, dress, coat, uniform, costume, gown, or robe, then note whether it ships for e-commerce, wholesale, boutique retail, rental, or storage.
- Measure the packed garment. Include hanger width, folded thickness, sleeve position, train length, shoulder bulk, accessory depth, and enough tolerance for loading without making the bag look loose.
- Define every bag component. List PVC gauge, zipper style, zipper side, hanger opening, gusset, handles, venting, binding color, seam method, logo placement, and retail label position.
- List every insert. Name each card or sheet, its purpose, finished size, copy owner, print side, placement location, and whether it must stay visible through the front panel.
- Map the first-touch experience. Check whether the zipper opens naturally, the insert reads in the right direction, and care or return information appears before the customer has to hunt for it.
- Create the approval list. Include artwork, dimensions, insert copy, barcode testing, sample review, packing orientation, carton labels, and final quantity by size or style.
An insert matrix is worth the five minutes it takes to build. Columns can include insert name, size, material, copy status, artwork owner, placement, visibility requirement, language, market, and whether the piece ships loose, inserted, or packed separately. This prevents version-control problems, especially when one garment line has three sizes, two languages, and different wholesale and e-commerce return instructions.
Mock up the packed presentation before final approval. It does not need to be pretty at first. Cut a plain card to size, place it inside a sample bag, add the real garment, then hang or fold it the way the customer will receive it. That quick mockup can show whether the insert is too small, too large, hidden by the sleeve, or competing with the printed logo.
Photograph the approved packed version. Use that photo as a packing reference for production, fulfillment, and inspection. Mark front side, zipper pull position, insert order, hanger direction, and carton orientation. A one-page visual standard beats a paragraph of vague instructions every time.
Common Mistakes That Cause Repacking or Delays
The biggest mistake is treating the insert as a separate print item instead of designing it around the clear bag, garment shape, and customer-facing side. The result is familiar: a good-looking card floats behind the sleeve, slips to the bottom, faces backward, or blocks the detail the buyer wanted visible.
Wrong bag dimensions create trouble quickly. If the bag is too short, garments bunch at the bottom. If it is too narrow, zippers strain at the shoulders. If it is too wide, presentation looks sloppy and inserts drift out of view. Oversized bags also reduce carton efficiency, raising freight cost and making storage less tidy.
Artwork errors are common. A logo placed near binding may distort. A QR code too close to zipper tape may fail to scan. Fine print can become hard to read through frosted PVC. Color can shift visually on clear material, especially without white backing behind the ink. Good package branding needs design approval and material reality checks.
Copy and compliance misses can delay receiving or trigger rework. Watch for missing care instructions, inconsistent size names, outdated return language, barcode mismatches, incorrect country-of-origin wording, and inserts printed in the wrong language version. If care symbols are used, confirm applicable garment labeling requirements and retailer expectations before production. Requirements vary by market and product category, so compliance review belongs early.
Packing-line errors need a simple visual standard. The zipper pull may face the wrong direction. The card may be upside down. The hanger hook may not align with the hole. The garment front may face the back panel. Multiple inserts may be added in the wrong order. None of this is glamorous. All of it costs time.
Before a full run, test one real garment, one real insert set, and one finished sample bag. Scan the barcode. Open and close the zipper 10 to 20 times. Hang the bag on the intended rack. Place it in the planned carton. Check the package under ordinary retail or warehouse lighting. That small pre-production packing test is one of the cheapest safeguards in custom garment packaging.
What to Prepare Before Requesting a Quote
Gather garment measurements, packed presentation photos, desired quantity, number of garment sizes or styles, preferred PVC clarity or color, and existing artwork files. If the garment ships on a hanger, include hanger dimensions and hook orientation. If it folds, include folded thickness and photos from the customer-facing side.
Prepare quote notes that specify zipper type, hanger opening, material thickness target, print colors, logo placement, carton labeling, sample needs, and whether the supplier should produce the inserts or only pack buyer-supplied pieces. Be clear about who owns insert copy and barcode files. Vague ownership creates late approvals.
If sustainability claims are part of the broader packaging program, keep them specific and documented. General claims without support can create problems later. The U.S. Environmental Protection Agency has useful background on materials and waste reduction at epa.gov.
Ask for a proof showing the bag and insert together, not only separate artwork files. The final retail look depends on overlap, transparency, garment position, and lighting. If the brand also uses Custom Packaging Products such as custom printed boxes, hangtags, or tissue, share those references so the garment bag feels connected to the rest of the line.
Run one internal review before purchase approval. Merchandising checks presentation. Operations checks packing flow. Compliance checks copy. Purchasing checks unit cost, MOQ, and timeline against the same checklist. Keep the review written and specific.
A finished garment bag should protect the item, identify it clearly, open cleanly, and make the brand look organized. Buyers who build the packaging insert checklist before quoting usually get cleaner samples, fewer revisions, and packaging that works from packing table to customer closet.
FAQ
What should be included in a PVC zipper garment bag insert checklist?
Include bag size, PVC thickness, zipper style, hanger hole, print placement, insert dimensions, insert copy, barcode or QR code needs, placement method, packing orientation, carton labeling, and approval responsibilities. Add a final packed-sample test so the garment, insert, and bag are reviewed together before production.
How do I choose the right insert size for custom PVC garment bags?
Choose the insert size after confirming the packed garment position and the visible front panel area. The insert should be large enough to read through the PVC but not so large that it bends, covers the garment, or competes with the printed logo.
Does adding packaging inserts increase the unit cost of zipper garment bags?
Yes. Inserts can affect unit cost through paper stock, printing, folding, die cutting, version control, and insertion labor. The cleanest quote separates bag cost, insert cost, insertion cost, carton labeling, and shipping impact.
What is the typical lead time for PVC zipper garment bags with inserts?
Lead time depends on order quantity, material availability, print complexity, sample approval speed, insert production, and freight method. Custom zipper pulls, special PVC colors, multiple insert versions, and delayed artwork approvals can extend the schedule.
Can the same insert checklist work for suits, dresses, and coats?
The same checklist structure can work, but the specifications should change by garment type. Coats may need heavier PVC and reinforced seams, while dresses may need longer bags and careful insert placement that does not hide the garment silhouette.


