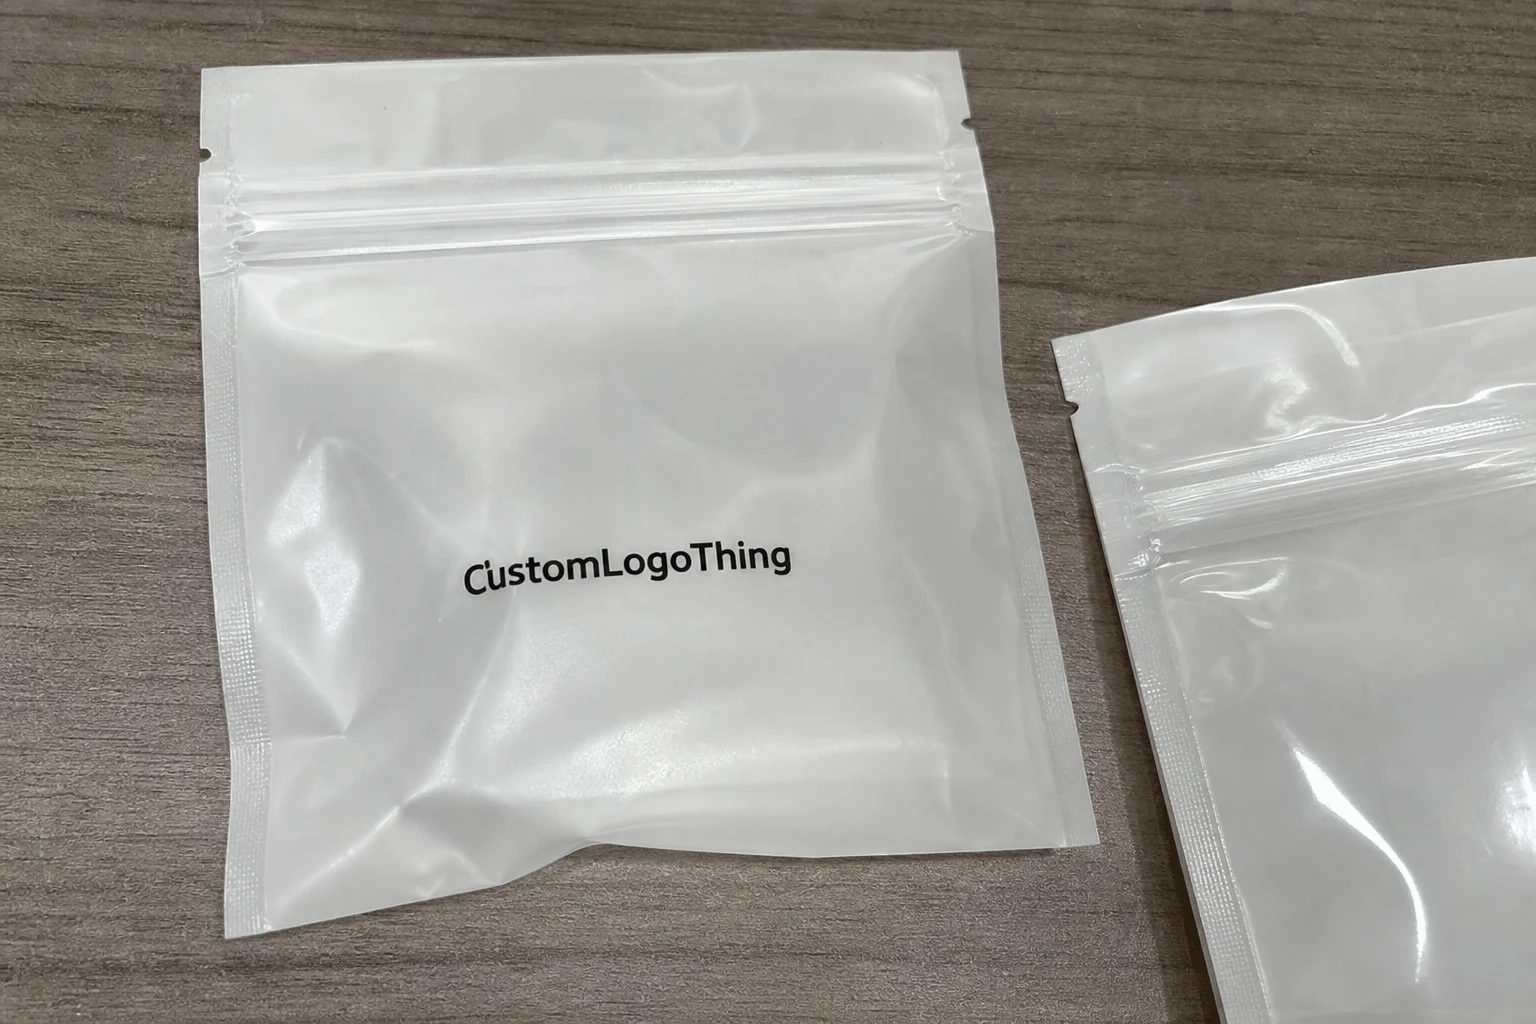
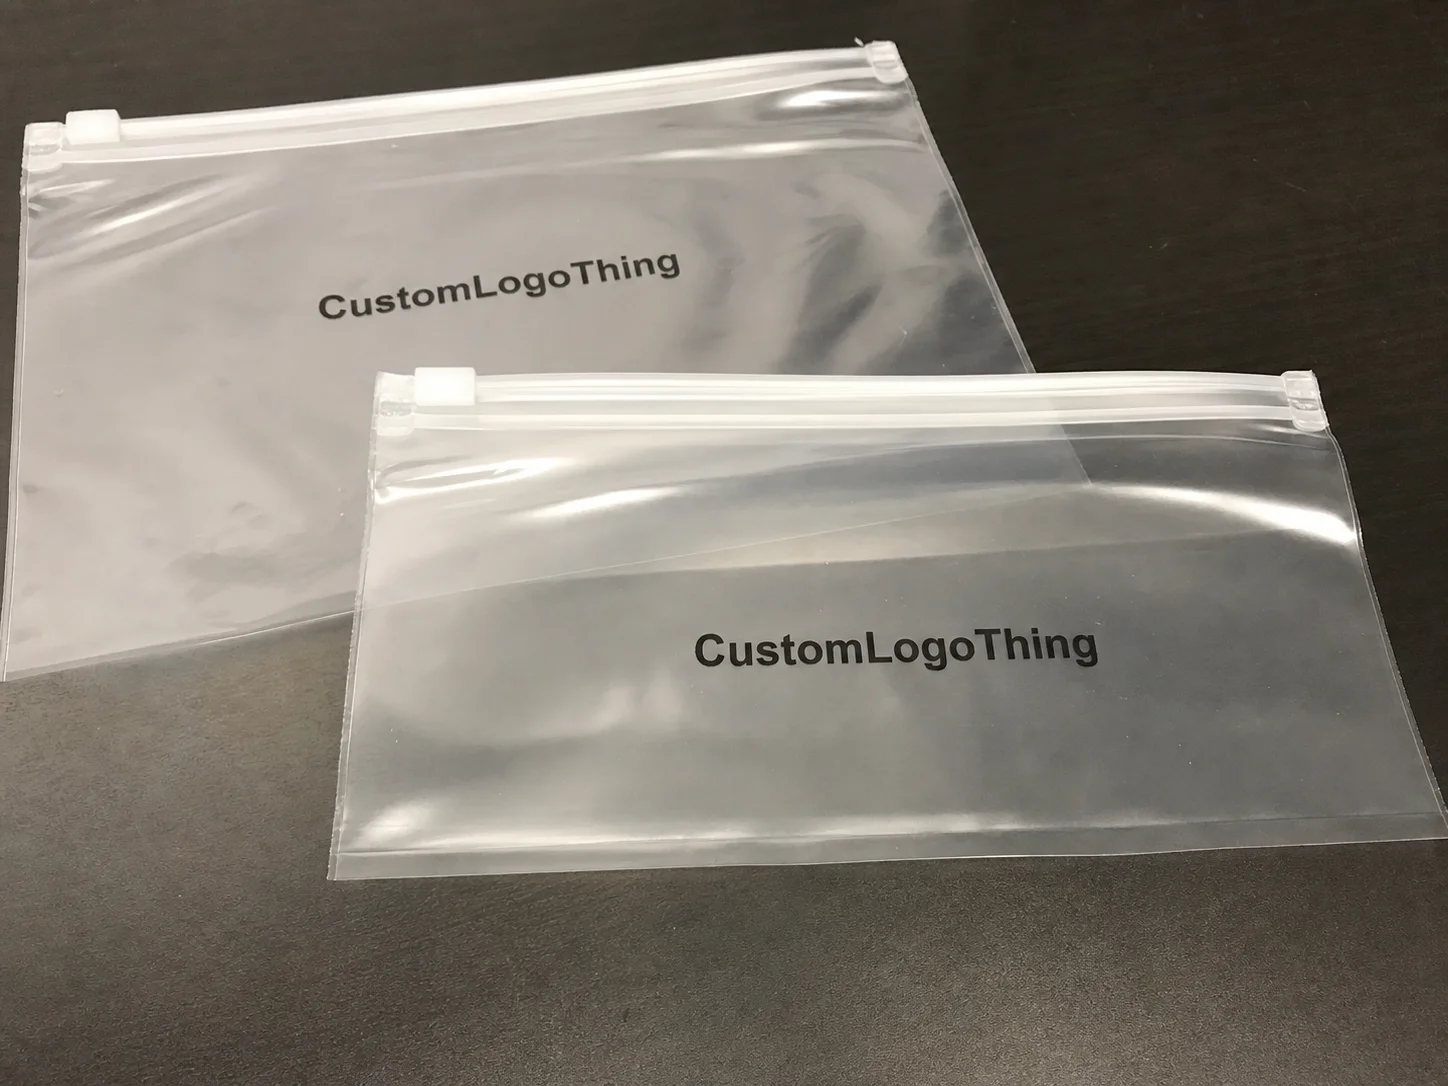
personalised Zip Lock Bags are one of those packaging formats that look simple until you have to buy them. Then the details appear quickly: zipper quality, film thickness, print coverage, fill weight, shelf presentation, freight, testing, and how much abuse the pack needs to survive before the customer opens it. A bag that looks sharp on a proof can still fail if the closure is weak or the film is too thin for the product inside.
That is the real buying challenge. The right bag has to protect the product, fit the handling conditions, and still carry branding clearly enough to do some work on shelf. Food, supplements, cosmetics, hardware, and small retail goods all use the format, but for different reasons. A dried snack needs freshness and visibility. A craft kit needs repeated opening. A cosmetic sample needs a cleaner, more premium finish. The spec should start with function, not decoration.
What personalised zip lock bags are and where they fit
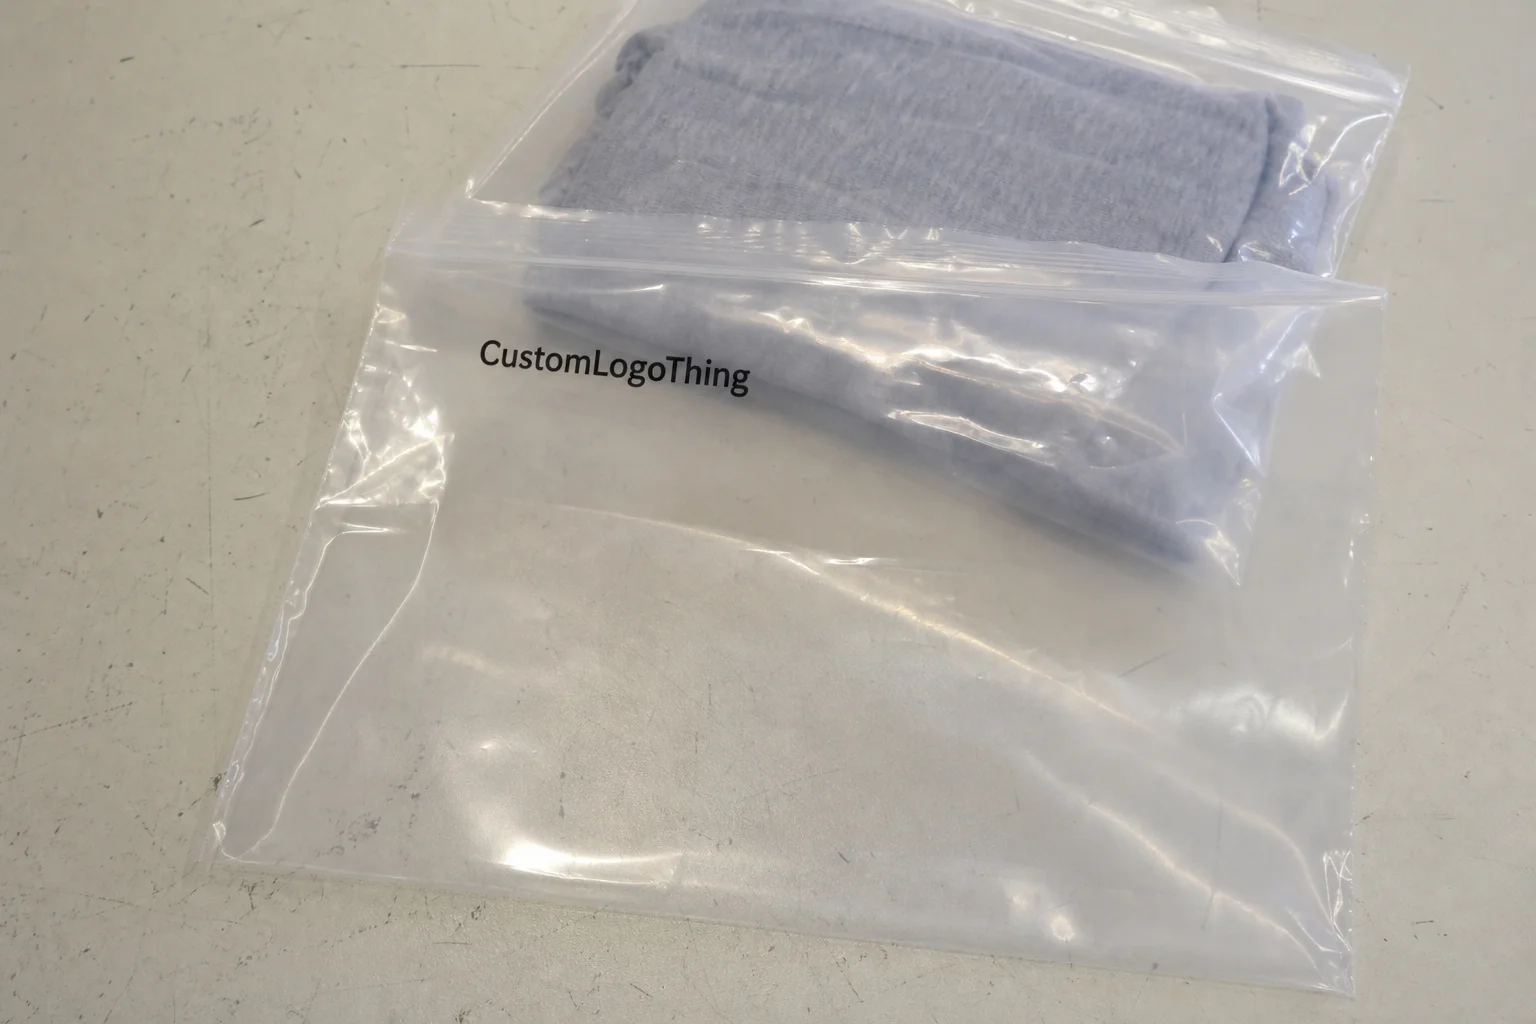
personalised zip lock bags are resealable flexible packs with custom artwork, logos, or product information printed directly on the bag. The printed surface often replaces a label, insert card, or outer carton panel, which is why this format can feel efficient when the brief is tight and the product is small.
They show up across more categories than many buyers expect. Food brands use them for dried fruit, coffee samples, confectionery, tea, and seasoning sachets. Supplement brands use them for powders, tablets, and trial sizes. Beauty teams use them for wipes, masks, and miniature kits. Hardware and industrial sellers use them for fasteners, fittings, cable ties, beads, and spare parts that need to be opened and closed several times without spilling.
The format works because it solves four jobs at once:
- Protect the contents from dust, handling, and light moisture.
- Display the brand and product information clearly.
- Reseal after opening so the contents stay usable.
- Support compliance with barcode, batch, ingredient, or warning space if required.
That list sounds straightforward, but the order matters. A good-looking bag that cannot hold up in transit is a bad purchase. A very strong bag that hides the product and looks generic will not help retail performance either. Most buyers end up somewhere in the middle, where the film is strong enough, the zipper feels reliable, and the design still gives the customer a clear view of what they are buying.
One useful comparison: a printed carton can carry more information, but a bag is often better for immediacy. Shoppers see the product, the closure, and the brand in the same glance. That can make small items feel easier to trust, provided the pack is clean and legible.
How the zip lock closure, film, and print layers work
The closure is the first mechanical feature a customer tests. A press-to-close zipper should align easily, seal evenly across the width, and reopen without tearing the track or trapping product in the seal line. If it feels stiff or uneven, repeat use drops fast. Slider closures are easier for some customers, especially on wider bags or heavier fills, but they add cost, bulk, and another failure point to check during production.
The film matters just as much. Clear polyethylene is common because it is light, practical, and shows the contents well. Frosted or tinted films create a softer look and can hide variation in the product. Metallized or barrier structures improve resistance to light, oxygen, and moisture, which is helpful for sensitive products but usually increases cost and reduces visibility. Multi-layer films can improve puncture resistance and shelf life, although they may be harder to recycle depending on the local waste stream.
| Film type | Best use | Main advantage | Typical trade-off |
|---|---|---|---|
| Clear PE | Samples, hardware, retail items, dry food | Shows the product well and keeps the bag simple | Lower barrier performance and less premium presence |
| Frosted or tinted | Cosmetics, lifestyle products, premium retail | Improves visual finish and hides some variation | Less visibility of the contents |
| Metallized or barrier film | Food, supplements, moisture-sensitive goods | Better protection from light, oxygen, and humidity | Higher unit cost and reduced product visibility |
| Multi-layer structure | Products needing stronger puncture or barrier performance | More durable and more protective | Can be heavier and harder to recycle in some systems |
Printing sits on top of that structure, and this is where buyers often underestimate the practical limits. White ink is useful on clear film because it gives the design enough contrast to stay readable. Heavy ink coverage can make the bag feel richer, but too much coverage can flatten the look and hide the product, especially if the pack relies on transparency to sell. Thin lines and small text are another weak point. Flexible film moves, bends, and slightly distorts under filling, so artwork that looks precise on a screen can gain dot gain in print and become muddy.
That is why a design should be checked in the context of the actual pack, not just as artwork on a white background. A clean logo with a strong product name usually performs better than a busy layout with tiny claims, multiple fonts, and decorative elements that disappear once the bag is handled or folded.
A proof can look correct and still fail in the pack line. The useful test is how the film, zipper, and artwork behave with the real product inside.
Specs that change size, strength, and shelf appeal
Bag size is not just width and height. Gussets change capacity, opening shape, and shelf presence in ways that are easy to miss on a spec sheet. A flat pouch with the same dimensions as a gusseted bag can hold far less than buyers expect. A bottom gusset can help the pack stand better in a carton or on shelf. Side gussets can improve volume but may also affect how the artwork wraps around the pack.
Thickness is another point where appearances mislead. A thinner film can look acceptable in a mockup and still feel flimsy after filling. For lightweight retail items, a lighter gauge may be adequate. For heavier contents, sharp-edged hardware, or repeated customer opening, moving to a thicker film usually gives a better result. Many projects fall somewhere around 60 to 150 micron, but that is only a planning band. The right number depends on product weight, edge shape, storage conditions, and whether the bag will be stacked, hung, or shipped loose.
There are also small decisions that carry more weight than they seem to:
- Opening width affects how easy the bag is to fill and use.
- Seal area needs enough margin so artwork does not interfere with zipper performance.
- Hang holes help on peg display, but they reduce usable print space.
- Tear notches improve first-open experience on some packs.
- Shape and fill height affect whether the pack sits neatly or leans once closed.
Transparency is useful, but it is not free. A fully clear bag gives shoppers confidence because they can see the contents. It also exposes every inconsistency in the product. If the contents are attractive and uniform, that is a benefit. If they are irregular, a frosted band, partial printed panel, or controlled window can hide the rough edges without turning the pack into a billboard.
Retail presentation matters more than many teams admit. A flat bag can be cheaper, but it can also wrinkle, collapse, and look temporary. A stand-up style base or stronger bottom structure usually gives the brand a more deliberate shelf presence. That does not make it automatically better. It does mean the buyer has to weigh shelf effect against cost, carton density, and shipping space.
QC should also cover the simplest thing: the seal. A zipper that opens too easily after filling, or that catches product in the track, will create complaints even if the print is excellent. If the pack is for food or moisture-sensitive goods, the closure and film should be tested with the actual fill, not just pressed by hand on an empty sample.
Cost, pricing, MOQ, and what moves unit cost
Pricing is driven by five main variables: material grade, size, print coverage, special features, and order quantity. A stock-size bag with simple one-side print will usually sit at the lower end of the market. Add custom dimensions, multiple colours, matt finish, a slider closure, or a barrier structure and the price climbs quickly.
For planning, many buyers see simple custom Printed Zip Lock Bags in the broad range of $0.12 to $0.25 per unit at mid-size quantities. More complex builds can move into $0.25 to $0.60+ per unit depending on size, coverage, film type, and extras. That is not a quote. It is a realistic budgeting band that helps teams avoid underestimating the spend before they ask for formal pricing.
MOQ changes the calculation. Lower volume orders tend to carry a higher unit price because setup costs are spread across fewer pieces. That is especially true when the job needs custom size tooling, plate making, or careful colour matching. A run of 1,000 bags can look expensive next to a run of 10,000, even if the material cost per bag is similar, because fixed costs are doing more work in the smaller order.
It also helps to separate the unit price from the landed cost. The real budget can include:
- Sampling and proofing
- Setup charges and print plates where relevant
- Carton packing and master case configuration
- Freight, customs clearance, and local delivery
- Replacement allowance if the print is unusually complex
Freight is where many budgets break. A low ex-works price can look strong until air shipping, urgent dispatch, or poor carton planning wipes out the saving. If the bags are going into a regulated or export market, ask early about food-contact suitability, documentation, and testing needs for the destination country. That conversation is much cheaper before production than after a shipment has already left.
Over-specifying is another common cost mistake. A buyer may ask for full-colour print, heavy film, a slider, custom dimensions, and a premium finish on a modest run because each request seems small by itself. Put together, those choices can push the job into a higher bracket without improving performance in any meaningful way. A good spec spends money where the pack actually takes stress.
There is a point where simpler wins. If the product is light, the pack is short-life, and the customer sees the contents clearly, a clean printed film with a good zipper may outperform a more expensive construction that adds little besides margin pressure.
Process and lead time from brief to delivery
The cleanest orders follow a predictable path: brief, spec confirmation, artwork review, proof approval, sampling if needed, manufacture, inspection, and shipment. That sequence sounds basic because it is. The problem is that many projects skip one step and then pay for it later in delays or rework.
Most delays start in the same places. Artwork arrives in the wrong format. The dieline is unclear. The buyer changes the size after proofing begins. Or someone discovers late in the process that the bag needs different copy, a stronger seal, or more room for legal text. None of these are unusual, but each one resets part of the schedule.
For standard structures with straightforward print, a typical lead time can sit around 10 to 15 business days after proof approval. Custom sizes, special films, and more complex print programs often run longer, sometimes 15 to 25 business days or more. If sampling is needed, that should be added before production starts. Freight adds its own clock as well. Air is faster. Sea is usually cheaper. The calendar impact is not the same.
Quality control should not be reduced to a visual check on a flat sample. A useful inspection looks at zipper alignment, seal strength, print registration, colour consistency, and carton packaging. It also checks how the bag behaves when filled, stacked, and handled. If the product is sharp, granular, sticky, or heavy, those conditions matter. A perfectly printed bag that fails after being filled is not a successful order.
Transit testing is worth considering when the pack will travel far or face rough handling. Many teams use ISTA test methods to simulate drops, vibration, and compression. That does not guarantee a perfect outcome, but it catches obvious weak points before product gets into the field. For a resealable bag, weak seams and overfilled packs tend to show up quickly in transport.
Compliance is another area where vague briefs cause trouble. If the bag is intended for food, supplements, or sensitive consumer goods, ask which declarations are needed and whether the supplier can provide them. If the branding includes recycled-content or sustainability claims, keep the language precise and supportable. If paper inserts or cartons are part of the overall pack system, FSC chain-of-custody rules may matter for those components, but that does not automatically apply to the bag itself.
Common mistakes that create waste or weak branding
The most common error is choosing the wrong thickness. A thin bag can look perfectly fine in a mockup and still feel flimsy once it is filled, stacked, or shipped. If the pack holds weight, has sharp edges, or will be reopened frequently, the film has to match the load. Otherwise the weakness is obvious to the customer, and the brand absorbs the damage.
Overdesign is another frequent problem. Too many colours, too much copy, and too many claims make a small flexible pack hard to read. Buyers often assume that more print coverage equals more brand impact. It usually does not. A cleaner layout with one strong logo, one clear product name, and a few useful details is easier to print, easier to scan, and easier to trust.
There are also operational mistakes that do not show up in the first proof:
- Using nominal dimensions instead of the actual filled size
- Skipping seal testing with the real product inside
- Choosing a finish that looks premium but scratches, wrinkles, or clouds the contents
- Forgetting how the bag will be packed into cartons or displayed on hooks
A better habit is to test the bag with the exact product weight and shape, then inspect it after shaking, stacking, and resealing. That is a more honest check than a flat proof. If the closure slips during internal handling, it will probably annoy customers later. If the artwork becomes unreadable once the bag bends, the shelf effect is weaker than the mockup suggested.
Legibility is easy to underestimate. Small text, thin lines, and low-contrast colours can disappear on flexible film. If the pack needs barcodes, batch codes, ingredients, or warnings, keep that information in a quiet area with enough contrast and enough white space around it. This sounds basic, but cramped regulatory copy is one of the fastest ways to make a pack look poorly managed.
A packaging spec should survive the real world, not just a PDF. If the bag fails in filling, transport, or reopening, the cost shows up twice.
Expert tips and next steps for a cleaner order
If the brief is tight, the order gets easier. A useful specification checklist usually includes:
- Product type and fill weight
- Target quantity
- Flat size and gusset requirement
- Film thickness or performance target
- Print area and number of colours
- Closure style and extras such as hang holes or tear notches
- Storage, shipping, and retail conditions
Ask for both a digital proof and a physical sample if there is any risk in the order. The proof checks layout, copy, and placement. The sample checks feel, seal quality, stiffness, and how the product behaves inside the bag. Those are different tests. Treating them as the same thing is how projects drift into rework.
Useful questions tend to be practical rather than decorative. Does the zipper still feel consistent after filling? Does the print remain readable after the film bends? Will the bag survive carton compression? Is the artwork protected from abrasion? Can the pack be resealed without trapping product in the track? These questions catch more problems than general requests for a “better” bag.
Before release, verify three items: the proof, the lead time, and the delivery terms. This is where a lot of orders slip. A pack can be approved on design and still miss the deadline because freight was not booked, the sign-off was informal, or the final spec changed one more time after production had already been scheduled.
For buyers comparing options, the best approach is to treat personalised zip lock bags as a packaging system rather than a print surface. Match the film to the product, the closure to the usage pattern, and the artwork to the real print area. That keeps the pack functional, keeps waste down, and avoids paying for features the product does not actually need.
What should I check before ordering personalised zip lock bags?
Confirm the product dimensions, not just the bag size on paper. Check whether the pack needs food-safe, moisture-resistant, or retail-ready features. Ask for a proof so artwork placement, seal area, and legibility can be reviewed before production starts.
How do personalised zip lock bags compare with plain printed pouches?
Zip lock bags are better when the product needs to be opened and resealed several times. Plain printed pouches can be simpler for one-time use, but they usually give up convenience. The better choice depends on freshness, handling, and how long the customer is expected to use the pack after opening.
What affects the price of personalised zip lock bags the most?
Material type, size, print coverage, and added features usually have the biggest impact. Lower MOQ often increases unit cost because setup is spread across fewer bags. Shipping, sampling, and special finishing can change the landed cost more than many buyers expect.
How long does production usually take?
Lead time depends on artwork approval, sampling needs, and whether the bag is a standard or custom size. Straightforward jobs can move faster, while custom structures and specialised film often take longer. Freight should be counted separately, because production finishing and delivery are not the same timeline.
What artwork format is best?
Vector artwork is usually the safest starting point because it scales cleanly for print. Keep small text to a minimum, use strong contrast, and ask for the printer's dieline and safe-area rules before locking the layout. Flexible film is less forgiving than a screen preview.