If you ship small products regularly, personalized bubble mailers do two jobs well: they protect the product and make the package feel like it belongs to your brand. That second part gets overlooked until a buyer opens a plain, generic envelope and immediately decides the order feels cheaper than it should. Packaging is not the product, sure. But it absolutely shapes the first impression.
The best mailers are built for more than looks. They need enough cushioning to survive sorting belts, tossing, stacking, and the usual chaos of last-mile delivery. They also need print that stays readable after handling and adhesive that actually holds. Fancy graphics are useless if the seam pops open halfway through transit.
What Personalized Bubble Mailers Do for Shipping and Branding
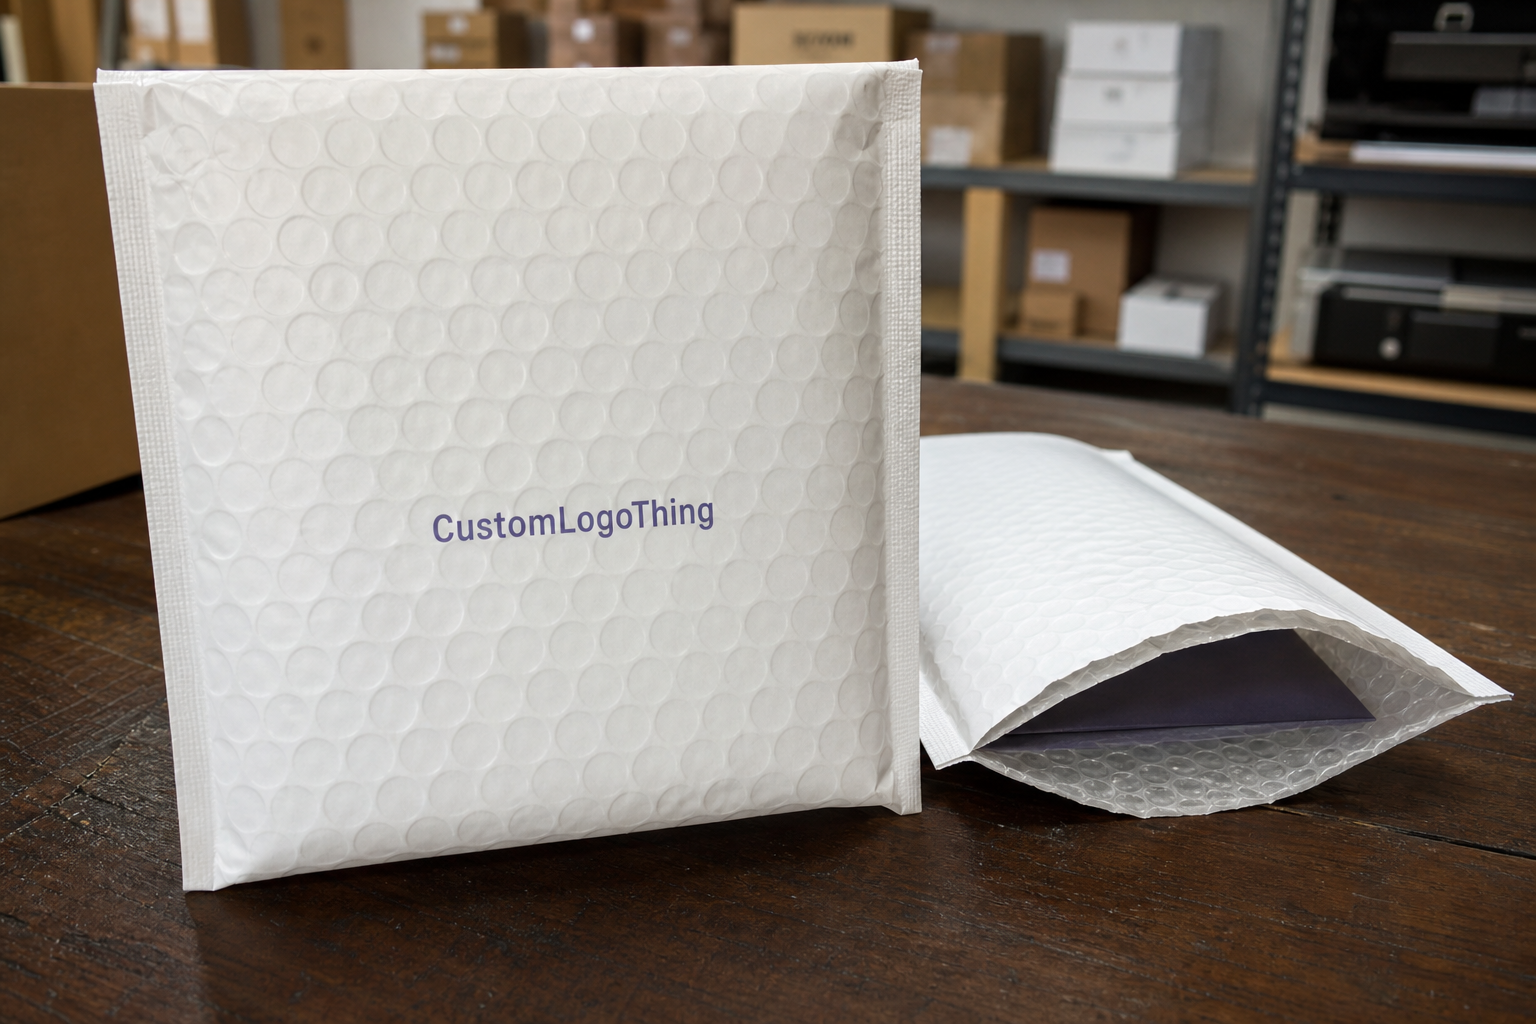
A branded bubble mailer turns a basic shipping envelope into a visible part of the customer experience. It is often the first physical item someone touches after checkout, and that moment says a lot about the order before the product even comes out.
These mailers combine a cushioned interior with a printable exterior. The bubble lining absorbs small impacts and scuffs, while the outer layer carries logos, product messages, QR codes, or full artwork. That combination is why they show up so often in apparel, cosmetics, supplements, stationery, accessories, and subscription kits. They work especially well for items that are too delicate for a thin envelope but not heavy enough to justify a box.
There is also a practical recognition factor. Branded mailers are easier to identify in a stack of shipments, easier for customers to associate with a repeat purchase, and less likely to look like disposable packing material. That sounds small. It is not. Repetition builds brand memory, and packaging is one of the cheapest places to get that repetition.
If the mailer looks polished, the order feels more deliberate. If the print is blurry, off-center, or poorly matched to the product, the whole shipment can feel rushed. Customers rarely separate the package from the item inside. They read both as one experience.
“A good mailer does not need to impress everyone. It just needs to make the order feel complete, protected, and worth opening.”
How the Bubble Mailer Structure and Printing Process Work
Most bubble mailers are built from three parts: an outer film or paper layer, an internal bubble cushion, and sealed edges with a closure strip. That simple structure does a lot of heavy lifting. The exterior carries the artwork and resists abrasion, while the interior helps cushion the contents against pressure and impact during transit.
The two most common constructions are poly bubble mailers and kraft bubble mailers. Poly versions usually have better moisture resistance and a smoother surface for print. They also tend to look cleaner when the goal is a glossy, retail-style finish. Kraft versions bring a paper texture that feels more natural and can suit brands that want a less synthetic look. Neither one is universally better. The right choice depends on the product, storage conditions, and the look you want the customer to feel in hand.
That sustainability conversation needs a little honesty, too. Mixed-material packaging is not automatically recyclable just because the outer layer looks paper-like. Recyclability depends on the actual blend, adhesive, and local collection rules. If environmental claims matter to your brand, check the construction instead of relying on vague label language.
For broader packaging material guidance, the industry group at packaging.org is a useful reference point when comparing structures and expected performance.
Printing methods vary by run size and artwork complexity. Flexographic printing is common for larger orders because it handles repeat graphics efficiently and keeps unit cost down once setup is complete. Digital printing can make more sense for shorter runs or artwork with more detail. Labels work for very small quantities, but once volume rises, printed mailers usually look cleaner and save labor compared with hand-applied stickers.
Artwork prep matters more than most first-time buyers expect. The usable print area is limited by seams, folds, and the flap closure. A logo that looks fine in a mockup may land too close to a fold line or get distorted near the seal. Fine type and QR codes are especially vulnerable. Keep them away from edges, and build in bleed so minor placement variation does not ruin the design.
Construction details can also change how the mailer prints and packs. A self-seal strip reduces printable space near the flap. A gusseted style changes how flat the mailer sits before it is filled. Standard flat bubble mailers work better for items with a consistent profile. Gusseted versions help with thicker or uneven products that need a little more room without forcing the seal.
Key Cost and Pricing Factors for Custom Orders
Pricing for personalized bubble mailers usually comes down to a few controllable variables: material type, size, print colors, print coverage, order quantity, and any special finish or structural feature. A one-color logo on a standard poly mailer is usually much easier on the budget than full-panel artwork with heavy coverage. More ink, more setup, more cost. Packaging is remarkably uninterested in wishful thinking.
Setup charges matter, especially on smaller runs. Depending on the print method, there may be plate costs, screen fees, file preparation charges, or proofing steps that get spread across the order. That is why a low quantity can look expensive per piece, while a larger order tends to flatten fixed costs and improve unit pricing. The math is not mysterious. It just gets ignored until the quote arrives.
Minimum order quantities vary by supplier and printing method. Higher MOQs can reduce the per-unit number, but they are not always a smart move for launches, seasonal campaigns, or brands that are still testing product-market fit. Ordering packaging that sits in storage for months defeats the point of saving a few cents per piece.
| Option | Typical Cost Impact | Best For |
|---|---|---|
| One-color logo on standard poly | Lowest setup and print cost | Recurring shipments, basic brand presence |
| Two to three colors with moderate coverage | Mid-range pricing | Most retail and e-commerce brands |
| Full-panel print with premium finish | Highest setup and material cost | Launches, premium presentation, brand-heavy campaigns |
| Labels on plain mailers | Lower upfront cost, higher labor | Very small runs or temporary promotions |
As a rough market range, a simple Custom Poly Mailer run can land around $0.18-$0.28 per unit at 5,000 pieces, depending on size and print coverage. More complex artwork, matte films, tamper-evident closures, recycled content, or faster production can push that higher. Kraft options may price differently because paper substrates and print behavior are not identical to film.
For buyers comparing broader packaging options, it helps to start with Custom Packaging Products and then narrow the choices by budget, finish, and shipment type. If your priority is a flexible film format, Custom Poly Mailers are a practical place to begin.
One caution: the cheapest unit price is not always the best purchase. If your monthly ship volume is modest, a big order can tie up cash and storage space for no good reason. The correct quantity is the one you can actually use before the design, season, or promotion changes.
Ordering Process and Timeline: From Proof to Delivery
The order path is usually simple: Request a Quote, confirm specs, submit artwork, review the proof, approve the final layout, produce the order, then ship. Simple does not mean effortless. The cleanest orders are the ones where the buyer sends complete information from the start. Missing dimensions or vague print instructions always create delays. Always.
Fast quoting depends on specifics. Dimensions, quantity, material preference, number of print colors, print coverage, and target delivery date should all be clear before the first proof is built. If the supplier has to guess at size or finish, the quote comes back with more caveats, wider pricing, and more revisions.
Proof review is where many orders lose time. Check spelling, logo placement, barcode legibility if you need it, and whether the colors match brand standards. Screen colors are not a reliable guide to print reality, especially on film. Slight shifts are normal, so ask how the printer handles color matching and what tolerance they use before you approve anything.
For shipment quality and transit expectations, standards from groups such as ISTA are useful because they remind buyers that packaging has to survive pressure, vibration, stacking, and rough handling, not just look good in a mockup.
Production timelines depend on artwork readiness, proof approval speed, order size, and factory capacity. A clean, straightforward order can often move in about 12-15 business days after proof approval, though that is not a promise. Revisions, heavy demand, or material shortages can stretch the timeline. Add shipping time on top of production, especially if the delivery address is far from the production point.
Seasonal deadlines are where planning matters most. Holiday campaigns, product launches, and subscription starts all run on fixed dates, and packaging rarely respects that schedule just because marketing does. Build in room for a proof revision, freight delays, and the occasional reprint if something gets caught late.
How to Choose the Right Size, Material, and Print Style
The right size starts with the product itself, not the catalog category. Measure the item with inserts, tissue, sleeves, cards, or protective wraps included. Then choose a mailer that leaves enough room for easy insertion without giving the product so much space that it shifts around. Too tight slows packing and can stress the seam. Too loose lets the item move, which increases rub marks and the chance of corner damage.
Poly versus kraft is usually the first material decision. Poly is the better fit when moisture resistance, tear resistance, or a clean retail look matters. Kraft works when the brand wants a paper-forward appearance or a softer, more natural feel. Neither option is automatically premium. The right one depends on the item, the storage environment, and the story your packaging is trying to tell.
Print style should match the budget and the role of the package. A simple logo is often enough for routine shipping, especially if the mailer itself has a strong color. Repeated patterns can make the package feel more designed without pushing it into full custom-panel territory. Full-panel graphics make sense when unboxing is part of the marketing plan and the product price can support the extra cost.
Color plays a bigger role than people expect. Dark film changes how bright inks read. White surfaces usually give cleaner contrast and more vivid graphics. A small design that looks sharp on white paper can become hard to read on metallic or dark film if the contrast is not planned carefully.
Performance checks are not glamorous, but they save money. Ask about seal strength, tear resistance, bubble density, and whether the closure is tamper-evident enough for the product. If the item is sharp, heavy, or irregular, request a sample and test it before placing the full order. That one step can prevent a lot of quiet regret later.
For sustainability-minded buyers, the Federal Trade Commission’s environmental guidance and the EPA recycling information are useful reminders that recyclability depends on local systems and exact material construction, not on marketing language alone.
Common Mistakes That Increase Damage, Delays, or Extra Cost
The most expensive mistake is guessing on fit. If the product thickness, inserts, and closure area are not tested together, you may end up with a mailer that technically fits but is miserable to pack. That creates slower fulfillment, wasted labor, or products that arrive damaged because the envelope was too tight.
Artwork problems are another recurring issue. Low-resolution files, missing dielines, unapproved fonts, and color values that were never checked for film printing all create avoidable back-and-forth. A logo that looks fine on screen can print soft or muddy if the source file is not built correctly. Pretty mockups do not equal printable files. A shame, but there it is.
Designs can also get too busy for the available print area. A bubble mailer is not a folding carton, and the usable canvas is smaller than many buyers realize. Seams, flaps, and tolerances all eat into the layout space. Overly complex artwork can increase setup costs and create registration issues, especially on smaller surfaces.
Closure choice matters more than many buyers think. If the item is heavy, sharp, or fragile, the wrong adhesive strip or bubble weight can lead to split seams or poor package integrity. If tamper resistance matters, ask for it specifically. Do not assume every mailer is built the same way just because the product photos look similar.
Timeline mistakes cause just as much trouble. Late proof approval, no buffer for freight, or assuming rush production is always available can turn a manageable order into a scramble. If the shipment has to arrive by a fixed launch date, work backward and leave room for production, transit, and at least one round of corrections.
Expert Tips for Better Branding and Smoother Production
Keep the design bold and readable from arm’s length. That sounds obvious, yet it is one of the most useful rules in packaging. A mailer moves through a warehouse, a truck, and a porch before it reaches the customer, so tiny text and delicate line work usually get lost. Strong contrast, a clear logo, and a simple layout usually outperform a crowded design.
If you want a secondary message, use it sparingly. A short campaign line, a QR code, or a return message can work, but only if it supports the main brand mark and does not crowd it. The best mailers usually have one clear focal point instead of five competing elements trying to prove they matter.
Simplify artwork near seams and closures. Those are the areas most likely to show distortion, pressure marks, and registration variation, especially on flexible film. If the logo crosses a fold line, expect inconsistency. If it sits on a clean open panel, production is usually more forgiving.
Ask for a pre-production sample when color accuracy, finish, or placement is critical. A sample adds time, yes, but it can save real money if the project is high visibility or tied to a premium launch. In practical terms, the sample often costs less than correcting a full run after the fact.
Think about the whole unboxing experience, not just the mailer itself. The package should feel appropriate for the audience and the product price point. A modest accessory line may not need premium finishes or heavy graphics. A higher-end product may justify richer tactile detail, cleaner print, and a more polished closure. Personalized bubble mailers work best when the package and product feel like they belong together.
Next Steps to Place a Smarter Custom Order
Before requesting quotes, prepare a short spec sheet. Include product dimensions, inserts, quantity, material preference, print style, and any hard deadline. That one page prevents a lot of back-and-forth and makes comparison shopping easier.
Send logo files in vector format if possible, and include brand color references so proofing is faster and more accurate. If you only have a raster file, ask whether it can be rebuilt before production. That small correction often improves print quality more than people expect.
It also helps to compare two versions of the order: one budget-focused and one more premium. That gives you a real choice between appearance and unit cost instead of forcing the decision too early. Sometimes the simpler version is enough. Sometimes the upgraded one pays off because the packaging does more of the brand work for you.
Ask for a sample or a proof checklist before approval, then confirm timeline, freight method, and delivery address. Those details keep the project from drifting. If those pieces are set early, ordering personalized bubble mailers becomes a practical packaging decision rather than a guessing exercise.
What size personalized bubble mailers should I order for my products?
Measure the product with inserts, tissue, or protective sleeves included. Choose a mailer that leaves a little room without letting the item slide around. If the product is fragile or irregularly shaped, test a sample before committing to production.
Are personalized bubble mailers better than plain mailers with stickers?
Printed mailers usually look more professional and create a cleaner unboxing experience. They can also be more cost-effective at scale than applying labels or stickers one by one. Stickers may work for very small runs, but they are less efficient for recurring shipments.
What affects the price of personalized bubble mailers the most?
Material choice, size, print coverage, and order quantity are the biggest drivers. Setup charges and the number of print colors can raise the total on smaller orders. Rush timing, special finishes, and structural changes can also increase cost.
How long does production usually take for custom bubble mailers?
Timeline depends on proof approval, artwork readiness, order size, and production capacity. Simple orders move faster when artwork is final and specifications are clear. Always allow extra time for shipping, revisions, and peak-season delays.
Can personalized bubble mailers be recycled?
It depends on the material blend, adhesive, and local recycling rules. Kraft-based options may be easier to recycle in some areas than mixed-material poly versions. Check the exact material construction before making sustainability claims on packaging.