Personalized Tote Bags with photo are a simple product with a surprisingly narrow margin for error. The bag is rarely the problem. The photo file, print size, and decoration method usually decide whether the final piece looks polished or like a rushed promo item.
That is why these totes work best when the buyer thinks like a production person, not just a shopper. A good image can carry sentiment, branding, and utility at the same time. A weak image can waste a decent blank bag and still look cheap.
These bags show up everywhere: retail counters, wedding tables, donor gifts, team events, campus stores, trade show booths. The use case changes the spec. A tote meant to be sold needs a cleaner finish than a tote handed out for one-day promotion. If the photo is the main feature, the design has to be treated as a print job first and a gift second.
Personalized Tote Bags With Photo: What Buyers Expect
Most people picture a plain tote with a photo printed on the front. Fair enough. But the better orders usually have more going on: crop control, contrast adjustments, placement decisions, and a print method chosen for the image rather than the other way around.
Personalized Tote Bags with photo are typically made with digital printing, heat transfer, or a screen-print style process adapted for photographic artwork. Each one handles detail differently. A portrait with skin tones and soft gradients does not behave like a flat logo. A landscape needs different treatment than a face. A collage with text can be a mess if the layout is not planned early.
Buyers usually want one of three outcomes. Some want a keepsake. Some want a sellable merchandise item. Others want a useful giveaway that people actually keep. The right production path changes depending on which outcome matters most.
There is also a practical branding effect. A tote that gets reused 20 times does more work than a postcard that gets tossed after lunch. The bag becomes a moving surface. If the image is clear and the tote is sturdy, that exposure keeps paying off.
If the photo does not hold up at the actual print size, the tote cannot save it. Printing only reveals the problems that were already in the file.
That is the first thing buyers should understand. A 10 MP phone image might look fine on a screen and still fail on a 12-inch tote panel. File quality matters, but so does composition. If the subject is tiny, the background is cluttered, or the crop is awkward, the final bag will feel off even if the print itself is technically clean.
How Photo Tote Printing Actually Works
The production flow is more predictable than most buyers expect. It usually goes like this: file upload, artwork review, proofing, print setup, production, finishing, and shipping. The part that causes the most delays is the review stage. That is where low-resolution files, bad crops, and weak contrast get exposed.
Digital printing is usually the most forgiving for photo-heavy designs. It handles gradients, shadows, and smaller details better than methods that rely on fewer ink colors. Heat-applied transfers can work well for mixed layouts, especially when a name, date, or short line of copy needs to sit beside the image. Screen printing can produce good results too, but photographic artwork usually needs more separation work and cleanup.
The tradeoff is simple: the more photographic detail you want, the more attention you need to give the source file and the proof. If color matters, the vendor needs a stable workflow. Skin tones are where weak printing shows itself fast. So are dark shadows and low-contrast backgrounds. A vendor that knows basic logo work is not automatically equipped for photo reproduction.
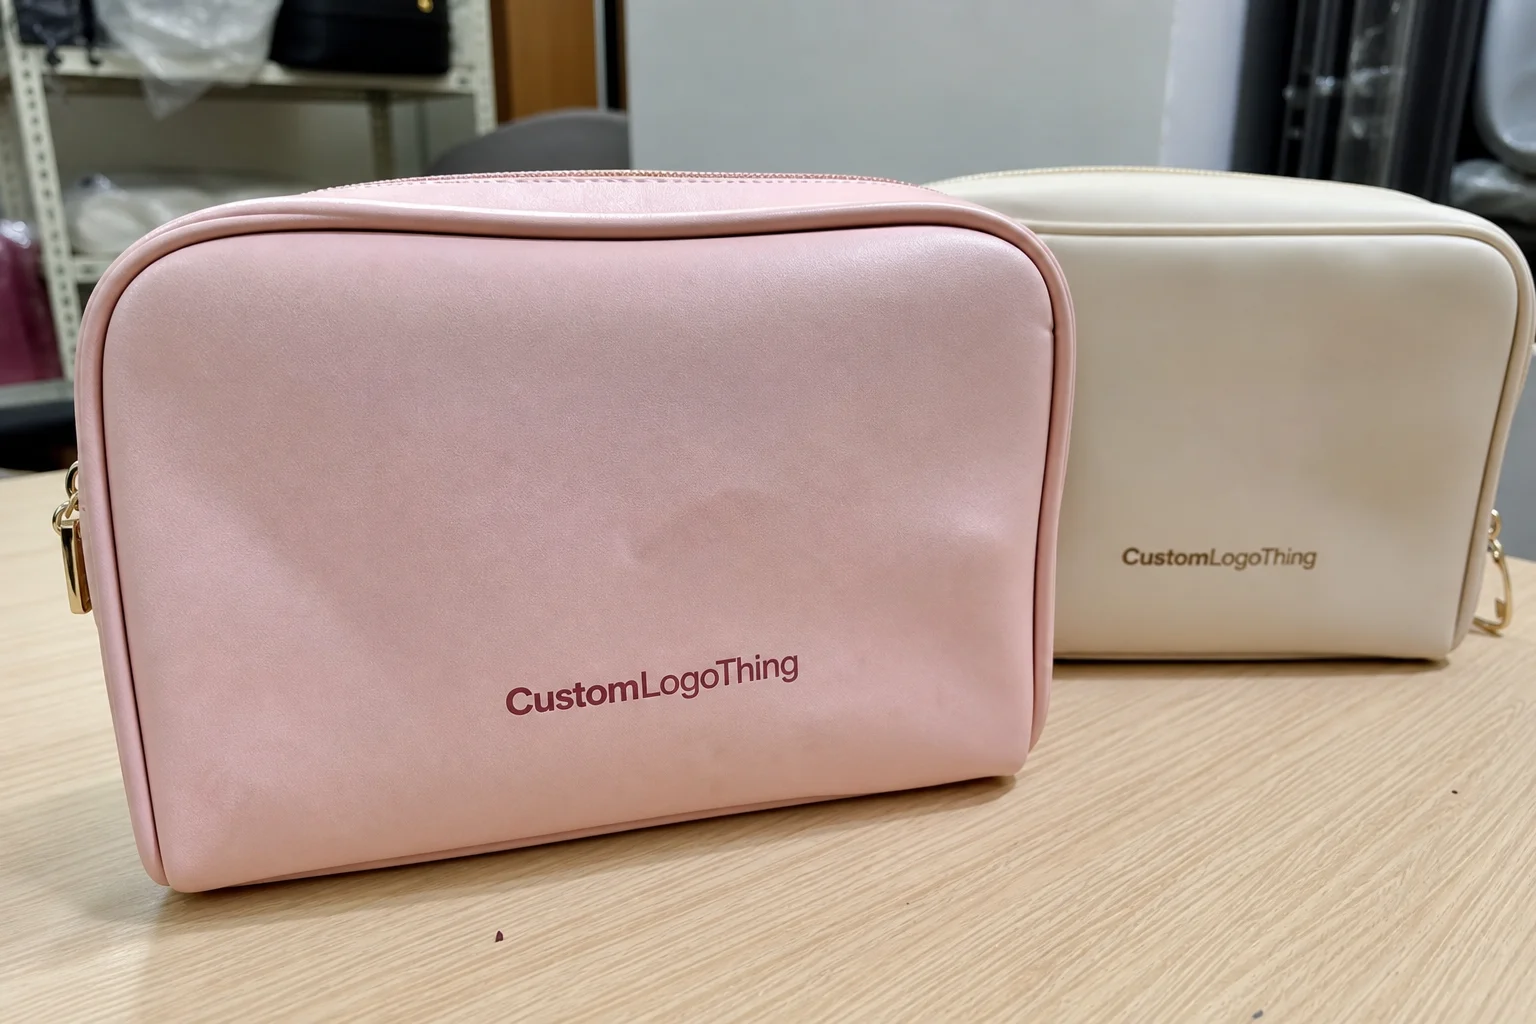
On darker bags, many suppliers add a white underbase under the artwork. That helps the photo stay readable, but it can change the hand feel. The print may feel heavier or less soft than the same art on a white or natural tote. That is not a defect. It is the cost of keeping the image visible.
Branding and personalization can live in the same layout, but only if the composition is planned early. A name, event date, QR code, or short message can sit under the image or beside it without clutter. Try to force those elements in after the photo is approved and the layout starts to fall apart. The safe area disappears quickly on a small panel.
Another detail buyers miss: the print area is not always the usable area. Seams, gussets, handles, and stitching all affect where the image can sit. A design that looks fine on a flat mockup can feel cramped once it lands on an actual bag. Good proofing shows the image at the real dimensions, not just floating in a white box on a screen.
Materials, Image Quality, and Finish Choices
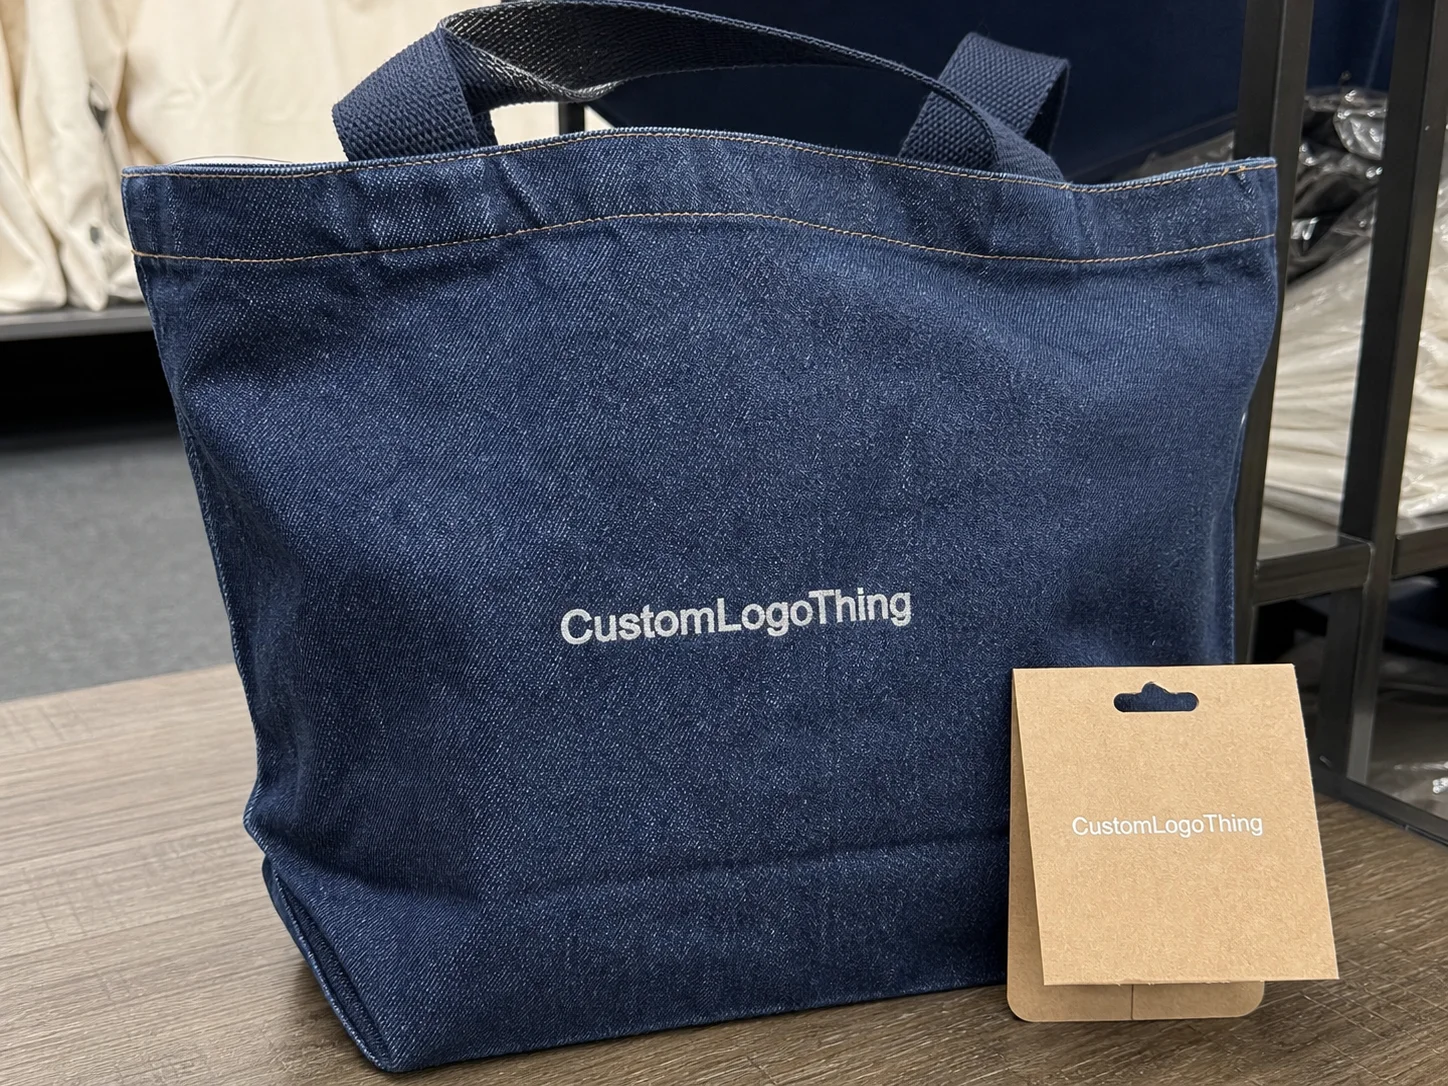
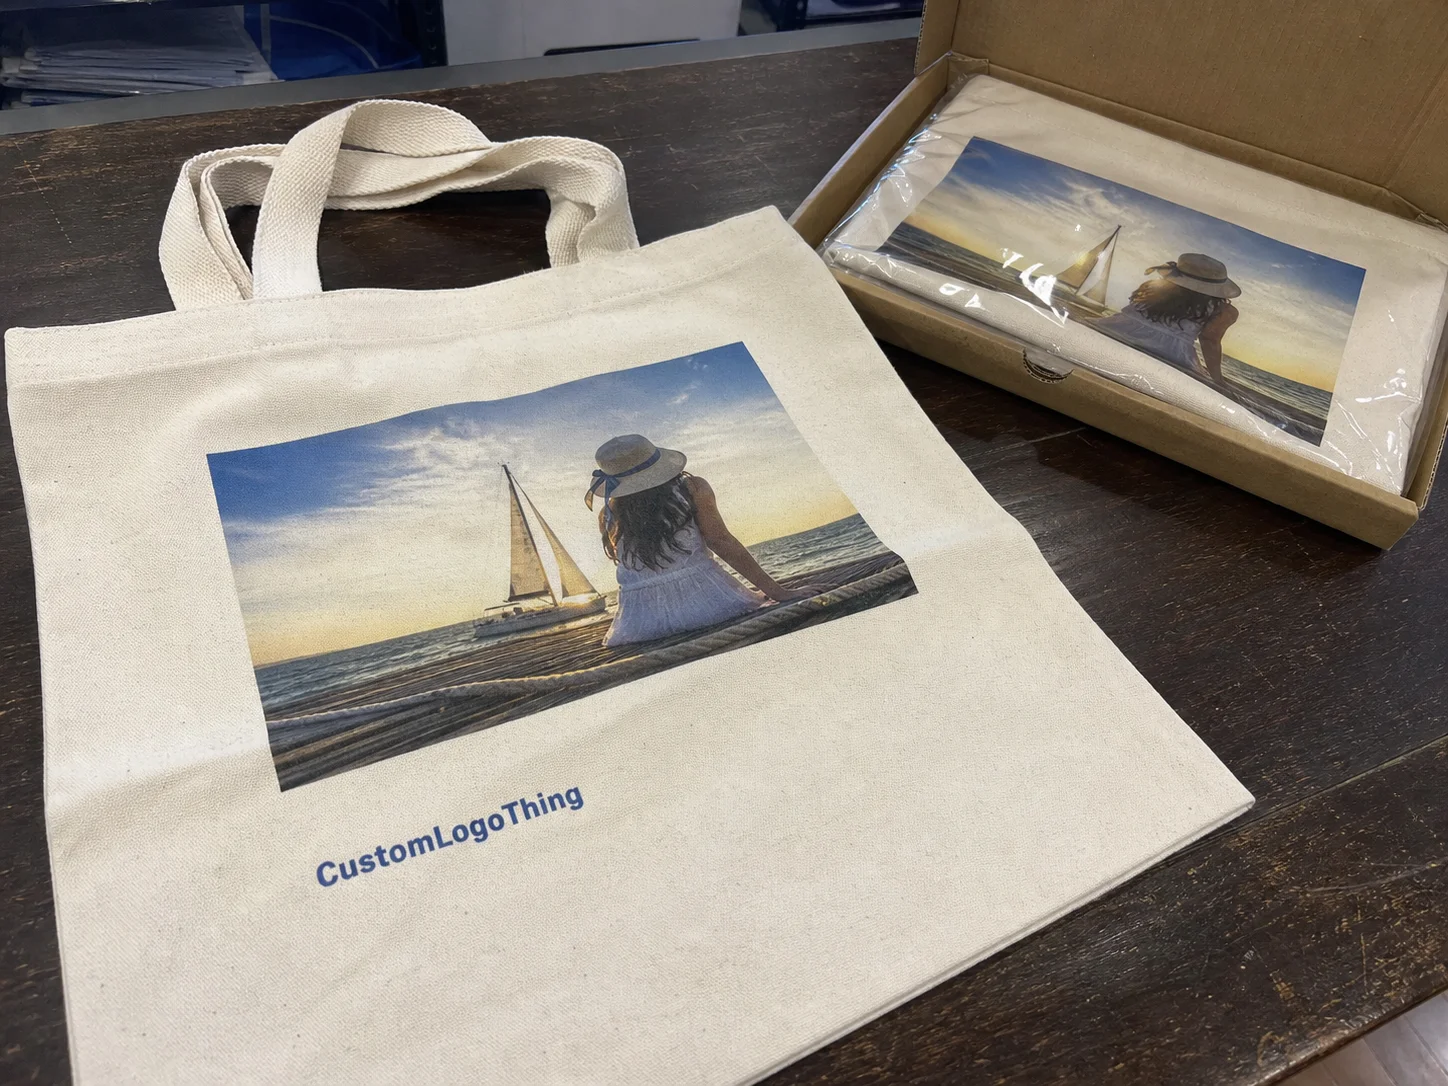
Material selection changes the whole order. Cotton, canvas, nonwoven polypropylene, and recycled blends all behave differently under ink or transfer. Cotton and canvas usually deliver the best-looking results because the fabric feels more substantial and the weave tends to support better visual depth. Nonwoven polypropylene can still work for high-volume giveaways, but photo detail often looks flatter and less refined.
Bag color matters as much as material. A white or natural tote gives the image more breathing room. Dark bags can look sharper and more modern, but they require stronger contrast, tighter prep, and usually more ink or transfer work. If the photo has soft midtones or a lot of background detail, dark fabric can swallow it.
Image quality starts before the file leaves your hands. Resolution matters, but composition matters just as much. Crop ratio is usually the first real issue. A vertical portrait forced into a wide tote panel can lose its headroom or shoulders. A horizontal family photo with too much background can look empty in the middle and noisy at the edges.
A practical buyer checklist helps cut through the guesswork:
- Is the file sharp at the final print size, not just on a phone?
- Does the crop preserve the subject without chopping off faces or text?
- Is the background simple enough to read from a few feet away?
- Will the bag color help the image, or fight it?
- Does the tote need to feel premium, promotional, or utilitarian?
Finish also changes the final impression. Matte surfaces tend to suit portrait-style prints better because they keep reflections down. Lightly coated materials can make color pop, but they may feel less soft in the hand. Placement matters too. A centered photo on a flat front panel is much safer than a layout pushed into seams, handles, or a gusset edge.
For buyers who want a more responsible sourcing story, paper-based and fiber-based components are often checked against organizations such as FSC. That does not improve the print, and it is not a substitute for good production. It does help when the order has to support a packaging or sustainability claim that someone might actually verify.
Daily use is harder on artwork than one-time gifting. A tote that gets folded, stuffed, washed, and tossed into a car needs a print that can handle wear. If the bag will be reused a lot, ask about ink durability, wash instructions, and whether the image will crack, fade, or soften over time. Some wear is normal. Premature failure is not.
Pricing: What Drives Unit Cost
Photo tote pricing usually comes down to five variables: print method, print coverage, bag material, bag size, and quantity. That sounds basic, but the cost difference can be wider than buyers expect. A photo image often costs more than a one-color logo because it needs tighter setup, better proofing, and more control over the final output.
Quantity changes the math fast. A run of 50 to 100 pieces carries more setup cost per unit because prepress and labor are spread across fewer bags. Once the order gets into the hundreds or thousands, the unit price usually drops. That said, the lowest quote is not always the cheapest order. A bad proof, a weak blank, or a reprint wipes out the savings quickly.
For rough planning, a standard cotton tote with a photo print might land around $2.50 to $5.50 per unit at a few hundred pieces. Premium canvas, larger print coverage, specialty inks, or more involved cleanup can push that higher. Basic nonwoven promotional totes can come in lower, sometimes around $1.20 to $2.40 per unit, but the visual result is usually less refined. These are working ranges, not guarantees. Freight, proofs, and art cleanup can change the final number.
| Option | Typical Unit Cost | Best For | Tradeoff |
|---|---|---|---|
| Basic nonwoven tote with photo transfer | $1.20-$2.40 | High-volume giveaways | Lower image refinement, lighter feel |
| Cotton tote with digital photo print | $2.50-$5.50 | Retail, gifts, small events | Better appearance, more sensitive proofing |
| Canvas tote with larger print area | $4.00-$8.00 | Premium resale, branded merch | Higher cost, heavier bag, more freight |
Compare landed cost, not just the unit rate. A cheap-looking quote can grow expensive once shipping, packaging, proofing, and rush fees show up. Some suppliers charge for art cleanup or extra rounds of proofs. That should be included in the comparison from the start. Buyers who skip that step usually end up comparing two very different offers as if they were the same product.
Minimum order quantities matter too. Lower MOQs help flexibility, but they usually increase the per-unit price because the supplier still has to set up the artwork and the print run. That is normal. A small order is convenient; it is rarely the best deal.
For shipping and packaging durability, the ISTA testing framework is a useful reference. It does not tell you whether the print looks good, but it does give a baseline for how packaged goods should hold up during transit. That matters if the totes are being shipped with inserts, folded flat, or packed in bulk cartons.
Process and Turnaround: From Upload to Delivery
Lead time is often a function of decisions, not machines. If the file is clean, the bag is in stock, and the layout is straightforward, the order can move quickly. If the image needs cleanup, the crop is unclear, or the blank needs to be sourced first, the schedule stretches. Most delays happen before production starts.
The proof stage deserves real attention. A good proof should show print size, placement, crop, and the actual tote dimensions. If the design includes text, that is the stage where spelling mistakes, spacing issues, and awkward line breaks usually show up. Approving a mockup too quickly is one of the easiest ways to turn a decent order into a problem.
Typical timeline ranges look like this:
- File review and proofing: 1 to 3 business days
- Artwork revisions: 1 to 4 business days, depending on responsiveness
- Production: often 5 to 10 business days after approval
- Shipping: 2 to 7 business days, depending on service level and destination
That puts many orders in the 8 to 15 business day range from proof approval to delivery. Rush production is possible in some cases, but it usually costs more and leaves less room for correction. If the order is tied to a launch, conference, wedding, or seasonal event, build in time for at least one revision cycle.
Inventory availability can change the schedule too. A supplier may be ready to print but not have the exact tote size or color in stock. That can mean delay or substitution. Ask whether the timeline assumes stocked blanks or custom sourcing. Those are not interchangeable promises.
The safest workflow is plain enough: choose the photo, confirm the bag, approve the proof, then stop moving the target. Every extra change after that adds risk. The people who keep orders under control usually do less improvising, not more.
Mistakes That Make Photo Tote Bags Look Cheap
Low-resolution files are the obvious problem, but they are not the only one. A phone photo can still work if it is sharp, well lit, and not overcompressed. The real damage often comes from screenshots, social media downloads, and forwarded files. Those lose detail fast, and the loss shows up immediately once the image is enlarged.
Crowded images are another common failure point. Too many faces, too much background, or weak contrast makes the tote read as visual noise. The eye does not know where to land. On dark fabric, the issue gets worse because midtones can disappear unless the underbase and color separation are handled properly.
Placement mistakes are just as visible. A photo pushed too close to seams or handles can look clipped once the bag is filled. If the tote has a gusset, the design should stay far enough away from the fold line that the image is not distorted. Centered prints usually age better than oversized layouts that ignore the shape of the bag.
Color choices can work against the design too. A dark image on a dark tote without enough contrast looks flat. White space is not wasted space if it gives the image breathing room. Some of the best-looking bags use restraint. The photo does the talking, and the rest of the layout stays out of the way.
Proofing errors deserve their own warning label. Buyers often approve a mockup without checking scale. That leads to a photo that looks fine on screen and too small in production. Other misses include cropped heads, names that sit too low, and text that reads well in a proof but disappears on the finished bag.
The cheapest tote is usually the one that avoids reprint. A bad proof costs more than a better blank.
There is also a temptation to cram too much into one panel. Photo, logo, date, slogan, QR code, website, social handle. Fine if the bag is huge. On a normal tote, it usually turns into clutter. If every element matters, the layout needs to be built around hierarchy. One main image, one supporting message, and enough space for the print to breathe.
Expert Tips Before You Order
Start with the use case. A tote sold at retail needs a different standard than a tote used for an employee event or a wedding favor. If the bag is being resold, the print has to stand up to close inspection. If it is a giveaway, cost and speed may matter more than perfect tonal detail. That decision should happen before the design file is opened.
Compare two or three candidate photos at the intended print size. A technically better file can still lose to a simpler photo if the simpler one has stronger contrast and a cleaner subject. This step takes minutes. It prevents the usual disappointment of picking a beautiful image that does not reproduce well on fabric.
Ask for a digital proof or a printed sample when color accuracy matters. Not every order needs one. Premium retail, donor gifts, and brand launches usually do. If you want fewer surprises, ask about the print method, exact tote material, MOQ, lead time, and whether art cleanup is included. Those five questions clear out most of the confusion.
- Confirm the final print size in inches, not just "large" or "centered."
- Ask which file type the vendor prefers, usually PDF, PNG, or high-resolution JPG.
- Check whether the artwork needs a transparent background or a white base.
- Verify wash instructions if the tote will be reused often.
- Get freight and any rush charges in writing before approval.
One detail many buyers miss: the same image can look good on one tote size and awkward on another. A 13-inch bag and a 15-inch bag are not interchangeable if the composition depends on negative space or a centered face. Ask to see the design placed on the actual blank dimensions before signing off.
For sustainability claims, packaging teams often cross-check material statements against sources like the EPA sustainability resources. That does not guarantee a better tote. It does help separate actual material choices from vague marketing copy that sounds nice and means very little.
Personalized tote bags with photo work best when the image, bag, and print method are chosen together. Treat those as one decision and the odds of getting a bag people keep go up. The product is small. The standards should not be.
FAQ
What photo resolution works best for personalized tote bags with photo printing?
Use the highest-resolution original file you have, not a screenshot or compressed social post. The practical rule is to match the final print size as closely as possible so the image still holds detail when it is enlarged on the tote. If the vendor provides a proof, inspect sharpness at the actual print scale before approving production.
Which tote material is best for photo printing?
Canvas and tightly woven cotton usually produce the cleanest-looking results because they hold detail better and tend to look more premium. Nonwoven polypropylene can still work for promotional runs, but fine gradients and subtle facial detail usually look less refined. The right choice depends on whether the bag is meant for retail, gifting, or mass giveaway use.
How much do personalized photo tote bags usually cost?
Cost depends on quantity, bag material, print method, and how much of the bag is covered by the image. Smaller orders usually cost more per unit because setup and proofing are spread across fewer bags. Ask whether shipping, artwork cleanup, and proofs are included so you can compare quotes on equal terms.
How long does production take for a photo tote order?
Turnaround varies by vendor, but proofing and artwork approval are usually the biggest bottlenecks. If the file is ready and the blank bags are in stock, standard production can move fairly quickly. Rush orders are possible, but they usually cost more and leave less room for revisions.
Can personalized tote bags with photo designs be washed?
Most can be spot cleaned or gently washed, but care depends on the print method and fabric. Turn the bag inside out and avoid high heat if the design uses transfers or heat-applied decoration. Follow the vendor's care instructions if you want the image to stay sharp longer.