Buyer Fit Snapshot
| Best fit | Retail Packaging Selection Solution projects where brand print, material claims, artwork control, MOQ, and repeat-order consistency need to be specified before quoting. |
|---|---|
| Quote inputs | Share finished size, material target, print colors, finish, packing count, annual reorder estimate, ship-to region, and any compliance wording. |
| Proofing check | Approve dieline scale, logo placement, barcode or warning zones, color tolerance, closure strength, and carton packing before bulk production. |
| Main risk | Vague material claims, crowded artwork, missing packing details, or unclear freight terms can make a low unit price expensive after revisions. |
Fast answer: Retail Packaging Selection Solution: Material, Print, Proofing, and Reorder Risk should be specified like a repeatable production item. The safest quote records material, print method, finish, artwork proof, packing count, and reorder notes in one written spec.
Production checks before approval
Compare the actual filled-product size with the drawing, then confirm tolerance on folds, seals, hang holes, label areas, and retail display edges. Reserve space for logos, QR codes, warning copy, and material claims before decorative graphics fill the panel.
Quote comparison points
Review material grade, print process, finish, sampling route, tooling charges, carton quantity, and freight assumptions side by side. A quote is only useful when the supplier can repeat the same color, closure quality, and packing count on the next order.
Retail Packaging How to Choose the Right Solution starts with a blunt fact: the package often does the selling before the product gets a chance. If you are working through retail packaging how to choose decisions for a shelf-ready item, the real question is not "What looks attractive?" It is "What protects the product, fits the retail channel, and still catches a shopper in the short window before they move on?"
That question matters because retail packaging carries more than one burden. It protects the item, carries the brand, preserves margin, and helps store teams keep inventory moving without extra friction. The strongest answer to retail packaging how to choose is rarely the prettiest one. It is the format that matches the product, the price point, and the operating reality behind the scenes.
Retail Packaging How to Choose: What It Is and Why It Matters
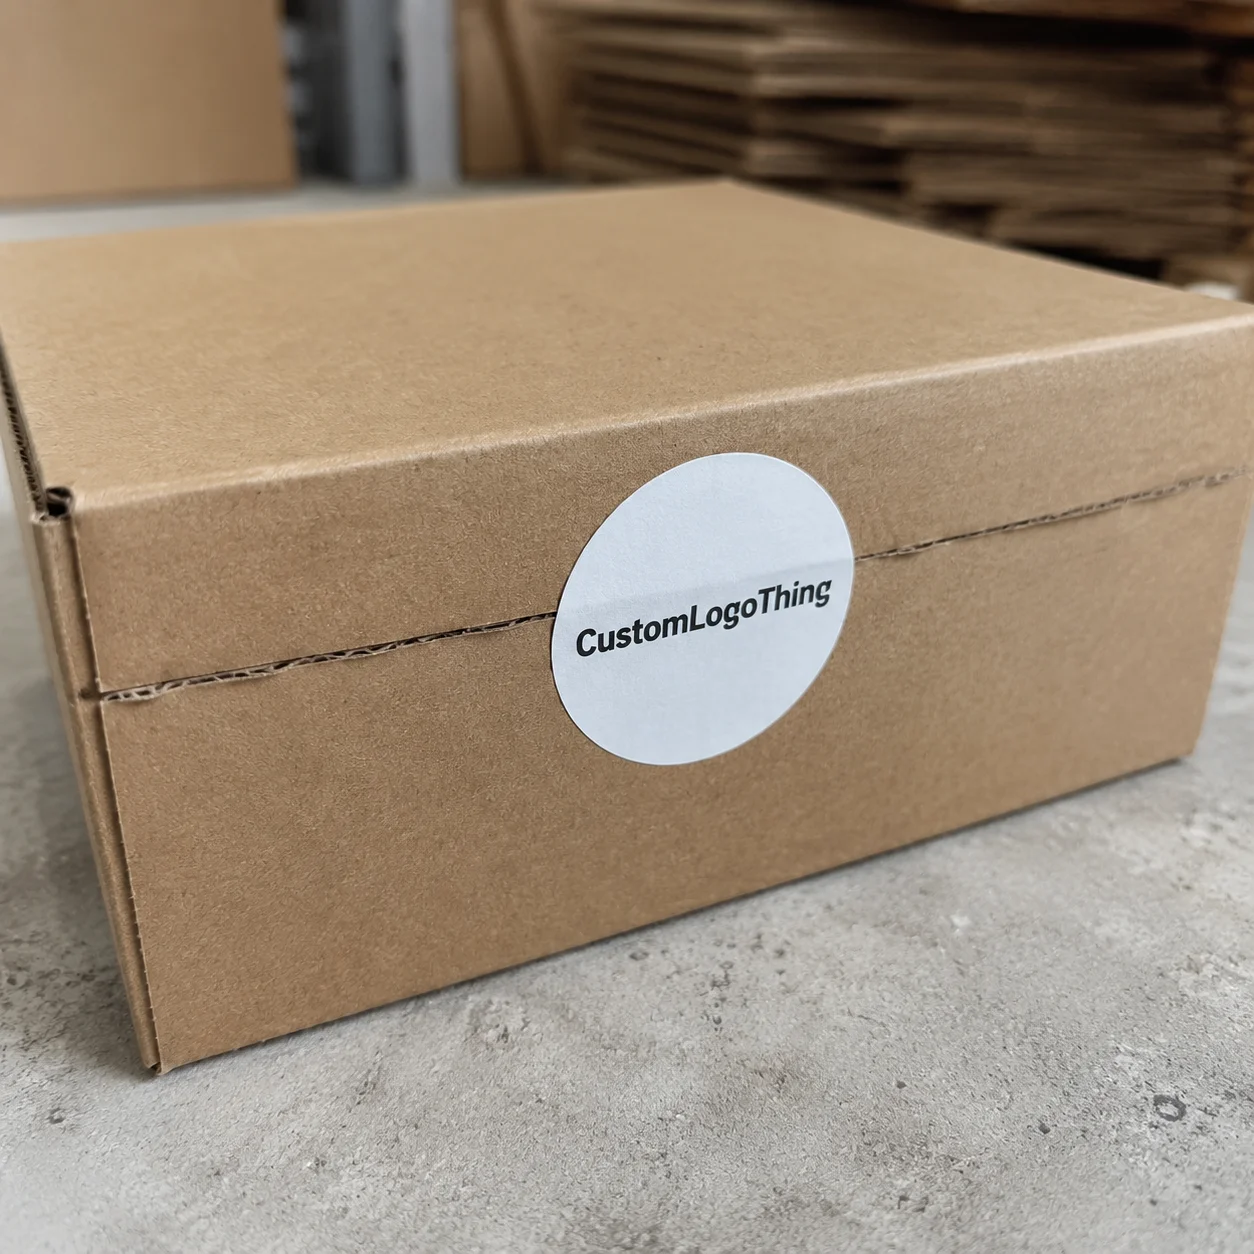
Retail packaging is the structure, graphics, and finishing system that protects a product and explains why it deserves attention. A plain carton can do the first job. Good packaging design does both at once. It keeps the product safe and gives shoppers a reason to believe the brand before they have opened anything.
That difference matters far beyond aesthetics. It changes conversion, shrink damage, shelf speed, and even the price a retailer is willing to accept for the item. In a crowded aisle, a package has to do more than hold shape. It has to communicate value fast. That is why retail packaging how to choose is really a business decision wearing an aesthetic costume.
Picture a premium candle. If the jar ships loosely inside a weak carton, breakage rises and returns follow. If the printed carton looks cheap, the shopper may assume the wax blend, fragrance story, or brand standard is equally cheap. Now picture a small electronics accessory. A flimsy pack makes the product feel disposable, while a clean, structured carton can raise confidence without adding much weight. In both cases, retail packaging how to choose ties directly to perceived value.
I have sat through packaging reviews where the beautiful concept board got applause, then failed the first handling test because the insert rattled or the case pack ballooned. That kind of miss is common, and it is exactly why the structure has to lead the conversation. Pretty is fine. Pretty and practical is better. If the box is gonna create damage claims, it is the wrong box.
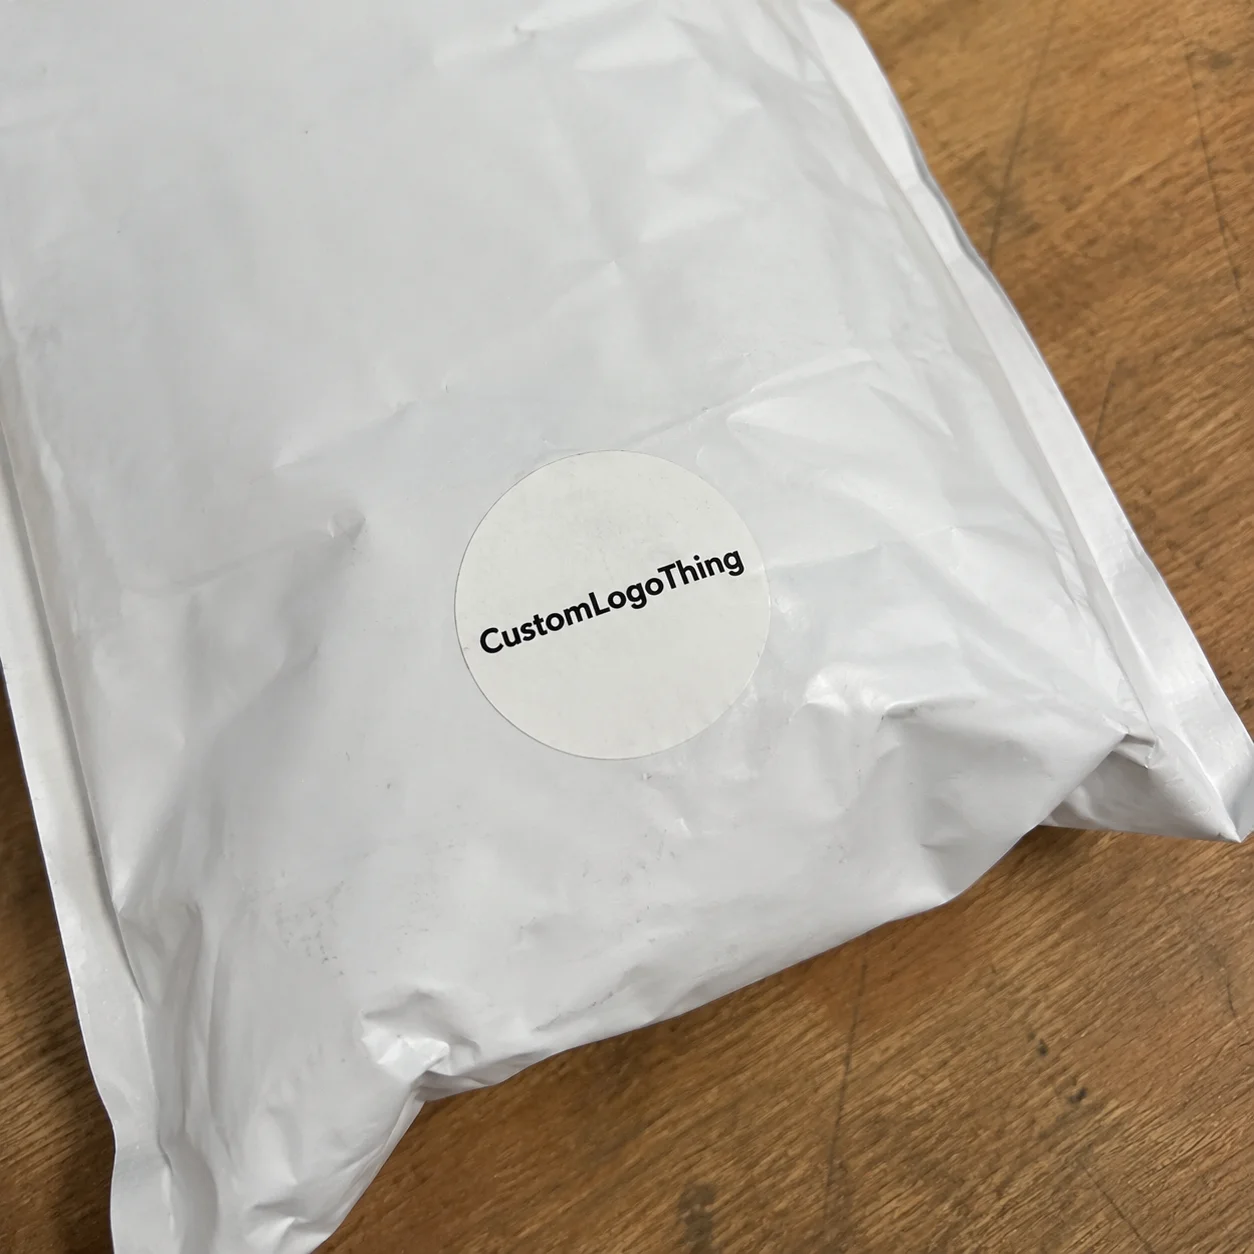
There is another layer buyers often overlook: retail packaging is a supply chain tool. It has to survive transit, fit case packs, carry barcodes, and support store restocking. The right answer does not live only on the shelf. It also has to work in the warehouse, on the truck, and in the hands of a retail associate who may open, stack, and face the product dozens of times a day.
"A package can be the quietest part of the product, or the reason it moves." That is the practical split between packaging that merely contains an item and packaging that earns space on the shelf.
One of the biggest mistakes in retail packaging how to choose is starting with embellishment instead of function. Foil, soft-touch coating, spot UV, windows, inserts, sleeves, and special folds all sound appealing in a meeting. If the product is heavy, fragile, or subject to retailer handling standards, those finish choices should come after the structural decision, not before it.
Strong packaging also creates consistency across a line. A Brand That Sells eight SKUs can usually save money and reduce confusion by building one system that scales rather than treating each item as a one-off. Package branding earns its keep here: it is the repeatable visual language that makes the collection feel like a family, even when the contents vary.
In category reviews, I keep seeing the same pattern: the brands that win the shelf are usually the ones that make a disciplined tradeoff early. They do not ask the package to do everything. They ask it to do the most important thing well. That is a smaller goal, but it is far more useful.
How do you choose retail packaging?
The shortest answer is this: start with the product, then test it against the shelf, the retailer, and the budget. That sounds tidy, but the sequence matters. Retail packaging how to choose is easiest when the team defines the product's physical needs first, then checks how the package will perform in the store, and only then decides how much visual drama is worth paying for.
A practical choice usually balances four things: product protection, shelf appeal, production speed, and landed cost. If one of those four gets ignored, the package tends to fail in a predictable way. It breaks in transit, looks weak beside competitors, slows the packing line, or drains margin through freight and rework. That is why retail packaging how to choose is less about taste and more about fit.
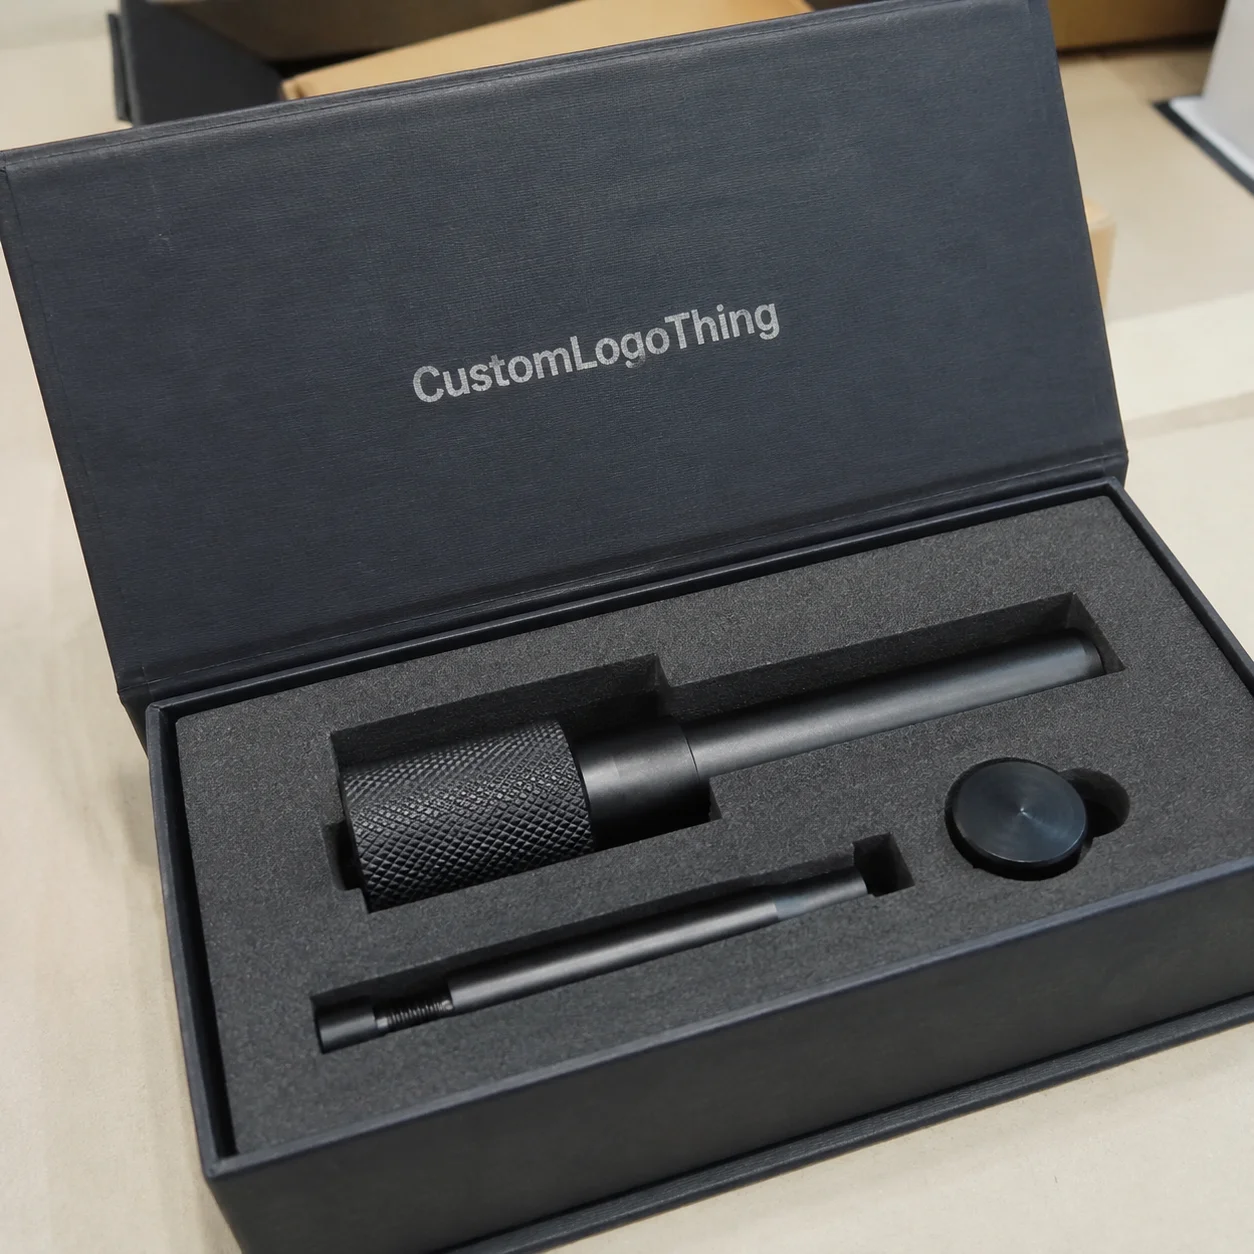
The best packages also make a subtle promise. A rigid box suggests care. A folding carton suggests efficiency. Corrugated packaging suggests durability and shipping confidence. Those signals are not cosmetic trivia. They shape how buyers judge quality before the product is even handled. In other words, the right retail packaging how to choose decision works like a silent sales pitch.
One comparison helps here. A folding carton can be the right answer for a lightweight cosmetic or supplement because it prints beautifully and keeps cost in check. A corrugated retail pack may be better for a heavier item that needs real compression strength. A rigid structure might be justified for a giftable product where perception drives price. The best choice is the one that matches how the item is actually sold, not how someone wishes it were sold.
Retail Packaging How to Choose: How the Selection Process Works
The selection process usually starts with the product, not the artwork. Retail packaging how to choose begins with dimensions, weight, fragility, closure style, and the way the product will be handled before the customer sees it. A bottle needs different support than a blister pack. A candle needs different protection than a charger cable. A glass item needs different edge control than a paper goods set.
After that, the retail channel starts to shape the answer. A club store, a specialty boutique, and a mass merchant all place different demands on the package. Stackability may matter more than storytelling in one channel. Hang display may matter more than shelf width in another. If the item has to travel through a distribution center and then sit in a power wing or endcap, the package has to support that path without collapsing or looking underbuilt.
Dielines, samples, and mockups earn their keep at this point. A dieline shows the structural footprint and panel layout. A prototype shows how the box opens, fills, and closes. A printed mockup shows how the real graphics behave at shelf distance. Teams that skip those steps often learn too late that a beautiful layout leaves no room for barcode placement, legal copy, or a retail hang tab. In practice, retail packaging how to choose is iterative, not a one-shot decision.
The cleanest decision chain runs in this order: product requirements first, retail constraints second, branding and finish third. That order matters because it keeps the package from becoming overdesigned. The best solution is not the most elaborate one. It is the one that clears the shelf, survives shipping, and keeps production and replenishment simple.
Teams often use a simple three-way test:
- Merchandising -- Does it stand out, face well, and communicate value in a few seconds?
- Protection -- Does it survive drops, vibration, compression, and handling?
- Cost control -- Does it fit the margin, line speed, and freight profile?
If one of those three is out of balance, the project usually pays for it later. The package may look strong on screen and weak in reality, or it may ship efficiently but disappear on shelf. That is why retail packaging how to choose should always be tied to a sample review, not just a render.
For teams building out a broader assortment, it can help to compare a few starting points through Custom Packaging Products before locking in the final structure. Seeing formats side by side makes the tradeoffs clearer, especially when the product line has different sizes or price tiers.
Retail Packaging How to Choose by Product, Shelf, and Brand
Strong decisions start with the product itself. Retail packaging how to choose gets easier when the buyer writes down what the item actually needs, rather than what the brand wishes the package could do. Weight, fragility, leakage risk, temperature sensitivity, and opening behavior all affect the right structure. A powder blend has different needs than a framed accessory. A ceramic mug needs corner support. A folded garment may need a cleaner presentation panel. A refill pouch may need more barrier confidence than display drama.
The shelf picture comes next. Does the package need to hang, stand, stack, or slide into a tray? How wide is the facing? How much competing color sits beside it? Does the retailer want easy facings, or will the package sit in a free-form display? Those details sound small until the item is on the floor. Shelf visibility is often decided by a few inches of structure and a few degrees of angle.
Brand positioning comes after that. A product priced at the premium end cannot usually carry a package that feels like it came from a bargain bin, and a value-line product should not be dressed like a luxury gift. The package has to match the emotional promise. That is why branded packaging is not the same as adding a logo and calling it finished. It is the full system of type, structure, finish, color density, and material weight that tells shoppers where the product belongs.
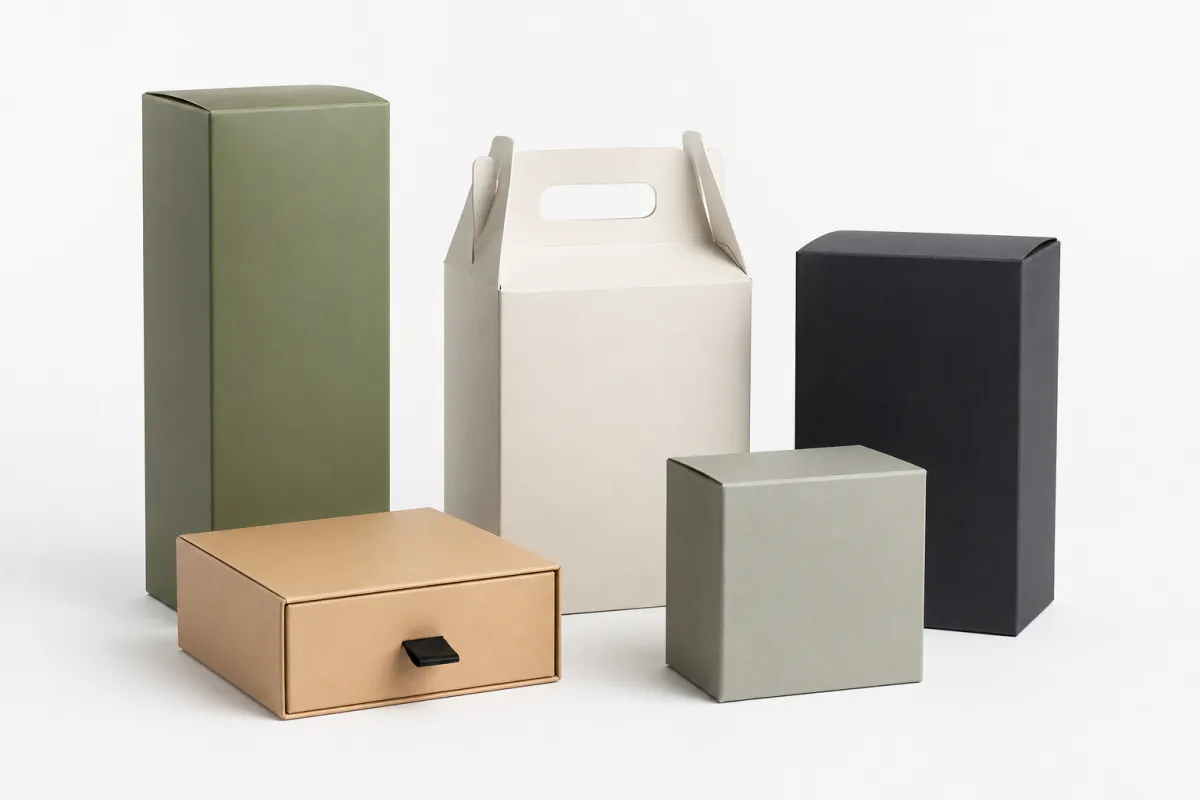
Material choice is where many buyers either overspend or underspecify. Paperboard works well for lightweight items that need excellent print presentation. Corrugated adds stiffness and shipping protection, which can matter a lot for e-commerce crossover or retailer handling. Rigid packaging signals higher perceived value, but it brings added board cost, assembly time, and usually more freight volume. Inserts, coatings, window features, and sleeves can all help, but each one adds a production decision and a handling step.
Operational fit matters just as much. If the package takes too long to fill, line speed drops. If it does not stack efficiently, warehouse cube usage suffers. If the retailer's staff cannot restock it quickly, the item may look messy even when inventory is healthy. Retail packaging how to choose should therefore account for:
- Carton size and case pack efficiency
- Ease of filling on the packing line
- Stack and shelf stability
- Barcode placement and scan reliability
- Clear opening and closing behavior for staff and customers
Most teams get tripped up by one assumption: the package does not need to prove everything at once. It needs to support the strongest buying reason. If the item is a premium candle, the package may need to make scent quality feel credible. If the item is a tool accessory, the package may need to make durability and fit feel obvious. If the item is a personal care product, the package may need to signal hygiene and consistency. The package should do one job well instead of trying to shout every possible benefit.
For line extensions, a good rule is to keep the structure consistent and adjust graphics, inserts, or finishes only where necessary. That reduces tooling complexity, simplifies inventory, and makes the shelf set feel intentional. In many programs, retail packaging how to choose moves from a single-package decision to a system decision.
Retail sourcing also rewards restraint. A package can look expensive without being expensive if the typography is disciplined, the board is right-sized, and the finish is used sparingly. The reverse is true too. A package can be costly and still look cheap if the proportions are awkward or the print hierarchy is unclear. Buyers should judge the whole package, not just the finish list.
There is a real-world wrinkle here: what works for one retailer may not work for the next. A specialty chain may reward a more dramatic shelf presence, while a mass merchant may punish anything that slows replenishment or complicates scanning. That is why the same SKU can need two packaging expressions. It is not wasteful. It is often the cost of being accurate.
Retail Packaging How to Choose by Cost and Pricing
Cost is where the discussion gets real. Retail packaging how to choose by price means separating the visible number from the actual number. The visible number is the unit quote. The actual number includes setup, proofing, tooling, freight, damage risk, labor, and any retail compliance adjustments. Those extra pieces are often why two quotes that look similar can produce very different landed costs.
As a planning guide, a simple printed folding carton might land around $0.18-$0.45 per unit at 5,000 pieces, depending on board grade, ink coverage, and finish. A corrugated retail mailer or display-style box may land around $0.55-$1.20 per unit at a similar volume. A rigid box can move much higher, often $2.00-$6.00+ per unit, depending on wrap material, insert complexity, and assembly time. Those are not quotes. They are planning ranges, and they can shift quickly if the print coverage is heavy or the design uses several specialty finishes.
| Format | Typical use | Planning cost at 5,000 units | Best fit |
|---|---|---|---|
| Folding carton | Lightweight retail items, cosmetics, supplements, accessories | $0.18-$0.45 each | Strong print presentation with controlled material cost |
| Corrugated box | Heavier products, shipping crossover, protective retail packs | $0.55-$1.20 each | Better protection and stacking strength |
| Rigid box | Giftable items, premium electronics, high-perceived-value goods | $2.00-$6.00+ each | Luxury feel and strong unboxing impression |
| Carton with insert | Fragile products, glass, mixed-component kits | $0.30-$0.95 each | Improved product retention and damage control |
The trick is not to choose the cheapest quote. The trick is to compare quotes on the same spec. Ask whether the board grade is identical, whether coatings are included, whether dieline modifications cost extra, and whether sampling or freight is baked in. A quote that looks lower by 8% can turn into a higher total after tooling, material changes, or a second proof round.
There is also hidden cost. A package that saves a few cents but increases breakage by even one or two percent can wipe out the savings quickly. Freight is another quiet factor. If the package inflates the finished cube or creates awkward pallet patterns, shipping cost rises. Labor matters too. A box that takes 12 seconds to assemble instead of 5 seconds can change the economics of a small run completely.
That is why many teams use a side-by-side quote review before they commit. One practical approach is to request quotes from suppliers on the same specification sheet and review them against identical assumptions. If you need a place to start that conversation, compare options through Custom Packaging Products and align the structure before asking for pricing.
Sometimes a low-cost fix produces the biggest savings. Reducing color count from four to two, simplifying a specialty finish, or standardizing box dimensions across two SKUs can make a meaningful difference. A move like that may cut spend by 10%-20% without hurting shelf appeal at all. On the other hand, removing a protective insert to save pennies can be false economy if damage claims rise. Retail packaging how to choose should always compare savings against downstream friction.
There is a sustainability angle that buyers should not ignore. If a material choice lets a brand reduce weight, reduce waste, or use certified fiber, the savings can show up in both reputation and compliance. For responsible paper sourcing, many teams look at FSC certification. For transit validation, many teams reference ISTA test standards before approving a structure for distribution.
I have seen the cheapest option turn into the most expensive one after a quarter of returns. That is the kind of math procurement notices fast. A line that looks efficient on paper can be kinda expensive once breakage, repacking, and customer complaints show up. The landed number is the number that matters.
Retail Packaging How to Choose: Process and Timeline
Timing is where good plans often get exposed. Retail packaging how to choose is not only a design question; it is a calendar question. A strong package that arrives late can still delay launch, retail onboarding, and marketing collateral. The timeline should be mapped before creative work gets too far ahead.
A typical sequence starts with discovery and requirements gathering, then moves into dieline selection, artwork layout, sample development, revisions, approval, and production. For a straightforward folding carton, a team may move from proof approval to finished units in roughly 12-20 business days depending on volume and print method. More customized structures, special inserts, or heavy finish work can stretch that out. If tooling needs to be built or revised, the schedule can expand by several more days or even weeks.
The first stage should lock down the basics: product dimensions, target retail channel, compliance needs, and shipping assumptions. If those are still moving, design will drift. That drift is expensive. Every structural change can affect artwork, carton fit, case packs, and the approval cycle. The fastest projects are usually the ones where the team decides early what will not change.
Sample cycles are another schedule trap. One round of samples may be enough if the structure is simple and the graphics are already approved. If the team is still debating finish selection, insert depth, or opening mechanism, the timeline stretches. That is normal. It is also why retail packaging how to choose should include enough time for at least one structural test and one print review.
Manufacturing method matters too. Digital printing can help with shorter runs and faster proofing. Offset may offer better economics at scale. Corrugated, rigid, and specialty cartons may require different finishing steps, different assembly assumptions, and different quality checkpoints. Material availability also affects the clock. If the exact paperboard shade or coating spec is limited, the schedule can move even when the artwork is ready.
Retail buyers should think in milestones:
- Brief approved
- Dieline selected
- Prototype reviewed
- Artwork locked
- Production sample approved
- Run completed and shipped
That sequence helps because it exposes where the project is actually stuck. Sometimes the issue is structural. Sometimes it is legal copy. Sometimes the bottleneck is simply waiting for stakeholder approval. The calendar does not care why the delay happened. It only shows that the launch moved.
There is a simple way to protect the schedule: create a decision log. Write down who owns each approval, what is frozen after each stage, and what triggers rework. That sounds administrative, but it saves time. It also reduces the temptation to keep tweaking the package after samples are already in motion.
For brands that sell through retail and direct channels at the same time, the launch timeline can become the product timeline. If the packaging slips, the assortment may not ship to stores on time, the display calendar shifts, and the campaign goes quiet. That ripple effect is one reason retail packaging how to choose should never be treated as a late-stage task.
One more thing: do not compress the calendar just to make a meeting feel productive. If the testing window disappears, you are not saving time. You are borrowing it from the launch floor, and the interest rate is ugly.
Retail Packaging How to Choose Step by Step
If you want a practical way to move forward, use a structured sequence. Retail packaging how to choose becomes much easier when the team follows the same decision path every time instead of arguing from preference. The aim is not to make the package "perfect." The aim is to make the package fit the product, the retailer, and the budget without unnecessary backtracking.
- Write the product brief. Capture dimensions, weight, fragility, intended retail channel, target price, and any regulatory or barcode requirements.
- Shortlist the formats. Compare paperboard, corrugated, rigid, or hybrid structures based on actual product needs, not trend appeal.
- Test the structure. Check shipping durability, shelf facing, stack strength, and opening behavior with a sample or mockup.
- Review the graphics. Confirm brand hierarchy, legal copy, barcode space, and any claims that must appear clearly at shelf.
- Compare the landed cost. Review unit price, setup, freight, inserts, and rework risk together instead of in isolation.
- Approve with operations in the room. Make sure filling speed, case pack fit, and warehouse handling have been checked before final sign-off.
The point of the sequence is to prevent the common "design first, fix later" problem. Many packaging projects begin with a mood board and end with a rushed structural compromise. That is not how the best retail packs are built. The better approach lets the product requirements set the frame and then builds the visual system around it.
There is a second reason this step-by-step approach works: it keeps the team from chasing too many options. Once the product brief is clear, the number of real candidates usually drops fast. A fragile item may eliminate some display structures immediately. A low-margin item may eliminate expensive finishes. A high-volume item may eliminate complicated assembly. That is good. It means retail packaging how to choose is becoming specific instead of theoretical.
At this stage, many teams find it useful to compare two or three prototype directions and then make a decision based on evidence, not opinion. If the package has to earn shelf appeal and still move through operations cleanly, the sample tells the truth faster than the meeting does.
For buyers building a retail-ready assortment, that is the moment to revisit Custom Packaging Products and confirm that the structure you like is also the structure you can actually produce at scale.
If the team is split, use the sample table, not the loudest voice. That usually settles it.
Retail Packaging How to Choose: Common Mistakes, Expert Tips, and Next Steps
The most common mistake is choosing packaging for looks alone. A dramatic finish can help, but it does not compensate for poor fit, weak protection, or awkward shelf behavior. Another mistake is underestimating freight impact. A larger box can raise cube cost enough to erase the gains from a cheaper board. A third mistake is ignoring how retail staff will handle the item. If restocking is clumsy, the shelf image can degrade quickly even when the original design was strong.
There is also a design trap that shows up often: too many materials in one package. Paperboard, plastic windows, foam inserts, metallic film, and multiple coatings can make a package expensive to make and hard to explain. Unless there is a clear functional reason, complexity should be trimmed. The strongest retail packs usually look simpler than the first draft. They have better hierarchy, fewer distractions, and more discipline in the details.
Here are a few expert habits that make retail packaging how to choose decisions easier:
- Build one base structure that can scale across multiple SKUs.
- Test against competing packages already on the shelf.
- Compare quoted specs line by line before judging price.
- Use standard dimensions where possible to improve cube efficiency.
- Save specialty finishes for the panels that actually influence purchase behavior.
One practical tip: ask suppliers to show you the same package in both a plain sample and a finished sample. That comparison often reveals whether the value is coming from structure, print, or finish. If the "premium" effect disappears without a coating, you may be buying decoration rather than performance. If the package still looks strong without the extras, you may have room to simplify.
Another useful habit is to test the package in a real handling sequence. Put it into a shipper, open it, restock it, face it, and scan it. The difference between a nice concept and a workable retail pack usually appears during that sequence. A package that saves three seconds per fill, or prevents one dent per dozen shipments, can pay for itself quickly. That is not theory. It is the kind of operational math procurement and production teams live with every day.
For brands that care about responsible sourcing and transit proofing, the standards conversation helps keep decisions grounded. FSC certification can support fiber sourcing goals, while ISTA methods can help validate how the pack behaves under distribution stress. Those references do not choose the package for you, but they stop the discussion from drifting into pure opinion.
My honest advice: do not wait for a perfect package. Choose the one that performs best against the most important constraints, then refine from there. In most programs, the right solution is a well-argued compromise, not a dramatic one. That is especially true for retail packaging how to choose, where the real goal is balance: brand, budget, and speed, all pulling in the same direction.
If you are ready to narrow the field, start with a short list of formats, request samples, compare the pricing on the same spec sheet, and run a retail-readiness checklist before you place the order. That sequence cuts through noise fast. It also keeps the final choice tied to the product instead of to the loudest opinion in the room.
There is a final filter I use when reviewing packaging with teams: if the package fails one key test - protection, shelf impact, or cost - it is not ready. Fix the weak point before moving on. That sounds simple because it is. The hard part is being honest about which constraint matters most.
How do I choose retail packaging for a product that needs shelf appeal and shipping protection?
Start with the product's weakest point. If it is fragile, protect it first with the right board, insert, or structure, then build the graphics around that decision. Test samples in shipping and retail conditions before final approval so the packaging can prove both functions.
What is the most cost-effective way to choose retail packaging?
Use standard sizes where possible and keep special finishes focused on elements that actually affect sell-through. Compare total landed cost, not just unit price, because freight, damage, and labor can change the real number quickly. Ask suppliers to quote the same material, print count, and lead time so the comparison is clean.
How long does retail packaging usually take from concept to delivery?
Timelines vary based on sampling, artwork approval, and whether custom tooling is needed. Simple cartons move faster than complex structures with multiple proof rounds. Build extra time into the schedule because packaging delays often affect the launch calendar itself.
Which materials should I consider when choosing retail packaging?
Paperboard works well for lightweight products with strong print needs. Corrugated is better when protection and shipping durability matter more than a premium display feel. Rigid packaging is usually reserved for higher-end products where perceived value is part of the purchase decision.
How can I compare retail packaging quotes fairly?
Check that each quote uses the same dimensions, material grade, print method, and finish. Confirm whether sampling, tooling, and freight are included or excluded. Review minimum order quantities and lead times, since those can change the real value of a quote. If you are still mapping out retail packaging how to choose, start by aligning the specs before you compare numbers.