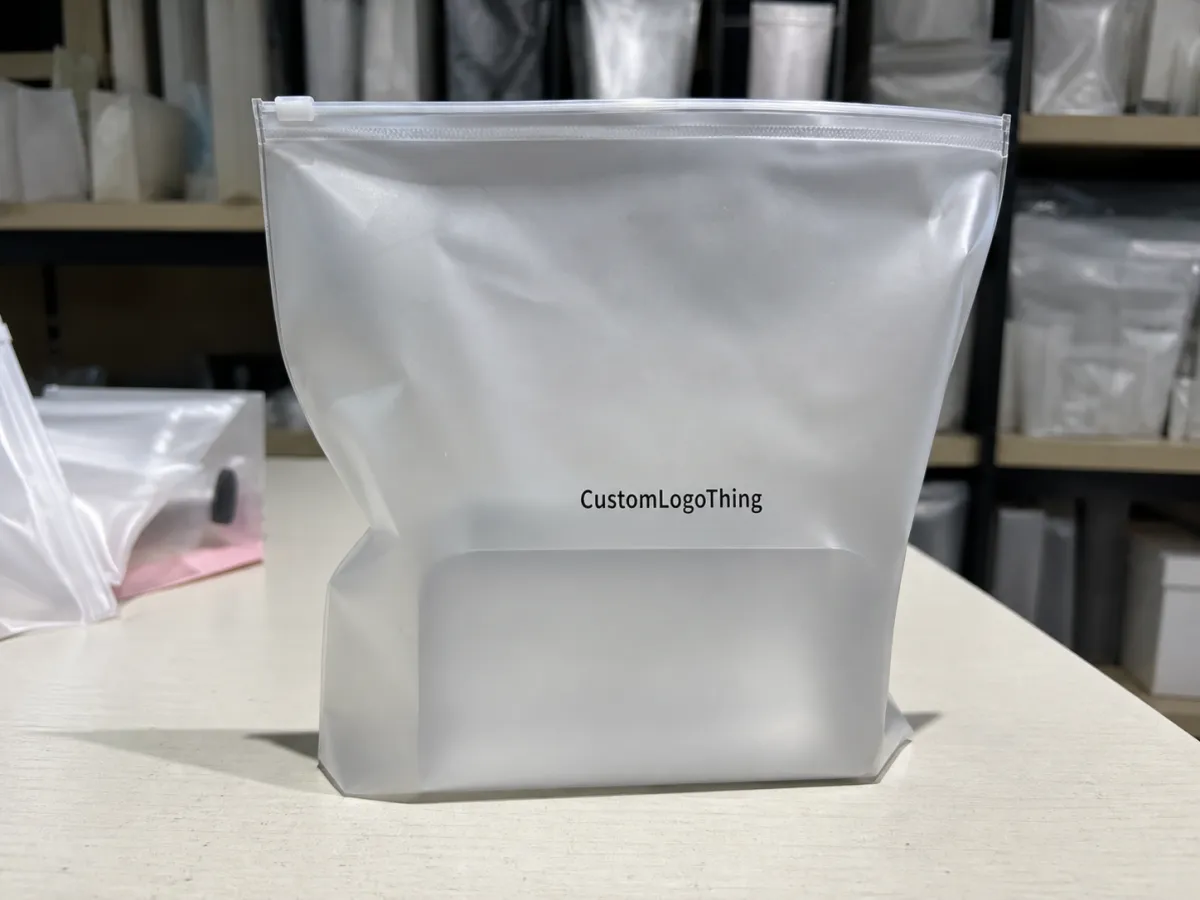
Skincare frosted zipper Bags Logo Placement looks simple on screen and becomes much more specific once the pouch is printed, filled, and handled. Frosted film diffuses light, so contrast softens and small layout mistakes become easier to notice. A logo that feels balanced in a mockup can look low, crowded, or faint on the finished bag.
These pouches are often used for travel-size skincare, sachets, sample sets, refill packs, and retail kits. The frosted surface helps the pack feel clean and controlled while still showing a hint of the product inside. That middle ground is useful, but it means the front panel has to do more work: the logo, product name, and any compliance text all compete for the same limited space.
The main decision is not just where the logo sits. It is where it stays readable after seal margins, zipper clearance, gusset depth, and fill weight reduce the usable print area. A layout that works on one pouch size may fail on another, even when the artwork is identical.
For buyers, logo placement affects more than appearance. It can change the print method, proof count, unit price, and lead time. The earlier the dieline and safe area are confirmed, the fewer revisions are needed later.
Skincare Frosted Zipper Bags Logo Placement Basics
Start by treating the pouch as a formed package, not a flat rectangle. A frosted zipper bag includes a front panel, back panel, seal edges, a zipper band, and often a gusset. The printable area is smaller than the full bag size, and the usable front panel can shrink further once the pouch is filled.
Frosted film scatters light instead of reflecting it sharply. That lowers contrast and can make thin type, pale colors, and hairline details harder to read. Darker logos usually hold up better, but the artwork still needs enough stroke weight and spacing to survive print registration and everyday handling.
Most projects settle into one of four layouts:
- Centered front panel: the safest choice for balanced shelf visibility.
- Upper front panel: useful when the lower area must hold variant copy or claims.
- Lower front panel: works in minimal designs if the fill line does not crowd it.
- Back panel: best for regulatory text or secondary branding that should stay quiet.
Each placement changes the feel of the pack. Centered logos read as stable. Higher placement leaves room for supporting text and often feels more editorial. Lower placement can look modern, but only if the pouch shape and fill level leave enough breathing room.
The starting point should be the dieline, not the mood board. If the pouch dimensions, zipper band height, and seal width are clearly marked, artwork can be positioned with less guesswork. That is what keeps the logo from landing too close to hardware or fold lines.
How Logo Placement Works on Frosted Zip Pouches
The common placements are centered front panel, upper front panel, lower front panel, back panel, and sometimes a small secondary mark near a side seal or hang-hole area. Each one sends a different signal. Centered placement feels confident. Upper placement can feel more premium and structured. Back-panel branding keeps the front calm.
Color strength matters as much as position. Frosted film softens low-contrast artwork quickly, so pastel marks, thin scripts, and light gray logos are the first to disappear at arm's length. If the product inside is also light in color, the logo has even less contrast behind it. Tinted serums and opaque creams can change that balance again, which is why the same layout may behave differently across SKUs.
Centered placement is usually the most reliable for retail visibility because it stays readable even when the pouch is only partially full. Upper placement works well when the front panel also needs a short descriptor, ingredient cue, or variant name. The tradeoff is margin control: the higher the logo sits, the more carefully the zipper band and top seal have to be accounted for.
Best practice is to ask for the print start position in millimeters. “Centered” is not precise enough when a few millimeters can make a logo feel anchored instead of accidental. It also helps avoid a common issue where artwork looks aligned in the file but shifts once it is mapped onto the real pouch shape.
The strongest logo in the PDF is not always the strongest logo on the shelf. Fill level, film texture, and zipper clearance can all move the visual center.
Key Factors That Shape the Final Print Layout
Good layout starts with hierarchy. The logo needs a clear first read, but skincare pouches often also need a product name, skin concern, variant label, ingredient claim, size statement, or multilingual copy. If everything is the same size, the panel becomes noisy. Strong packaging uses one dominant element and keeps the rest supporting it.
Material choice matters more than many buyers expect. Most frosted zipper pouches use laminated films such as PET/PE or similar multilayer structures chosen for seal strength, barrier performance, and print stability. Some films hold white underprint well and preserve sharp edges. Others need a stronger spot color or darker brand tone to keep the logo from fading into the frosted base. A soft-touch or extra-matte finish can make the result feel even quieter.
There is a difference between a pouch that looks premium and one that simply looks empty. Skincare packaging has to balance a clean clinical tone with a lightly sensory one. If the logo is too small, the bag can feel generic. If the copy is too heavy, the front panel starts to feel promotional. The best layouts keep the mark readable and the supporting text disciplined.
Panel geometry also changes after filling. A full pouch bows outward and can make the logo appear lower or wider than it did on the flat proof. A lightly filled pouch keeps the face flatter and often improves visual centering. That is why artwork should be reviewed against the real fill weight, not just the blank dieline.
For outer packs such as cartons, sleeves, or inserts, shipping performance and sustainability details may also matter. Many teams check ISTA testing guidance so the retail set survives transit without scuffing the print or warping the pouch. If paperboard is part of the system, FSC certification is worth asking about when the broader package needs to stay consistent.
Production Process and Lead Time for Artwork Approval
The cleanest projects follow a predictable path: request pouch specs, review the dieline, confirm the safe area, place the logo, check the ink structure, and approve the proof before production begins. The delays usually happen when a logo position is treated as final before the pouch geometry is verified.
Lead time depends on whether the pouch is stock or fully custom, how many print colors are involved, and whether the artwork needs white underprint, spot-color matching, or special finishing. A one-color logo on a stock frosted pouch can move quickly. A layered layout with product copy and regulatory text takes longer because every element must be checked against the safe zone.
Artwork approval deserves technical attention. A logo too close to the zipper line may need to be reduced. A design inside the seal area may need to move. A mark that looks clean on a screen may need a stronger line weight once it is converted to the actual print method. Those changes affect cost and schedule, not just appearance.
A practical schedule often looks like this:
- Simple logo-only runs: fastest because the print structure is uncomplicated.
- Multi-SKU programs: slower because each variant may need different copy and placement.
- Special finishes: white ink, metallic accents, or layered effects add setup and proofing time.
- Regulatory layouts: ingredient lists, claims, and bilingual text need an extra check before sign-off.
For stock pouches, approval and production can move fairly quickly once the dieline is settled. For custom pouches, the schedule is longer, especially if logo placement must stay consistent across several SKUs. Treat the proof stage as a technical review, not a formality.
Cost, Pricing, and MOQ Considerations for Custom Pouches
Pricing is shaped by more than bag size. Print complexity, number of colors, material thickness, registration tolerance, and the exact front-panel layout all affect the quote. A centered one-color logo is usually the most economical option. Add white underprint, multiple spot colors, or a full-front graphic, and the cost rises because setup and alignment become more demanding.
MOQ changes the economics directly. Smaller runs carry a higher per-bag price because setup costs are spread over fewer units. Larger orders usually make custom placement more efficient, especially when the artwork is simple and the pouch size is standard. Small-batch orders are still viable; they just need a realistic unit-price expectation.
At 5,000 pieces, the ranges below are a practical starting point. Actual pricing depends on pouch dimensions, print coverage, and finish.
| Placement / Print Style | Typical Look | Best Fit | Approx. Unit Price at 5,000 pcs |
|---|---|---|---|
| Centered one-color logo | Clean, minimal, easy to read | Samples, travel sizes, refill pouches | $0.18-$0.28 |
| Upper panel logo with copy below | Balanced and informative | Retail SKUs with ingredients or claims | $0.24-$0.36 |
| Two-color logo with white underprint | Sharper contrast on frosted film | Darker formulas or premium branding | $0.30-$0.48 |
| Full-front decorated panel | Strongest shelf presence | Hero products and kit packaging | $0.42-$0.65 |
To control pricing, confirm the real print field before quoting. A logo that looks proportional on a flat mockup may need to shrink once the safe area, zipper band, and seal margins are measured. Early dieline review is one of the simplest ways to avoid surprise revisions and budget changes.
Common Mistakes That Blur a Clean Brand Presentation
The most common mistake is placing the logo too close to the zipper, seal, or bottom gusset. Those areas are more likely to fold, compress, or shift visually when the pouch is filled and handled. A logo in that zone can appear slightly crooked even if the print is technically aligned.
Thin fonts and low-contrast colors create another problem. Frosted stock already softens the image, so delicate scripts, pale grays, and hairline fonts can disappear faster than expected. That is especially true when the product inside is also light in color. Stronger type and more generous spacing usually perform better on smaller pouch sizes.
Overcrowding the front panel is just as damaging. If the packaging tries to explain every feature at once, the brand mark loses authority and the pouch feels promotional. Skincare packaging benefits from restraint. The panel should not be empty, but the copy should be disciplined so the eye knows where to land first.
Proofing mistakes are the final trap. Skipping bleed checks, ignoring the safe zone, or approving artwork at the wrong scale can create expensive corrections later. A second review often catches issues the brand team misses because it focuses on messaging rather than print mechanics. That review should include logo size, line weight, contrast, seal clearance, and the behavior of the design against the actual pouch shape.
Expert Tips for Sharper Front-Panel Branding
Build the layout around one focal point. If the logo is the hero, let it own the center or upper center of the panel and keep the supporting text quieter. A panel with one clear visual anchor feels considered. A panel with several competing elements feels assembled.
Test both black and white ink versions when working on frosted film. White ink can create a sharper edge on translucent material, while a dark brand color may travel farther from a distance if the frosted base is especially light. The right answer depends on the film structure, the product fill, and the viewing distance on shelf.
Use vector artwork whenever possible. AI, EPS, or editable PDF files preserve edge quality better when the logo is resized for the dieline. Outlined fonts reduce the risk of substitution during file prep. Then keep the type hierarchy simple: product name, variant, and mandatory text should each have a different visual weight.
Negative space matters. A little open area around the logo makes skincare packaging feel more expensive and easier to scan quickly. On frosted pouches, restraint often reads as better craftsmanship than decoration.
Next Steps Before You Request a Quote
Before asking for pricing, gather the logo files, target bag size, product fill weight, and any text that must appear on the pouch. If there is already a preferred front panel, mark it on the dieline. That one step helps the supplier verify zipper clearance, seal margins, and safe area before building a proof.
Ask for a layout review before the quote is finalized. A quick check of contrast, spacing, and logo size can prevent revisions later. If the pouch is part of a larger kit, the bag, carton, and insert should be reviewed as one system so the branding stays consistent across every component.
For buyers comparing options, skincare frosted zipper bags logo placement affects appearance, Cost, Lead Time, and print clarity at the same time. Start with the dieline, then build the artwork around the real production limits.
Where is the best skincare frosted zipper bags logo placement for retail display?
A centered front panel usually gives the strongest shelf read because the logo stays visible even when the pouch is only partially filled. If the brand also needs ingredient or variant text, the logo can move slightly higher and leave cleaner space below. The final position should be confirmed against the dieline.
Does frosted material change how a skincare logo prints on zipper bags?
Yes. Frosted film lowers contrast and softens edges, so thin type and pale colors can look weaker than they do on a clear or opaque bag. White ink, darker artwork, or stronger stroke weight often improves readability. A proof should be checked at actual size because texture and opacity both affect the finished result.
How does logo placement affect pricing on custom frosted zipper bags?
Simple placement with one-color printing is usually less expensive than multi-color artwork or designs that require white underprint. A logo that uses more of the panel or needs tighter registration can add setup complexity and raise unit cost. MOQ also matters, since smaller runs typically cost more per bag.
What lead time should I expect for frosted zipper bags with a logo?
Lead time depends on whether the bag is stock or custom, plus the number of print colors and approval steps. Artwork approval moves faster when the dieline, safe area, and logo position are confirmed early. If special inks or finishing are involved, expect a longer schedule than a basic one-color run.
What file format is best for approving skincare frosted zipper bag artwork?
Vector files such as AI, EPS, or editable PDF are usually best because they keep edges sharp when the logo is resized. Outlined fonts and linked images help prevent surprises during file prep. A clean proof with the logo in its real position is the final check before production.

