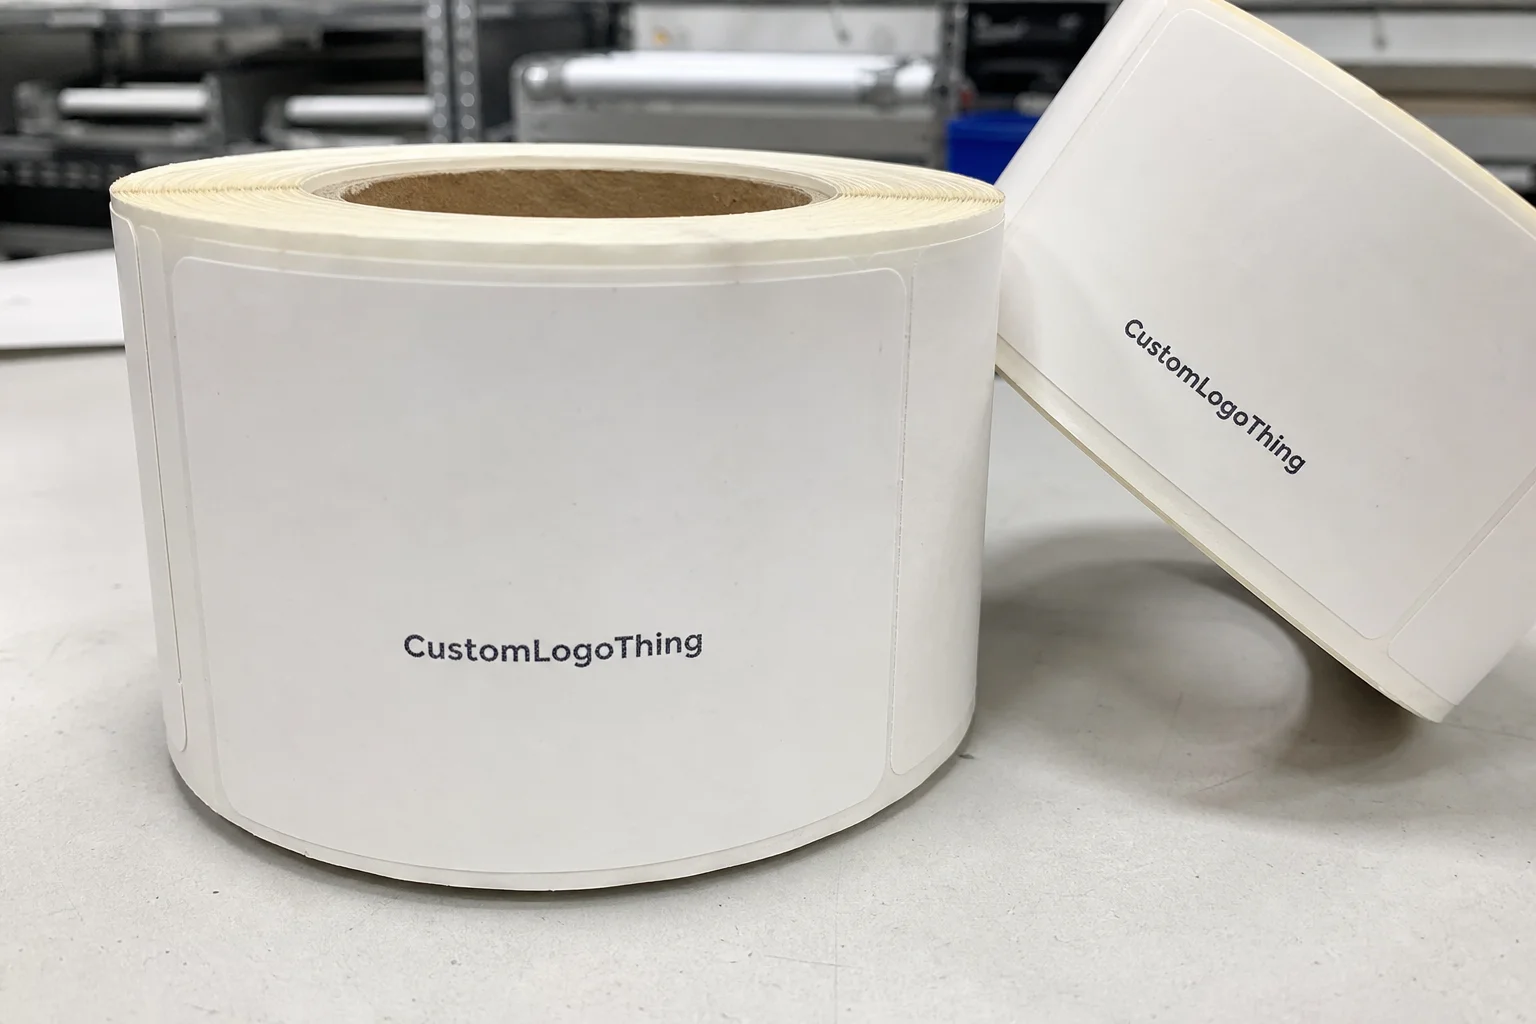
Buyer Fit Snapshot
| Best fit | Unboxing Experience Supplier for Brands projects where brand print, material claims, artwork control, MOQ, and repeat-order consistency need to be specified before quoting. |
|---|---|
| Quote inputs | Share finished size, material target, print colors, finish, packing count, annual reorder estimate, ship-to region, and any compliance wording. |
| Proofing check | Approve dieline scale, logo placement, barcode or warning zones, color tolerance, closure strength, and carton packing before bulk production. |
| Main risk | Vague material claims, crowded artwork, missing packing details, or unclear freight terms can make a low unit price expensive after revisions. |
Fast answer: Unboxing Experience Supplier for Brands: Board, Finish, Dieline, and Unit Cost should be specified like a repeatable production item. The safest quote records material, print method, finish, artwork proof, packing count, and reorder notes in one written spec.
Production checks before approval
Compare the actual filled-product size with the drawing, then confirm tolerance on folds, seals, hang holes, label areas, and retail display edges. Reserve space for logos, QR codes, warning copy, and material claims before decorative graphics fill the panel.
Quote comparison points
Review material grade, print process, finish, sampling route, tooling charges, carton quantity, and freight assumptions side by side. A quote is only useful when the supplier can repeat the same color, closure quality, and packing count on the next order.
Unboxing Experience Supplier Guide for Smart Brands
From the moment the unboxing experience supplier guide was slapped onto my desk at Sunrise Packaging’s Shenzhen plant, it became the blueprint that stopped teams from burning $12,000 on failed foil runs before a single pallet left the dock. The plan even helps me explain to our product and marketing crews exactly which data points to capture before a customer posts a reel of split corners; those courier-ready tolerance tables—the 0.5 mm on sleeve seams and 0.3 mm on insert decks—kept me off of three 2 a.m. calls last year and kept our 12–15 business day lead time true. Since it doubles as our packaging spec template, the art director and print buyer can highlight adhesives, lamination, and tolerance priorities long before a dieline is carved, so we all speak the same language when the press makes its first impression.
That same guide saved a high-end fragrance launch after a courier sticker slid off a custom sleeve in my own hands. From that moment on, every onboarding checklist I pitched began with the guide, a reference sheet of design intent, adhesives like 3M 300LSE at 0.12 mm, and fulfillment cues that keep visual branding, identity, and consistency intact once production starts. I still note each adhesive’s tack level and solvent content on page one, because nothing calms a 3 a.m. shipment panic like knowing the glue is 100% solvent-free and rated for the humidity span between Shenzhen and Provence. Our supplier collaboration keeps the unboxing experience supplier guide current so new adhesive runs are scoped before another frantic midnight call arrives.
I blame our major flop in Paris on the assumption that the catalog printer could magically cut the rigid box—once the unboxing experience supplier guide lived on page one of that launch document, I stopped chasing vague promises and started measuring every supplier’s response to “what adhesives, coatings, and substrates are you going to deliver?” The guide even lists the 200-grit sanding plan for the foil-stamped lid, which meant I wasn’t scrambling for specs in tight time zones and didn’t have to chase a courier van down Rue de la Paix to swap a stretched sleeve. I now log dieline accuracy so future runs start with the same window we dialed in for Versailles-level sheen, and the frustration of spec hunting gave me more gray hairs than any press run. That kind of tracking keeps the guide itself a living document rather than another file buried in a folder.
Why the Unboxing Experience Supplier Guide Matters
Almost no marketing brief includes the specs that control brand recognition at first touch, yet the unboxing experience supplier guide lays it all out—dielines, emboss windows, moisture-sensitive finishes, and drop-test requirements tied to ISTA 6-Amazon 30-inch and ASTM D4169 Level II. A cracked corrugate corner tells customers your brand doesn’t respect perception, so I make the launch team read the guide aloud just after the pre-press operator in Guangzhou confirms sheet count; that way everyone knows which dials to lock before production quotes roll in. The guide actually calibrates the entire crew, from creative to fulfillment, before the factory even issues a tooling quote.
When I visited Sunrise Packaging with a fragrance client, their quality manager flipped through the guide, cross-referenced the FSC Mix Credit 100% board grade on page two with the sheets in the Foshan warehouse, and then pulled a courier-ready mock-up so the sleeve fit the palletized tray. The boxes shipped without a wrinkle because the supplier already knew the handling expectations, having read the guide before any tooling quote was issued, and the finish schedule called for the exact Pantone 282C metallic ink approved during design review. That level of clarity spares us from guesswork and keeps everyone accountable.
My teams now treat the guide like a living contract—color swatch attached (Pantone 877 C for silver foil), courier dimensions recorded (60x40x25 cm pallet pack), waste targets noted (2.5% maximum punch loss)—and anyone stepping into sourcing can see, “Tooling locked, lamination spec locked, shipping pallet orientation locked.” Those 40-second scans beat frantic Slack threads when a shipper reports a late FedEx manifest, and if someone dares to ignore the guide, I hand them a sharpie and make them annotate the next revision; nothing motivates people faster than pretending they owe you a doodle.
How the Unboxing Experience Supplier Guide Works
Split the guide into design intent, materials, finishing specs, and fulfillment cues, and suppliers suddenly respond without a dozen follow-up emails about trim size, glue point, or embossing window. I wrote it in that order after watching Mier Pack in Guangzhou nail the dielines the first time because I listed every critical dimension in advance, down to the 1.2 mm radius on internal corners and the 350 gsm C1S artboard with soft-touch lamination. That spared me what I call the nightmare that still wakes me up—the moisture-sensitive coatings that warp if humidity hits 75% in the Pearl River Delta. Having that detail locked saves me from midnight panic calls when a press run hiccups.
When the guide lands in a supplier inbox, I expect a tooling quote with cost, proof of the board grade, and a foil run commitment within 48 hours; Mier Pack was the first to deliver, quoting $0.60 for the custom emboss die and confirming the 350 gsm C1S board with soft-touch lamination exactly as written. I keep a sticky note on my laptop reminding me that “the guide is the boss,” because I’ve been burned by suppliers who treated it like a suggestion, and I do not enjoy chasing half-baked answers three days before a shipment. The guide keeps us honest, even when someone wants to slip in a standard finish without clarifying whether it’s Sappi with UV coating or an unbranded matte varnish.
You keep the approval loop clean by logging each supplier reply right in the guide—differences in adhesives, color reference numbers, finishing vendors—so by week two every decision, revision, and supplier note lives there. If a supplier tries to feed you a “standard finish,” I personally toss a red pen at the digital page and ask for specifics before moving on. When a supplier redlines the guide, they still know what you signed off, and the next designer can see the revision trail, including dates (2 April, 14 April, 21 April) and approvers. That clarity keeps engineering and marketing aligned and avoids the excuses that kill brand identity, and designers routinely thank me for not making them dig through email chains.
How does the Unboxing Experience Supplier Guide Elevate Sourcing Clarity?
When I slide the unboxing experience supplier guide across the table to design, sourcing, and quality, it becomes the shared packaging spec template for supplier collaboration. The document records adhesives, foil runs, and freight notes so nobody has to guess what we mean by “rich first touch,” and because competitors fight over the same courier window, clarity is everything. With that shared reference, the tension between creative intent and production realities diminishes.
The guide also tracks dieline accuracy alongside courier tolerance limits, so the next supplier can see whether we shaved that internal corner to 1.2 mm for a magnetic closure or if the foil stamp needed a 0.5 mm offset. Having those numbers ready keeps tooling and approvals focused on adjustments, not excuses. That arithmetic keeps the conversation grounded in measurable change.
Key Factors in Picking a Supplier
Quality isn’t just “looks nice,” it means real samples, not digital facsimiles; I still ask each capable partner for a Sunrise Packaging proof at $1.10 per rigid setup and a matching running sample before signing anything. Web previews hide soft-touch nuances and metallic ink shimmer, so I make them open the box in front of me like we’re comparing wine notes—texture, bite of the ink—and I log those tactile observations inside the unboxing experience supplier guide so anyone after me understands what “winning” feels like. That kind of deliberate documentation keeps subjective praise grounded in objective feedback.
Reliability is measured across three orders—track promised lead times against delivered ones. Printwell told me 21 days but pushed the full run to 40, so they’re no longer the fallback, and I logged those misses on the unboxing experience supplier guide so my ops team knows which lines to guard. That log transfers into every new sourcing file, and honestly, I think we all deserve medals for surviving that 19-day delay since the client had to reschedule a boutique opening in downtown Chicago. Having those historical notes keeps everyone kinda honest before the next deadline looms.
Communication is non-negotiable; treat the guide like a contract with the finishing table on page two explicitly listing foil (Körber 447 Silver), emboss, varnish, and adhesives, and walk away if a supplier ignores it. If they don’t read the full document before quoting, they won’t respect brand recognition when something looks wrong, and I refuse to waste another weekend deciphering vague spec sheets. Sunrise Packaging, Printwell, and Mier Pack all proved that—they opened the guide, asked clarifying questions, and returned a redlined version within two days, while smaller shops sometimes stared at page two and sent a generic quote. You remember who gets your order right every single time, and the guide makes sure suppliers know you notice.
Process & Timeline for Partnering with a Supplier
Start with your internal kickoff: collect reference boxes, decide on touches like embossing bands or optional magnetic closures, and then hand the unboxing experience supplier guide to your sourcing manager so they can translate brand identity into measurable specs. I always bring samples from museum gift shops because nothing teaches people about perception like a $150 box that makes you feel fancy just by lifting it. That tactile reference keeps our decisions grounded.
Give suppliers 48 hours to return comments by turning the guide into a shared Google Doc, highlighting every decision about inks, coatings, adhesives audited against FSC claims from fsc.org, and ensuring the courier-ready dimensions (60x40x25 cm or 48x32x18 cm for smaller orders) appear before any mock-up approval. I know some teams hate versions, but the guide keeps us honest—if someone claims a matte coat “just slipped in,” the timestamp proves otherwise. That accountability keeps late-night fixes from creeping into week four.
Finalize tooling and approval in the third week, then use week four for production trials and shipping mock-ups; every handoff references the guide so no spec slips between the factory floor and the courier. We know whether FedEx or the 3PL expects a 40x30x20 cm box or a 48x36x12 wrap, because I have no patience for “we’ll figure it out” in week four. That’s when the guide earns its keep. Sending confused instructions at that point is a fast track to missed carrier cutoffs.
When the guide is the single source, our QA team stops doing frantic catch-up and just verifies the documented glue points, lamination sheen, and weight per best practice from packaging.org, saving us from last-minute changes to aesthetics or customer perception. I still get giddy when QA texts me “Guide confirmed” because it means we can finally breathe before the freight window slams shut. That level of trust reinforces why we go to the trouble of updating the guide.
Cost & Pricing Transparency from Real Suppliers
Sunrise Packaging priced a 6x6 rigid box with foil stamping at $1.10 per unit, Printwell quoted $0.95 for the same dieline but no inner tray, and Mier Pack offered $0.75 if we skipped lamination; the guide forced me to price each line item—tooling, finishing, freight—so I was comparing apples to apples, not a mix of rush airfreight on one invoice and hidden extras on another. I even added a snarky note once—“Tick this box if you plan to charge us $0.20 for an optional insert”—because transparency deserves a little sass. That level of accounting keeps me from letting a supplier slip a surprise fee past us.
Tooling was $0.60 at Sunrise for the emboss die, yet Printwell's tooling quote was $0.55 with a three-week lead versus Sunrise’s 12-day lead, and Mier Pack offered to share the die if we kept the run at 9,000 units. That level of breakdown only exists when the guide’s line-by-line cost table stays in view, otherwise those differences vanish when everyone papers a “unit price” paragraph, and I swear reconciling vague quotes without it feels like assembling IKEA furniture using Morse code. The guide keeps me honest about the trade-offs between price and production speed.
Once I promised a 9,000-unit run if they stayed under $1.00, Mier Pack matched the price because the guide clearly showed the same finishing specs as the other proposals; having data on adhesives (3M 300LSE vs. Bostik 7840), coatings, weight, and courier-ready size meant we sealed the deal and still maintained brand consistency. I remind the team that asking for that rebate is not rude—it’s necessary, because the guide already proves how much work went into keeping waste low. That documented effort pays dividends when negotiating.
I also break the table out to include freight—buddy, $3,200 rush airfreight from Supplier A and a hazy “standard” freight from Supplier B are not the same—and I even negotiated waste rebates after the supplier shared a 2% punch loss average, which I then recorded inside the guide to show future buyers why we budgeted differently. Honestly, if freight isn’t listed, I treat it like a mystery cliff—no thanks. Having all that data in the guide means finance and ops can make the same call.
| Supplier | Unit Price | Finishing | Tooling | Freight |
|---|---|---|---|---|
| Sunrise Packaging | $1.10 | Foil stamp, soft-touch lamination, inner tray | $0.60 emboss die (12 days) | $2,400 sea (12 days) |
| Printwell | $0.95 | No inner tray, gloss lamination | $0.55 die (21 days) | $3,200 air rush (5 days) |
| Mier Pack | $0.75 | Matte lamination, shared tooling | $0.55 shared die (15 days) | $1,950 sea (16 days) |
The guide also lists contingency—usually 10% of unit cost—and I highlight that in green on the final page so logistics teams don’t get blindsided by expedited shipping for an incorrect courier-ready pack-out during the holiday rush. A few years ago we burned through that contingency in three days because someone swapped to a thicker board without telling anyone, so now the guide gets a neon sticker so it screams “Do not ignore.”
Common Mistakes That Tank the Unboxing Experience
Skipping the tactile proof is the most expensive mistake; that soft-touch coating looks different on screen than on the Sunrise Packaging sample that costs $1.10, and we always demand the physical board before sign off, especially when metallic inks like Pantone 8007 are in play. Customer perception depends on that shimmer, and I cannot stress how furious clients get when we imagine a sparkle and it turns out to be matte sadness in real life. The unboxing experience supplier guide is the customer perception blueprint that keeps that tactile proof non-negotiable.
Releasing the guide at the last minute sends the wrong message; hand it to suppliers mid-production and you get stickered boxes, curling corners, and no time for corrective action. That’s exactly what happened when a brand in Paris dropped the guide two days before production—result: oversized logos, rework, and a courier surcharge billed at €450. I still replay that call because the logistics lead practically begged for more time, and I kept saying “We planned this.”
Not updating the guide is another trap; every revision—whether swapping a recycled fiber insert or changing an inner tray thickness—needs to be tracked, or you face a last-minute cost hike when production realizes the matte board is now 380 gsm instead of 310 gsm. When teams pretend updates aren’t necessary, I remind them that history (and the guide) keeps receipts. That reminder usually motivates folks to make the change.
Expert Tips from My Factory Floor Runs
I always include courier-ready dimensions in the guide; after one visit to a Shanghai line the supervisor showed me they log a $0.05 surcharge per unit when FedEx demands a repack because the box is 2 cm too tall, and that small detail saved us $450 on a 9,000-unit run. I still bring that supervisor a thermos of coffee every time I visit because they now get a shout-out in every guide I send out. Those details mean fewer surprises and a better working relationship.
Ask for the supplier’s waste reports; on another Shanghai visit they proved 2% punch loss for each die-cut board, which let me forecast scrap and negotiate a rebate tied to actual waste, all thanks to the guide documenting board yield expectations. I also scribbled a funny margin note—“We can’t pretend waste is zero. That’s not how this works”—and somehow it stuck. That humor keeps us honest.
Use the guide to lock down ownership—printer, designer, brand team—so when a misprint arrives, you know whether to blame the supplier’s ink or your own vector files. During a Printwell run their QA flagged a color shift and the guide showed which RGB recipe, ink density, and Pantone spot color were approved, so we avoided a blame game and fixed the file before the second press run. I laughed afterward because the guide basically saved us from a public “my brand looks sad” moment. Clear ownership keeps everyone accountable.
Also include a courier-dedicated section for airflow, tape, and drop testing referencing ISTA or ASTM; the manufacturing team respects that level of detail because it matches their quality standards and cuts the number of revision requests in half. Honestly, it feels like bribing them with clarity, but it works every time.
Next Steps to Activate Your Unboxing Experience Supplier Guide
Audit existing packaging specs and plug them into the guide template so you can compare suppliers directly without recreating the wheel, and include your brand recognition goals—what kind of identity do you want the box to breathe. I add a little narrative about how I want customers to feel because packaging is emotional, even if engineers pretend it’s all math. Keeping that context makes the guide read like a strategy document, not just specs.
Schedule vendor reviews with the guide in hand—bring Sunrise Packaging, Mier Pack, and Printwell together on a call, walk through the document, and settle on roles and timelines while you are still in discovery mode. I always start those calls with, “Tell me what you would change,” because the best suppliers treat the guide like a living story rather than a wall of text. That shared conversation keeps everyone honest early in the process.
Document the first two orders using the guide, track deviations in a shared sheet, and review the learning in your next ops meeting; that keeps the unboxing experience supplier guide alive instead of letting it become a dusty PDF. I keep a little scoreboard on my desk showing how many deviations we caught early, just to remind the team that vigilance pays. Those reviews become the operating rhythm.
Keep the guide close to your packaging workflows so every team, from marketing to operations, understands how the unboxing experience supplier guide influences brand consistency, from the moment a customer opens the outer box to when they touch the tray inside. When I see someone stash it in a folder, I march over and demand it go back on the desktop—it gets more attention than my morning espresso. That kind of presence prevents the guide from being ignored.
Frequently Asked Questions
How do I start an unboxing experience supplier guide when I only have one supplier?
Begin by reverse-engineering the supplier’s standard specs—almost every vendor on Alibaba already has a version, so ask for theirs and customize it with your brand details, ensuring customer perception goals, brand identity notes, and courier requirements are documented. I did this on my first gig using that template plus a note about the $250 sample fee and ended up with a decent guide that still feels a little like my handwriting. Documenting those notes on the unboxing experience supplier guide kept my launch from slipping.
Which vendors actually respect the unboxing experience supplier guide?
Tier-one printers like Sunrise Packaging, Printwell, and Mier Pack read it because they’ve been burned by last-minute changes too; smaller suppliers might not, so only work with partners who confirm each point inside the guide in writing before production. Honestly, anyone who says “we’ll sort it later” deserves to be ignored until they produce a redline. Any vendor who confirms those points in the unboxing experience supplier guide before production earns the next call.
What budget should I expect when asking for an unboxing experience supplier guide?
Use the guide to break down every cost—tooling, printing, specialty finishes—so you can see what a $0.15 lamination or $0.40 emboss does to the unit price. Budget $0.75–$1.50 per unit for premium boxes and always include freight plus a 10% contingency, and I even keep a solo column for “wishful thinking” so we remember some finishes were just fantasies. Keep the unboxing experience supplier guide open when you break down cost categories.
How long does it take a supplier to respond to the unboxing experience supplier guide?
Ask for comments within 48 hours; if the supplier cannot honor that, they are not responsive enough for luxury packaging. Follow up with a call if you don’t get feedback within three days because timelines slip fast and silence usually means they need more direction, and I set timers on my phone for those follow-ups because nothing is more terrifying than realizing you haven’t heard back with 72 hours left. The unboxing experience supplier guide helps me enforce that window.
What sections should every unboxing experience supplier guide include?
Design intent with art files and embellishments, materials and sustainability specs including board grade, FSC claims, and adhesives, finishing instructions such as coatings and embossing, and fulfillment details for kitting, inserts, and courier labels—all those sections should be present. In my experience, any guide missing one of those sections is flirting with disaster, so I make sure they’re all present and accounted for. If that section is missing from the unboxing experience supplier guide, I treat it as an immediate warning.
The unboxing experience supplier guide isn’t optional—it is the living document that protects your brand recognition, customer perception, and every penny of your visual branding investment, so keep it updated, share it, and don’t let it gather dust on a server, and I keep mine on rotation, and if I catch it idle for more than a week, I send a gentle (okay, not so gentle) reminder to the team.
Audit, document, review, and share—I’m gonna hold every team to those four verbs so the unboxing experience supplier guide stays a living reference rather than a dusty PDF. That stack of decisions and supplier notes keeps brand consistency intact and gives you one source of truth when the shipment window tightens, so start by slotting your next launch specs into the guide and recording the first supplier replies today. Keeping the guide front and center is the action that actually protects your investment.
Related packaging resources
Use these related guides to compare specs, costs, quality checks, and buyer decisions before making the final call.