If you are asking Where Can I Get Custom stickers made, the real question is which supplier can match the spec to the job. A sticker can be small, but the cost of choosing the wrong stock, adhesive, or finish adds up fast.
For packaging, the key decision is not whether someone can print a logo. It is whether the sticker will hold up on the actual surface, in the actual conditions, and at the actual quantity you need. A shipping mailer, a glass bottle, and a retail box do not need the same build.
Buyers save money by matching construction to use case on the first order, not by chasing the lowest headline quote.
Where Can I Get Custom Stickers Made Without Wasting Money?
The main options are local print shops, online custom printers, specialty sticker vendors, and marketplace sellers. Local shops work well for small runs, quick proofing, and in-person problem solving. Online printers usually give clearer pricing and easier reorders. Specialty vendors are better for waterproof stocks, custom die-cuts, and tighter finish control. Marketplace sellers can handle simple orders, but quality is less consistent.
If the stickers are part of branded packaging, the supplier should be able to explain material, adhesive, finish, and cut style. If they cannot clearly describe the difference between paper, vinyl, and BOPP, the quote is probably not reliable either.
For promotional stickers or event handouts, a simpler vendor may be enough. For product packaging, reorders, moisture exposure, or heavy handling, use a printer that regularly works with those conditions. A nice-looking sticker that peels, curls, or scratches off is still a bad purchase.
- Local print shops fit small runs, quick proofing, and in-person support.
- Online custom printers fit standard specs, clear pricing, and repeat orders.
- Specialty sticker vendors fit waterproof, laminated, foil, and custom die-cut jobs.
- Marketplace sellers fit basic orders, but quality can vary.
If your sticker is part of a larger packaging system, compare it alongside Custom Packaging Products and Custom Labels & Tags so the sticker stays aligned with the rest of the pack-out.
Buyer rule: compare finished specifications, not marketing copy. Size, stock, finish, adhesive, and cut style matter more than a low starting price.
How the Custom Sticker Ordering Process and Timeline Works
Most sticker orders follow the same sequence: request a quote, confirm the material and size, upload artwork, approve a proof, print, and ship. Delays usually come from details like missing bleed, low-resolution art, unclear cut lines, or a late shape change.
Typical turnaround depends on the process and the finish. Simple digital runs are often ready in 3-7 business days after proof approval. Larger orders, custom die-cuts, lamination, or specialty inks usually take 7-15 business days, sometimes longer if the queue is heavy. Rush service is often available, but it can add 20% to 50% or more.
Shipping is separate from production, so lead time and delivery time are not the same thing. A printer may quote fast manufacturing, but transit still has to fit your deadline.
The ordering flow usually looks like this:
- Quote request: quantity, size, shape, material, and finish go in first.
- Artwork review: the printer checks resolution, bleed, and cut path.
- Proof approval: you confirm layout, colors, and final specs.
- Production: printing, cutting, laminating, and QC happen here.
- Shipping: the order is packed and sent using the selected method.
Reorders are faster because the printer already has the approved spec on file. But if you change the finish, adhesive, or shape, it becomes a new order. A glossy die-cut label is not the same build as a matte sheeted sticker.
| Order Type | Typical Lead Time | Best For | Main Tradeoff |
|---|---|---|---|
| Digital small run | 3-7 business days | Events, samples, short campaigns | Higher unit cost |
| Standard bulk run | 7-15 business days | Reorders, retail packaging, mailers | Longer queue, lower unit cost |
| Specialty finish run | 10-20 business days | Premium branding, product launches | More expensive setup |
Proof time and production time are different. A printer can move quickly only after the artwork is clean and approved. If the file is wrong, production stops until it is fixed.
Cost, Pricing, MOQ, and Quote Factors to Compare
Sticker pricing depends on quantity, size, shape, material, finish, color coverage, and cut style. A simple 2-inch circle on coated paper costs far less than a custom die-cut vinyl sticker with lamination and white ink.
Small orders feel expensive because setup costs are spread over fewer pieces. A 100-piece run may land around $0.60-$1.50 per sticker depending on spec and supplier. At 1,000 to 5,000 pieces, standard jobs often drop into roughly $0.12-$0.40 per sticker. Larger orders can go lower if the material and finish stay straightforward.
MOQ matters too. Some vendors allow very small runs with no hard minimum, but the unit price reflects that flexibility. Others set a floor of 250 or 500 pieces because their setup cost needs enough volume to make sense. If you are testing a design, low MOQ helps. If the sticker is already proven, larger runs are usually the better deal.
To compare quotes properly, every vendor needs the same spec sheet. If the requests vary, the quotes are not comparable.
- Finished size in inches or millimeters
- Material such as paper, vinyl, or BOPP
- Finish like matte, gloss, or soft-touch laminate
- Cut style such as die-cut, kiss-cut, or sheeted
- Quantity and whether overages are allowed
- Shipping method and destination
Hidden costs show up fast. Artwork cleanup, white ink, metallic effects, special adhesives, and expedited shipping can all move the number. One quote may also include trimming or finishing that another vendor treats as extras. If the specs do not match, the lower quote is not cheaper. It is a different product.
For brands budgeting across a larger package system, the sticker should be priced as one part of the whole, not in isolation. A strong label on a weak carton still looks unfinished. In some cases, it makes more sense to balance sticker spend against the rest of the retail packaging stack instead of overpaying for one flashy component.
How to Choose Sticker Material, Finish, and Shape
Material choice starts with the surface and the environment. Paper is fine for dry, indoor use and lower-cost promotions. Vinyl and BOPP are better when moisture, oils, handling, or abrasion are part of the picture. If the sticker will go on a bottle, a mailer, a cooler, or a product that gets touched often, paper is usually the weak link.
BOPP is a practical choice for branded packaging because it resists water better than paper and holds up well on product labels and seals. Vinyl is the tougher option for curved or rougher surfaces and for jobs that need more durability. Add lamination if the sticker needs scratch resistance, UV protection, or a cleaner finish over time. Gloss gives stronger color pop. Matte softens the look and hides fingerprints better. Pick the finish for the use case, not because a sample looked nice under showroom lighting.
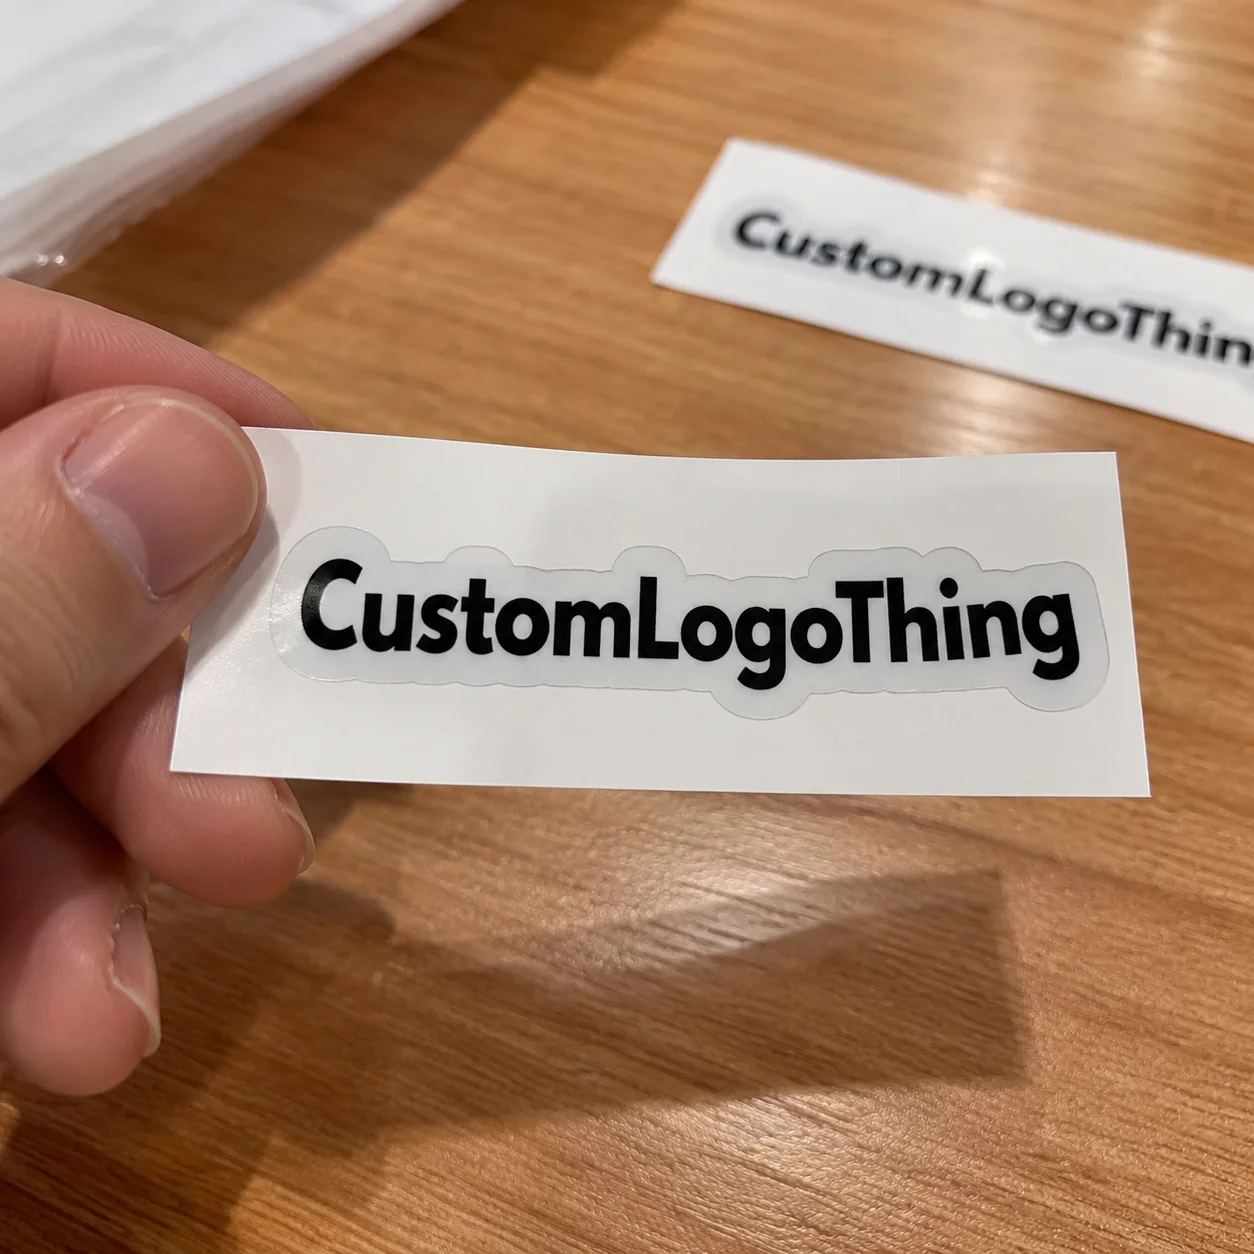
Shape matters more than many buyers expect. Circles and rectangles are efficient and easy to print. Custom die-cuts work well when the logo has a strong silhouette or when the shape supports the brand identity. A smart cut can make a design feel deliberate.
Here is a simple comparison:
| Material | Durability | Best Use | Tradeoff |
|---|---|---|---|
| Paper | Low to medium | Indoor labels, short-term promos | Weak against moisture |
| Vinyl | High | Bottles, curved surfaces, longer wear | Usually costs more |
| BOPP | High | Product seals, packaging, moisture-prone use | Less premium feel without finish upgrades |
The best stock is the one that matches the actual surface. A sticker on a kraft mailer has different needs than one on a chilled beverage bottle. If the package sees friction, condensation, or sunlight, durability should matter more than decoration.
Step-by-Step: Order Custom Stickers the Smart Way
Start with the use case. Is the sticker a seal, a product label, a giveaway, or a branding piece for a box? That answer drives size, finish, and adhesive. Once the use case is clear, measure the actual application area. Do not guess.
Next, build the artwork around the production spec. Most printers want vector files or raster art at 300 DPI at final size. Keep text and critical details inside the safe zone. Add bleed, usually 0.125 inch or whatever the supplier asks for. If you do not have a dieline, request one before finalizing the design.
Then request a proof and check it line by line. Look at the trim, the cut path, spelling, logo placement, adhesive type, finish, quantity, and shipping address. If the sticker will be used on food packaging, shipping cartons, or promotional inserts, verify the spec again.
After approval, save the final file names, dimensions, material, and quote reference. That matters for reorders. A clean spec sheet cuts down on mistakes and reduces back-and-forth.
If the sticker is part of a broader packaging system, connect it to the rest of the custom printed boxes and inserts. A sticker should support the package design, not fight it.
Common Mistakes Buyers Make When Ordering Stickers
Guessing size is the first one. Buyers often choose what sounds right and then find out the logo is too small to read or the sticker overwhelms the package. The second mistake is ignoring the adhesive. A sticker for a textured carton behaves differently from one going onto smooth glass or plastic. Cold storage, humidity, oil, and handling all affect performance.
The third mistake is comparing quotes without matching the spec. One vendor quotes paper, another quotes laminated vinyl, and the buyer assumes the lower number is the better deal. It is not. It is a different construction. The fourth mistake is sending artwork that is not print-ready, which creates extra cleanup. The fifth is approving a proof too quickly and discovering later that text was trimmed or a color shifted more than expected.
There is also a difference between a sticker and a label that buyers sometimes blur. If the piece carries regulatory information or retail requirements, it may need a different construction than a promotional sticker. For that reason, many brands keep package branding pieces and functional labels on separate specs.
Practical truth: most sticker problems are specification problems. If the job starts clean, the result usually does too.
Expert Tips for Better Results and Faster Reorders
Order a small test run if you are unsure about the finish, color, or adhesion. A 100- to 250-piece test is often cheaper than finding out too late that the sticker peels on a textured surface or scuffs during shipping. Keep a master spec sheet with size, material, finish, cut style, artwork version, and reorder notes.
Pick a shape that fits the artwork. A logo with a strong outline often works better as a die-cut. A small, text-heavy mark usually reads better in a circle or rectangle. The cut should support the design, not distract from it.
Ask whether the supplier stores approved dielines and final files. If they do, reorder time usually drops. Ask about repeat pricing too. Many vendors discount reorders because the setup work is already done.
Plan inventory around campaigns. If an event starts in two weeks, the sticker should already be moving through production. Rush fees are real, and they rarely feel generous. Smart buyers treat sticker lead time the same way they treat cartons and inserts: early enough to avoid panic, not so early that inventory sits around uselessly.
For brands using stickers across branded packaging and mailers, consistency matters. Keep the same finish and stock across batches unless there is a reason to change. That keeps the package looking intentional and avoids the “same brand, different feel” problem that shows up when one reorder quietly shifts.
If sustainability or compliance documentation matters, ask about material sourcing up front. Industry references like FSC are useful when paper sourcing is part of the brief, while organizations such as ISTA help when packaging and labels need to survive transit. For broader packaging context, packaging.org is a solid industry resource.
Next Steps for Getting Quotes and Comparing Suppliers
If you are still asking where can i Get Custom Stickers made, start with three inputs: quantity, use case, and finish. Then send the same spec to every supplier. That is the only way the quotes become comparable.
Ask each vendor for production time, proof turnaround, shipping estimates, and setup fees in writing. Keep the approved artwork and final spec sheet with the order number. If the sticker performs well, reorder from that exact file set.
Most buyers get the best result by testing a small run first, checking adhesion and appearance on the actual surface, and only then scaling up. That is the safest path if you want Custom Stickers Made for packaging without paying for avoidable mistakes.
Where can I get custom stickers made for small quantities?
Look for online custom printers or local shops that offer low-MOQ digital printing. Very small runs usually cost more per piece because setup gets spread across fewer stickers. Ask whether sheets, rolls, or die-cuts are cheapest for your exact quantity.
How much do custom stickers usually cost?
Pricing depends on quantity, size, shape, material, finish, and cut style. Small orders can land around $0.60-$1.50 per sticker, while larger standard runs often drop much lower. Compare quotes only when the specs match exactly.
What file do I need to order custom stickers?
Use a high-resolution print file, usually vector or at least 300 DPI at final size. Include bleed and keep critical text inside the safe zone. Ask for the printer’s dieline before finalizing the design.
How long does it take to get custom stickers made?
Turnaround depends on proof approval, production queue, and shipping distance. Simple digital orders often take 3-7 business days after approval, while specialty finishes or larger jobs can take longer. Rush service is usually available at a higher cost.
What is the best material for waterproof custom stickers?
Vinyl and BOPP are common choices for moisture resistance and durability. Add lamination if you need extra scratch protection or longer wear. Match the stock to the actual surface and environment, not just the look.