Bike Wheel Stickers Custom: Order Durable Rim Decals
What Bike Wheel Stickers Custom Orders Actually Include
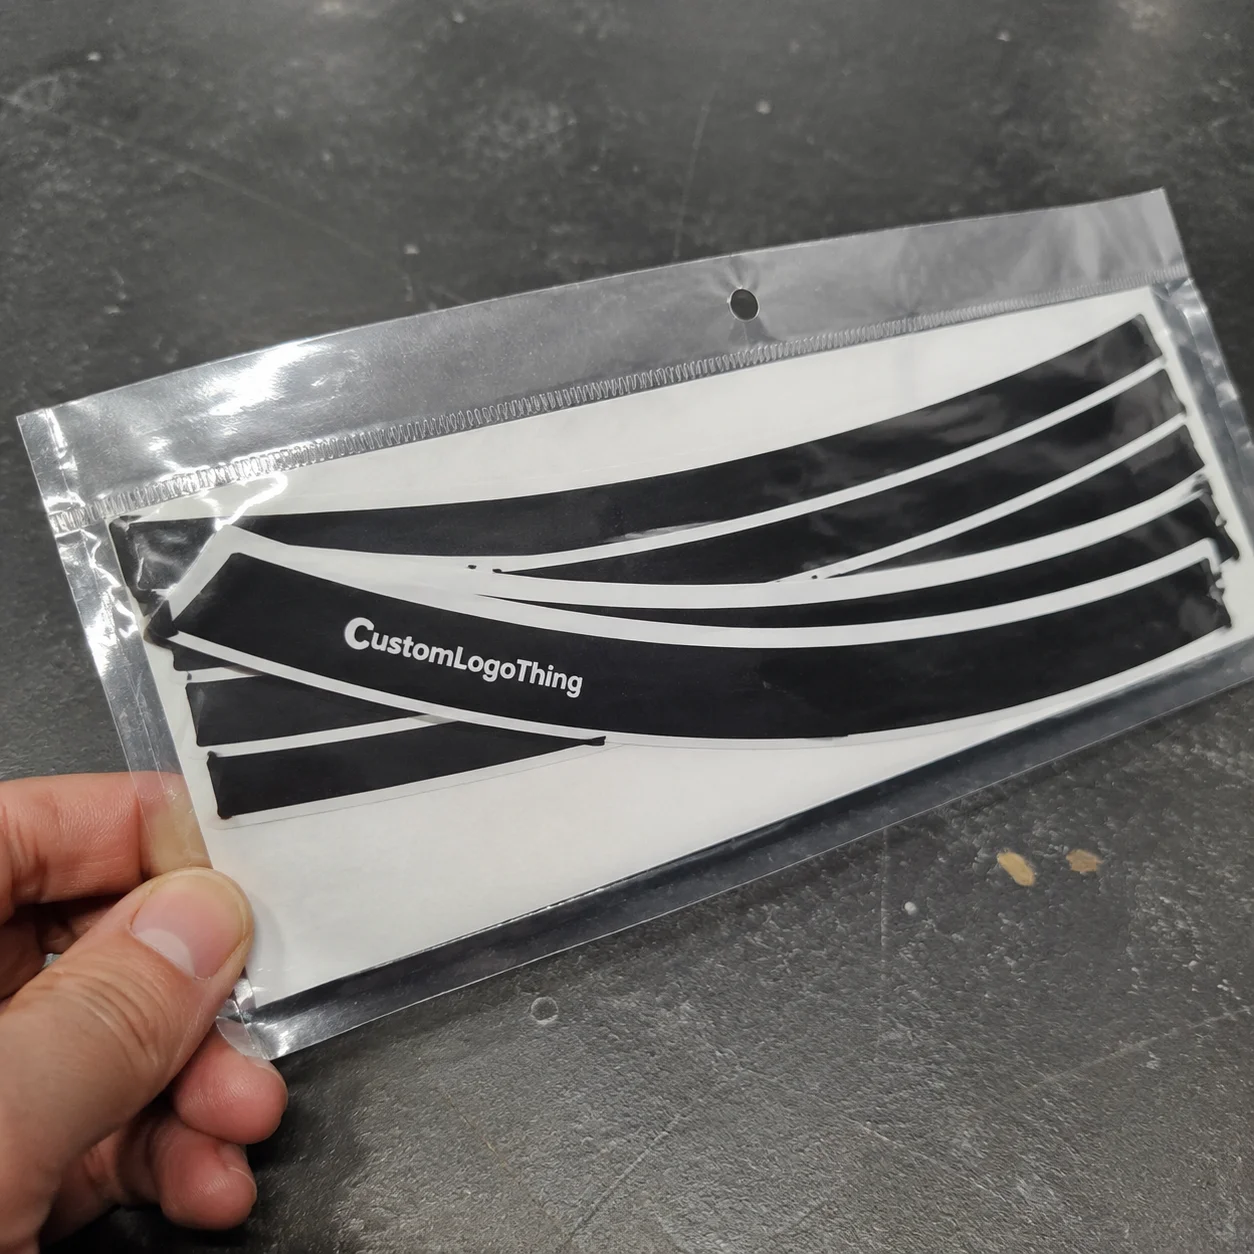
Bike wheel stickers custom orders are made-to-fit adhesive graphics for rims, spokes, hubs, or wheel covers. Teams use them for identity, shops use them for service labeling, e-bike brands use them for visibility or compliance marks, and riders use them to refresh carbon or alloy wheels.
The important phrase is made-to-fit. Wheel decals face curved surfaces, rotation, UV exposure, road spray, brake dust, tire sealant residue, chain degreaser, mud, and repeated cleaning. A generic sticker can look acceptable on a proof and still lift after a few wet rides if the material, adhesive, or shape is wrong.
Good Custom Bicycle Wheel decals are designed around the wheel. Rim depth, brake type, spoke count, valve stem position, coating, and washing habits all affect fit. A 55 mm deep carbon road rim has a different branding zone than a shallow alloy commuter rim or a mountain bike wheel with steep spoke angles.
From a packaging buyer’s point of view, the decal is part product identification, part brand signal, and part finishing detail. The same logic behind Custom Labels & Tags applies here, except the “package” is spinning at speed.
Practical rule: if a decal will be viewed on a moving wheel, simplify the design. High contrast, fewer words, and clean shapes usually beat tiny type and complex gradients.
How Custom Wheel Decals Work on Rims, Hubs, and Spokes
The basic production path is measurement, dieline, artwork placement, printing, lamination if needed, cutting, weeding, inspection, and packing. Each step affects how the final kit installs and wears.
Placement drives the design. Rim sidewalls offer the highest visibility. Inner rim channels create a quieter look. Spoke wraps add color accents but leave little room for installation error. Hub labels work well for service information, batch numbers, torque reminders, or QR-code tracking. Wheel cover graphics are more common on promotional bikes, event displays, and some racing setups.
Geometry is the hidden complication. Long straight logos can distort when wrapped around deep-section rims, especially if the decal crosses a curve or taper. Artwork may need arcing, segmentation, or shorter repeating marks. A wordmark that looks balanced on a flat screen can feel stretched once placed on a circular rim and visually interrupted by spokes.
Common formats include individual logo marks, full rim stripe kits, segmented wraps, reflective safety accents, QR-code service labels, and replacement sheets for damaged decals. For retail packaging, sets are often packed by wheel, side, or placement zone so the installer does not have to guess which piece goes where.
Pressure-sensitive adhesive bonds best when the surface is clean, dry, and warm, often around 65–75°F during application. Textured rims, matte coatings, oily residue, wax, and leftover tire sealant can reduce performance. Most wheel decals can be removed, but removal quality depends on adhesive type, age, heat exposure, and the surface underneath.
Material, Adhesive, and Finish Choices That Affect Durability
Material choice determines whether a sticker looks good for one event or survives months of UV, grit, water, and cleaning chemicals. Small decals still need the right construction.
Calendared vinyl is common for budget or short-term applications. It suits flat or mildly curved zones, prototypes, seasonal team graphics, and indoor display bikes. Cast vinyl costs more but offers better flexibility and conformability, making it stronger for curved rims and deeper wheel profiles. Polyester film provides dimensional stability for technical labels, tiny text, and QR codes. Reflective film improves visibility for commuter and e-bike applications. Metallic, holographic, or specialty films can create premium effects, but thicker films should be tested around tight curves.
Adhesive choice should match the job. Permanent adhesive suits long-term branding and retail-ready wheel sets. Removable adhesive works for seasonal race kits, demo fleets, or sponsored events where graphics may change. High-tack adhesive helps with lower-energy or slightly textured surfaces, although it is less forgiving during installation. Air-release adhesive is useful for larger decals because tiny channels help trapped air escape.
| Material or Finish | Best Use | Typical Tradeoff |
|---|---|---|
| Calendared vinyl | Short runs, prototypes, simple rim logos | Lower cost, less flexible on complex curves |
| Cast vinyl | Curved rims, premium bikes, longer outdoor use | Higher cost, better conformability |
| Polyester film | Hub labels, QR codes, service markings | Excellent stability, less forgiving on tight curves |
| Reflective film | Commuter wheels, e-bikes, safety accents | High visibility, usually thicker |
| Clear laminate | Mountain, road, rental, and fleet bikes | More abrasion resistance, added material cost |
Finish changes both performance and visual tone. Gloss gives high contrast and a factory-style look. Matte feels quieter and often pairs well with carbon rims. Satin sits between the two. Clear laminate protects ink from abrasion, and anti-scratch coatings make sense for high-contact zones, especially mountain bikes that see rock strikes, mud, and pressure washing.
Wheel type should guide the construction. Mountain bike wheels face grit and edge wear. Road wheels see more UV and repeated cleaning. Commuter and cargo bikes benefit from reflective or high-visibility accents. Showroom bikes may prioritize surface match and color accuracy over extreme abrasion resistance.
Do not skip adhesion testing on carbon rims, powder-coated rims, anodized alloy, matte clear coats, or ceramic coatings. Surface energy affects how strongly a decal bonds, so ink, adhesive, and coating systems need to cooperate rather than merely look good on a sample sheet.
Cost and Pricing Factors for Custom Bike Wheel Decals
Pricing is driven less by the size of one sticker and more by setup, material, finishing, cutting complexity, proofing time, and order quantity. A small hub label with a QR code can require more control than a larger one-color rim mark.
The main cost inputs are number of decals per sheet, wheel size, rim depth, color count, laminate selection, reflective or specialty film, custom dieline work, packaging, and kit sorting. If left-side and right-side decals need separate bags, instructions, backing cards, or barcodes, that labor belongs in the quote.
Unit cost usually drops as quantity increases because design setup, print calibration, and cutting setup are spread across more sheets. Very small runs carry a higher per-kit cost, while a retail batch of 500 kits is usually more efficient.
| Order Type | Typical Quantity | Estimated Price Range | Common Use |
|---|---|---|---|
| Basic rim logo kit | 25–100 kits | $3.50–$9.00 per kit | Teams, shops, personal builds |
| Laminated multi-piece kit | 100–500 kits | $2.40–$6.50 per kit | Bike brands, limited editions |
| Reflective commuter kit | 100–1,000 kits | $3.80–$8.75 per kit | E-bikes, cargo bikes, safety programs |
| Retail-packed wheel decal set | 500+ kits | $2.75–$7.25 per kit | Aftermarket sales, branded accessories |
These ranges depend on print coverage, material, packaging, and proofing. The cheapest decal is not always the lowest-cost choice if it peels, scuffs, or creates customer service problems.
Minimum order quantity depends on the supplier’s equipment and workflow. Some producers can handle small prototype or race-team batches. Retail-ready kits may need larger runs to justify custom packing, quality checks, and inventory labeling.
Ask for a quote that separates setup, production, finishing, shipping, and optional extras. If durability matters, keep the laminate. If budget is tight, simplify colors, reduce piece count, or use standard bagging instead of custom printed boxes. For a full accessory program, pairing wheel decals with Custom Packaging Products can keep retail packaging consistent across labels, cards, bags, and display kits.
Process, Timeline, and Production Steps Before Shipping
A typical order moves through requirements gathering, measurement confirmation, artwork review, digital proof, sample approval, production, quality check, packing, and shipping. Simple repeat orders may take 7–12 business days after proof approval. New custom dielines, specialty films, or retail packaging often take 15–25 business days. International freight can add another week or more.
Provide wheel diameter, rim depth, decal placement area, surface type, quantity, color references, logo files, desired finish, and who will apply the decals. Shop-installed decals can use a more demanding installation process than consumer-applied kits. Manufacturer-applied decals may need batch controls and inspection criteria.
Vector artwork is preferred because it scales cleanly and supports accurate cutting. AI, EPS, SVG, and print-ready PDF files are usually easiest. Low-resolution screenshots, social media logos, or compressed JPGs often need rebuilding before production can start.
Review proofs for scale, spelling, logo orientation, color placement, left and right wheel alignment, and how the decal reads when the bike is parked versus moving. If the design includes directional marks, arrows, speed lines, or text, orientation matters.
For larger orders, Request a Printed sample or material swatch. It reduces risk when matching team colors, reflective films, metallic finishes, or premium bike surfaces. Monitor color is not the same as gloss laminate under shop LEDs, outdoor sun, or event lighting.
Quality control should include cut registration, edge lifting, laminate alignment, spelling, color consistency, barcode or QR-code scan quality, and sheet-to-sheet repeatability. For multi-piece kits, packing accuracy matters too. A beautiful decal is still a problem if the left-side pieces end up in the right-side bag.
Packaging standards may matter if decal kits are shipped as retail accessories. The International Safe Transit Association publishes test procedures for packaged products; ista.org is useful for brands thinking about shipping damage, abrasion, and kit presentation. FSC-certified paperboard may be relevant if backing cards, sleeves, or retail cartons are part of the order; see fsc.org for certification context.
Step-by-Step Ordering Guide for a Clean Wheel Sticker Kit
Start by measuring the decal zone, not just the wheel diameter. Record rim height, available straight or curved space, brake track clearance, spoke interruptions, valve stem location, and existing manufacturer marks. If the rim has a textured or matte finish, photograph it close up.
- Define the goal. Choose bold rim branding for visibility, subtle accents for personal style, reflective strips for commuting, QR labels for service tracking, or replacement decals for resale preparation.
- Confirm placement. Mark whether the decal sits on the rim sidewall, inner channel, spoke, hub, or wheel cover. Include left and right side requirements.
- Prepare artwork. Use the supplier’s dieline. Keep text readable, avoid fine details near cut edges, leave safe margins, and provide vector logos when possible.
- Select construction. Match material and finish to the bike’s environment: trail, road, indoor trainer, commuter, cargo, rental fleet, or showroom display.
- Review the proof slowly. Check scale, color, cut path, orientation, and spacing around spokes and valve stems.
- Plan installation. Clean with the recommended solution, avoid oily residue, apply at a stable temperature, use alignment marks, and allow adhesive to cure before hard riding or washing.
For a clean install, surface preparation is half the job. Many suppliers recommend isopropyl alcohol for final cleaning, but compatibility depends on the rim finish. Avoid household cleaners that leave shine agents or wax. Do not apply over dust, sealant, chain lube, or wet residue. Press from the center outward with a soft squeegee or cloth. Then let the adhesive settle; 24 hours is a common minimum before washing, with 48–72 hours preferred for harsher use.
Retail sellers should think like packaging design teams. The decal sheet, instruction card, backing board, and outer bag all influence customer confidence. If the kit looks organized, installation usually goes better.
Common Mistakes, Pro Tips, and Next Steps Before You Order
The biggest mistakes are consistent: measuring only wheel diameter, uploading raster logos that blur at print size, choosing a finish that clashes with the rim, skipping surface testing on coated carbon, or applying decals over dust, tire sealant, wax, or cleaning residue.
A frequent design trap is drama on the proof. Large type, sharp angles, and long words can look strong on a flat PDF, then lose readability when split by spokes, curved around a rim, and viewed while rotating. Fewer words usually win.
- Use contrast deliberately. Black on dark charcoal may feel premium, but it disappears from six feet away.
- Match the finish. Matte decals on matte rims often look integrated; gloss decals can look faster and more retail-driven.
- Request a test strip. Unusual coatings, carbon finishes, and powder-coated alloy deserve a small adhesion check.
- Segment deep-rim graphics. Shorter pieces are easier to align and less likely to wrinkle on curved profiles.
- Order spares. Extra decals cover crash replacement, installation errors, retail returns, and future wheel swaps.
For team and fleet programs, spare planning is risk control. A 5–10% overage can prevent a mismatched bike before a race, demo day, or retail launch. For shops, replacement sheets also make service easier because one scuffed decal does not require reordering an entire kit.
Before requesting a quote, gather wheel photos, take measurements, choose placement zones, list quantity by design, prepare vector artwork, and decide the durability level. Ask the supplier to include material, finish, proofing, lead time, packing method, and shipping. If retail packaging is involved, include backing cards, instruction inserts, barcode needs, and carton requirements early.
Custom Logo Things can connect the decal details with broader product presentation, from wheel labels to retail packaging and accessory kit components. The strongest wheel decal projects work because design, material, adhesive, and installation are planned together rather than treated as an afterthought.
FAQ
Are custom bike wheel stickers safe for carbon rims?
They can be safe when the adhesive is compatible with the rim finish and the surface is cleaned properly. Ask for a removable or tested adhesive if the rim has a matte clear coat, ceramic coating, or premium carbon finish. Avoid aggressive scraping or harsh solvents during removal because the removal method can create more risk than the sticker itself.
How long do bike rim decals usually last?
Durability depends on material, laminate, riding conditions, cleaning habits, and application quality. Outdoor vinyl with laminate typically lasts much longer than unlaminated decorative stickers. Mountain bikes and commuter bikes may show edge wear faster because they face more abrasion, mud, road salt, and washing.
What files do I need for custom bicycle wheel stickers?
Vector artwork such as AI, EPS, SVG, or print-ready PDF is best for sharp printing and accurate cutting. Include brand colors, desired sticker dimensions, placement photos, and rim measurements. If you only have a PNG or JPG, the artwork may need to be redrawn before production.
Can bike wheel stickers custom orders be made in small quantities?
Many suppliers can produce small batches, but the unit cost is usually higher because setup and proofing time are spread across fewer kits. Small runs are useful for prototypes, race teams, personal builds, and limited-edition bikes. Ask whether the quote includes setup, cutting, lamination, and spare decals so you can compare options fairly.
How should I apply custom wheel stickers without bubbles or peeling?
Clean the rim thoroughly, remove oily residue, and let the surface dry before application. Apply at a moderate temperature, align carefully, press from the center outward, and use a squeegee or soft cloth. Wait for the adhesive to cure before washing the bike, riding in heavy rain, or exposing the wheel to mud and grit.


