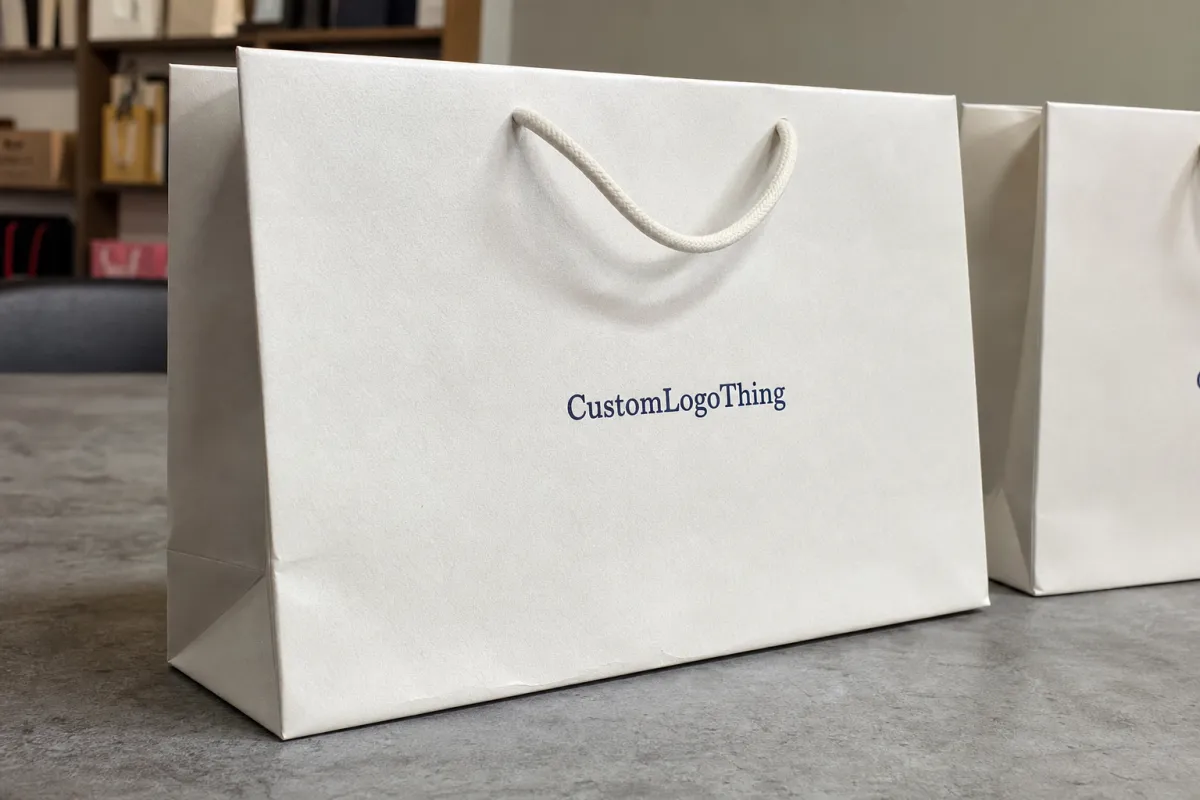
The Boutique Paper Bags sample approval checklist is the last chance to catch problems before production starts. A bag can look right in a mockup and still fail in hand if the gusset is off, the handle lands poorly, or the finish changes the way the paper folds. That is why approval has to cover structure, print, finish, and pack-out behavior, not just the logo.
For retail bags carrying apparel, cosmetics, candles, jewelry boxes, or mixed items, the sample should prove the bag can do the job at the right price and within the right lead time. Pretty is useful. Repeatable, measurable, and durable is what actually gets approved.
What the approval checklist catches before production starts
A Sample Approval Checklist is not a ceremonial thumbs-up. It is the final controlled comparison against the spec sheet, dieline, artwork, and quote before the factory commits materials or tooling. If the sample has the wrong handle, different board weight, or a coating that changes the feel, that error can carry straight into the production run.
Boutique bags are judged up close. Shoppers notice a weak handle, a crooked fold, or a print color that shifts under store lighting. If the bag feels cheap, the item inside often feels cheaper too. Use the sample as a measurement tool, not a mood board. Confirm finished width, height, and gusset against the approved dieline, and ask whether the supplier measured flat or fully formed. Those are not the same.
"The render looked right. The sample felt wrong." That usually means a detail was approved too early.
If the bag must stand upright, hold weight, or survive repeated handling, the sample should prove it in the hand. A bag can meet dimensions on paper and still behave badly once folded, filled, and handed to a customer.
Structural specs that make or break boutique paper bags
Start with the basics: actual size, paper grade, board weight, handle style, reinforcement, base patching, and adhesive strength. On smaller runs, size tolerance may be tight; on hand-assembled bags, a little more variation is normal, but the range should still be written down. Ask the supplier how the sample was measured so you are comparing like with like.
Then test the bag with real products or realistic weights. Empty-bag approval tells you little. A boutique shopper may carry clothing, a jar, and a small box in the same order, so check whether the base softens, the side gussets wrinkle, or the handles pull through when loaded. The ISTA approach is useful because it keeps the test tied to the actual use case.
Handle construction deserves its own review. Rope, twisted paper, flat paper, and ribbon handles create different pull patterns. A handle can feel fine in a static test and still cut into the paper when the bag swings. Reinforcement patches, knot spacing, glue coverage, and insertion depth all affect performance and should be checked on the sample, not guessed from the artwork.
Look at the bag both empty and filled. Fold lines should be crisp, corners square, and gussets even. If the branded face bows outward or the base mushrooms under load, the structure is not matched to the job. That is a packaging problem, not a cosmetic one.
Print, color, and finish checks before sign-off
Print should be checked for placement, spacing, bleed, and legibility against the approved artwork. A logo sitting a few millimeters too low can disappear into a fold line once the bag is assembled. In a flat file that may look minor; on the finished bag it looks careless.
Color needs the right light. Pantone intent can shift once ink, paper, and coating interact, and not every shift is a defect. Still, review the sample under the same lighting used in-store or in product photography. Warm lighting can make a neutral white read cream, while daylight can flatten a dark print. Review what the customer will actually see.
Finish needs a separate pass. Matte varnish, soft-touch lamination, foil, embossing, and spot UV all change both appearance and wear. Rub resistance matters on corners, folds, and the top edge. Small text, legal lines, barcodes, and QR codes should remain readable after finishing. If they disappear after lamination or embossing, the proof was approved too early.
For FSC-labeled or certified paper claims, keep wording aligned with the artwork and the supporting paperwork from FSC. If the bag uses foil or embossing, run a fingertip over the raised areas and edges. The finish should feel intentional, not sharp or brittle.
Process and timeline from sample to production
The sequence matters. First comes the initial sample, then a revised sample if needed, then the production sample or pre-production proof. Each stage answers a different question: is the structure right, is the artwork right, and is the assembly repeatable at scale?
Most delays come from internal review. A sample arrives, merchandising wants one change, marketing wants the logo larger, and procurement wants to keep the same quote. A defined review window helps. Three business days is common for simple bags. Five to seven is more realistic when foil, embossing, specialty handles, or inserts are involved.
Do not approve a design sample as if it were the final production standard unless the supplier says it is. A design sample may confirm layout, but the production sample confirms actual paper, glue pattern, and assembly method. Keep the handoff clean: one version number, one dieline, one artwork file, one comment log. If a late change comes after approval, the factory may need new tooling, a new print run, or a new freight schedule.
Cost, pricing, MOQ, and what changes the quote
Pricing is driven by paper grade, handle style, special finishes, die cuts, print colors, and carton packing. The sample fee should be separated from production pricing so buyers know whether it is refundable, credited back, or treated as development cost.
Here is a practical comparison of common boutique paper bag setups:
| Bag spec | Typical sample cost | Production range at 5,000 pcs | Main cost driver |
|---|---|---|---|
| Uncoated kraft, 1-color print, twisted paper handle | $35-$60 | $0.38-$0.75 per unit | Low setup, simple finish |
| 350 gsm C1S artboard, matte lamination, rope handle | $60-$120 | $0.65-$1.20 per unit | Board weight and lamination |
| Premium stock, foil, embossing, soft-touch, ribbon handle | $90-$180 | $1.10-$2.40 per unit | Finishing and hand assembly |
MOQ changes the unit price because setup costs are spread across fewer or more bags. A 1,000-piece order usually costs more per bag than a 5,000-piece order, even if the design is identical. The same logic applies to storage, custom tissue, dust covers, barcode labels, and retail-ready carton marking.
Watch for hidden triggers: artwork revisions, rush timing, split shipments, and special inserts can all move the quote. Lead time usually follows the same pattern. A simple custom paper bag sample may take 5-10 business days. A more complex version with multiple finishes or structural changes can take 2-3 weeks. Production then adds another 15-30 days in many programs, depending on quantity and finish complexity.
Common sample mistakes that slow a launch
The most common delay is approving from a render or PDF alone. That works for a visual check, but it does not reveal stiffness, load capacity, scuff resistance, or finish feel. A physical sample shows how the bag folds, stands, and behaves in a customer hand.
Fit testing is another easy miss. A bag can be dimensionally correct and still awkward for the actual product, especially if tissue, inserts, or a nested box are included. A candle bag, for example, needs room not just for the candle but for protective packing too. If the top edge bows or the handle patch tears, the spec is wrong.
Compliance language can also create delays. Recycled content claims, FSC language, food-safe notes, and country-of-origin statements should match the paperwork. If the artwork and spec sheet say different things, the factory gets conflicting instructions and the result is often a reprint.
Version control is the final trap. Different teams sometimes mark up different files and assume the supplier knows which change matters most. Keep one comment log, one marked-up file, and one approved version number. Approving the bag in isolation is another mistake; the bag should be reviewed as part of the full retail package, not as a standalone object.
Practical ways to cut revisions and rejected samples
Use one decision-maker or one consolidated response. Clean instructions are easier to execute than five partial opinions sent over two days. Mark the sample like a working document with photos, measurements, arrows, and short callouts. "Move logo 4 mm up" is useful; "make it pop" is not.
Keep a benchmark sample from a prior successful run if the brand has one. Compare handle feel, paper stiffness, print density, and finish quality against that standard. It gives buyers something concrete to reference and shortens arguments about tolerance because everyone is looking at the same target.
Ask for tolerances in writing. Minor variation is normal in printed paper goods, and not every small shift is a defect. If the supplier states acceptable ranges for size, color delta, handle placement, and finish registration, the team can judge the sample fairly. Separate must-fix issues from nice-to-fix issues: a slight foil shift is not the same as a handle that fails under load.
- Consolidate feedback before sending it to the supplier.
- Use measurements instead of subjective language.
- Keep one master file for artwork and comments.
- Document tolerances so variation stays visible and fair.
What to lock down after approval
Once the sample is approved, lock the version number, final dieline, and exact artwork file so procurement and production are reading from one source of truth. That prevents drift between approval and purchase order release and makes reorders much easier later.
Request a dated approval record with annotated photos or scans. Store it with the PO, spec sheet, and quote. If a dispute comes up later, that record is the cleanest way to show what was approved and what was not. Confirm carton counts, packing method, palletization, and ship date before the order moves so warehouse space and retail launch timing are protected.
One final review is usually worth it. Size drift, weak handles, finish damage, or a mismatched claim are far cheaper to correct before mass production than after 10,000 bags have been printed. That is the point of a good approval process: fewer surprises, fewer reprints, and a bag that arrives ready to sell.
FAQ
What should a boutique paper bags sample approval checklist include?
It should cover size, paper stock, handle strength, print accuracy, finish quality, product fit, MOQ, Lead Time, and any compliance language tied to the brand. It should also compare the sample against the dieline, artwork file, and approved spec sheet. If those do not match, approval is premature.
How long does sample approval usually take?
Simple approvals can move quickly, while custom finishes or structural changes add extra review rounds. A clear deadline for feedback usually shortens the process more than rushing production does. Typical sample cycles run 1-3 weeks depending on complexity.
What affects pricing the most on boutique paper bag samples?
The biggest drivers are stock choice, print complexity, foil or embossing, handle construction, and whether the bag needs hand assembly. MOQ matters because smaller runs spread setup costs across fewer bags, which raises unit cost. Rush timing, extra revisions, and special packing requirements can also change the quote.
Should a sample be approved from photos only?
No. Photos are useful for a first look, but they do not reveal stiffness, load capacity, or finish feel. Physical samples show how the bag folds, carries, and presents on shelf or in a customer hand. If remote approval is unavoidable, request close-up shots, measurements, and a short video test.
What if the sample is close but not perfect?
Note whether the issue is cosmetic, structural, or functional, because each one has a different fix path. If the defect affects fit, strength, or branding, do not approve until the revision is confirmed in writing. If the change is minor, document the tolerance and make sure the factory repeats the same standard on production.
Buyers who treat the approval checklist as a formal control step usually save time later, even if the review feels slow at first. The sample is the last place to catch a size drift, a weak handle, or a finish that misses the brand tone. Get that right, and the production run is far less likely to surprise anyone.

