Skincare Frosted Zipper Bags Packaging Insert Checklist
A frosted zipper bag can look clean from three feet away and still disappoint the second someone picks it up. The card curls. The insert shifts. The print loses contrast behind the haze of the film. That is why the skincare frosted zipper bags packaging insert checklist matters: the insert is not an accessory, it is part of the pack structure, and a weak one can make an otherwise solid pouch feel unfinished.
Skincare buyers tend to focus on the visible parts first: pouch color, zipper quality, print finish, logo placement. Reasonable. But the insert is where the product often explains itself. It carries usage steps, ingredients, batch information, QR codes, sample instructions, or a small brand story. If the insert is cramped or badly matched to the pouch, the entire presentation gets dragged down by one cheap-looking component.
There is a practical side too. A pouch is a small format with tight tolerances. A difference of 1-2 mm can matter. A card stock that seems modest on paper can become too stiff once it is folded, laminated, or packed inside a narrow gusset. This is where careful buying beats optimistic buying every time.
If you are comparing package formats, it helps to review Custom Packaging Products early so the pouch, insert, and any secondary carton are built around the same size logic instead of three different assumptions.
Why Frosted Pouches Still Fail on Shelf
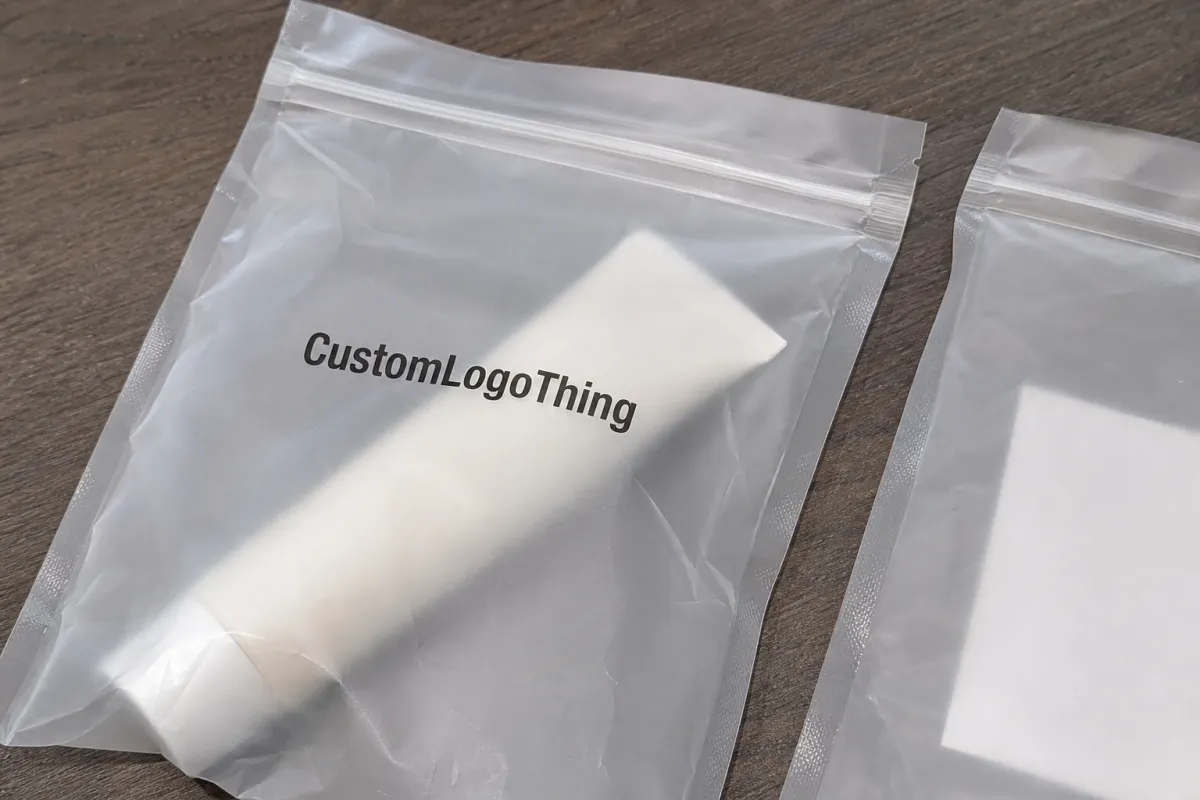
Frosted material gives a pouch a softer, more elevated look than plain clear film, but it also hides flaws in a strange way. It blurs edges, reduces contrast, and can flatten colors that looked strong on screen. That means a tidy pouch can still read as generic if the insert inside is badly designed or badly printed. Consumers rarely identify the exact problem. They just decide the pack feels less expensive than it should.
This happens often with skincare kits and sample bundles. A routine card slides around inside the bag. The edges curl because the stock is too light. The QR code is too small to scan through the frosted layer. Suddenly the pack feels like a rushed assembly job instead of a planned retail unit. That is not a design flaw in the abstract. It is a material and format mismatch.
The insert also has a perception job that is easy to underestimate. It can make a small SKU feel deliberate, or it can make a premium formula feel like it was dropped into whatever pocket happened to be available. That distinction matters more in skincare than in many other categories because buyers are reading for trust: ingredients, usage, claims, and proof that the brand pays attention to details.
Rule of thumb: if the insert does not organize, protect, or clarify something, it is probably adding cost faster than it adds value.
That sounds blunt, but it is how margin gets protected. Decorative filler is easy to approve and hard to justify later.
How the Insert and Bag Must Work as One Unit
A good insert is not chosen in isolation. It needs to fit the usable interior space, survive pack-out, and still look flat once the zipper is closed. That sounds obvious, but many packaging problems begin with people treating the card as if the bag were a static rectangle. It is not. The zipper seam steals space. The gusset changes how the card sits. The frosted surface changes how the print reads.
There are several insert types, and each one behaves differently. A loose card gives you the most flexibility. A folded leaflet carries more copy, but it can bulk up fast. A rigid backer board creates structure and makes a pouch feel more substantial. A divider is useful when a sachet, vial, or sample jar needs to stay off the front panel. The trick is matching the insert to the actual product load, not to a mood board.
Material selection should follow function. Lightweight paper around 80-100 gsm works for basic instructions or simple messaging. A 250-350 gsm coated card is common for branded skincare inserts because it prints sharply and resists a limp feel. Synthetic paper earns its place when humidity, condensation, or transit wear are likely. A premium soft-touch stock can look excellent, but it increases unit cost and can soften fine details if the artwork is already dense.
For products that ship long distances, ask whether the assembled pouch should be checked against transport testing such as ISTA profiles or similar distribution methods. That does not mean every insert needs a lab report. It does mean the pack should survive vibration, compression, and ordinary handling without the card buckling or slipping out of place.
Specs That Control Fit, Print, and Waste
The cleanest packaging projects start with a spec sheet that is painfully clear. Bag width, gusset depth, usable interior height, zipper clearance, insert width, insert height, stock type, finish, and print sides should all be listed before a quote goes out. Outside dimensions are not enough. A pouch that measures 120 mm on the outside might offer noticeably less usable room once the seal and zipper are accounted for. That is how good-looking samples turn into awkward production runs.
Print treatment matters just as much. Matte stock gives a calm, controlled read and reduces glare under retail lighting. Gloss can sharpen contrast, but fingerprints show more easily. Soft-touch signals a premium tier and is common in skincare, yet it can mute very small type. Uncoated paper is practical for writable areas, batch fields, or inserts that need stamps or handwritten notes. Each finish changes how the insert behaves in hand and how the copy reads through frosted film.
Artwork should be checked at actual size, not just on a monitor. Ingredient panels, dosage steps, and QR codes are the usual trouble spots. Dense copy that looks tolerable on a screen can collapse once reduced to the physical size of a pouch insert. Frosted film also softens visual contrast, so colors can appear a little duller than expected. That is normal. What is not normal is approving color from a bright PDF and expecting the pouch to magically correct it.
Useful production details often get skipped because they sound too small to matter. They are not small:
- Caliper: choose thickness based on the insert’s job, not the cheapest stock available.
- Lamination: use it for abrasion resistance or moisture protection, not as decoration.
- Die-cutting: necessary for tabs, windows, and custom formats that need a precise fit.
- Fold lines: essential when copy volume exceeds what a flat card can hold.
- Corner radius: small rounded corners reduce snagging and speed pack-out.
If sustainability claims matter, ask for FSC-certified paper or another verified fiber spec. That does not fix design problems, but it does keep the paperwork aligned with the story.
Production Flow and Realistic Timeline
A sensible production sequence keeps the project from drifting. First, confirm the pouch dimensions. Then confirm the insert format. Then approve the content. Then review the die line, proof, and sample. Reversing that order is how teams end up approving artwork for a card that will not actually fit.
Most delays are boring, which is exactly why they recur. Someone changes the ingredient list after layout starts. A QR code gets revised after the proof is out. The batch code field is added late. Quantities increase once the quote is already built. Each change sounds minor in isolation, but packaging does not absorb “minor” very gracefully. Every revision means another proof, another check, or another round of setup cost.
Timelines depend on complexity. A plain paper insert can move quickly, sometimes within 7-10 business days after approval. Custom printed inserts with lamination, folding, or die-cut work usually need 12-15 business days, and that is before freight or unpacking time on your side. If the order is launched from a busy season or you need physical samples, the calendar stretches farther. Buyers who plan for a week often discover they needed three.
The safest way to protect the schedule is to lock a few things early:
- Lock the pouch size first.
- Confirm whether the insert is loose, folded, or packed inside each pouch.
- Approve the copy before artwork is finalized.
- Review one full-size sample, not just a reduced PDF.
- Release production only after fit and content both pass.
That sequence is not glamorous, but it is how launch dates stay believable.
Cost, MOQ, and the Hidden Line Items
Insert pricing depends on more than paper size. Stock, color count, print sides, finish, die complexity, folding, and whether the insert is packed by hand all affect the quote. A flat card with simple copy is one thing. A soft-touch, double-sided, die-cut insert with a batch field is another. They may look similar in a presentation deck, but they do not behave similarly on a production line.
The MOQ conversation is always the same in spirit. Smaller quantities cost more per piece because setup is spread across fewer units. Larger quantities reduce unit cost, but they increase cash tied up in inventory. The right number depends on launch volume, reorder speed, shelf life of the artwork, and how often the formula or claims still change. If regulatory copy is in flux, a huge print run can become expensive very quickly.
Quote comparisons should include setup fees, plate charges, sampling, freight, and any assembly labor. The cheapest paper line item is often not the cheapest landed order. Packing inserts into each pouch adds labor, and labor can outweigh the material cost if the run is small or the pack-out method is slow.
| Insert Option | Best For | Typical Unit Cost at 5,000 pcs | Notes |
|---|---|---|---|
| 80-100 gsm uncoated paper | Simple instructions or care notes | $0.03-$0.08 | Lightweight, writable, limited premium feel |
| 250-350 gsm coated card, 1-2 sides | Brand cards and skincare guides | $0.07-$0.14 | Sharp print, firmer feel, good shelf presence |
| Synthetic paper | Moisture-prone packs or travel kits | $0.12-$0.24 | More durable, higher cost, better in humid storage |
| Soft-touch laminated card | Premium product packaging | $0.15-$0.28 | Rich feel, stronger perceived value, pricier to run |
If you are comparing outer formats as well, review custom printed boxes alongside pouch options so the insert, carton, and pouch do not fight each other on scale or tone. Mixed packaging systems usually cost more than coordinated ones, even when the individual quotes look attractive.
QC Checks That Prevent Bad Reorders
Quality control for inserts sounds simple until the first sample arrives and the issues appear one by one. The card is slightly too wide. The fold lands over the QR code. The colors darken inside the frosted pouch. The corner catches on the zipper seam. None of these are dramatic defects, but each one lowers the perceived quality of the final pack.
The easiest mistake to make is measuring the pouch from the outside and treating that number as usable space. Always check the interior dimensions and leave clearance for the zipper and gusset. Then test the actual loading method. A card that slides into an empty bag might wrinkle once the product is inside, especially if the formula bottle or sachet creates a pressure point.
Readability is another place where clean packaging gets undermined. Skincare inserts often carry dense ingredient copy, directions, warnings, and sometimes multilingual text. That is a lot to fit into a small area. If the type gets too small, the pack starts to feel like it was designed for the spreadsheet instead of the customer. Better to cut nonessential copy than to pretend microscopic text is elegant.
Color proofing should be done under neutral light, not only on a monitor. Frosted film alters the final read. Bright tones can soften. Dark panels can absorb detail. That is why a print that looks balanced on screen can feel heavier or flatter in person. A single approved screen file is not proof of fit.
Before release, use a short checklist and actually touch the sample:
- Confirm outer size and usable interior space.
- Check insert dimensions against the real pack-out method.
- Read every claim, barcode, and QR code at full size.
- Inspect the color proof under neutral lighting.
- Assemble one pouch and close the zipper fully.
If that sample passes, the reorder usually behaves. If it does not, the problems tend to multiply once production scale kicks in.
What to Send Before Quoting
A fast quote depends on a complete brief. Send the bag dimensions, insert dimensions, stock preference, finish, quantity, target ship date, print file, and whether the insert ships loose or packed inside each pouch. Missing even one of those details can turn a simple quote into a back-and-forth that burns days.
A reference image helps more than most buyers expect. Show the product that will sit inside the pouch. A serum vial, a sachet, or a sample jar changes the scale of the insert and the amount of visible space left for branding. Without that context, the supplier is guessing at how much room the insert really needs to occupy.
It also helps to say what the insert is supposed to do. Is it instructional, protective, promotional, or all three? That answer changes the recommended stock and print treatment. A purely decorative insert tends to get expensive fast. A useful one can justify its cost because it improves handling, reduces confusion, or makes the pack feel complete.
Before approving the final order, compare the quote, proof, and sample against the same checklist. The same one. Not a revised version, not a “close enough” version. That is where reprints begin.
For brands balancing inserts, pouches, and other product packaging pieces, keeping the skincare Frosted Zipper Bags Packaging Insert checklist in the brief from day one usually prevents the most expensive mistake: ordering a component that technically fits, but still looks wrong.
FAQ
What should be on a skincare frosted zipper bags packaging insert checklist?
Start with the pouch dimensions, usable interior space, insert size, stock type, finish, print sides, and quantity. Then add the insert’s purpose, whether it is loose or packed inside the pouch, and any regulatory text that must appear. A complete brief usually prevents the first round of errors.
How do I size an insert for frosted zipper bags without wasting material?
Measure the usable interior space, not just the outside pouch size, and leave room for the zipper seam and gusset. A test sample is worth more than a perfect spreadsheet because it shows whether the card buckles, slips, or lands off-center once packed.
Does the insert affect the cost of custom skincare zipper bags?
Yes. Stock choice, print complexity, finishing, and handling labor all influence the final quote. If the insert is packed into each pouch by hand or by machine, labor can matter as much as the paper itself.
What is a realistic timeline for custom insert production?
Simple inserts can move in 7-10 business days after approval. More complex versions with folding, lamination, or die-cutting often need 12-15 business days. Add time for shipping, revisions, and physical sample review if the artwork is still changing.
Should I choose coated, uncoated, or synthetic stock?
Choose based on use, not habit. Coated stock gives sharper print and stronger shelf presence. Uncoated stock is easier to write on and feels more natural. Synthetic paper is better for moisture-prone kits or travel packs, but it costs more.
How many options should I compare before placing an order?
Compare at least two or three material and finish options so you can see the tradeoff between price, feel, and durability. For launch-critical work, ask for one sample and one backup quote. That usually exposes weak assumptions before they become expensive reorder problems.

