A beautiful stationery set can look cheap in about three seconds if the header bag is scuffed, too tight, bowed at the top, or crushed inside the export carton. The stationery brands OPP Header Bags carton packing spec is not a factory formality. It controls shelf appearance, shipping efficiency, damage rate, barcode visibility, and how quickly a warehouse team can count product without opening cartons.
Stationery Brands OPP Header Bags Carton Packing Spec Basics
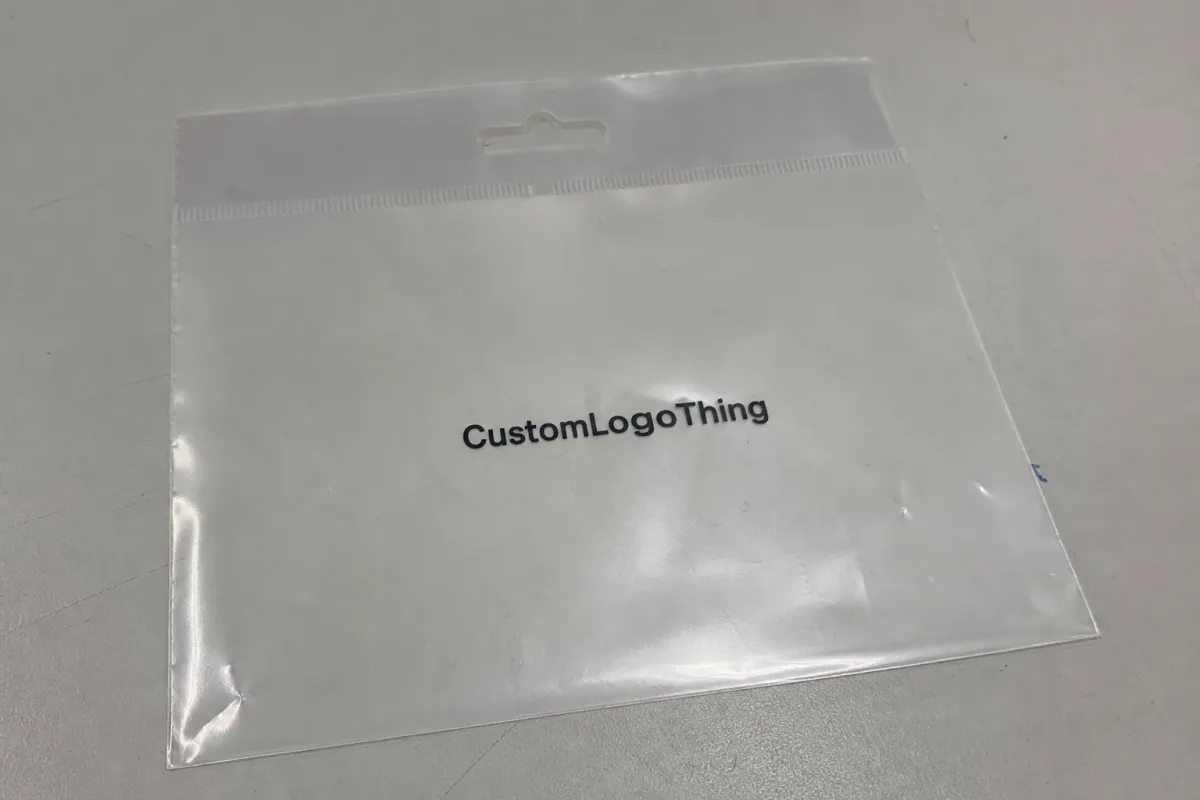
OPP Header Bags are clear polypropylene bags with a top header panel, usually printed or left plain for a sticker label. Most include a hang hole, adhesive flap, heat-sealed closure, or some combination of those features, depending on whether the item will sit on a peg display, shelf tray, counter rack, or fulfillment shelf.
Stationery brands use them because they show the product while reserving the top area for a logo, barcode, price label, warning copy, SKU code, or retail message. Common products include notebooks, sticker sheets, pen sets, erasers, rulers, craft kits, greeting cards, labels, washi tape bundles, and small desk accessories. For low-profile items, the bag almost becomes the retail pack. No pressure, then.
A complete specification usually covers bag dimensions, usable cavity size, material thickness, header size, print method, hang hole style, seal type, units per inner bundle, units per master carton, carton size, gross weight, net weight, pallet pattern, and shipping marks. Dry? Absolutely. Also cheaper than fixing bent headers after the goods arrive.
The carton side matters as much as the bag itself. A 40-micron OPP bag can look crisp on a sample table, then arrive wrinkled if 500 filled packs are jammed into a weak carton with no inner bundling. Clear plastic is brutally honest. Every bend, rub mark, corner dent, and dusty scuff shows up under store lighting.
Practical rule: approve the bag and the carton together. A good-looking sample bag means little if the master carton count makes the headers fold, rub, or curl during transport.
This is not glamorous packaging work. It is where freight cost, retail presentation, and avoidable waste either behave themselves or start eating margin.
How OPP Header Bags Work for Retail Stationery
An OPP header bag has several working parts: the product cavity, header panel, hang hole, seal area, side seams, bottom seal, and sometimes a tear notch. Each part needs enough tolerance so the bag works on the packing line instead of making the packer fight it all afternoon. Saving 2 mm on film can look efficient in a spreadsheet and still cost more in labor if every product catches on the seal or corner.
Standard OPP is popular because it has crisp clarity and a clean retail look. CPP feels softer and usually has better tear resistance, which helps with slightly heavier or sharper stationery items. Laminated structures cost more, but they make sense when the header needs stronger ink coverage, an opaque white layer, matte finish, or a more premium hand feel.
Thickness is a performance choice, not decoration. For lightweight flat goods, 30 to 40 microns can work if the product has soft edges and low weight. For most retail stationery packs, 40 to 50 microns is the safer middle range. For rulers, spiral notebooks, metal clips, thick card sets, or multi-piece craft kits, 50 to 60 microns or a stronger structure may be worth the extra spend.
Header styles should follow the retail display. A printed header gives the most polished brand presentation. A plain header with a sticker label can work for small runs, pilot launches, or seasonal tests. A euro hole fits many peg displays; a round hole is simpler and often fine for lighter packs. Heavier sets may need a reinforced header or thicker top panel so the hole does not stretch or tear after hanging.
Sealing choices matter too. A self-adhesive flap helps fulfillment teams pack mixed SKUs quickly. A heat seal gives better tamper evidence for retail settings. Resealable tape can be useful when customers may inspect or reuse the pack, though it adds cost and can slow packing if the operator has to align it carefully on every unit.
The bag and carton need to be designed as one system. A bag that looks fine on a desk can still fail if 500 pieces are packed too tightly and the headers bend like sad little billboards.
Key Spec Factors: Size, Film, Header, Print, and Carton Count
Start with sizing. Measure the actual packed product stack, not only the die line, product listing, or design file. Inserts, backing cards, pen clips, elastic bands, and folded instruction sheets all change the real thickness. For flat goods, add 3 to 8 mm to the width for insertion. For thicker sets, add 8 to 15 mm. If the item has rigid corners or several loose pieces, add more and test the fit before production.
Height needs the same discipline. Separate the usable cavity from the header and seal area. If the product is 180 mm tall and the header is 50 mm, the total bag height is not automatically 230 mm. The bottom seal, top seal, flap, or heat-seal zone still needs room. Many buyers forget that part, then wonder why the product sits too high and crowds the barcode.
Header height usually falls into practical bands. Small erasers, clips, and label packs can use 30 to 50 mm. Greeting cards, sticker sheets, and notebook accessories often need 50 to 70 mm for branding and barcode space. Multilingual retail copy, safety warnings, or larger logos may push the header to 70 mm or more. Bigger is not automatically better. A giant header on a tiny product looks awkward and wastes carton volume.
Print method affects cost and finish. One-color header print keeps pricing controlled and works well for clean logo-led packs. Full-color flexo or gravure improves shelf impact, especially for character stationery, gift sets, and branded craft kits. Sticker labels are acceptable for testing, but at scale they often look less polished and introduce another alignment step. If a label is crooked on a clear bag, people notice. They always notice.
Carton count is the quiet troublemaker in the Stationery Brands OPP Header Bags carton packing spec. Empty bags may pack in hundreds or thousands per master carton. Filled stationery packs may only fit 100 to 300 units, depending on size, weight, header stiffness, and how much compression the product can tolerate. A small sticker pack may allow 500 units per carton; a heavy ruler-and-pen set might need 100 or fewer.
| Product Type | Typical Film Thickness | Common Header Height | Possible Master Carton Count |
|---|---|---|---|
| Sticker sheets or labels | 30-40 microns | 40-60 mm | 300-1,000 filled packs |
| Greeting cards with envelopes | 40-50 microns | 50-70 mm | 200-500 filled packs |
| Pen sets or craft kits | 45-60 microns | 60-80 mm | 100-300 filled packs |
| Rulers or sharp-edged tools | 50-60 microns or stronger | 50-70 mm | 100-250 filled packs |
These ranges are starting points, not promises. A flat greeting card pack and a greeting card pack with a thick charm, envelope bundle, and belly band can behave like different products. Weight distribution matters. So does whether the bag is packed upright, flat, or alternating head-to-tail inside the carton.
For cartons, heavier stationery assortments often need 5-ply corrugated. Lightweight flat packs may work in standard corrugated if compression is controlled and cartons are not stacked aggressively. If pallets are involved, ask for a pallet pattern and stacking height. For more formal distribution testing, standards from ISTA can help frame drop, vibration, and compression expectations.
Barcode placement deserves boring precision. Leave a flat, visible area. Do not place the barcode over a wrinkle, seam, hang hole, adhesive strip, or glossy curved edge unless scanning chaos is part of the brand strategy.
Cost, MOQ, and Quote Details That Actually Change the Price
OPP header bag pricing is driven by material usage, print plates or cylinders, order quantity, film thickness, bag size, header complexity, packing method, and carton requirements. A taller header uses more film. A thicker bag uses more resin. Full-surface printing needs more setup. None of that disappears because the design looks simple on a PDF.
Plain stock-style bags may be available at low minimums, sometimes a few hundred pieces if the supplier carries a close size. Custom printed OPP header bags usually become more efficient around 5,000 to 10,000 pieces. At 25,000 or 50,000 pieces, the unit cost can drop sharply because setup cost spreads across more bags and material purchasing becomes cleaner.
As a rough buying range, simple unprinted or lightly customized bags might land around $0.03-$0.09 per empty bag at higher quantities, depending on size and thickness. Custom printed retail header bags may run around $0.08-$0.22 per piece for moderate sizes and 5,000-10,000 units. Larger, thicker, full-color, or laminated versions can move beyond $0.25 per unit. Filled pack handling, inner bundling, and export carton requirements add cost separately.
Tiny runs cost more because setup, printing prep, color matching, and machine changeover do not magically disappear when the buyer only wants 800 bags. Lovely thought. Not reality.
A useful quote request should include flat bag size, usable inner size, header height, film type, film thickness, print colors, hang hole shape, seal type, packed product weight, units per carton, carton size target, destination country, and any retail compliance needs. If FSC-certified paper inserts or backing cards are part of the pack, ask for chain-of-custody documentation and review guidance from FSC.
Hidden cost traps are common. Oversized cartons increase freight. Overly thick film wastes money and can make the pack feel stiff. Full-surface printing raises setup cost. Weak cartons create damage claims that cost more than the packaging savings. Ask for tiered pricing at 5,000, 10,000, 25,000, and 50,000 pieces so the real breakpoints are visible.
Also ask how the empty bags will be packed before they reach the filling site. Bags packed too tightly can arrive with curled headers or pressure marks before they ever touch the stationery product. If the supplier is also packing filled goods, confirm whether the quoted carton count refers to empty bags, filled retail packs, or inner-bundled retail packs. Those are not interchangeable numbers.
If you want to compare practical packaging outcomes, review the project examples on the Custom Logo Things case studies page. The useful question is not “What is the cheapest bag?” It is “Which spec protects the product, scans correctly, packs efficiently, and still looks retail-ready?”
Production Steps, Lead Time, and Approval Timeline
The production path usually starts with spec confirmation, then artwork setup, quote approval, sample or digital proof, material purchase, printing, bag making, quality check, carton packing, final inspection, and dispatch. Simple unprinted bags can move faster. Custom printed OPP header bags need more time because artwork approval, plate making, film preparation, and production scheduling all sit in the path.
Typical production after approval may run 7 to 15 business days for simpler custom jobs. More complex printed runs can take 15 to 25 business days, especially if color matching, special material, or multiple SKUs are involved. Add freight time after that. Air shipping may take several days plus clearance. Ocean freight can take weeks, and customs does not care about a launch calendar.
There are three sample types buyers should understand. Digital mockups check layout and copy placement. Pre-production samples check size, fit, structure, seal, hang hole, and product insertion. Printed samples check color, registration, ink coverage, and finish. A pretty PDF is not a production-ready approval. It is a layout check. Helpful, yes. Final proof, no.
Lead time depends heavily on approval speed. A supplier can quote seven to fifteen business days for production, but if the barcode file is missing for a week, that delay belongs to the buyer. Harsh, but accurate.
Carton packing approval should happen before mass production, not after finished bags are stacked in a warehouse. Review master carton dimensions, quantity per carton, gross weight, net weight, shipping mark layout, inner polybags, dividers, and carton orientation. For larger retail programs, ask for a test packing photo or short video. It is a simple request, and it catches silly problems early.
Quality-control checks should be specific. Check bag width and height against tolerance, header height, film thickness, print registration, ink rubbing, seal strength, hang hole position, adhesive flap performance, barcode scanability, and carton gross weight. For filled packs, inspect whether headers remain flat after a carton is closed and reopened. A pack can pass a desk inspection and fail once real carton pressure enters the conversation.
Build buffer time for retail launches. Allow room for sample revisions, holiday congestion, customs checks, freight delays, and SKU coordination. Stationery launches often look simple until twenty SKUs need matching packaging, barcode checks, and carton labels at once.
Common Packing Spec Mistakes Stationery Buyers Make
The first mistake is ordering bags from product dimensions only. The packed stack, corners, inserts, backing board, and header fold all affect final fit. A bag can be technically the right size and still look painfully tight once the product is inside.
The second mistake is choosing film that is too thin for sharp stationery edges. Rulers, metal clips, spiral notebook coils, and rigid plastic cards can puncture light OPP during packing or transit. If the product has a corner that can catch a fingertip, it can probably catch the film too.
Third: ignoring carton compression. Header bags can wrinkle, crease, or bow when cartons are overfilled or stacked too high. Clear packaging has no mercy. Every flaw is visible.
Another common issue is using one bag size for too many SKUs. Standardization can reduce purchasing headaches, but only if the display still looks intentional. Small products swimming inside oversized bags look cheap. Large products straining the seams look worse. A sensible family of two or three bag sizes often beats one universal size that flatters nothing.
Barcode and retail copy placement cause plenty of avoidable pain. Hang holes, seams, folds, and seal strips can make important information hard to read or scan. For retail packs, keep barcode quiet zones clean and flat. For warning text, avoid glossy curves or areas likely to wrinkle. If the bag uses a flap, confirm whether copy is printed on the front, back, or inside fold area.
Artwork approval without carton orientation is another weak spot. If bags are packed sideways, heavy headers may bend. If packed too loosely, they slide and scuff. If packed too tightly, the first few units look fine and the middle units come out creased. That is the kind of discovery nobody enjoys during receiving inspection.
Buyers also underestimate mixed-SKU packing. A carton count that works for one colorway may not work for a kit with a thicker insert or different accessory. Even a small change in backing card thickness can shift how the stack sits inside the bag. If the range includes multiple formats, approve the thickest, sharpest, heaviest, and most awkward SKU first.
The worst mistake is skipping real product test packing. Always test with the actual stationery item, not a similar item, not a screenshot, and definitely not wishful thinking. If the hardest SKU works, easier items can often be adjusted from the same baseline.
Next Steps Before You Send Specs to a Bag Supplier
Before sending a request to a supplier, gather the actual product, measure the packed stack, choose the display method, confirm barcode position, decide seal style, choose header height, select film thickness, estimate order quantity, and define carton count. Do this before artwork is finalized if possible. Packaging changes after design approval tend to create extra proof rounds, and extra proof rounds are not anyone’s favorite hobby.
Create a simple spec sheet. It does not need to be fancy. It needs to be clear. Include bag width, total bag height, header height, usable cavity size, film material, film thickness, print colors, hang hole type, seal type, units per inner bundle, units per master carton, carton dimensions, gross weight target, and shipping marks. For the stationery brands opp header bags carton packing spec, a drawing with arrows is often better than a paragraph of assumptions.
- Product measurement: actual packed width, height, and thickness in millimeters.
- Bag allowance: 3-8 mm for flat goods, 8-15 mm for thicker packs, more for rigid corners.
- Material choice: OPP for clarity, CPP for softer tear resistance, laminated film for stronger print coverage.
- Header design: 30-50 mm for small items, 50-70 mm for most retail packs, 70 mm plus for larger copy needs.
- Carton approval: units per carton, gross weight, carton dimensions, orientation, and shipping marks.
Ask suppliers for both a packaging drawing and carton packing proposal before mass production. This catches dimension mismatches early, while changes are still cheap. If the supplier only sends a unit price and no drawing, ask again. A low price attached to a vague spec is not a quote; it is a future argument with numbers on it.
Keep a retained sample and final approved spec for repeat orders. Include the printed bag, carton label, carton count, final artwork file name, and any approved tolerances. Otherwise, the reorder turns into a guessing game, which is a strange hobby for people who enjoy money.
For custom programs with several stationery SKUs, compare your final pack setup against previous packaging work or similar retail structures in the Custom Logo Things case studies. The goal is not to copy another project. The goal is to spot practical decisions around size, structure, and carton packing before production starts.
A clear spec gives the supplier fewer chances to guess and gives the buyer fewer expensive surprises. That is the whole point: better fit, cleaner display, fewer damaged cartons, faster counting, and less drama during reorder season.
FAQ
What should be included in a stationery OPP header bags carton packing spec?
Include bag width, total height, usable cavity height, header height, film type, film thickness, print colors, hang hole shape, seal type, units per inner pack, units per master carton, carton size, gross weight, net weight, and shipping marks. Add product weight and packed product thickness so the supplier can check whether the bag and carton count are realistic.
What film thickness is best for stationery brands using OPP header bags?
For lightweight flat stationery, 30 to 40 microns can work. For most retail stationery packs, 40 to 50 microns is the safer middle range. For heavier sets, sharp corners, rulers, clips, or multi-piece kits, consider 50 to 60 microns or a stronger material structure.
How many OPP header bags should go in one export carton?
The right carton count depends on bag size, product weight, header stiffness, and carton strength. Small empty bags may pack in hundreds or thousands, while filled stationery packs usually need much lower counts. Ask for carton dimensions, gross weight, orientation, and a test packing photo before approval. A carton that is cheap to pack but expensive to ship is not a win.
What affects the cost of custom OPP header bags for stationery?
Cost changes with bag size, film thickness, order quantity, number of print colors, printing method, header design, seal type, setup charges, and carton packing requirements. Request tiered pricing at several quantities so you can see where the unit cost improves enough to justify a larger run.
How long does production take after approving OPP header bag specs?
Simple bags can move faster, but custom printed OPP header bags usually need time for proofing, plate or cylinder preparation, printing, bag making, inspection, and carton packing. Approval delays are common. Confirm artwork, barcode files, carton marks, and packing count early so the production timeline does not stall.


