The first time a subscription brand orders clear header bags, the mockup usually looks tidy. The production sample looks fine too. Then somebody notices the warning copy is tiny, half-hidden by the flap, or missing from the final file. This subscription Brands OPP Header Bags warning label guide covers the part that gets skipped: making the packaging look clean without creating a compliance or fulfillment problem.
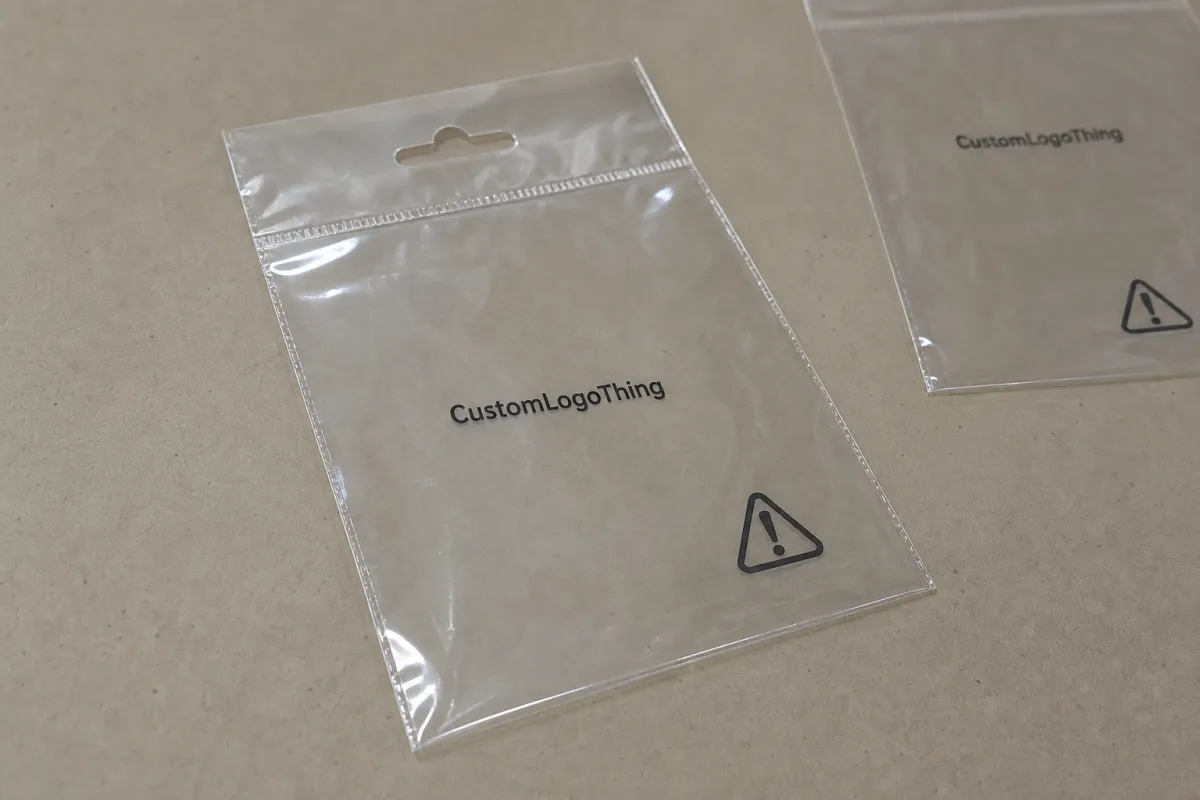
OPP Header Bags are simple in the catalog and fussy in production. They are clear oriented polypropylene bags with a top header area for branding, barcode placement, hang display, SKU information, and safety copy. Subscription brands use them because they are light, flat, inexpensive to ship, and good at showing the product instead of hiding it behind a dense printed pouch.
The warning label is not decoration. It is functional copy. It needs to be readable, placed where the customer can see it, and approved before the run starts. Packaging law is not one neat rulebook, so this is not legal advice. It is the buying-side version: how to brief a supplier, what to check in proofing, what production limits matter, and where the common traps usually sit.
Why Subscription Brands Need OPP Header Bags Warning Labels
Subscription boxes run on speed, repetition, and small variations. A bag may hold a refill pack one month, a sample kit the next, then an accessory bundle for a seasonal campaign. OPP header bags fit that rhythm because the format works for small, lightweight products: stickers, socks, cables, cosmetics samples, stationery, jewelry cards, craft items, and low-profile accessories.
The neat look can fool teams into treating the warning label as a last-minute art element. Bad idea. If the bag opening, product category, or sales channel creates a suffocation or choking concern, the safety copy has to be visible and sized with care. A refill pouch that looks retail-ready on a screen can fail in the real world if the warning disappears under a seal or gets reduced to six-point type on shiny film.
The practical question is not, “Can we fit a warning somewhere?” It is, “Can we fit the warning without hurting legibility, compliance review, or pack-out speed?” That is the useful frame for a header bag project. The brand still gets a polished package. The fulfillment team still gets a bag that opens, loads, seals, stacks, and scans predictably. Nobody has to guess whether the warning is doing any work.
There is also a channel issue. Subscription packaging often becomes retail packaging by accident. A bag designed for a mailer insert may later appear in a gift set, influencer kit, marketplace listing, or wholesale bundle. Once that happens, the warning label is no longer an internal detail. Retail buyers, marketplace teams, and warehouse QC staff may all look at it.
Header bags are popular because they group well, stack flat, and scan quickly. That matters more than packaging decks admit. A beautiful bag that slows fulfillment is expensive theater. A well-built header bag with clean artwork and a visible warning label saves minutes on the line and avoids reprints after inventory has already arrived.
How OPP Header Bags Work for Subscription Box Fulfillment
A standard OPP header bag has a clear body, a top header panel, and either an adhesive flap or resealable closure. Some versions add a round hang hole, euro slot, tear notch, barcode zone, perforation, or reinforced header. The header is the useful control area. It gives the brand a fixed place for logo, SKU, batch code, barcode, recycling mark, and required warning copy.
If that space is not planned early, the artwork starts fighting itself.
Bag sizing should start with the product, not the catalog default. Measure the item at its widest, tallest, and thickest points. Then allow clearance for loading, insert cards, product variation, and the natural stiffness of the film. A flat product may only need modest extra room; a soft textile or coiled cable may need more because it expands and pushes against the seal.
Clear bags are forgiving visually, not physically. Too tight and the bag wrinkles, splits, or slows the line because packers have to fight the film. Too loose and the package looks cheap, especially when the item slides around during transit. A common buyer mistake is measuring the product alone, then forgetting the instruction card, backing card, coupon, desiccant, or small accessory that will be packed with it.
Typical OPP bag thickness for lightweight subscription items often falls around 1.2 to 2.0 mil, though exact availability depends on the supplier and bag style. Thinner film is lower cost and stacks compactly, but it shows wrinkles and may feel flimsy. Heavier film can improve stiffness and presentation, yet it costs more and may be less forgiving on tight folds. For sharp corners, rigid inserts, or metal components, a thicker film or a different package may be safer than hoping the bag survives.
OPP header bags are usually stronger candidates than poly mailers or stand-up pouches when visibility matters and the product is light. They are not right for heavy, sharp, leak-prone, oily, powdery, or highly crush-sensitive products. If the item can puncture film, leave residue, or burst under pressure, the format is wrong. No amount of branding fixes the wrong substrate.
For subscription teams, the best header bag is the one that can be handled by tired people moving fast. It should open easily, close consistently, stack flat, and scan without fuss. For broader package testing context, the standards guidance from ISTA is useful, especially if the header bag is only one piece inside a larger mailer, carton, or kitted bundle.
Some brands compare printed OPP header bags with stock packaging and applied labels before committing to a custom run. That comparison is healthy. If the program is still changing every month, stock bags may be the better interim choice. For simpler labeling setups, the Custom Labels & Tags page is a useful contrast point.
Warning Label Specs That Actually Matter on Printed Bags
The useful parts of a warning label are not decorative: signal word, hazard statement, keep-away-from-children language, suffocation warning where applicable, choking warning where applicable, and disposal or handling instructions if the product needs them. Exact wording depends on the product, market, sales channel, and legal review. The baseline requirement does not change. The message has to be visible and readable before the customer throws the bag away.
Placement matters more than most buyers expect. A warning printed under the flap, hidden by the product, blocked by a hang hole, or tucked into a fold is functionally weak even if it appears on the proof. Clear film and shiny products can make contrast tricky, so the ink needs enough weight to hold up under warehouse lighting and normal home lighting. Pale gray on clear plastic is a reliable way to make critical text vanish.
Font size should be treated as a production spec, not a design preference. Tiny type may look elegant in a zoomed-in PDF and become unreadable on a finished bag. If the supplier provides a printed proof or pre-production sample, check the warning at actual size. Do not judge it from a monitor at 200% zoom.
For many brands, a suffocation warning is the baseline move on larger plastic bags. That is not a decorative tradition. It is a risk-control habit. If the opening is large enough to create a concern, the warning should be placed where it is difficult to miss, not where it feels visually tidy.
There is no universal substitute for product-specific review. Children’s products, toys, cosmetics, supplements, and anything with small detachable parts can carry extra requirements. Marketplace rules may also be stricter than the underlying packaging habit. Retailer style guides sometimes dictate warning wording, bilingual copy, minimum type size, or barcode location. Miss one of those requirements and the bags may be technically printed but commercially unusable.
A warning label that looks “fine” in a proof but disappears on the bag is not fine. It is just expensive optimism.
Warning copy should also be separated from marketing copy. Do not bury it inside a paragraph about the brand story. Do not place it below a QR code and hope people will scan first. Safety language needs visual hierarchy: enough contrast, enough space, and no competing graphics directly on top of it.
For packaging language and material standards, packaging.org can help frame broader packaging questions. It will not replace legal review, but it keeps the conversation closer to packaging practice and farther from guesswork.
Cost, MOQ, and Unit Cost Tradeoffs for Header Bags
The biggest cost drivers are easy to name and easy to underestimate: bag size, film thickness, print colors, header coverage, adhesive style, hang hole type, artwork changes, order quantity, sampling, freight method, and inspection requirements. A small bag with a busy header can cost more than expected because the press setup is doing more work per piece. A low quantity can also sting because setup costs are spread across fewer units.
For a 5,000-piece run, a plain stock bag with a custom label might land around $0.04-$0.12 per bag plus the label cost, depending on size and print complexity. A custom printed one-color header bag may sit around $0.10-$0.20 per unit. A more detailed multi-color run can climb to roughly $0.16-$0.35 per unit, especially if the artwork covers a larger share of the header or needs tighter color control. These are practical planning ranges, not guaranteed quotes.
| Option | Best For | Typical Unit Cost | Lead Time | Main Tradeoff |
|---|---|---|---|---|
| Stock OPP bag + label | Testing, early-stage subscription offers, short runs | $0.04-$0.12 plus label cost | 3-10 business days | Fast, but label placement can look uneven |
| Custom one-color print | Repeat packs, clean branding, simple warning copy | $0.10-$0.20 | Several weeks after proof approval | Better presentation, higher setup burden |
| Custom multi-color print | Brand-heavy presentation, larger programs, retail-facing kits | $0.16-$0.35 | Several weeks to a full production cycle | Best look, stricter proofing, higher reprint risk |
Minimum order quantities vary by supplier, print method, and bag construction. Stock bags may be available in small packs. Custom printed runs often start in the low thousands, and the better unit pricing usually appears at higher breaks. A buyer should ask for at least two or three quantity tiers. The quote at 5,000 pieces may look very different from 10,000 or 25,000 once setup costs are diluted.
That is why printed bags should be compared with stock bags plus labels, not judged by bag price alone. Stock packaging is faster up front and easier to change. Custom printing looks cleaner, packs faster, and avoids crooked sticker chaos. The tradeoff is commitment. Once printed inventory is ordered, artwork mistakes become physical inventory problems.
Hidden costs deserve their own line in the budget: artwork revisions, rush fees, split shipments, oversized cartons, barcode testing, extra sample rounds, and rejected inventory if the warning copy is wrong. Freight can be irritating too. Header bags are light, but cartons can be bulky once a program scales. Air freight may rescue a launch date and still ruin the margin.
Experienced buyers document packaging decisions because repeat orders become easier to price and less annoying to manage. Approved bag size, film gauge, closure style, print colors, warning copy, barcode location, and carton pack count should not live only in an old email thread. For examples of how format decisions affect the final workflow, the Case Studies page shows how packaging choices can change handling, presentation, and fulfillment speed.
Production Steps and Timeline From Artwork to Delivery
The cleanest production path starts with actual product dimensions, not a hopeful spreadsheet estimate. Measure the widest, tallest, and thickest points, then add clearance for loading. After that, choose bag style, film thickness, closure type, header size, and hang hole if needed. Only then should warning copy and print layout be locked.
Sequence matters. Skip it and the proof becomes fiction.
A practical workflow usually looks like this: confirm product dimensions, select bag construction, build the dieline, place the header layout, add warning copy, review the digital proof, approve a physical sample if needed, produce, inspect, pack, and ship. If artwork is clean and specs are complete, the schedule moves faster. If warning copy changes late, or barcode placement gets revised after the dieline is approved, the order slows down. That is production reality, not supplier drama.
Buyers should plan in weeks. Standard custom printed runs often take several weeks after final proof approval. Sampling, material sourcing, complex print coverage, additional color matching, and overseas freight can stretch that further. The fastest way to lose time is changing the bag size, warning language, or barcode position after plates or print setup are already underway.
Before approval, the proof should show product area, header area, warning copy, barcode zone, seal location, hang hole, trim lines, and any required symbols. A vague proof is how vague problems become cartons of unusable packaging. If the bag is transparent, the proof should also make clear which areas remain clear and which areas print with ink.
Quality checks do not need to be theatrical. They need to be specific. Check actual bag dimensions against the approved spec. Confirm seal strength by gently pulling at the side seams and closure. Test whether the product loads without tearing film or distorting the warning. Scan the barcode through normal warehouse lighting, not only under perfect desk lighting. Read the warning at arm’s length. Then read it again with the product inside the bag.
Color should be checked with realistic expectations. Printing on clear OPP is not the same as printing on white paper. Transparent areas, product color, ink opacity, and film gloss can all shift the look. If precise brand color is critical, ask early about ink limits, white backing, and tolerance. If the supplier says color matching will be approximate, believe them and design accordingly.
It also helps to keep the approved version in one place with the PO, final artwork, material spec, sample photo, and reorder notes. The next run should not become a scavenger hunt through old messages. Reorders are where small version-control mistakes creep in: old warning copy, outdated SKU, retired barcode, wrong hang hole, previous film thickness.
Align packaging timing with the subscription calendar: kit date, warehouse arrival date, quality check window, replacement buffer, and launch or renewal shipment deadline. The bag should arrive before the packing team starts improvising. Improvisation with packaging usually costs more than a correct order placed on time.
Common Mistakes That Make Warning Labels Fail
The classic mistake is treating the warning label like a leftover detail after logo, color, and header graphics are already approved. That approach usually ends in cramped type or a warning that never had enough space. A buyer should reserve room for compliance copy from the beginning, not ask a designer to squeeze it in later like a spare sock.
Poor contrast is another repeat offender. Clear film, glossy product surfaces, and light ink can make the text disappear under normal lighting. The proof may look sharp on a screen and still fail on the actual bag. That gap between digital approval and physical readability is where many quiet mistakes live.
Placement errors are just as common. Warnings end up behind the product, under a sticker, inside the fold, too close to the seal, or in a zone that gets trimmed or hidden during packing. A warning placed on the back may be acceptable for some products and weak for others, depending on how the bag is displayed and handled. The only way to know is to test it with the product inside.
Some teams copy warning language from another brand without checking whether the bag size, market, or product risk is the same. Similar-looking packaging does not mean similar requirements. A sock bag, toy accessory bag, cosmetic sample bag, and electronics cable bag may all look alike on a packing table. Their warning needs may not match.
Overloading the header creates a different failure. Logo, slogan, barcode, QR code, recycling mark, SKU, social handle, product name, and warning copy all fighting for the same strip of film makes everything harder to read. The header is useful. It is not a billboard with endless patience. A cleaner one- or two-color layout often performs better than a crowded design trying to say everything at once.
Barcode placement can also interfere with warning visibility. If the barcode needs a quiet zone, it should not crowd the warning or sit in a curved, wrinkled, or sealed area. A barcode that fails at receiving can slow an entire pack-out. A warning that gets sacrificed to save the barcode layout is not a solution; it is a new problem wearing a different badge.
Finally, proofing mistakes are the quiet killers. Check spelling, warning copy, dimensions, type size, barcode scanability, ink color, orientation, hang hole placement, seal location, and whether the label remains visible once the product is inside the bag. This is the part teams rush. They usually regret it later.
Next Steps Before You Request a Header Bag Quote
Before asking for pricing, gather the actual product dimensions, product weight, target bag size, desired film thickness, closure type, header size, hang hole requirement, order quantity, print colors, warning language, ship-to location, and deadline. The more complete the brief, the cleaner the quote. Suppliers are better at quoting specific things than vague hopes.
Place the real product in a sample bag or paper mockup before ordering the full run. Flat dimensions on a spec sheet do not always predict how the item behaves in film. A pouch that seems generous on paper can become awkward once the insert, backing card, coupon, or accessory is added.
Someone inside the business should own warning approval. That might be the founder, operations lead, legal contact, compliance consultant, marketplace manager, or retail buyer. The title matters less than the authority. One person needs to approve the language before plates, setup, or production begin. Group review is useful; late indecision is not.
Ask the supplier for a dieline and proof that clearly marks product area, header area, warning copy, barcode area, seal locations, and hang hole position. Ask about available gauges, MOQ breaks, sample options, lead time after approval, carton packing, reorder process, barcode testing, and acceptable artwork formats. If they cannot answer those questions clearly, that tells you something useful.
Keep the reorder file tidy. Save the approved dieline, final artwork, PO quantity, production date, material spec, carton count, and inspection notes in one place. That way the next order starts from a known-good version instead of rediscovering the same problems under deadline pressure. Use this subscription brands OPP Header Bags Warning Label guide as the working brief before quoting, proofing, or reordering custom bags.
FAQ
Do subscription brands need suffocation warnings on OPP header bags?
Often, yes, especially for larger plastic bags or bags that could pose a suffocation risk. The exact requirement can depend on bag size, product category, selling location, marketplace rules, and retailer standards. Review the bag dimensions and product risk before artwork is approved, not after production starts.
Where should the warning label go on custom OPP header bags?
Place it where the customer and fulfillment team can see it clearly, usually on the header or a visible body panel. Avoid areas covered by the product, adhesive flap, folds, stickers, hang holes, or seals. Keep enough clear space around the warning so it does not get lost in the rest of the design.
What affects the cost of printed OPP header bags for subscription brands?
Major cost factors include size, film thickness, print colors, order quantity, header coverage, closure style, sampling needs, inspection level, and freight. Lower quantities usually mean higher unit costs because setup costs are spread across fewer bags. Stock bags with labels may be cheaper for testing, while custom printed bags usually make more sense for repeat subscription runs.
How long does custom OPP header bag production usually take?
Timing depends on artwork readiness, proof approval, material availability, print complexity, sampling, and freight method. Buyers should plan several weeks after final proof approval for custom production, with extra buffer for first orders. Changing warning copy, bag size, or barcode placement after the dieline is approved can quickly push the schedule back.
Can I print branding and a warning label on the same OPP header bag?
Yes. That is one of the main reasons brands choose printed header bags. The layout needs enough room for logo, warning copy, barcode, SKU, and any required symbols without crushing legibility. A clean one- or two-color layout often performs better than a crowded design that tries to say everything at once.


