The ceramic woven label beanies Digital Proof Checklist is boring in exactly the right way. That is a compliment. A proof can look polished on a laptop and still fail once it lands on a stretchy cuff, a ribbed knit, and a production team that has to turn your flat artwork into a real sewn label. That mismatch is where reprints, delays, and awkward buyer emails start.
If you are ordering custom beanies for retail, events, or employee merch, the proof is not a formality. It is the last cheap chance to catch spelling errors, off-center placement, weak contrast, and size problems before they become inventory. Below, I will walk through what to check, what usually costs extra, and how to approve without guessing.
Why tiny proof mistakes cost real money on beanies
Beanies are annoyingly less forgiving than flat products. A woven label on a knit cuff has to survive stretch, compression, seam interference, and fold depth. The same proof that looks perfectly centered on a clean digital mockup can drift low once the cuff is worn, or sit too close to a seam and look crooked the second it is attached. That is the part buyers underestimate.
In practice, the main risk is not the artwork itself. It is the relationship between the artwork and the beanie body. A 50 mm label that looks balanced on-screen might feel oversized on a slim cuff. A small logo that reads well on paper can disappear on a dark heather knit because the yarn texture eats the contrast. One missed detail can turn into a unit that is too wide, too high, too low, or visually off-center.
That is why proof review for beanies deserves more than a quick thumbs-up from somebody skimming an inbox between meetings. You are not reviewing design theory. You are trying to avoid waste, rework, and a price increase from doing the job twice. If the spec is wrong, the factory still has to stop and fix it, and that is never free.
A clean proof is not the same thing as a good beanie. It only means the file is ready to make one.
For buyers who are still comparing decoration methods, it helps to think in simple terms: a woven label gives you a crisp, durable finish, but the margin for error is smaller than with a loose hangtag. If you want the label path to work, the proof has to reflect the actual garment shape, not just the artwork.
How the digital proof process and timeline usually works
The usual sequence is pretty straightforward. You send artwork, dimensions, placement notes, and beanie style details. The supplier builds a digital mockup. You review it, request edits if needed, and approve the final version before production begins. That is the clean version. The messy version involves three people forwarding the same file with different comments and nobody agreeing on the label width until the second round.
A digital proof is a layout and approval tool, not a physical sample. It can show proportion, text arrangement, and where the label will sit on the beanie. It cannot guarantee exact color-on-fabric behavior the way a sewn strike-off or pre-production sample can. Screens are useful, but they are not magical. They also lie about brightness, contrast, and saturation with impressive confidence.
Typical timing is manageable if your inputs are clean. The first proof often lands in 24-72 hours. Simple revision rounds usually take 1-2 business days. If your team is slow to approve, that window stretches. Rush requests can compress the schedule, but they usually reduce review time rather than eliminate it. You still need to approve something.
Most delays come from predictable nonsense: missing dimensions, vague placement notes, undecided thread colors, and a buyer team that keeps adding comments after a version was already approved. If you want to keep things moving, give the supplier one clean instruction set and one decision-maker.
For brands that are also lining up packaging or trims, it is smart to keep related specs in one folder with Custom Labels & Tags and the matching Manufacturing Capabilities sheet. It sounds basic because it is basic. Basic is good when production is waiting.
What to verify before you approve colors, size, and placement
Start with size. Confirm the label width and height, not just the artwork proportions. Then check whether the full label remains visible after folding or sewing. A lot of beanie proofs look fine until you remember that the cuff eats part of the label. If the label is meant to sit on a folded cuff, the visible area matters more than the total die line.
Next, check the artwork scale. Tiny text can become decorative noise once it is woven. If a word has to be readable from a normal viewing distance, it probably needs enough stroke width and enough space around it. Thin lines, micro type, and complex gradients are where woven labels start getting expensive and vague at the same time.
Color deserves a slower look. Screen color is unreliable, full stop. Compare the proof against Pantone targets, brand references, or a previously approved sample. If you already have a matching trim, use that as the anchor. When buyers approve from memory, they often approve the wrong shade with great confidence and then act surprised when the first bulk run looks different. Very efficient way to create a problem.
Placement is the other big one. The label should land where the cuff naturally sits, not where it looks centered on a flat mockup. A beanie is not a poster. Seam location, rib texture, and stretch all change the visual center. If the proof shows measurement marks, confirm them against the actual garment spec, not a guess.
Before sign-off, I also check edge finishing, backing or attachment style, logo orientation, and how the design reads at a glance. If the brand mark only works when someone leans in and squints, it is probably too busy for a woven label on a beanie.
Useful authority references can help keep quality conversations grounded. For packaging and material standards, the Institute of Packaging Professionals is a solid industry resource. If your project also touches transport testing or shipment protection, ISTA standards are worth a look.
Cost, pricing, and MOQ tradeoffs for decorated beanies
Pricing on decorated beanies usually comes down to a handful of variables: total quantity, label size, thread count, number of colors, attachment method, and how much artwork cleanup is needed before production. If the design is simple and the run is large, the unit cost drops. If the run is small and the art is fussy, the price climbs. No mystery there.
MOQ matters because setup labor does not shrink just because the order is small. A factory still has to prep artwork, set up the weave, sample the layout, and manage attachment. Spread that over 300 pieces and the unit price is higher than if you spread it over 3,000. Buyers hate that answer, but it is still the answer.
For ballpark planning, a woven-label beanie project can move anywhere from roughly $1.20-$2.80 per unit for simpler large runs to $3.50-$6.50 per unit for smaller quantities or more complex labels. That range shifts with the body style, decoration method, and whether you need packaging add-ons. If somebody quotes a miracle number without specs, they are usually quoting fiction.
Proof-related fees are worth asking about early. Many suppliers include a digital proof in the quote. Extra mockup work, rush edits, or repeated revision cycles can add charges. Custom sampling can also cost more, especially if the supplier needs to build a physical reference. Ask before you approve the wrong version and then negotiate with a production schedule. That is a losing hobby.
| Order type | Typical unit price range | What drives the cost | Best use case |
|---|---|---|---|
| Simple bulk run | $1.20-$2.80 | High quantity, one-color or low-color label, standard placement | Retail basics, team programs, repeat styles |
| Moderate custom run | $2.80-$4.50 | Smaller MOQ, more thread colors, tighter proof review | Brand launches, seasonal merch, event inventory |
| Complex or small run | $4.50-$6.50+ | Low quantity, detailed artwork, custom backing or special finishing | Premium drops, internal gifting, test markets |
If you want a cleaner quote, send exact quantity, finished beanie style, artwork file, label dimensions, target ship date, and whether you need folded cuff placement or another attachment style. Suppliers do better with facts than with “something clean and premium.” That sentence means almost nothing.
ceramic woven label beanies digital proof checklist: approve with confidence
Here is the working version of the ceramic woven label Beanies Digital Proof Checklist I would use before signing off on anything. First, check spelling, logo lockup, resolution, bleed, and tiny text. If a legal line, URL, or product name is wrong, fix that before you argue about shade matching. There is no pride in approving a typo because the mockup looked pretty.
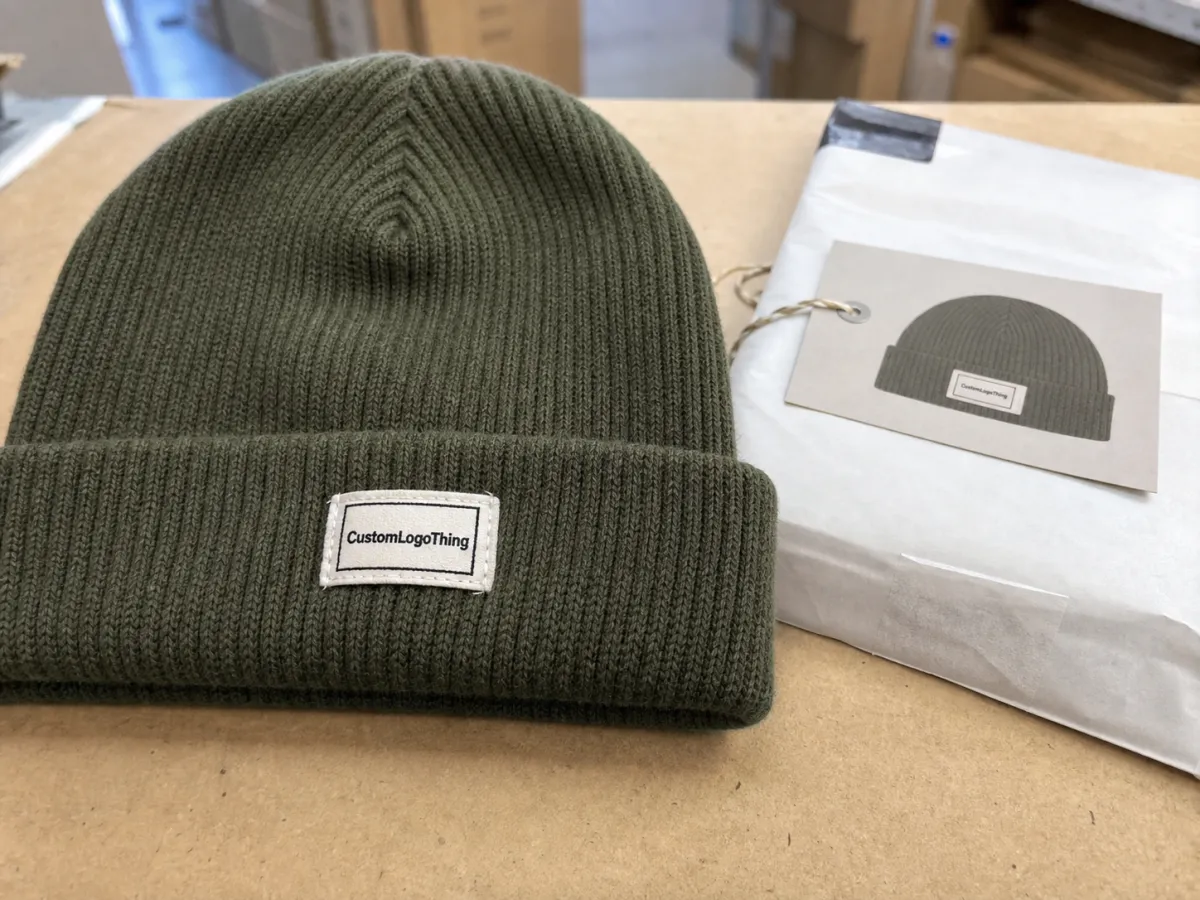
Then verify the proof against the actual beanie style. Look at the silhouette, cuff depth, seam location, and stretch behavior. A flat rectangle on a white background is not the same thing as a label sitting on rib knit. If the proof does not show the real product shape, ask for a version that does. You need to see how the label behaves in context, not just in isolation.
After that, review production details line by line: size, placement, color count, backing or attachment method, pack count, and ship date. If the proof includes notes, read them. Twice. People love skipping the notes and then acting shocked when the production team follows them exactly.
One clean approval path saves headaches. Gather all internal comments before sending feedback. Do not approve one version on Monday and discover a “small change” from marketing on Tuesday. Decide who signs off, get everyone looking at the same revision, and then send one final approval. That is usually the difference between a controlled project and a slow-motion mess.
For teams that also track compliance or sustainability claims, it helps to keep material notes together with FSC references at fsc.org. If the beanie package needs shipping protection or retail distribution, you can also cross-check outer packaging requirements against your broader specs. A neat file beats a heroic memory every time.
Quick approval list:
- Artwork spelling and logo proportions are correct.
- Label size matches the actual beanie cuff.
- Placement is measured, not guessed.
- Colors are compared to a real reference, not a screen.
- Attachment method matches the intended finish.
- Revision number is the same for everyone.
Common mistakes buyers make with woven-label beanie proofs
The most common mistake is approving from a phone. Tiny spelling issues, subtle cropping mistakes, and label shifts disappear on a small screen. Then the buyer opens the production piece later and wonders how the error slipped through. It did not slip. It was hiding in plain sight.
Second mistake: treating a digital proof like a finished sample. It is not. It is a layout approval. You still need to understand that woven construction has limits. Fine gradients, tiny script, and hairline details can soften or simplify in production. That is not the supplier being careless. That is how woven labels work.
Third mistake: ignoring cuff behavior. A beanie on a flat proof does not show the distortion that happens when the cuff folds and stretches. If the label needs to sit a certain distance from the brim or seam, say so. Better yet, ask for the placement measurement in writing. Precision is cheaper than excuses.
And yes, changing specs after approval causes trouble. If you swap label size, alter thread colors, or move the placement after sign-off, the price and lead time usually move too. That is not punishment. It is production reality. The factory already built the job around the earlier version.
Common red flags
- The proof only shows a front view and no measurements.
- The logo appears centered on the mockup but not on the garment spec.
- Tiny text is present with no discussion of legibility.
- Color notes say “match as close as possible” with no reference.
- Three people are commenting on different versions.
Buyer-side confusion is expensive because it tends to arrive late. A cleaner internal process, even if it feels slightly annoying, usually saves more than it costs. That is especially true for custom beanies, where a small visual mistake becomes very visible once dozens or hundreds of pieces are stacked, shipped, and worn.
Best-practice next steps after approval and before ordering
Once you approve, save everything together: the final proof, the quote, the spec sheet, and the revision number. Put them in one folder. If a month later somebody asks which version was final, you do not want to start a scavenger hunt through email threads and chat logs. That is how projects age badly.
Send one final confirmation that includes quantity, colorway, delivery address, and the approved revision. Ask for the production start date and estimated turnaround. Typical decorated beanie timelines often run 12-15 business days after proof approval for straightforward orders, though more complex jobs can take longer. If a supplier gives you a shorter number, make sure it includes the actual work, not just optimistic language.
If the beanies are tied to a launch, retail reset, or event, work backward from the delivery date and build some slack. Shipping delays happen. Misread comments happen. Someone on your side will probably ask for one more change after approval because people like to test gravity with deadlines.
Use the ceramic woven label beanies Digital Proof Checklist as your final gate. If any detail still feels fuzzy, pause and revise before you turn pixels into inventory. That one habit saves more money than most “premium” upgrades ever will.
In short: beanies reward careful proofing. If you check size, placement, color references, and production notes with a little discipline, you get a cleaner result and fewer surprises. If you rush it, you usually pay for the rush twice.
What should I check first on a woven-label beanie digital proof?
Check spelling, logo layout, and label size first because those are the easiest expensive mistakes to miss. Then confirm placement on the cuff, since a centered flat mockup can still land badly on a stretched beanie. Finish with colors and attachment details before you approve.
How long does the digital proof process usually take for beanies?
Simple proofs often arrive in 24-72 hours if the artwork and specs are already clear. Each revision round can add 1-2 business days, especially if multiple people need to sign off. Rush requests are possible, but they usually cost more or tighten the revision window.
What affects price and MOQ for custom beanies with woven labels?
Quantity, label size, thread complexity, color count, and attachment method are the big pricing drivers. Lower MOQs usually raise unit cost because setup work gets spread across fewer pieces. If you want a sharper quote, send exact specs instead of asking the supplier to fill in the blanks.
How do I know the label placement will work on a cuffed beanie?
Check the proof on the actual beanie style, not just a flat rectangle mockup. Make sure the label sits where the cuff naturally folds and does not hit a seam or distortion zone. If the design must be precise, ask for a placement measurement from the factory.
Should I approve a digital proof if the colors look slightly off on my screen?
Not without checking brand references, because screens are notorious liars. Ask for Pantone targets, prior samples, or a fabric-based reference before you sign off. If the color is important to the sale, get written confirmation of the closest achievable match.


