If you are sourcing coffee roaster Frosted Zipper Bags Packaging Insert checklist materials for a new roast line, the hard part is usually not the logo or the flavor notes. It is contrast. Frosted film exposes weak hierarchy, thin type, and crowded layouts faster than a plain opaque bag, which means the insert has to be planned before anyone signs off on the print run.
For a packaging buyer, the insert is not a decorative add-on. It is a working component. It has to support the sale, answer the questions the pouch does not, and keep the order organized across roast dates, SKU versions, and reorders. A good insert reduces friction. A bad one creates it, then hides the problem until cartons are already in transit.
If the proof looks clean on a bright screen but becomes muddy against frosted film, the layout is not finished. It is only optimistic.
Coffee Roaster Frosted Zipper Bags Packaging Insert Checklist Basics
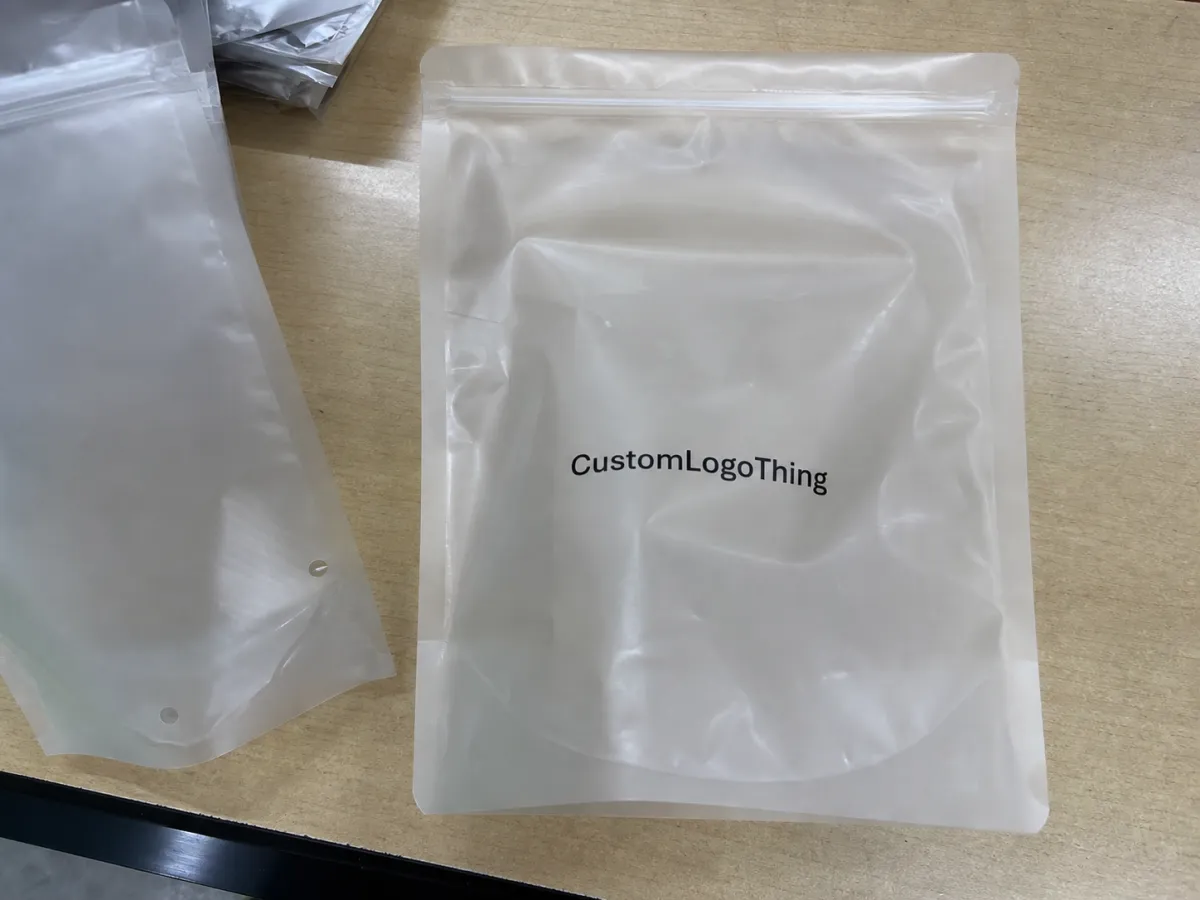
Frosted zipper pouches are popular because they look cleaner than plain stock bags and feel more premium without adding much visual noise. The tradeoff is that the surface behaves like a tinted window. It softens whatever is behind it, which makes weak contrast, low-contrast brand colors, and overdesigned copy easier to spot. That is why the coffee roaster Frosted Zipper Bags packaging insert checklist matters before production begins, not after a buyer notices the first bad sample.
The insert usually has three jobs. First, it carries the roast story and product detail. Second, it gives the customer the practical information they actually need. Third, it helps production and fulfillment avoid confusion. A useful insert card or folded sheet can include roast date, origin, tasting notes, brewing guidance, storage notes, QR code or barcode data, and reorder information without turning into a wall of text. Past that point, it starts looking less like packaging and more like an apology for not editing harder.
There is also a commercial logic here. The pouch should carry the brand’s front-facing message. The insert should carry the operational detail. That split keeps the retail package cleaner and usually reads more deliberately on shelf. Too many brands try to make the pouch do everything. The result is usually a bag that looks nervous, as if it is trying to win a product briefing and a sales pitch at the same time.
Size and fit matter more than people expect. A card that is only a few millimeters too large can buckle inside the zipper area or curl at the edges once packed. A card that is too small can drift around and make the set feel cheap. The buyer notices even if they cannot name the defect. They just feel that the package is not settled.
From a production standpoint, the checklist is a rework stopper. Once the pouch specs, insert size, copy blocks, finish, and packaging method are fixed, the order becomes much easier to quote and much harder to derail. That is the practical value of doing the boring part first.
What the Insert Has to Communicate Before the Bag Is Opened
The pouch and the insert should not duplicate each other line for line. Shelf-facing messaging belongs on the bag. The insert handles the supporting detail that matters once a buyer has picked the product up. In most coffee programs, that means origin, roast level, weight, tasting notes, brewing guidance, storage instructions, contact details, and reorder or subscription information. If the front panel already states the roast name and weight clearly, the insert does not need to repeat them three times just to fill space.
Frosted film changes the reading experience. Tiny type feels smaller. Mild contrast becomes weak contrast. Colors that looked balanced in a PDF can turn muddy under store lighting or against semi-translucent packaging. In practice, I usually want one primary message, one support layer, and one obvious action, such as a QR code or a website link. That is enough. Anything more starts to compete with the coffee itself.
Readable copy depends on actual print constraints, not design ambition. On most insert cards, critical text below 7 pt is a risk unless the layout is unusually open and the font is exceptionally clear. QR codes need quiet space around them so scanners can read them quickly. Barcodes need the correct quiet zone. As a baseline, allow at least 0.125 in bleed and keep key copy out of fold or trim areas. If the set will move through parcel or wholesale channels, transit testing standards such as ISTA can be useful for checking how the package behaves under handling and drop conditions.
Sustainability claims need paperwork, not just good intentions. If the insert stock is part of an environmental statement, or if you want paper from responsibly managed forests, ask for documentation before the order is approved. The FSC system exists because claims are easy to print and harder to prove. Buyers who skip that step often discover the problem only when a retailer asks for support files and the answer is a nervous silence.
One useful rule: separate “must read at a glance” content from “nice to have” content. The first group belongs in the top third of the insert. The second group can move lower on the card or onto the QR landing page. That keeps the physical piece readable and makes the whole pack feel more intentional.
Cost, MOQ, and Quote Drivers for Inserts and Pouches
Pricing for frosted pouches and inserts usually comes down to setup, print coverage, finish, and quantity. The unit price can look attractive at first, then change once you add zipper style, valve options, coatings, or a separate insert run. Buyers comparing custom printed boxes, pouch sets, or other retail packaging formats often make the same mistake: they compare the shell without counting the assembled piece.
MOQ matters more than many teams admit. At low quantities, setup costs are spread across fewer units, so unit pricing climbs fast. Multiple SKUs or artwork versions raise the cost again because each version needs its own proofing path, file handling, and often its own tooling or plate setup. If you already know you need three roast profiles, ask for pricing by version before approving the art. That is where budget surprises usually hide.
| Order Type | Typical Unit Cost | Best For | Lead Time |
|---|---|---|---|
| Plain frosted pouch + paper insert | $0.28-$0.55 | Small test runs, launch packs, sampler programs | 10-15 business days after approval |
| Custom printed frosted pouch + insert | $0.34-$0.72 | Core retail SKUs, branded packaging, subscription bags | 15-25 business days after approval |
| Multi-SKU set with valve, finish upgrades, and assembly | $0.48-$0.95 | Retail packaging programs with several roast profiles | 20-30 business days after approval |
Those ranges are not fixed. A heavier film gauge, a degassing valve, more print colors, a soft-touch coating, or a special fold will move the number up. So will a thicker insert stock or a nonstandard pack-out. The supplier needs the exact dimensions, total quantity, material choice, print coverage, and shipping destination to produce a serious quote. Without that, the number is mostly a guess with a logo on it.
Ask for tiered pricing at two or three volume breaks, such as 1,000, 3,000, and 5,000 units. That shows where the unit cost actually improves and whether the run justifies a larger order. It also reveals whether the supplier is pricing honestly or dangling a low headline figure that disappears once assembly and freight are included.
Hidden costs are where buyers get annoyed. Setup charges, proof revisions, sample orders, freight from the factory, and carton pack-out all matter. If you are also ordering outer packaging, group the request early so the supplier can quote the full system instead of treating each component as an interruption.
Production Steps and Lead Time From Proof to Shipment
The cleanest way to manage the job is to treat the pouch and insert as related, but not identical. They may not move on the same schedule. One part can be ready while the other is waiting on approval, and that lag can affect shipping. A typical flow looks like this: final spec sheet, dieline review, artwork proof, sample approval, production, assembly, carton pack-out, and shipment. The steps are simple enough. The timing is where the trouble lives.
Here is the usual timing breakdown on custom coffee packaging runs:
- Proofing: 2-5 business days, depending on how many changes the buyer requests.
- Sampling: 5-10 business days if a printed or fit sample is needed.
- Production: 12-20 business days after final approval for standard runs.
- Assembly and pack-out: 3-7 business days if inserts must be matched with pouches.
- Freight: varies by lane, with longer timing if the shipment crosses customs or moves by sea.
Rush orders cost more and leave fewer revision cycles. That is not a factory trying to be dramatic; it is scheduling math. If files are not ready, a rush order does not make them cleaner. It only makes the mistake more expensive. One extra day spent fixing copy and dimensions usually costs less than paying to accelerate a proof that was never right in the first place.
For more complex branded packaging programs, ask for a written timeline with milestone dates rather than a vague promise that the order will move “soon.” You want dates for proof return, sample dispatch, approval deadline, production start, and ship date. That keeps operations, sales, and fulfillment reading from the same page instead of arguing from three different calendars.
Step-by-Step Checklist for Artwork, Copy, and Approvals
This is the section that saves money. The coffee roaster Frosted Zipper Bags packaging insert checklist should be built before design starts, not after someone has already fallen in love with a layout that ignores the fold line. Start with the copy order: front panel, back panel, insert, compliance text. Then map what belongs on each piece. The insert should not inherit every sentence from the bag just because there is room to type it.
- Confirm dimensions: Verify the real pouch size and insert size, not just the concept mockup.
- Check the dieline: Review bleed, trim, safe area, zipper location, fold lines, and tear notches.
- Lock SKU details: Roast names, weights, origin claims, and lot code rules should be final.
- Validate file quality: Keep text sharp, images at proper resolution, and codes large enough to scan.
- Review legal copy: Required notes, disclaimers, and contact details should match across versions.
- Get final sign-off: Roasting, sales, and operations should all approve the same version.
The copy check is usually where the expensive mistakes hide. Spelling errors are obvious, but inconsistent claims are worse. If the bag says one origin and the insert says another, you have not created a premium story. You have created a customer service issue. Review every SKU line by line, especially if multiple roast profiles share a common template. Small edits move quickly; small inconsistencies move quietly, and that is the real problem.
File prep should be strict. Fonts need to be embedded or outlined, linked images should be embedded at 300 dpi where appropriate, and barcode or QR code sizing should be tested on a real proof. Do not approve art from a laptop screenshot and assume the printer will rescue it. Printers can correct mechanical issues. They cannot guess your intent.
It helps to check the insert in context. Print a draft, place it behind or inside a frosted sample pouch, and inspect it under bright indoor light. If hierarchy collapses, if the colors flatten, or if the QR code becomes awkward to scan, revise the layout before production. A ten-minute physical test often prevents a five-thousand-unit headache.
For teams shipping across several channels, keep approved specs in one shared folder and tie them to the packaging request. If you later add outer cartons, mailers, or display boxes, that record saves the team from rebuilding the same information twice and reduces the risk of version drift.
Common Ordering Mistakes That Create Reprints and Delays
The first mistake is designing only for the flat mockup. A pouch does not live flat. It folds, seals, fills, and gets handled by people who are not reading your design notes. Once the frosted film has product inside it, the visual balance changes. If the insert depends on perfect flat presentation, it may look awkward in the actual pouch.
The second mistake is overstuffing the insert. More copy does not equal more value. It usually means the card looks crowded and less expensive than it should. If you need a full origin story, brewing education, and farm detail, move part of that information to a QR landing page. The insert should remain readable from a normal viewing distance. Otherwise the buyer gets a pile of words and no clear priority.
Hardware compatibility is another easy miss. Zipper type, valve placement, and hang hole placement affect how the pouch functions and how the insert sits inside it. If the insert jams under the zipper line or creases against the valve, the set looks unfinished. That kind of problem is small in a CAD file and obvious in a packed carton.
Carton planning matters too. If pouches are assembled with inserts and then packed loosely into master cartons, you need counts, carton dimensions, and pallet specs before shipment. Skipping that step turns a clean product packaging program into a warehouse problem. If the supplier handles freight, ask how cartons should be labeled and whether they test pack-out against a transit standard such as ISTA 3A for parcel handling.
Finally, do not approve proofs before checking claims, spelling, and measurements together. The “we can fix it later” approach gets expensive fast because later usually means after setup, after plates, or after part of the order is already printed. That is the wrong moment to discover a typo in a lot code rule.
Expert Spec Checks and Next Steps Before You Request Samples
Before you send files to a supplier, build one clean request sheet. Keep it short, but complete: pouch size, material, finish, zipper type, print count, insert stock, target quantity, and delivery destination. If the set includes assembly, say so. If you need more than one roast SKU, list each version separately. One organized page gets you better pricing and fewer follow-up questions.
Ask for sample pricing and production pricing side by side. A sample can look inexpensive and still tell you very little about final order cost. Likewise, a production quote without a sample path can hide fit issues. If the supplier offers both a printed sample and a plain fit sample, request both. The printed version shows how the branding reads. The plain version shows whether the dimensions and closure work. Different problems. Different fixes.
Compare total assembled cost, not just pouch price. Insert material, assembly labor, and freight can shift the math quickly. A slightly higher unit price on a better-prepared run often saves money by avoiding revisions, delays, and reprints. That is the part people miss while chasing the lowest number on the first quote sheet.
If you are also planning other branded packaging or outer cartons, keep the insert spec aligned with the rest of the line. Consistency matters more than most teams realize. A clean bag with a sloppy insert looks unfinished. A clean insert with a weak pouch design looks rushed. Either one can drag down the whole shelf presence.
My practical advice is simple: turn the coffee roaster Frosted Zipper Bags Packaging Insert checklist into a quote packet, a sample request, and an approval sheet before anything goes out. That cuts rework, sharpens pricing, and gives the final run a coherent structure instead of a pile of parts that happened to arrive together.
If you need to compare outer packaging formats while you build the set, keep the same discipline: dimensions first, copy second, decoration last. That order is slower on paper and faster in production.
What should a coffee roaster frosted zipper bag insert include?
Include roast date, origin, tasting notes, brew method guidance, storage instructions, and contact or reorder details. Add QR or barcode data only after checking size, contrast, and scan performance on the final printed insert.
Does frosted film change how the insert should be designed?
Yes. The semi-translucent surface makes weak contrast and tiny type more visible as problems, so the hierarchy has to be cleaner. Use stronger contrast, simpler layouts, and less filler copy than you might use on a solid opaque pouch.
What MOQ is realistic for custom frosted zipper bags with inserts?
Many suppliers price best in the 1,000 to 5,000 unit range, but the exact MOQ depends on print method and finishing. Lower counts are possible in some cases, though unit cost usually rises quickly once setup and handling are spread across fewer bags.
How long does the process usually take after artwork approval?
A typical flow is a few days for proofing, about a week for samples if needed, and roughly 2 to 4 weeks for production. Custom assembly, special finishes, and freight delays can stretch that timeline, so ask for milestone dates in writing.
What files do I need to request an accurate quote?
Send the dieline, final dimensions, artwork files, finish notes, quantity breaks, and shipping destination. If you already know the insert format, include the folded size and stock choice too, because that can change pricing.

