Cosmetics Embroidered Baseball Caps material sample guide
Compare fabric, stitch behavior, and finishing details before you approve production.
A cosmetics Embroidered Baseball Caps material sample guide only earns its keep if it helps buyers make a decision they can defend later. A polished mockup can flatter almost any logo. A real sample tells a different story: whether the crown stands up, whether the thread overwhelms the fabric, whether the brim feels premium or flimsy, and whether the cap still looks intentional after being handled a few times.
That gap between render and reality is where most problems hide. Beauty, skincare, and wellness teams often care about color harmony and brand presentation first, then discover too late that embroidery density changed the shape of the front panel or that a soft fabric collapsed under the weight of the logo. A sample is not just a visual approval. It is a test of structure, comfort, durability, and how the cap photographs in real lighting.
The best sample reviews are practical, not ceremonial. They compare fabric hand feel, stitch clarity, fit, and packaging in the same pass. They also make room for honest tradeoffs. A more matte fabric may photograph better, while a slightly shinier one may resist wear more effectively. A cleaner front panel may look sharper, but a softer crown may feel easier on the head during longer events. Those are real buying decisions, not abstract preferences.
What material samples reveal
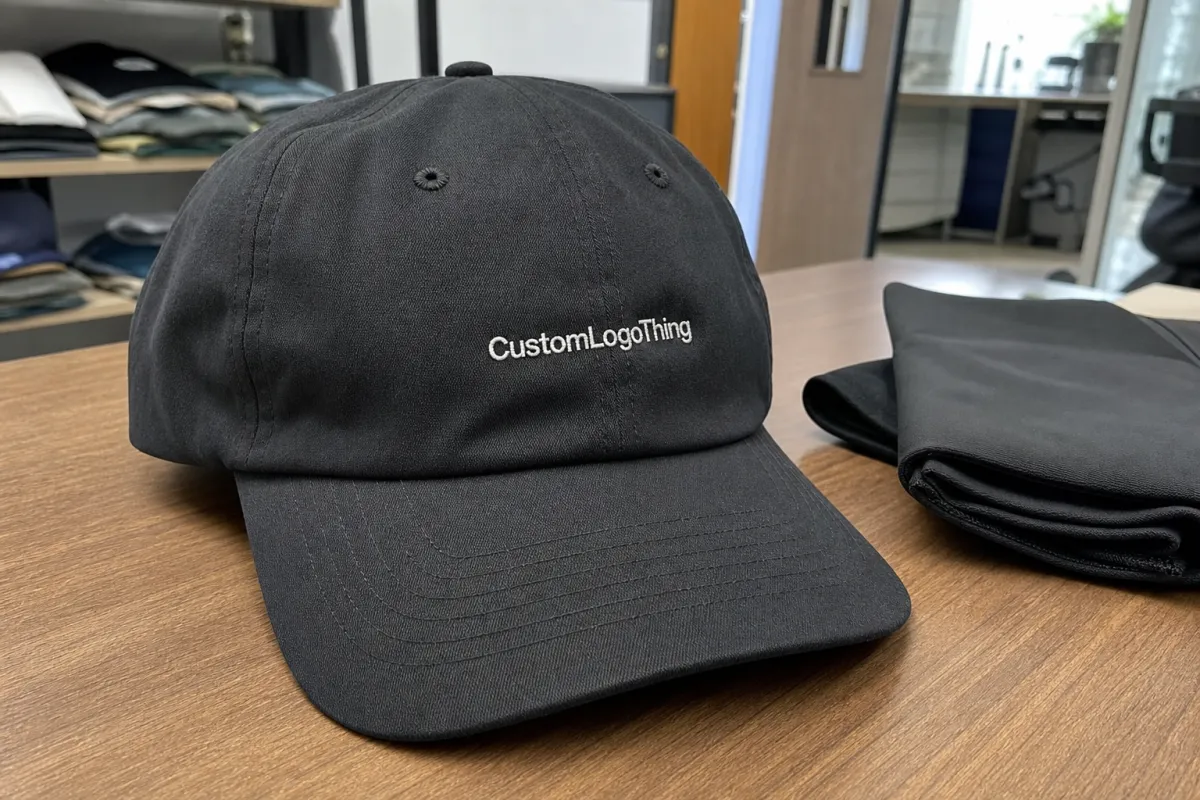
A sample answers questions that a spec sheet cannot. The fabric shows whether the cap has enough body to carry embroidery without puckering. The crown tells you whether the front panels will stay upright or slump once stitch weight is added. Thread choice reveals whether the logo feels crisp, glossy, flat, or too reflective under light. Even the visor shape matters, because a flat brim gives a more retail, display-friendly look, while a curved bill pushes the cap toward casual promotional territory.
For cosmetics brands, these differences are not minor. A cap that looks premium beside a serum kit can look out of place if the embroidery sheen is too loud or the structure is too soft. A cap meant for creator mailers may need to feel slightly lighter and less rigid. One meant for launch staff may need a stronger crown, firmer visor, and embroidery that stays readable after a long day of wear.
The sample also exposes how the cap behaves under ordinary handling. That matters more than many teams expect. Pick it up by the brim and the front panel may flex. Fold it into a courier carton and the crown may lose shape. Photograph it with a phone and you may notice that a thread color that looked rich in person reads flat on screen. What looks like a small technical detail in a supplier photo can become the difference between a cap that reads “considered” and one that reads “promo.”
Run the sample through three basic checks before you get distracted by color chips or packaging ribbon:
- Daylight: exposes true color, texture, and embroidery edge quality.
- Indoor light: shows whether thread sheen becomes distracting or uneven.
- Phone camera: reveals how the logo reads in the same conditions it will face in social content or e-commerce photography.
Packaging belongs in the review too. If the final program uses corrugated cardboard, kraft paper, recycled materials, or FSC-certified cartons, the sample should arrive in a pack that reflects that plan. Even small details like tissue quality, insert strength, and carton fit affect whether the cap arrives in approval condition or with a crushed brim. A sample that lands damaged gives you a fake problem and wastes time on a correction that was never about the product itself.
How the sample process works from spec sheet to approval
Clean sampling starts with a clear brief. “Make it premium” is not a spec. A useful request includes cap style, panel count, crown height, closure type, brim shape, logo placement, thread colors, and any finish requirements. If the cap needs a six-panel construction, a flat visor, and front embroidery sized to 2.25 inches wide, write that down. The more precise the brief, the less room there is for unhelpful interpretation.
The usual workflow has six parts. First, the supplier checks artwork quality and digitizes the logo for embroidery. Then the team matches fabric and thread to the brief. After that comes sample construction, followed by a photo proof, physical shipment, and one round of review or revision if the first pass misses the mark. That sounds simple, but each step can move the result by a lot.
- Artwork review: line thickness, small details, and logo geometry are checked for embroidery suitability.
- Fabric matching: the supplier selects cotton twill, polyester, brushed blend, or performance fabric.
- Thread selection: colors are matched to Pantone references and checked for sheen and contrast.
- Sample construction: the cap is sewn, stabilized, and embroidered to the approved placement.
- Photo proof and shipment: a digital image comes first, then the physical sample follows by courier.
- Revision or approval: stitch density, placement, or color may need one more pass before sign-off.
Turnaround depends on how much is being customized. A straightforward sample often takes about 7-10 business days before transit. More complex requests, such as multiple thread colors, custom fabric sourcing, or a second placement location, often run 12-18 business days. Courier time then adds another 3-5 days in many lanes. That timeline can stretch further if the supplier is waiting on a specific fabric roll or needs to redo digitizing for a dense or highly detailed logo.
Sample packing deserves its own attention. A cap that leaves the factory in good shape can still arrive flattened if the box is weak or the brim has no support. Ask whether the supplier uses a rigid outer carton, a shaped insert, or void fill that keeps the crown from collapsing. Good shipping discipline matters because sample damage creates misleading feedback. If the brim bends in transit, the review may blame structure or fabric when the real issue is packing.
For buyers who need documentation, it helps to keep sample notes in one place: artwork version, fabric name, thread codes, backing type, and approval comments. That record becomes valuable later, especially if the same cap is reordered months afterward and someone tries to recreate it from memory.
Fabric, structure, and thread choices that change embroidery quality
Fabric is usually the first thing people judge, but it is only one part of the equation. Cotton twill is a common choice because it has enough body for clean embroidery and usually gives a matte, classic look. Polyester handles wear well, holds color consistently, and is often a strong choice for outdoor events or repeat use. Brushed blends feel softer and can make the cap look more relaxed, though they need careful stitch planning so the front panel does not ripple. Performance fabrics can be useful for lighter, technical styling, but they need close testing because stretch and surface finish affect how the needle behaves.
Structure matters just as much as fabric weight. A structured front panel gives embroidery a stable base. An unstructured crown can still work, but the logo size and stitch count usually need to be restrained. Once embroidery gets heavy, the material starts fighting back. That is why a dense logo on a soft crown can pull the panel inward, while the same logo on a firmer front reads crisp and balanced.
The crown, visor, and closure all affect the final impression. A low-profile cap sits differently than a mid-profile or high-crown version. A pre-curved visor feels more casual; a flat visor looks sharper and more retail-ready. Metal buckles, snapbacks, and strap closures each change not only the fit but also the perceived value of the cap. Beauty buyers often underestimate how much the closure contributes to the product story. A cheap-looking back adjustment can drag down an otherwise strong front panel.
| Fabric or build | Look and feel | Embroidery behavior | Best fit |
|---|---|---|---|
| Cotton twill | Matte, classic, slightly firm | Usually supports crisp stitching and clean edges | Retail caps, brand uniforms, beauty kits |
| Polyester | Smooth, durable, often slightly brighter | Resists wear well; can show sheen under light | Promo runs, outdoor events, repeat use |
| Brushed blend | Soft hand feel, more relaxed appearance | Needs balanced stitch density to avoid puckering | Lifestyle branding, premium giveaways |
| Performance fabric | Lightweight, technical, sometimes stretchier | Requires careful stabilizer choice and logo sizing | Travel kits, staff wear, active promotions |
Thread choice can make the same logo look either restrained or overly flashy. A high-sheen thread catches light and can make a brand mark pop, but it can also drift toward a synthetic, glossy look if the fabric is already reflective. Matte thread reads subtler and often feels more expensive on a natural fabric, especially when the brand identity is clean and minimal. Neither is universally better. The sample is where that judgment gets settled.
Backing and stabilizer are hidden but decisive. Too little support and the stitches pull the fabric inward, leaving a faint ripple around the logo. Too much support and the cap starts to feel stiff, boxy, or awkward to wear. Seam placement is another small detail with big consequences. Embroidery that lands across a seam behaves differently from embroidery placed on a flat panel, so the same logo can look sharper simply because it was positioned more intelligently.
For logos with small text, the fabric choice becomes even more important. Fine lettering on a soft or textured surface can blur quickly, especially if the stitch count is too dense or the thread color is too close to the base fabric. Many sample failures start there. The logo may be technically embroidered, but not readable enough to justify the cap.
Cost, MOQ, and quote drivers for sample orders
Sample pricing is rarely just the cap plus embroidery. A useful quote usually reflects blank cap cost, embroidery complexity, setup time, shipping, and any special sourcing required for fabric or trims. For a simple sample with one embroidery location, the price often lands in the $35-$75 range. Once the request adds a second placement, 3D puff, denser stitching, or a custom fabric, the quote can move to $60-$120 or more.
MOQ changes the math because some factories credit part of the sample fee against the bulk order once the final quantity reaches a threshold. Others do not. A partial or full credit often appears somewhere around 300-500 units, but that depends on the supplier and on how much custom work was involved. If a brand asks for special fabric sourcing or a new closure type, the sample may remain a standalone expense because the setup cost is real even if production never happens.
| Quote item | Typical range | Why it changes |
|---|---|---|
| Blank cap + standard embroidery sample | $35-$75 | Depends on cap body, stitch count, and logo size |
| Multi-location or 3D puff sample | $60-$120 | Extra digitizing, more machine time, more revision risk |
| Special fabric sourcing | +$20-$50 | Needed for brushed blends, performance fabrics, or custom textures |
| Courier freight | $12-$35 | Varies by lane, carton size, and delivery speed |
Ask for a line-item quote. A helpful quote spells out the sample fee, remake fee, freight method, turnaround estimate, and whether approval credit applies to the production order. Two suppliers can look similar on paper and still produce very different total costs if one includes shipping, while the other tacks it on later. Line items make the comparison honest.
If the program depends on packaging claims, request proof of materials early. FSC-certified cartons, recycled content, kraft inserts, and post-consumer waste packaging all need to be documented, not assumed. Those claims are easy to state and harder to verify after the fact. The same is true for biodegradable packaging inserts. If the paper trail is thin, the claim should not travel with the product.
Step-by-step checklist for requesting and reviewing samples
Start with the use case. A retail cap, a staff uniform, a campaign giveaway, and a beauty-event gift may all need different priorities. A retail piece may justify a firmer structure and a cleaner front profile. A staff cap may need softer wear, lower crown height, and less stiffness over a full day. A giveaway item may favor cost control and a simpler embroidery layout. If the purpose is unclear, the sample review usually drifts toward whatever looks nicest in the moment.
Then send clean inputs. Artwork should be vector whenever possible, with Pantone references, placement dimensions, and a clear note about front, side, or back embroidery. If packaging matters, say so in the same brief. A sample is easier to judge if the team already knows whether the final delivery will use a bulk carton, a retail insert, or a presentation box.
- Confirm the use case and expected wear environment.
- Send artwork in an editable format if available.
- State logo size and placement in inches or millimeters.
- Approve the fabric family before moving into construction details.
- Review the photo proof, then wait for the physical sample.
- Inspect the sample in daylight, indoor light, and on camera.
- Wear it for a few minutes and check fit, pinch points, and crown height.
- Record feedback in measurable terms instead of vague preferences.
If you are comparing more than one sample, keep the test conditions identical. Same head size. Same lighting. Same camera. Same reviewer, if possible. Unequal conditions create fake differences. One cap photographed on a bright desk and another reviewed in a dim hallway will not give you a fair comparison. Controlled review conditions make the material differences easier to see and far easier to explain to the team.
“A good sample review is less about taste and more about eliminating avoidable surprises before bulk production starts.”
A useful review also checks small construction details that are easy to ignore in a rushed meeting. Look at the inner seam finish. Check the sweatband stitching. Feel whether the closure sits flat rather than digging into the back of the head. Make sure the eyelets are clean and even. These are not decorative extras. They affect wearability, finish quality, and whether the cap feels like a finished product instead of a near miss.
Common mistakes that distort sample decisions
The first mistake is judging from photos alone. Screens flatten texture, mute slight puckering, and hide edge imperfections that become obvious in hand. A cap can look balanced in a supplier image and still show tension lines once it is lifted or worn. Photo approval is useful as a checkpoint, not as a final decision.
The second mistake is comparing samples that do not actually match. If one version uses a 2.0-inch logo and another uses 2.4 inches, or one has a denser stitch fill, then the fabric is no longer the only variable. Buyers often blame the material because it is the most visible difference, but the problem may really be digitizing, backing, or placement. A clean comparison only works when the inputs are controlled.
The third mistake is skipping wear testing. A cap can sit perfectly on a table and still pinch, twist, or ride too high after ten minutes on a head. Beauty brands especially need to think about this because caps often appear in campaign shoots, event staffing, and creator kits. If the cap looks good for sixty seconds and feels wrong after five minutes, it is not doing the job.
The fourth mistake is accepting an unclear quote. A line that says “sample cost” without explaining freight, setup, remake policy, or credit against bulk production leaves room for disappointment later. Pricing confusion is one of the fastest ways to turn a simple sample round into a drawn-out negotiation.
- Do not approve from photos alone.
- Do not compare samples with different stitch sizes and call it a fabric issue.
- Do not skip fit testing just because the cap looks balanced on a table.
- Do not accept a vague quote that hides freight or remake costs.
Another common problem is over-weighting one loud opinion in a small review group. A cap should not be approved or rejected because one person likes a shinier thread. Better practice is to score each sample independently, then compare the notes. That keeps the decision tied to evidence instead of meeting-room momentum.
Expert tips for cleaner approvals and fewer revisions
Use a simple scorecard with four columns: fit, fabric hand feel, logo clarity, and color match. Ask each reviewer to score from 1 to 5 and add one short note. The purpose is not bureaucracy. The purpose is to make tradeoffs visible. A sample that wins on color but fails on comfort should not be treated as a clean approval.
Keep one approved physical sample as the control piece. That cap becomes the reference for the production order, later replenishments, and any colorway extension. Without a control, teams end up recreating the same decision from memory, and memory is a weak production system. If a factory needs to match the approved sample later, the physical reference helps more than a long email thread ever will.
Ask for a stress-test version if the logo is large or the crown is soft. One sample can show the intended final look; another can show where the risk appears if the stitch density changes or the fabric relaxes. That extra step is useful when the cap will be worn repeatedly, shipped in volume, or photographed closely. A small increase in sample work is cheaper than a bulk revision.
Keep feedback measurable. “Move the logo up 5 mm” is useful. “Make it pop more” is not. “Reduce stitch density by 10 percent” is useful. “Make it cleaner” is not. The more specific the feedback, the faster the revision. Embroidery machines do not understand mood; they understand settings.
For packaging-led programs, save the shipping notes with the approved cap. If the final order requires corrugated cardboard, kraft paper, FSC-certified materials, or recycled content, those details should sit beside the fabric and embroidery specs. Small packaging choices are easy to forget once email threads grow long. They are much harder to reconstruct after the order ships.
One last practical habit: measure the cap. Note crown height, brim length, logo width, and placement distance from the center seam. Those numbers create consistency when a production batch needs to be checked against the sample. It is a plain habit, but it saves time when a later run is slightly off and the team needs a clear reference point.
Next steps to compare, test, and place the production order
Shortlist two fabrics, one embroidery placement, and one backup colorway, then request exactly those combinations. Broad catalogs are harder to evaluate and usually create more indecision than progress. Narrow requests force the real choice sooner.
Bring in the people who will actually live with the cap. Marketing may care most about brand presentation. Operations may care most about lead time and repeatability. The wearer may care most about comfort. Those views should all be heard because the final product has to work in use, not only in a review meeting.
Once the sample is approved, send the signed notes with the production purchase order. Include fabric, thread codes, logo size, placement, backing, packaging requirements, and any shipping protection needed for the finished goods. The more the factory can tie bulk production back to the approved sample, the lower the risk of drift.
Handled this way, a cosmetics Embroidered Baseball Caps material sample guide becomes a repeatable buying process rather than a one-off approval ritual. It protects color accuracy, stitch quality, fit, and packaging at the same time. That is usually what separates a cap that simply exists from one that buyers are willing to reorder.
What should I check in cosmetics embroidered baseball caps material samples?
Check fabric weight, crown structure, stitch clarity, thread sheen, and how the logo sits on the panel. Also test fit, visor shape, inner seam finish, and color accuracy in natural light and indoor light before you approve anything.
How long do embroidered baseball cap sample orders usually take?
Simple samples can take about 7-10 business days before transit, while revised artwork, special fabrics, or extra placements can push that to 12-18 business days. Add shipping time separately so the schedule reflects reality.
How does MOQ affect material sample pricing for caps?
Some factories charge a standalone sample fee, while others credit part of that amount against bulk production once the order reaches MOQ. Confirm whether setup, freight, and remake costs are included, because those items change the true price.
Which fabrics usually hold embroidery best on promotional caps?
Structured cotton twill and firm polyester blends usually support embroidery better than very soft or highly stretchy fabrics. The right choice still depends on logo size, stitch density, and whether the cap is meant for display or repeated wear.
Can I approve one sample for multiple logo placements?
Only if each placement has been physically tested, because front, side, and back embroidery behave differently on the crown. Use the same fabric and cap structure for each test so the comparison stays meaningful.


