What Custom Clothing Labels Made in USA Really Mean

A clothing label often weighs less than a paperclip. Still, that strip of woven thread, satin, cotton, polyester, or heat-transfer film can carry the legal, brand, care, size, and origin signals that decide whether a garment feels premium or forgettable. For apparel buyers, Custom Clothing Labels made in usa are not just a patriotic detail. They are a sourcing decision tied to lead time, minimums, compliance, revision speed, and quality control.
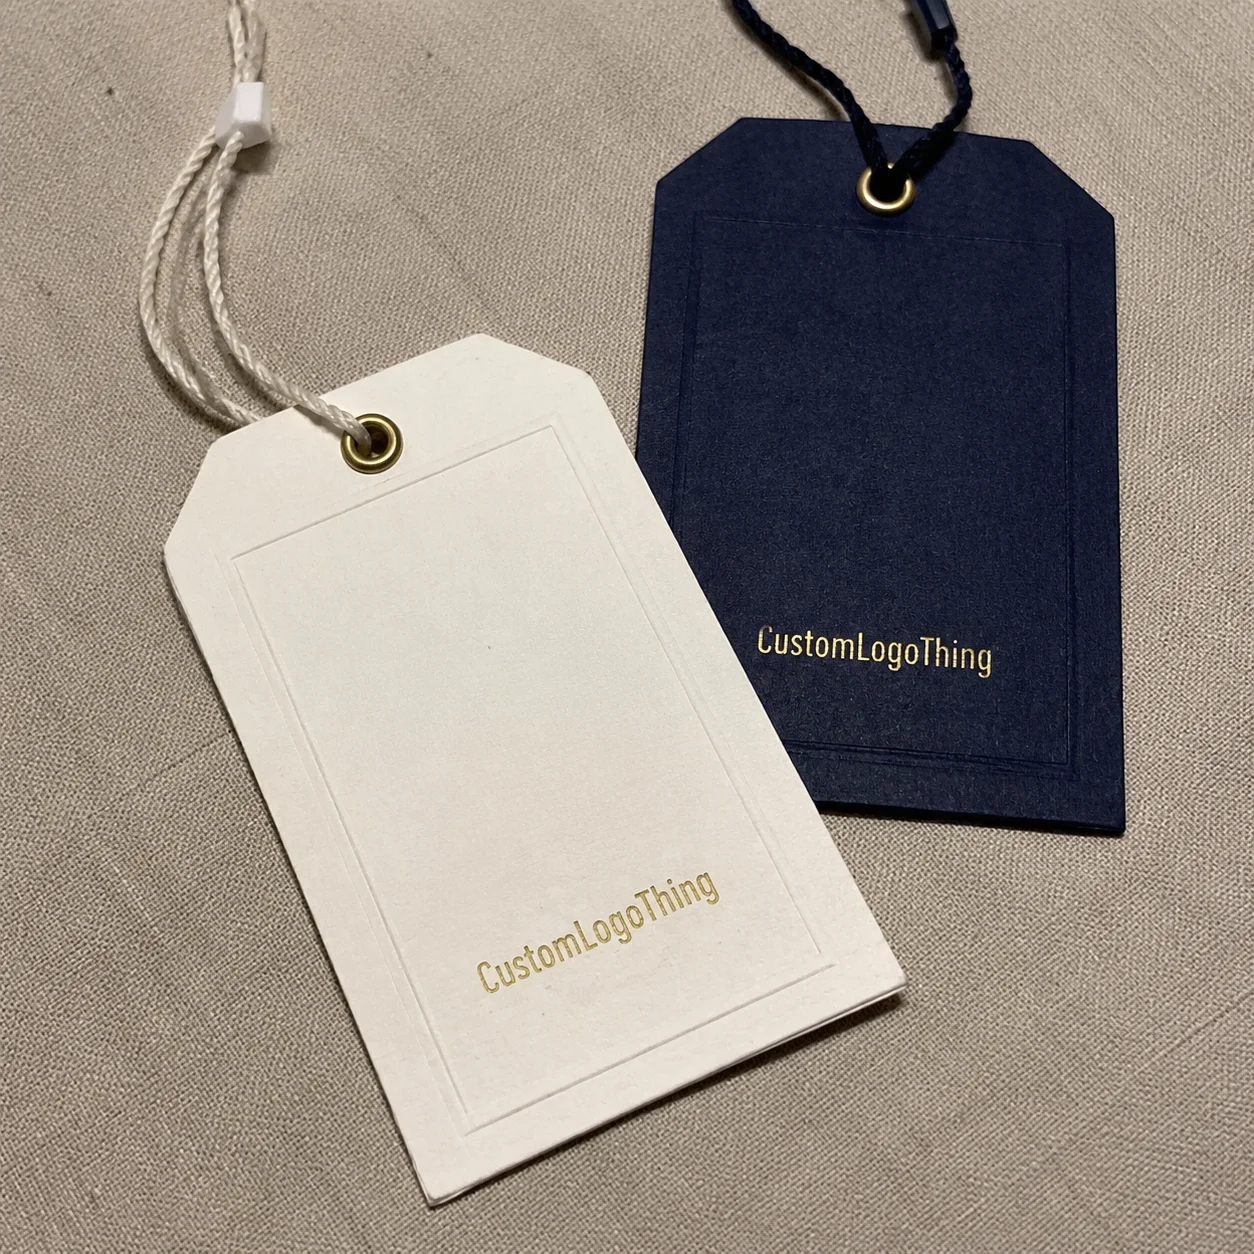
The category is wider than many first-time buyers expect. It includes woven labels, printed satin labels, cotton labels, size tabs, care labels, heat-transfer neck prints, hem tags, waistband labels, loop labels, and exterior brand tabs. Fold styles matter too: center fold, end fold, Manhattan fold, loop fold, miter fold, and straight cut all change how the label is sewn, handled, and felt by the wearer.
Here is the wrinkle buyers should not skip. “Made in USA” can mean different things depending on the supplier’s model. It may refer to domestic weaving or printing, domestic cutting and folding, domestic finishing, U.S.-sourced materials, or a U.S.-based supplier coordinating some production elsewhere. That distinction matters if you are making origin claims, working under a retailer’s vendor manual, or trying to protect a launch date from trim delays.
Buyer check: Ask where the labels are woven or printed, cut, folded, packed, and shipped from. A serious supplier can answer plainly.
Domestic labels can bring real advantages: faster sampling, easier revisions, clearer communication, shorter shipping routes, and more practical recourse if something arrives off spec. They can also cost more per unit than imported labels. That is not automatically a problem. A label that arrives 10 days earlier and prevents emergency freight may be the cheaper decision once the entire garment schedule is counted.
This matters for apparel startups, merch brands, boutiques, uniform programs, and established clothing companies comparing label quality and supplier fit. The aim is not to buy the prettiest trim in isolation. The aim is to choose labels that behave properly on the garment, support compliance, match the retail price point, and hold up after the customer has washed the product more than twice.
How Apparel Labels Work From Artwork to Finished Garment
The production logic looks simple. You provide a logo, size, colors, material preference, fold type, quantity, and attachment method. The supplier turns that into a production-ready label spec. In practice, small missing details create outsized problems. A neck label that is 5 mm too wide may crowd the seam. A care label with 5-point type may look fine on screen and fail in real use.
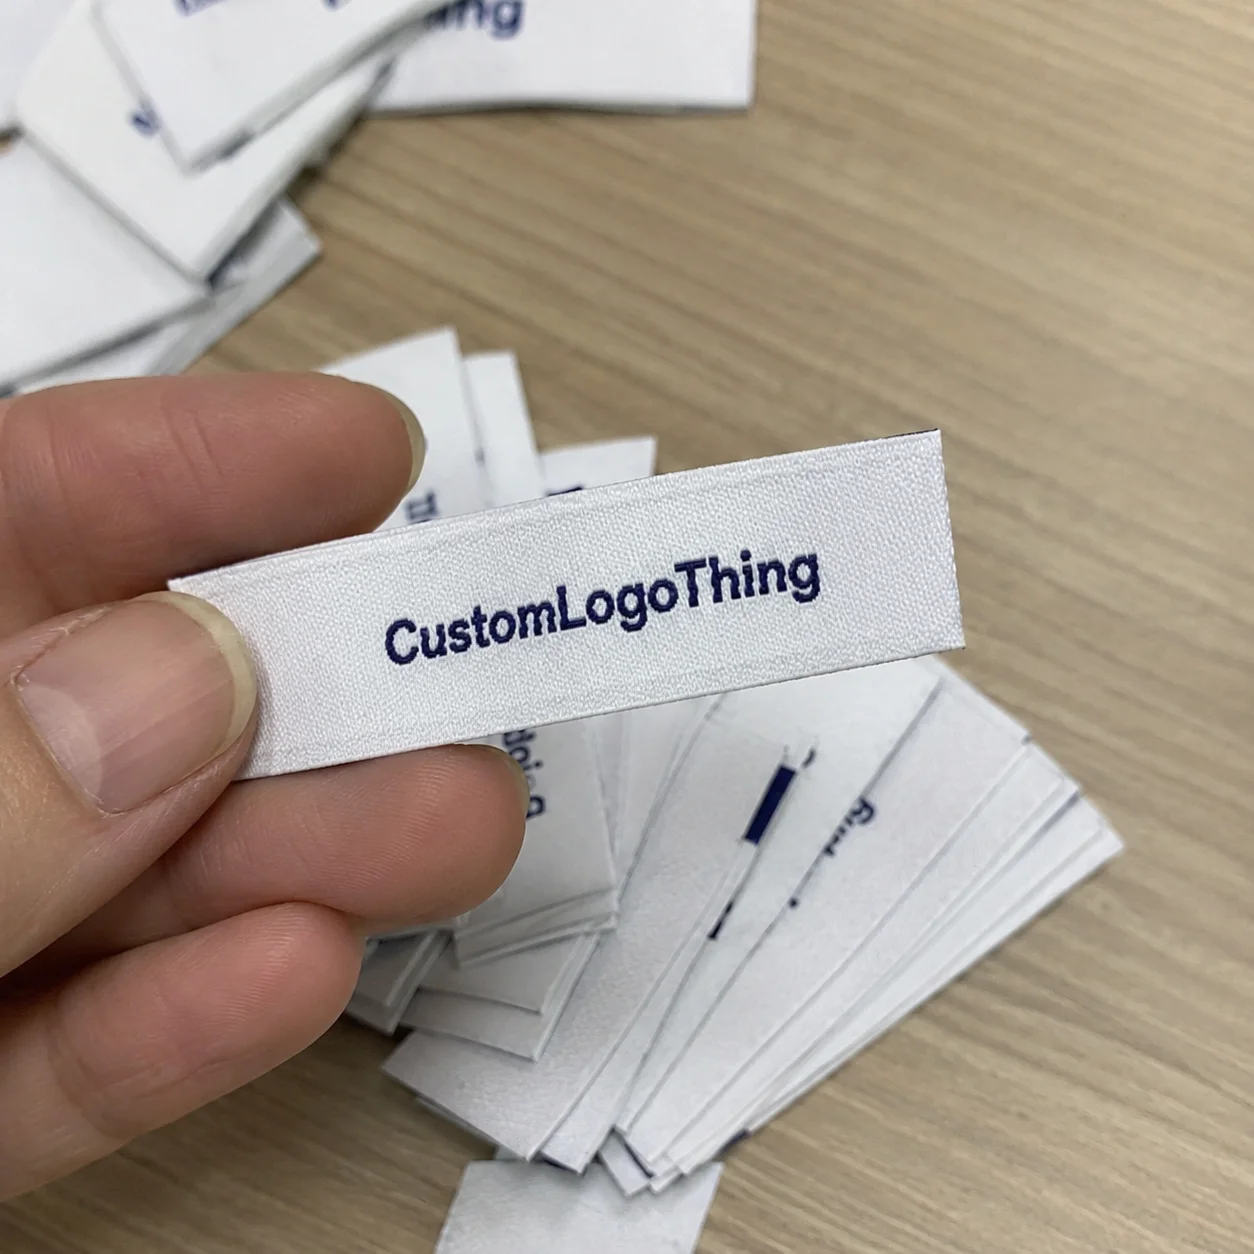
Woven labels use thread to build the design. Damask woven labels are common for premium apparel because they can hold cleaner detail and feel smoother against skin. Taffeta can be more economical, though it usually feels less refined and may not suit higher-price garments. Woven labels are durable, wash-resistant, and strong for logos, but they have limits. Very small text, gradients, shadows, distressed effects, and photo-like artwork usually need simplification.
Printed labels use ink, thermal transfer, or related methods on satin, cotton, polyester, nylon, or similar substrates. They work well for fiber content, care instructions, RN numbers, multi-language copy, and size charts because fine text reproduces better in print than in thread. Durability depends on print method, wash cycle, fabric chemistry, heat exposure, and abrasion. A printed satin care label may be ideal in a side seam but too shiny for a heritage cotton line.
Heat-transfer labels remove the sewn label entirely and apply the graphic directly to the garment with heat, pressure, and adhesive chemistry. They are common in activewear, base layers, underwear, kidswear, and performance tees because they reduce bulk at the neck. They also require more testing. The same transfer that bonds well to a polyester-spandex jersey may crack, peel, or ghost on a ribbed cotton blend.
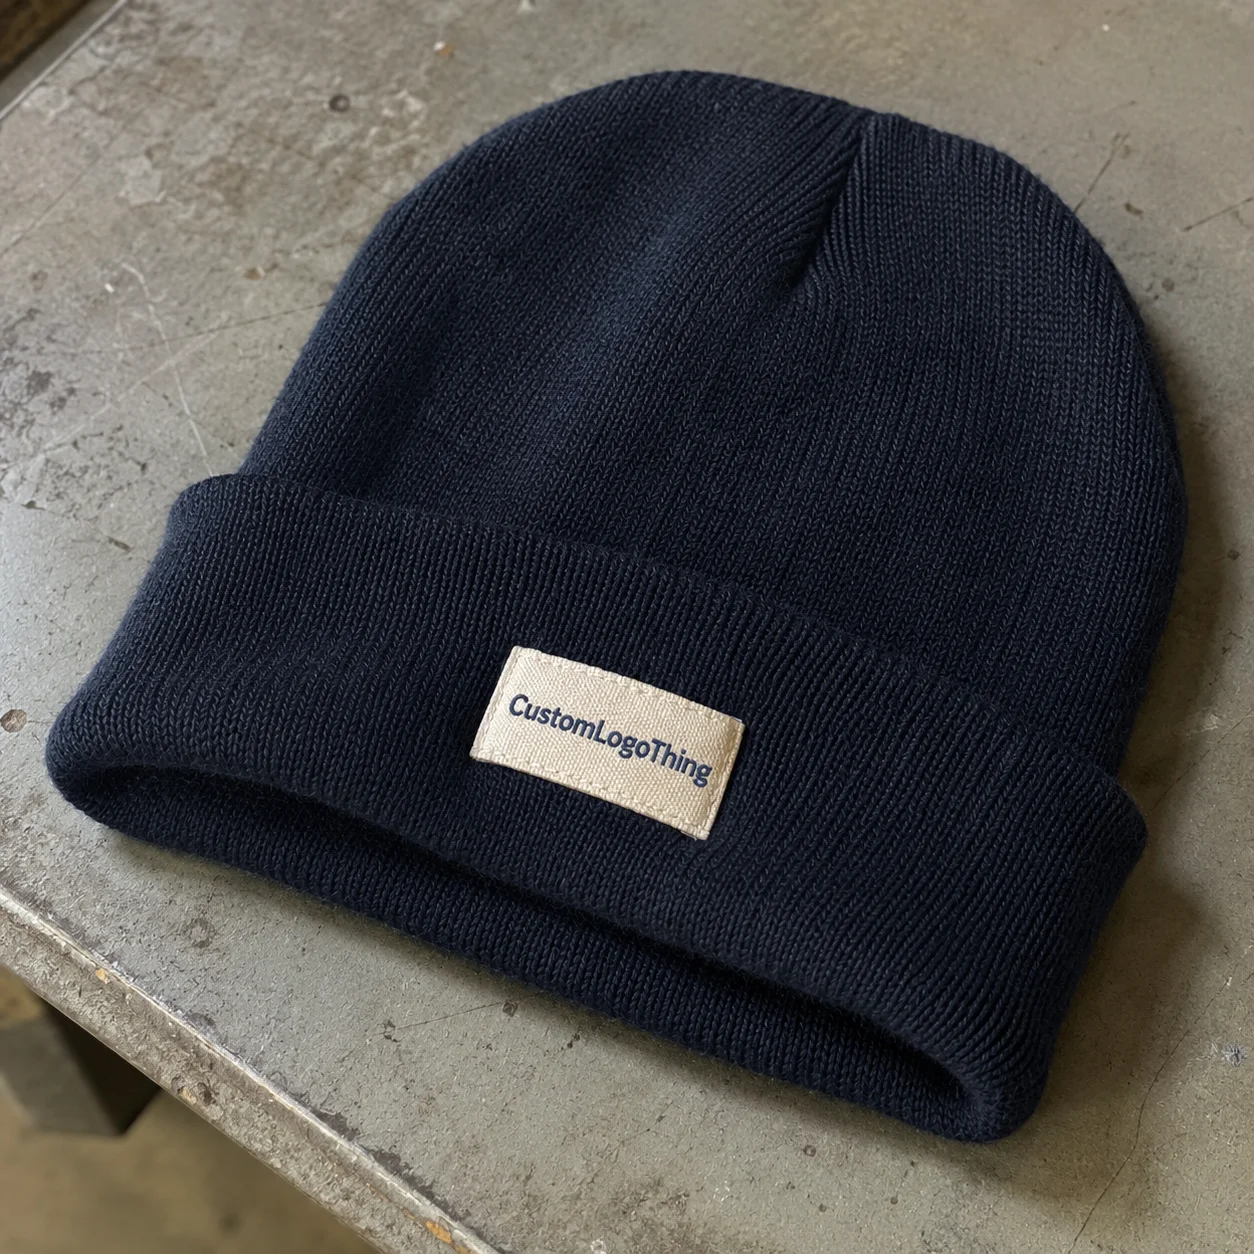
Construction changes the garment experience. Satin looks polished. Cotton feels natural. Damask can make a $90 hoodie feel finished. A scratchy economy label can make a $24 tee feel cheaper than it is. The label is small, but the wearer notices it every time the garment touches the neck, waist, or side seam.
Match the label to the use case before choosing the prettiest sample. Activewear needs skin comfort, stretch compatibility, and wash durability. Children’s apparel needs softness and clear compliance copy. Luxury pieces need crisp edges, stable color, and a texture that aligns with the fabric. Uniform programs need consistency across repeat orders. Merch drops often need speed, clean branding, and enough overage for damaged units, photo samples, and rework.
Finishing decisions affect factory handling. Center folds work well in necklines and side seams. End folds create clean sew-on edges for patches and exterior labels. Manhattan folds hide raw edges on premium neck labels. Straight cuts are efficient for care labels and heat-transfer carriers. Adhesive backing can help position a label before sewing, but it should not be treated as a replacement for proper attachment testing.
Process, Timeline, and Lead Time for Domestic Label Orders
A typical domestic label order moves through inquiry, artwork review, quote, digital proof, sample or pre-production approval, production, inspection, packing, and shipment. None of those steps is complicated by itself. The risk sits in the handoffs. Artwork must become a spec. A spec must become a proof. A proof must become a label that the sewing team can attach without improvising.
Domestic production can shorten the communication loop. Proof changes, color questions, and delivery updates often happen in closer time zones, saving a full business day per revision compared with some offshore workflows. That matters when a buyer catches a spelling error, changes a size breakdown, or asks whether a fold can shift by 3 mm to improve sewing.
Timelines vary by supplier, equipment, material availability, and order size. Simple printed labels may move in roughly 5 to 10 business days after proof approval. Custom woven labels with multiple colors, special folds, physical samples, or higher quantities may land closer to 12 to 20 business days. Rush work may be possible, but rush fees, cutoffs, and risk should be visible in the quote. A rush promise without a production slot is just optimism.
The biggest timeline killers are predictable: incomplete artwork, unclear dimensions, missing Pantone references, unusually high quantities, specialty materials, and slow proof approvals. A buyer who sends a low-resolution PNG and asks for “standard size” has not really submitted a production spec. A buyer who sends a vector file, exact dimensions, fold type, thread or print colors, quantity, delivery deadline, and shipping destination gives the supplier something usable.
Sampling deserves a budget line. A digital proof is faster and cheaper, and it catches layout, size, spelling, orientation, and color callout issues. A physical sample gives stronger confidence for texture, edge quality, readability, and skin feel. For a 100-piece test drop, a digital proof may be enough. For a 5,000-piece retail run, one physical sample can be cheap insurance compared with relabeling labor.
Quality checks should happen before labels reach the sewing floor. Count labels by SKU and size. Confirm fold direction. Check whether the logo is centered after folding, not only before folding. Pull a few labels from different bundles and compare color, edge finish, and copy. If the label includes care instructions, verify that symbols and text survived production at the intended size.
Protect the launch date by ordering labels before the final production cut date, building in approval time, and avoiding logo changes after proofing. Apparel schedules often fail in quiet places. The hoodies are cut, the print is complete, the poly bags are waiting, but the neck labels are late. Suddenly a trim item smaller than a postage stamp becomes the bottleneck for the entire drop.
Packaging carries the same lesson. A brand can have Custom Packaging Products ready to go, including custom printed boxes and retail inserts, but unfinished garments cannot ship. Labels sit upstream of fulfillment. Treat them as production trim, not a decorative afterthought.
Cost, Pricing, and MOQ Factors Buyers Should Compare
Label pricing is rarely one flat number. It usually depends on material, size, color count, fold style, quantity, setup, sampling, packaging, and shipping. A 1.25-inch damask woven neck label with three thread colors and a center fold is not priced like a 3-inch printed care label with black text on white satin. They solve different jobs.
Small runs carry more setup cost per label. Larger runs spread setup across more units and usually lower the unit price. As a practical market range, basic printed labels for several thousand pieces may land around $0.08 to $0.18 per unit, while woven labels in moderate quantities may sit closer to $0.18 to $0.45 per unit. Low quantities, specialty yarns, metallic threads, complex folds, color matching, domestic rush handling, or unusual packing requirements can push above that. These are planning ranges, not a supplier promise.
Domestic cost tradeoffs deserve honesty. U.S.-produced labels may cost more than offshore labels. They may also reduce delays, miscommunication, excess inventory, and emergency freight. A $0.07 savings on 2,000 labels equals $140. One late shipment that forces overnight freight or delays a paid launch can erase that quickly.
MOQ means minimum order quantity. It is not arbitrary. It reflects machine setup, material ordering, labor, cutting, folding, counting, and packing efficiency. A woven loom or print line has to be prepared whether the run is 100 labels or 10,000 labels. That setup is why tiny orders cost more per piece. Some suppliers will accept very small runs, but the unit price often tells the real story.
| Label option | Best use | Typical cost behavior | Buyer watchout |
|---|---|---|---|
| Damask woven label | Premium logo neck labels, hem tags, exterior branding | Moderate to higher unit cost; improves at larger quantities | Tiny copy and gradients may need simplification |
| Printed satin label | Care, content, size, and compliance information | Often economical for detailed text and multi-SKU runs | Print durability and skin feel vary by substrate |
| Cotton printed label | Natural apparel, kidswear, boutique garments | Usually more than basic satin but supports a softer brand feel | Ink coverage and fray control need review |
| Heat-transfer label | Tagless activewear, base layers, performance apparel | Setup and testing can add cost; efficient at scale | Must be tested on actual fabric and wash cycle |
Ask for quote details in writing: final dimensions, material, fold, color method, setup fees, sample cost, proof policy, overrun or underrun policy, turnaround estimate, and shipping method. If your supplier also supports Custom Labels & Tags, ask whether the same artwork system can support hang tags, stickers, or product packaging later. Consistent branding is easier when files are managed cleanly from the start.
Do not compare quotes on unit price alone. A cheaper label that frays, bleeds, irritates skin, or arrives late can cost more at the garment level. Calculate the label cost as a percentage of retail price and as a risk-control item for returns, brand perception, and relabeling labor. A $0.32 label on a $78 garment is about 0.4% of retail. That is a small line item for something customers touch repeatedly.
Step-by-Step Guide to Ordering the Right Clothing Labels
Step 1: Define the garment use case. Start with fabric weight, wash cycle, wearer sensitivity, retail price point, and label visibility. A label hidden in a side seam has a different job than an exterior hem tag. A baby bodysuit has a different tolerance for stiffness than a canvas work jacket.
Step 2: Choose the label type. Woven labels work well for premium logo presentation. Printed labels handle detailed care content efficiently. Heat transfers support tagless comfort. Many brands need a mixed system: a woven main label for identity, a printed care label for compliance, and a size tab for warehouse clarity.
Step 3: Prepare clean artwork. Vector files such as AI, EPS, or SVG are ideal because they scale cleanly and reduce redraw errors. Include brand colors, logo lockups, font guidance, and any legal or care text that must remain readable. If you only have a PNG or JPG, ask whether the supplier can clean or redraw the artwork before proofing.
Step 4: Select dimensions and fold style. Decide where the label will sit: neckline, side seam, hem, sleeve, waistband, pocket, or outer branding patch. Then specify finished size, total cut size if relevant, fold type, and sew margin. A 1-inch finished center-fold label needs enough material above the fold to be caught securely in the seam.
Step 5: Review the proof like a production document. Check spelling, orientation, stitch margins, color callouts, final size, fiber percentages, care symbols, and country-of-origin wording. One missing comma may not matter. One missing fiber content line can.
Step 6: Approve samples or production only after matching the label to the garment. Sew a few onto real units if possible. Wash them. Rub them. Stretch the fabric around them. If the label curls, puckers, scratches, cracks, or fades early, fix that before thousands of garments are in line.
Step 7: Organize by SKU, size, colorway, and batch. Labels are small, easy to mix up, and expensive to sort at the sewing table. Use bags, cartons, or dividers with clear counts. For larger apparel programs, trim organization can save hours of factory handling time.
This is where many young apparel brands gain operational discipline fast. The same thinking used in packaging design applies here: define the role, control the spec, proof the details, test the finished item, and keep the system organized. Label work is not glamorous. It is measurable.
Common Mistakes That Make Clothing Labels Look Cheap
The first mistake is over-detailed artwork. Thin lines, tiny taglines, gradients, distressed textures, and complex icons often fail on small woven labels. The fix is boring but effective: simplify the artwork before proofing. Use fewer colors, thicken lines, remove micro-copy, and reserve fine detail for printed labels or hang tags.
The second mistake is choosing material in isolation. A beautiful label can still be wrong if it scratches the neck, puckers on lightweight fabric, or feels too stiff on babywear. Test feel against the actual garment fabric. For skin-contact labels, rub the edge between your fingers and against the neck area. If it feels sharp in your hand, sewing will not improve it.
Vague sizing creates another problem. “Standard neck label” is not a specification. Even a few millimeters can affect readability, seam allowance, and placement. State finished width, finished height, fold type, and sew margin. If the label carries care content, confirm the smallest text size remains readable after cutting and folding.
Color mismatch is more subtle. Screen colors, thread colors, ink colors, and garment fabric colors behave differently. Pantone references or physical samples reduce surprises, but woven thread reflects light differently than printed ink. If exact brand color is critical, ask how close the supplier can hold the match and whether a thread chart, strike-off, or printed drawdown is available.
Compliance mistakes are costly because they can block retail acceptance. Missing fiber content, care instructions, country-of-origin language, or RN details can create problems for marketplaces, inspectors, or retail buyers. Requirements vary by product and market, so confirm obligations before printing thousands of labels. For environmental language and claims around packaging or materials, the U.S. Environmental Protection Agency is a useful starting point for understanding why vague green claims attract scrutiny.
Inventory mistakes are less dramatic but common. Ordering only enough labels for the first batch leaves no buffer for damaged pieces, replacements, photo samples, rework, and reorder overlap. A controlled overage of 3% to 7% is often sensible, depending on production size and defect tolerance. Too much excess ties up cash. Too little creates emergency purchasing.
The fix list is short: simplify artwork, test feel, specify dimensions, approve color standards, verify copy, and order a controlled overage. Labels look cheap when nobody owns the details. They look intentional when the details are boringly precise.
Next Steps Before You Request a Label Quote
Before asking for pricing, assemble a real spec package. Include your logo file, label type, exact size, fold style, quantity, colors, garment category, attachment method, delivery deadline, and shipping destination. If the label includes care or fiber content, include final copy rather than a placeholder. “We will send this later” often turns into a proof delay.
Gather two or three garment samples and decide where each label will sit before finalizing dimensions. Pin paper mockups into the neckline, side seam, hem, or waistband. It sounds crude. It works. A paper rectangle can reveal that a 50 mm label overwhelms a small tee or that a side-seam care label needs to be narrower to avoid twisting.
Create a label system rather than one-off labels. A main brand label, size tab, care/content label, and optional exterior branding tag should work together visually. The same logic applies across branded packaging, retail packaging, and product packaging: customers may not analyze every element, but they sense whether the system is coherent.
Ask suppliers direct questions. Where does production happen? What materials are available? What does proofing include? How are revisions handled? What happens if labels miss spec? Can the supplier support repeat orders using the same file, color, and fold records? If sustainability claims or paper packaging enter the project, certification bodies such as the Forest Stewardship Council can help buyers understand chain-of-custody language for paper-based components.
Test before scale. Wash, dry, stretch, rub, and sew a few labels onto real garments before committing to thousands. If you are shipping apparel in e-commerce mailers or Custom Printed Boxes, run a small packing test too. Labels, hang tags, tissue, stickers, and package branding all meet the customer in one unboxing moment.
For buyers comparing Custom Clothing Labels made in usa, the smartest move is a complete spec package, a clear written quote, and approval only after the label works on the actual garment. Small trim, big consequences.
FAQ
Are custom clothing labels made in USA better than imported labels?
They can be better for buyers who need faster communication, tighter oversight, shorter shipping routes, and easier revisions. Imported labels may still be cost-effective for very large orders, so the right choice depends on deadline, budget, quality expectations, and risk tolerance. Ask whether the labels are fully manufactured domestically or supplied by a U.S.-based company using a mixed sourcing model.
How much do USA-made custom apparel labels usually cost?
Pricing depends on label type, size, material, color count, fold, quantity, setup, sampling, and shipping. Basic printed labels in larger quantities may sit around $0.08 to $0.18 per unit, while many woven labels fall closer to $0.18 to $0.45 per unit. Specialty materials, low MOQs, color matching, and rush production can increase the cost.
What is the typical lead time for custom clothing labels made domestically?
Lead time varies by supplier and construction, but simple printed labels may take roughly 5 to 10 business days after proof approval. Woven labels with custom colors, folds, or physical sample approvals may take closer to 12 to 20 business days. Complete artwork, quick proof approval, and stable size or color decisions protect the timeline.
What files do I need to order custom clothing labels?
Vector files such as AI, EPS, or SVG are ideal for logos because they scale cleanly and help suppliers convert artwork accurately. You should also provide label dimensions, Pantone or brand color references, font details, care text, size breakdowns, and fold preferences. If you only have a PNG or JPG, ask whether the supplier can redraw or clean up the artwork before proofing.
Which label type is best for a small clothing brand?
A woven main label is a strong choice for premium branding, while printed care labels handle detailed wash and fiber information efficiently. Heat-transfer labels work well for activewear, kidswear, and tagless comfort, but they must be tested on the garment fabric. Small brands should start with a simple label system that supports current SKUs while leaving room for future sizes and product lines.