Order Custom Waterproof Stickers No Minimum Online
A small skincare brand needs 37 jar labels for a weekend market. Not 500. Not a full roll. Just 37 clean, moisture-resistant labels that can survive cold fingers, bathroom shelves, and condensation. That is why custom waterproof stickers no minimum ordering works so well for startups, makers, event teams, and packaging buyers testing ideas without burying cash in excess inventory.
Custom Waterproof Stickers No Minimum: What Buyers Should Know First
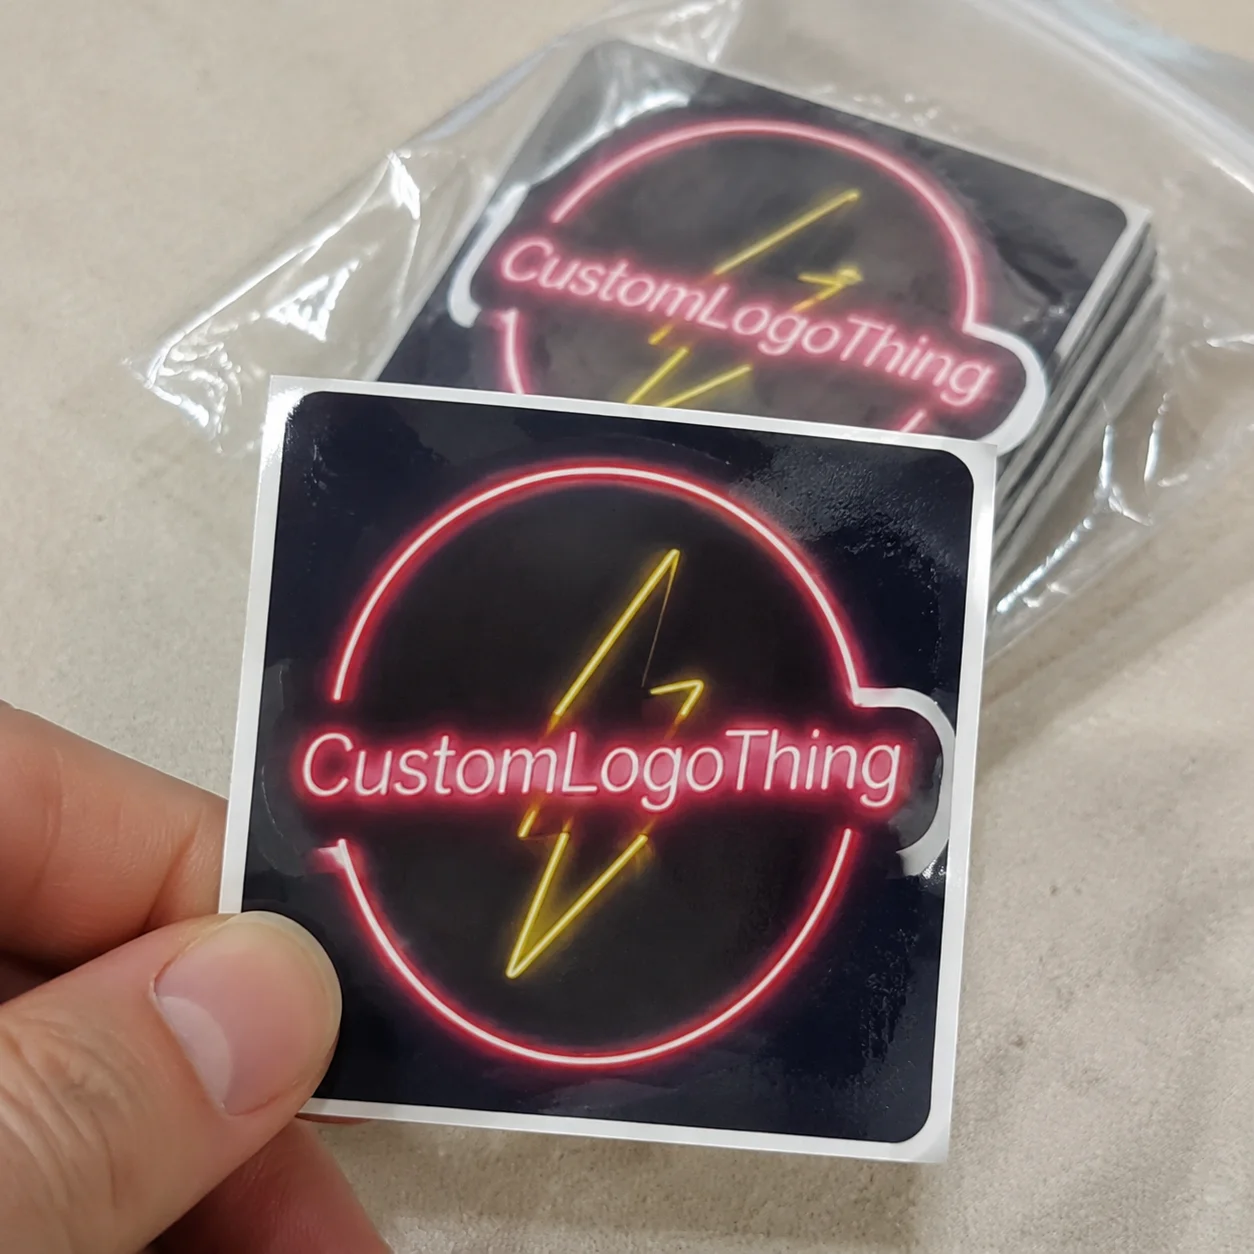
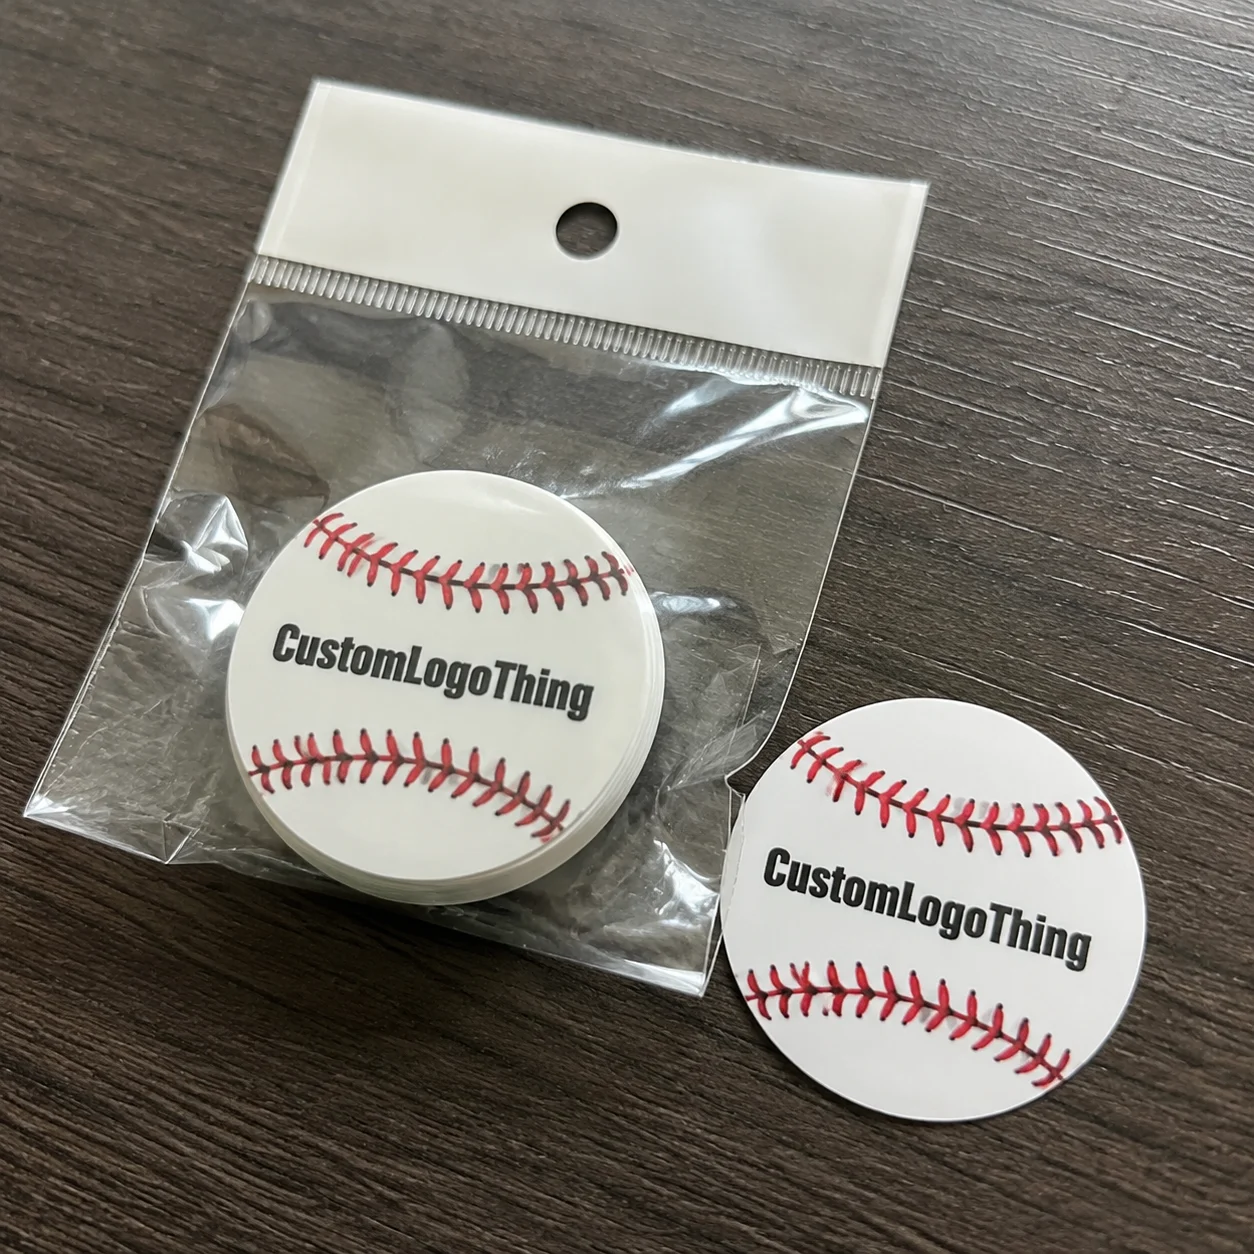
Custom waterproof stickers no minimum means you can order the quantity you actually need while still choosing the shape, size, material, finish, and artwork. A candle maker might order 24 warning-label-style brand stickers. A beverage brand may need 80 prototype bottle labels for a retailer pitch. A merch team may want 15 die-cut logo stickers before approving a larger event run.
The useful word is control.
No minimum does not mean every production method works the same way. Short-run stickers are usually produced with digital printing because it handles flexible quantities and file changes without the setup burden of traditional press work. Bulk label production, especially offset, flexographic, or long-roll jobs, has a different cost structure. Plates, press calibration, make-ready waste, and operator time are spread across thousands of pieces.
Small runs reduce waste and lower the initial spend, but the unit price is normally higher. That is not a pricing trick. It is production math. File review, color setup, cutting, packing, and quality control still happen whether the order contains 10 stickers or 1,000.
Waterproof also needs a practical definition. For most buyers, it means resistance to splashes, rain, condensation, wet hands, damp coolers, and routine handling. Real durability comes from the full construction: moisture-resistant face stock, suitable adhesive, stable ink, and often a laminate or protective coating. One weak layer can ruin the result.
Good applications include bottles, food jars, laptops, outdoor gear, shipping inserts, candle packaging, cosmetics, event merchandise, and prototype product packaging. If stickers are part of a broader packaging system with labels, tags, mailers, or inserts, compare formats under Custom Labels & Tags before locking the layout.
Packaging buyer rule: order the smallest useful quantity for testing, but not the smallest possible quantity. You still need extras for application mistakes, photos, samples, and damaged units.
How Waterproof Sticker Materials and Adhesives Actually Work
Waterproof performance is a stack, not a magic coating. The face stock carries the printed image. The ink creates the color. The adhesive bonds to the surface. The liner protects the adhesive before application. The finish, such as gloss laminate or matte laminate, shields the print from abrasion, moisture, and handling.
White vinyl is the common workhorse. It offers solid opacity, strong color, and reliable performance on bottles, jars, mailers, and general retail packaging. Clear vinyl creates a no-label look on glass or plastic, but contrast needs attention. White artwork on clear stock can look sharp and intentional. Pale yellow on clear glass can disappear under store lighting. Nice idea. Bad shelf read.
Polypropylene is often used for labels that need moisture resistance with a more production-label feel. Polyester is tougher and more dimensionally stable, making it a stronger choice for outdoor exposure, abrasion, heat, or industrial-style use. Paper labels with water-resistant coatings can work for light exposure, but they are rarely the safest option for bath products, refrigerated items, coolers, or anything handled with wet hands.
Adhesive choice matters more than many buyers expect. Permanent adhesive is the default for bottles, jars, packaging, and product stickers that should stay put. Removable adhesive suits short-term promotions, event badges, temporary retail messaging, or laptop stickers intended to peel away cleanly. Aggressive adhesive is used when the surface is rough, curved, textured, low-energy plastic, or exposed to tougher handling.
| Material | Best Use | Water Exposure | Buyer Watchout |
|---|---|---|---|
| White vinyl | Bottles, jars, logo stickers, packaging | Good for splashes, condensation, and outdoor moisture | Choose laminate for heavy handling |
| Clear vinyl | Glass, clear plastic, premium product packaging | Good when paired with proper ink and finish | Low-contrast artwork may vanish |
| Polypropylene | Food jars, refrigerated goods, roll-style labels | Good for routine moisture and chilled environments | May need testing on curved containers |
| Polyester | Outdoor gear, tools, equipment, tough applications | Strong for longer exposure and abrasion | Often costs more than vinyl |
| Coated paper | Light-duty packaging and dry retail use | Limited, depending on coating | Not ideal for repeated moisture |
Finishes change appearance and protection. Gloss laminate makes colors look sharper and more saturated. Matte laminate reduces glare and gives a quieter, more premium look. UV coating can add surface protection, although it is not the same as a full laminate for every application. Soft-touch finishes look beautiful on cosmetics and premium packaging, but they can show scuffs faster if the sticker is handled constantly.
Many failed waterproof stickers are not defeated by rain. They fail because of condensation, oily surfaces, dishwashing, poor application timing, sunscreen residue, or a bottle that was too cold when labeled. Waterproof is also not automatically dishwasher-safe, freezer-grade, chemical-resistant, or marine-grade.
Define the environment before choosing the material. The International Safe Transit Association publishes useful test-method thinking around distribution stress and packaging performance at ista.org. The same logic applies to stickers: decide what the label must survive before judging whether the construction is good enough.
Match the sticker to the job first. Pick artwork effects second. A beautiful metallic-looking design will not save a label applied to an oily jar or exposed to detergent without the right stock, adhesive, and finish.
Pricing, MOQ, and Unit Cost for Short-Run Waterproof Stickers
No minimum ordering changes the economics because production tasks do not disappear. File review still takes time. The machine still needs calibration. Material still has to be loaded. Cutting paths still need to run. Someone still inspects the print and packs the order.
On a 10-piece order, those tasks are spread across 10 stickers. On a 1,000-piece order, they are spread across 1,000. That is why small orders usually cost less overall but more per sticker. A buyer testing a seasonal honey jar label may gladly pay a higher unit price for 30 pieces because it prevents 470 unused labels sitting in a drawer. A brand with stable monthly demand should usually move toward larger batches once the design is proven.
The main price variables are quantity, sticker size, shape complexity, material, laminate, print coverage, proofing needs, shipping speed, and finishing format. A 2-inch circle on white vinyl is simpler than a 5-inch die-cut mascot with thin antennae and full-bleed color. Individually cut stickers are convenient for giveaways. Kiss-cut sheets are efficient for sets. Roll labels make sense for faster application to jars, bottles, or pouches.
MOQ means minimum order quantity. Traditional suppliers set MOQs because setup costs are too high for tiny orders. Digital printing lets suppliers remove or soften that barrier, especially for prototypes and small batches. Still, practical quantity breaks matter. Ordering 50 instead of 18 may improve value if the setup work is nearly identical.
Expect price ranges to move widely. Very small waterproof sticker orders may land around a dollar or more per piece once material, cutting, and handling are included. Mid-size short runs can drop into the cents-per-piece range, depending on size and finish. Larger batches bring the unit cost down further, but only if you Will Actually Use them. Cheap unused inventory is still waste. It just has better math on the invoice.
Be suspicious of the cheapest quote if the details are vague. Thin stock, weak adhesive, no laminate, poor color control, loose cutting tolerance, or slow shipping can make a low price expensive later. A sticker that peels on the shelf is not a bargain. It is a packaging failure with a logo on it.
- Ask for the size: width and height in inches or millimeters, measured from the final cut line.
- Confirm the surface: glass, PET plastic, metal, cardboard, coated pouch, kraft paper, or textured material.
- Describe water exposure: splashes, refrigeration, rain, bathroom humidity, hand washing, or cooler ice.
- Choose the finish: gloss, matte, UV coating, or laminate based on appearance and handling.
- State the deadline: include the event date, launch date, or retail delivery date, not only the desired ship date.
No minimum buying is financially smart for packaging design tests, limited seasonal drops, influencer mailers, event samples, retail pitch kits, and artwork validation. It also helps when stickers need to coordinate with Custom Packaging Products such as printed boxes, inserts, sleeves, or promotional packaging. The tighter your first test, the fewer surprises you carry into bulk production.
Process and Timeline: From Artwork Upload to Finished Stickers
The ordering flow is usually simple: choose quantity, select size and shape, upload artwork, confirm material, review the proof, approve production, and receive shipment. The hidden work sits between upload and approval. That is where good files save time.
No minimum sticker orders are often printed digitally, which removes the need for traditional plates and reduces setup friction. Digital production is especially useful for short runs, variable artwork, limited editions, and sample quantities. It also allows brands to test different versions of product packaging before moving into higher-volume retail packaging.
Artwork review is the first checkpoint. A production team checks resolution, bleed, cut lines, safe zones, color mode, transparent areas, and small text. For crisp results, raster images should usually be at least 300 dpi at final print size. Vector files are better for logos, icons, and clean typography. Bleed is commonly around 0.125 inch, though exact requirements depend on the supplier and cutting process.
The proof is not a decoration. It is the buyer’s last clean chance to catch spelling errors, alignment problems, edge spacing, barcode issues, and unwanted background boxes. View it at actual size if possible. A label that looks readable on a 27-inch monitor may become a blur at 1.25 inches wide.
After approval, the usual production sequence is printing, curing or drying, laminating or coating, cutting, weeding or sheet finishing, quality inspection, packing, and shipping. Clean short-run orders can move quickly. Custom shapes, unclear files, specialty materials, heavy ink coverage, proof delays, weather disruptions, and rush demand can stretch the schedule.
As a practical planning range, simple short-run sticker orders may take a few business days for production after proof approval, plus transit. Rush service can be available, but it is not a substitute for clean artwork. Last-minute file swaps, missing fonts, low-resolution screenshots, and flattened mockups with no bleed are the usual schedule killers. Funny how “just one tiny change” rarely stays tiny in production.
Approve proofs quickly if the date matters. Build in buffer time for launches, markets, wholesale presentations, and retail deadlines. Fast turnaround is possible, but a clean file and a fast approval do more for timing than wishful shipping notes.
Step-by-Step Guide to Ordering the Right Waterproof Stickers
Start with the use case, not the artwork. Blunt, but effective. A sticker for a laptop has different needs than a label for a refrigerated juice bottle. A mailer seal has different abrasion exposure than a cooler sticker. A jar label for a facial scrub may face water, oils, and bathroom humidity before the customer finishes the product.
- Define the application. Decide whether the sticker goes on packaging, bottles, laptops, vehicles, coolers, mailers, outdoor equipment, or event merchandise.
- Measure the area. Use the actual container or surface. A 2.5-inch circle may look balanced on a jar lid but oversized on a narrow bottle.
- Choose the format. Rectangle, circle, oval, square, die-cut logo, kiss-cut sheet, and roll label formats each change application speed and cost.
- Select material by exposure. Occasional splashes may be fine with vinyl and laminate. Refrigeration, outdoor weather, or heavy handling may need stronger stock and adhesive.
- Pick the finish. Gloss adds brightness. Matte feels restrained. Laminate adds protection. Soft-touch creates a premium hand feel but needs abrasion testing.
- Prepare artwork correctly. Use high resolution, proper bleed, outlined fonts, clean cut lines, and readable text at final size.
- Order a small batch first. Test customer reaction, application results, shelf visibility, and packaging photos before scaling.
- Inspect the proof carefully. Check edges, spelling, contrast, barcode readability, and color expectations like a production inspector.
- Store finished stickers well. Keep them flat, clean, and away from heat, humidity, dust, and direct sunlight before use.
If sustainability claims appear on the sticker or surrounding packaging, be precise. Do not imply recyclability, compostability, or responsible sourcing unless the structure supports it. For paper-based packaging and sourcing references, the Forest Stewardship Council provides a useful starting point at fsc.org. Claims should match the material, adhesive, liner, and local recycling realities.
For custom waterproof stickers no minimum testing, a two-stage approach is usually safer than one rushed order. First, order enough for hands-on application, product photos, and basic durability checks. Second, order a slightly larger pilot batch only after you know the sticker fits, reads well, and survives its actual environment. That extra step can save hundreds of misprinted labels later.
Common Mistakes That Make Waterproof Stickers Fail Early
The first mistake is assuming any glossy sticker is waterproof. Gloss is an appearance. Waterproof performance depends on the face material, ink, adhesive, and protective finish. A shiny paper sticker can still wrinkle, swell, or peel when it meets condensation.
The second mistake is applying stickers to wet, dusty, oily, textured, or cold surfaces. Adhesive needs contact. If the surface is contaminated, the bond starts weak and gets weaker under moisture. Clean the surface, dry it, and apply at a moderate temperature whenever possible. Press from the center outward to remove air pockets.
Paper stickers are another trap. They can be perfectly fine for dry boxes, paper bags, or short-term indoor package branding, but they are risky for bath products, coolers, refrigerated packaging, or jars that will be handled near sinks. If the sticker will meet moisture repeatedly, ask for water-resistant material before discussing premium finishes.
Skipping laminate can shorten sticker life. Hand oils, shipping friction, sunlight, and repeated handling all wear on the print surface. A matte or gloss laminate creates a sacrificial layer over the ink. It will not solve every exposure problem, but it often improves scuff resistance and edge durability.
Artwork can fail too. Tiny text, thin borders, tight cut paths, and fragile shapes may look sharp on screen but become hard to cut or read at sticker size. If a die-cut logo has narrow points, expect more risk during weeding, packing, peeling, and application. Simpler shapes are often more durable.
Then there is the quantity mistake. Buyers order exactly 37 because they need 37 finished jars. They forget testing, damaged applications, influencer kits, staff samples, photography, and replacements. For a launch, build in a small overage. Even 10 to 15 percent extra can prevent a last-minute scramble.
Do not treat dishwasher-safe, waterproof, weatherproof, UV-resistant, freezer-grade, and chemical-resistant as interchangeable. Each term points to a different performance requirement. If the sticker touches water, hands, heat, cold, detergent, oil, sunlight, or friction, describe that environment before asking for a quote.
Expert Tips Before You Place an Order
Order a small test run when launching a new product, changing bottle shapes, comparing clear versus white vinyl, updating packaging design, or testing a new finish. No minimum buying is most valuable before the expensive decision, not after the mistake.
Test stickers on the real surface. Glass, PET plastic, coated cardboard, aluminum, kraft paper, and flexible pouches do not behave the same way. Curved containers add tension. Textured materials reduce adhesive contact. Oily plastics can be difficult. A sticker that looks perfect in hand may lift at the edge after 24 hours on a tight-radius bottle.
Run a simple durability check. Apply the sticker. Wait for adhesive bond time; 24 hours is a common practical benchmark, though it depends on adhesive chemistry. Expose it to the expected condition: refrigeration, splashes, wet hands, outdoor air, or light abrasion. Then check the edges, ink scuffing, lifting, wrinkling, and color change.
Photograph the sticker in real use. Put the jar on a shelf. Place the bottle in a cooler. Hold the pouch under retail-style lighting. Photos reveal glare, low contrast, awkward sizing, and weak shelf visibility faster than a PDF proof. This is especially useful when stickers support broader product packaging or Custom Printed Boxes where the label needs to coordinate with other brand elements.
Save the final dimensions, material, finish, adhesive notes, proof, and approved artwork file. Reorders are faster when the specification is documented. Scaling also becomes easier. Once the design is proven, demand is predictable, and unit cost savings outweigh inventory risk, move from no-minimum testing into a larger batch.
Before requesting a quote, write down your size, surface, quantity, finish preference, water exposure, deadline, and artwork format. If file setup is unclear, the FAQ can help with common production questions. The best orders are not the biggest ones. They are the ones with enough detail to match the sticker to the job.
FAQ
Can I really order custom waterproof stickers with no minimum quantity?
Yes. Many digital sticker printers allow no minimum orders, which is useful for samples, prototypes, limited drops, small-batch packaging, and artwork testing. The total cost stays low, but the unit cost is usually higher than ordering hundreds or thousands. Check whether the supplier offers the same material, laminate, adhesive, and cut options on very small runs.
What material is best for no minimum waterproof stickers?
White vinyl is a strong all-purpose choice for bottles, packaging, outdoor use, and general branding because it gives good opacity and color strength. Clear vinyl works well for a no-label look on glass or plastic, but artwork contrast needs careful review. Polyester can be better for tougher environments involving heat, abrasion, or longer outdoor exposure.
Are waterproof stickers the same as dishwasher-safe stickers?
No. Waterproof usually means the sticker can handle water exposure, splashes, condensation, or rain. Dishwasher-safe requires stronger resistance to heat, detergent, pressure, and repeated wash cycles. If dishwashing is required, ask specifically for dishwasher-safe material, adhesive, ink, and laminate rather than assuming a waterproof sticker will survive the appliance.
How long does it take to receive custom waterproof stickers no minimum orders?
Timeline depends on proof approval, material availability, finish, cut style, production queue, and shipping method. Clean artwork and fast proof approval can shorten turnaround significantly. Rush orders may be available, but buyers should build in buffer time for events, launches, markets, or retail deadlines.
How do I keep waterproof stickers from peeling off?
Apply stickers to a clean, dry, smooth surface at a moderate temperature. Avoid touching the adhesive, then press firmly from the center outward to remove air pockets. Allow bond time before exposing the sticker to water, refrigeration, heat, oils, or heavy handling. For the safest result, test custom waterproof stickers no minimum on the actual surface before placing a larger order.