The ecommerce Embroidered Beanies Material Thickness guide matters because a small change in knit structure can decide whether a logo looks crisp, puckered, or buried in the fabric. Thickness affects how the needle lands, how much the knit stretches during embroidery, and how the finished hat photographs on a product page.
For ecommerce buyers, thickness is not just about warmth. It changes logo clarity, sample approval risk, return rates, and whether the beanie reads as premium or just bulky. The real job of this guide is to help you choose a knit that fits your design, budget, and use case instead of choosing the one that only feels thick in hand.
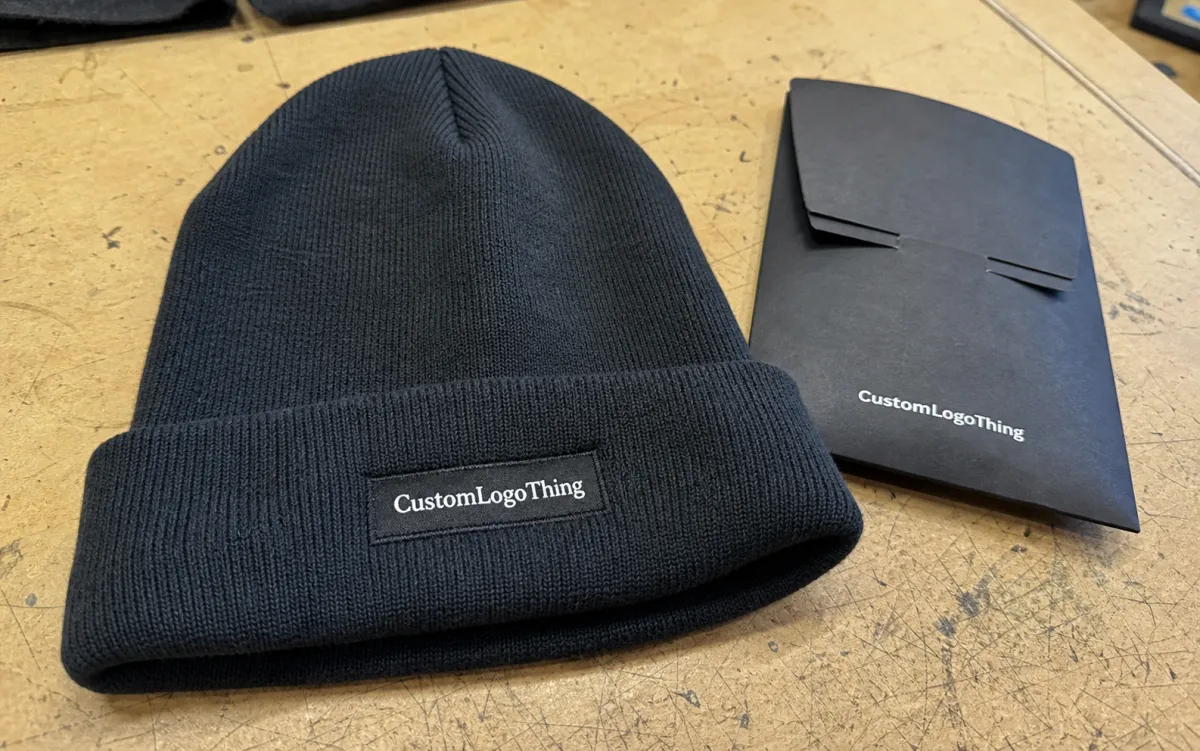
Ecommerce Embroidered Beanies Material Thickness: Why It Matters
“Thickness” gets used loosely. Buyers usually mean some mix of knit gauge, fabric weight, cuff bulk, yarn loft, and how much body the beanie has before decoration starts. A 100g beanie in a loose rib knit can behave very differently from a 100g beanie with a dense, compact rib. Same weight, different result.
For embroidery, thickness changes how much the fabric resists the needle. Too thin, and you can see backing marks, pull lines, or slight sink around letters. Too thick, and the stitches can sit high and bulky, especially on small text or tight curves. Neither is automatically better; they just support different kinds of artwork.
A buyer who asks for “the thickest one” is usually asking the wrong question. The better question is whether the knit supports the logo without making the beanie feel overbuilt.
That is why the ecommerce embroidered Beanies Material Thickness guide starts with the end use. A retail beanie needs visual neatness. A promo beanie needs controlled cost. A staff uniform needs comfort and repeatability. A premium merch piece needs enough structure to hold a clean cuff without feeling stiff.
If a supplier cannot explain thickness in plain language, ask for fabric weight, gauge, yarn content, cuff construction, and stretch recovery. Those details are much more useful than a style name alone.
How Thickness Changes Stitch Quality, Stretch, and Fit
Thin knits can be excellent for clean embroidery because the thread sits flatter and the logo can look refined. The tradeoff is that thin fabric gives the needle less resistance, so dense artwork can distort the knit, telegraph the backing, or make small details look a little tired. Fine-line scripts and tiny icons are usually the first to suffer.
Medium-weight beanies usually give the best balance for ecommerce orders. They hold shape well, photograph cleanly, and tolerate common logo sizes without forcing the embroidery to fight the fabric. For most buyer-facing brands, this is the safest zone: enough structure for a cuffed logo, enough flex for comfort, and fewer surprises during sample approval.
Very thick beanies can support bold patches, chunky lettering, and a heavier thread look. They also create tradeoffs. Bulk around the cuff can make stitching sit higher than expected, seams can feel more noticeable, and stretch can get tighter on larger heads. A thick beanie may look premium on a table and still feel less friendly after a few minutes of wear.
Yarn content matters too. Acrylic often gives a softer, more forgiving body and steady color consistency. Cotton blends can feel more breathable but may react differently under tension. Polyester tends to hold shape well and can work well when repeatability matters. Recycled yarns vary by source, so they still need testing because the fiber mix changes how the needle punches and how the cuff rebounds.
Rib density and recovery are easy to overlook. Two beanies can weigh the same and still embroider differently if one has a tighter rib and stronger snap-back. The tighter knit usually supports cleaner placement. The looser one may drape better, but it can wander a bit during stitching. That is why a sample on the exact knit matters more than a generic style photo.
Cost, Pricing, and MOQ: What Thickness Does to Unit Price
Thickness changes price in more ways than most buyers expect. Thicker beanies use more yarn, take longer to stitch, and often need more careful machine setup because dense knits respond differently to stabilizer and backing. That can push unit cost up even before you add decoration complexity.
In practical terms, a lightweight beanie is easier to run, while a heavy knit is more stubborn. That stubbornness costs money: more spoilage risk during sampling, more time dialing in stitch density, and a higher chance that the first sample comes back slightly too tight or too padded.
| Thickness tier | Typical knit feel | Embroidery behavior | Typical unit price range | Best fit |
|---|---|---|---|---|
| Lightweight | Soft, flexible, lower bulk | Flatter stitch surface, but more risk of backing show-through | $2.40-$3.30 at 500-1,000 pcs | Promo drops, lightweight merch, mild climates |
| Midweight | Balanced structure and stretch | Usually the cleanest embroidery balance | $2.90-$4.20 at 500-1,000 pcs | Retail ecommerce, uniforms, most logo styles |
| Heavy knit | Dense, warm, more body | Supports bold stitches, but can look bulky on small designs | $3.60-$5.60 at 500-1,000 pcs | Winter retail, premium merch, oversized logos |
Those ranges are not universal. MOQ, yarn type, embroidery size, packaging, and freight all move the number. They are still useful because they show how thickness changes the quote before anyone talks themselves into “premium” as a vague excuse for a higher price. Ask for pricing by thickness spec, not just by style name.
Hidden costs matter too. A thicker knit may need an extra digitizing tweak, different stabilizer, or one more sample round. Freight can increase if hats are packed less tightly or shipped in larger cartons. If you use branded packaging, the choice of corrugated cardboard, kraft paper, or mailer style can also shift landed cost. If sustainability matters, ask about FSC certified paper, recycled materials, and, where appropriate, post-consumer waste content for inserts or outer packaging. FSC and ISTA are useful reference points when you want packaging and transit expectations to be less hand-wavy. For ship-ready ecommerce orders, even biodegradable packaging can make sense if the product and climate profile fit it.
Production Steps, Timeline, and Turnaround for Sample Approval
The production path is straightforward, but thickness affects nearly every checkpoint. First comes artwork review. Then a digital proof. Then sample construction or sample embroidery. Then approval. Then bulk production. Then finishing, packing, and ship-out. If the beanie is thick, stretchy, or unusual in cuff construction, the sample stage usually needs more attention because small changes in placement or stitch density can change the final look more than buyers expect.
A practical timeline for a typical ecommerce order looks like this:
- Artwork and spec check: 1-2 business days
- Digital proof or stitch mockup: 1-3 business days
- Sample approval: 3-7 business days, sometimes longer for dense knits
- Bulk production: 10-20 business days
- Final packing and dispatch: 1-3 business days
Build in at least one extra week if launch timing matters. That is especially true when product photos, marketplace listings, or inventory intake depend on one confirmed sample. Miss the sample window and the whole schedule starts leaning.
Common delay points are predictable: logo revisions after the proof, a yarn shade that is close but not quite right, cuff height adjustments because the embroidery sits too high, or a first sample that looks fine on screen but too tight in hand. Thick or high-stretch knits tend to reveal those issues faster, not slower.
For transit-heavy ecommerce launches, packaging should be planned with the product. A beanie in a loose polybag has different damage risk than a folded piece in a branded sleeve inside a rigid shipper. If you are shipping direct to customers, ask how the product will behave in a box, not just on a table.
Step-by-Step: Match Thickness to Your Logo and Use Case
Start with the logo, not the hat. That sounds obvious until you see how many buyers choose a beanie first and then try to force a delicate logo into it.
First, check logo complexity. Small text, thin outlines, and detailed marks usually need a medium or lighter knit with a stable cuff. Oversized icons, block lettering, and badge-style embroidery can tolerate more bulk. Second, define the use case. Winter retail often benefits from a warmer, more structured beanie. Promo giveaways usually need lower cost and broad fit. Employee uniforms need comfort and repeatability. Premium merch needs a surface that looks polished both in hand and on camera.
Third, confirm the cuff style. A folded cuff gives you a better embroidery panel, but the cuff still needs enough density to hold the logo cleanly. A loose cuff with a lot of bounce can make the logo tilt or sink. A very rigid cuff can make the whole hat feel overdressed. Somewhere in the middle is usually the sweet spot.
Fourth, lock the placement before approval. Front cuff embroidery is the easiest to control. Side placement is trickier because the curve and stretch can distort small details. Full-front decoration needs enough knit body to prevent warping across a wider area. If the design is still in flux, ask for a stitch-simulation proof at actual size, not just a pretty mockup.
- Simple text logo: medium-weight knit, stable cuff, moderate stitch density
- Small icon or fine detail: avoid overly thick knits that can bury the detail
- Bold retail mark: midweight or heavy knit can work if the embroidery is large enough
- Uniform program: prioritize fit recovery and repeatability over fashion bulk
The best order is the one that reduces surprises later. This Ecommerce Embroidered Beanies material thickness guide works because it turns vague preference into a set of checks: logo complexity, wear scenario, target price, and thickness tier. Do those in the wrong order and you end up designing around a mistake.
Common Mistakes When Buying Beanies by Weight Alone
The biggest mistake is assuming heavier always means better. It does not. A bulky beanie can make embroidery look clumsy, especially on small logos, and it can feel less comfortable in daily wear. Buyers often chase warmth and forget the hat still has to sit on a human head for more than ten seconds.
The second mistake is comparing only grams or ounces without checking knit structure. Two beanies can have the same weight and behave very differently because one has a tighter rib, deeper cuff, or stronger stretch recovery. Weight alone is a blunt tool: useful, but not enough.
Third, buyers approve photos and skip sampling. That is a classic ecommerce trap. Screens flatten texture. They hide backing marks, stitch sink, and subtle puckering. The beanie might look perfect in a digital proof and still land with a slightly tired face in real life. If the order matters to your storefront image, get a real sample.
Fourth, some buyers choose a design that is simply too detailed for the knit. Tiny serif text, delicate gradients, and thin outlines can work in embroidery, but only if the fabric supports them. On a thicker, looser knit, those details can disappear into the surface. Simplifying the logo usually saves money and improves the result.
Finally, people forget packaging and shipping dimensions. Thicker beanies take up more carton space and can weigh more once packed. If you are shipping direct to customer, those extra centimeters may affect carton selection, freight cost, and even how many units fit in a master case. That is not trivia; it is margin.
Expert Tips and Next Steps Before You Request a Quote
Write the spec sheet like you want the job done correctly the first time. Include target audience, logo size in millimeters, placement, color count, preferred thickness range, order quantity, and any finish requirements. If you care about feel, say so. If you need a soft hand feel instead of a stiffer retail look, say that too. Vague briefs get vague results.
If you are undecided, ask for two options: one midweight and one heavier. Compare them side by side for embroidery clarity, fit, and quote difference. In many cases, the midweight sample wins because it looks cleaner and feels easier to wear. Sometimes the heavier one wins because the logo needs more body. Either way, you are comparing real samples instead of guessing.
For ecommerce launches, request a pre-production sample or photo proof if the beanie will appear in main product images. Visual consistency matters more than most buyers admit. One slightly off cuff height or one darker yarn lot can make your listing look inconsistent across SKUs.
Before final approval, lock down the boring details: fold length, label style, thread color, packaging format, and whether the final piece should feel soft or structured. If the order includes branded inserts or shipper boxes, decide whether you want kraft paper sleeves, corrugated cardboard mailers, or a lighter packaging route using recycled materials and biodegradable packaging. If sustainability claims matter to the brand, ask for FSC certified paper where it fits.
Use the ecommerce embroidered Beanies Material Thickness guide to buy the knit that supports the logo, the timeline, and the margin. Not the one that only looks thick in a supplier photo. Collect the artwork, pick a thickness tier, ask for a sample timeline, and request pricing by spec so the quote reflects the real job, not a guess.
How thick should ecommerce embroidered beanies be for clean logo embroidery?
Midweight beanies usually give the best balance of structure and flexibility for most logos. Very thin knits can show backing and pull lines, while very thick knits can make small lettering look bulky. For detailed logos, ask for a sample on the exact knit before approving bulk production.
Is a thicker beanie always better for ecommerce embroidered beanies?
No. Thicker can help support bold stitching, but it can also feel heavy, bulk up seams, and reduce stretch. The best choice depends on logo size, target price, and whether the beanie is for retail, promo, or uniforms. If the design is small or detailed, a medium-thickness knit often performs better than a heavy one.
What material thickness works best for folded cuff embroidery?
A stable midweight cuff usually gives the best embroidery surface because it holds shape without feeling stiff. The cuff should have enough density to support stitching, but not so much bulk that the logo sits unevenly. Always check cuff height and stretch recovery, not just overall fabric weight.
How does thickness affect pricing and MOQ for embroidered beanies?
Thicker beanies often raise unit cost because they use more material and take longer to embroider. Low MOQ Orders can cost more per piece when the supplier has to absorb setup and sampling effort on bulkier knits. Ask for pricing by thickness tier so you can compare real unit cost, not just style names.
What should I send when asking for a quote on embroidered beanies?
Send artwork, logo size, placement, target quantity, preferred thickness range, and any color or label requirements. Include your deadline and whether you need sample approval before bulk production. The clearer the spec sheet, the fewer surprises in pricing, timeline, and final embroidery quality.


