What these mailers must survive before anyone notices the logo
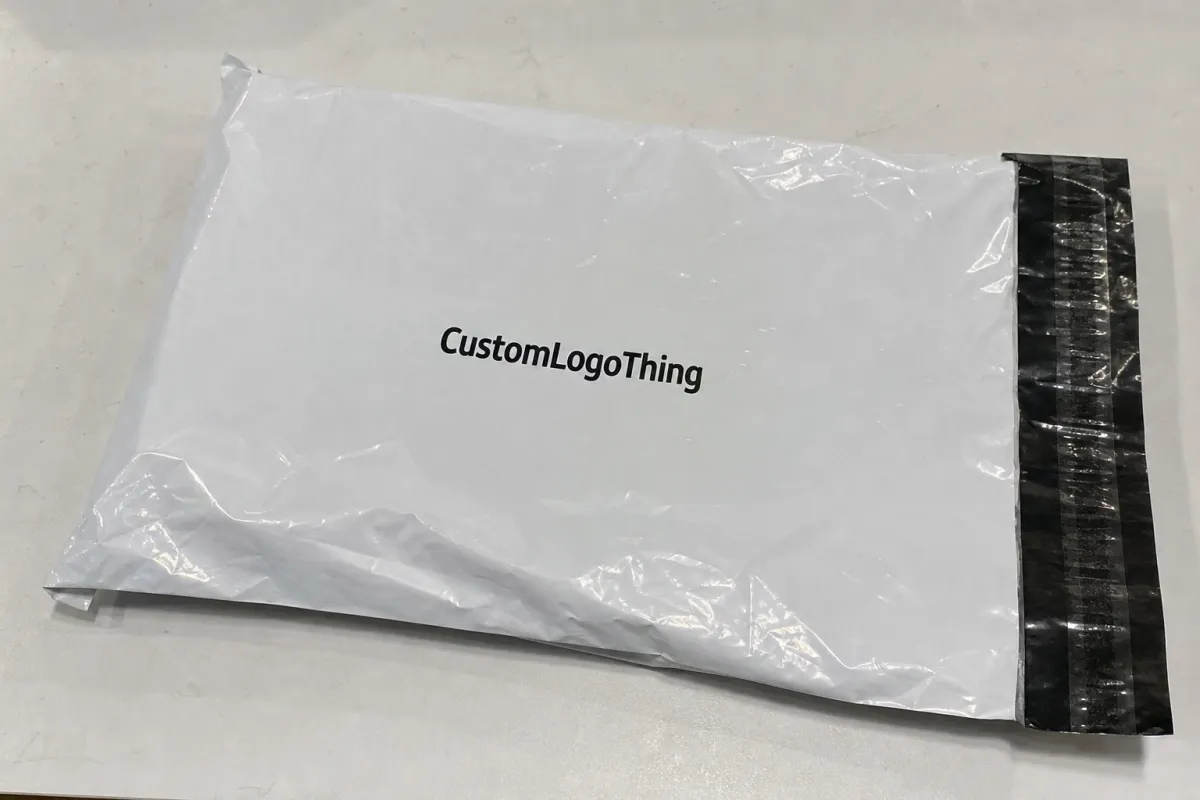
People usually judge packaging by the mockup first, but that is only part of the story. A mailer still has to survive loading docks, cart bins, truck vibration, stacked cartons, hotel backrooms, and whatever tool someone uses to open it. The logo is the last thing the bag has to protect.
An event merch custom Poly Mailer Bags production quality checklist matters because these bags are often carrying launch merch, VIP kits, convention giveaways, or pre-packed orders that need to arrive cleanly and on time. They are shipping containers with a branding job attached.
The lowest quote can become the most expensive option once failures are counted. If the adhesive lifts, the seam splits, or the film scuffs in transit, the result is repacking labor, replacement inventory, and a presentation problem on event day.
The better way to judge a mailer is by handling, pack-out speed, print durability, and how it behaves under rough treatment. The common failure points are film gauge, seam strength, print registration, color drift, and closure performance. None of those show up in a render. All of them show up in production or transit.
Buy for the way the bag will be folded, filled, sealed, cartoned, shipped, stacked, and opened. If it still looks presentable after those steps, the branding gets a chance to do its job.
How the production process and timeline are usually scheduled
The production path is usually predictable. Artwork comes first, then dieline confirmation, proofing, sampling if needed, production, packing, and freight. Most delays happen because one approval step stalls, not because the factory cannot make the bag.
A typical schedule looks like this:
- Artwork intake - vector files, copy, brand colors, barcode details, and any compliance text are collected.
- Dieline review - the supplier confirms print area, seam zones, closure placement, and safe margins.
- Proofing - a digital proof or layout proof is checked for placement, legibility, and color expectations.
- Sample approval - for tighter specs, a physical sample is worth the added time.
- Production - the run starts only after approval is locked.
- Packing and freight - cartons are counted, labeled, and moved by truck, air, or ocean.
Lead time depends on size, print complexity, material availability, and whether the factory is using stock film or a custom build. A straightforward order often needs 1-3 business days for proofing, 5-10 business days for a sample if requested, 10-18 business days for production, and 3-12 business days for freight depending on route and service level.
The most common delay is missing vector artwork, last-minute color changes, or multiple stakeholders revising the same proof. Once the event date is fixed, build in cushion and name one approval owner. Every extra decision layer slows the job and raises the odds of a late correction.
Sampling deserves a practical view. A physical sample can cost a modest setup fee or more if the build is custom or the supplier must print and ship a one-off. That is still often cheaper than discovering a seam issue after thousands of bags are already packed.
Material choices, seal strength, and print clarity that actually matter
For most custom mailers, the first material decision is between LDPE and co-extruded film. LDPE is flexible and familiar, which makes it a solid fit for lighter merch and general shipping. Co-extruded film usually gives better puncture resistance, better opacity, and a cleaner outer surface for print.
Film thickness is where specs become practical. Event mailers often land around 50-100 microns, or roughly 2-4 mil depending on construction. Thinner bags reduce freight weight and usually cost less. Thicker bags hold up better when the contents have corners, edges, or awkward bulk.
For soft goods, a mid-range gauge is usually enough. For hard inserts, books, samples, or anything with a sharp corner, the bag needs more body or an inner wrap. Many reject issues are actually fit issues: the bag did not fail because the film was bad, but because the contents were the wrong shape for the film chosen.
Seal performance deserves more scrutiny than it gets. Check the side seams, the bottom seam, and the adhesive closure. A bag that looks fine in a photo can still open early if the adhesive strip is weak or the sealing area was contaminated during production. Basic sample testing catches most obvious defects: a tear check, a hold check after closing, and a quick inspection for uneven seam width.
Print clarity is the other area where the proof can lie. Fine lines, small type, and low-contrast graphics often look acceptable on screen and fail on film. Ask the supplier whether they are matching Pantone references or offering a CMYK approximation. Those are different standards.
If the logo depends on exact brand color, say so early and make the tolerance explicit. Glossy and matte films also behave differently, and a design that prints well on one surface can scuff or smear more easily on another. Flexographic and gravure setups usually make sense for larger runs; digital printing can work for shorter runs or fast turnarounds.
For shipment abuse, a supplier should be able to talk about drop, compression, and vibration in practical terms, not marketing terms. Full lab certification is not the point here. The point is whether the bags were made with some understanding of how packages behave in transit.
The right spec fits the merch, protects the contents, and still feels intentional when opened. Overbuilt packaging looks wasteful. Underbuilt packaging looks careless. The goal is a middle ground that holds shape without wasting material.
Cost, pricing, MOQ, and quote variables that move unit cost
Unit cost moves for ordinary reasons: size, thickness, print count, finish, closure style, and setup work. Bigger bags consume more film. More colors add more preparation and more risk of registration drift. Specialty finishes such as matte, soft-touch, metallic, or frosted effects increase the price quickly.
MOQ matters because fixed cost has to be spread somewhere. A 500-piece order almost always costs more per bag than a 5,000-piece order, even if the artwork is identical. That is why small event runs can feel unexpectedly expensive. The factory still has to pay for plates, setup, proofing, and packing.
| Option | Best for | Typical MOQ | Typical unit price | Main tradeoff |
|---|---|---|---|---|
| Stock film, 1-color print | Simple merch drops, clean branding | 1,000-3,000 pcs | $0.18-$0.32 | Lower cost, fewer finish and color options |
| Co-extruded film, 2-3 color print | VIP kits, convention giveaways | 3,000-5,000 pcs | $0.28-$0.55 | Better feel and durability, moderate setup cost |
| Thicker premium build, custom finish | High-value event merch and retail packaging | 5,000-10,000 pcs | $0.42-$0.90 | More protection and presence, higher freight and unit cost |
Those numbers move with supplier region, film availability, and print complexity. If the order is small and the schedule is tight, a simpler build often beats a spec that looks impressive on paper but is hard to deliver on time. If the order is large and the package is part of the reveal, paying more for color control and sturdier construction can make sense.
Always inspect what the quote includes. Does it cover artwork setup, plates, proofing, cartons, and export packing? Or is it a low entry figure that expands after revision fees, split shipments, or freight adjustments? Hidden charges often show up in plate changes, proof revisions, rush handling, and packaging upgrades that were not disclosed clearly.
Comparing suppliers is easier when the spec is narrow. The Custom Poly Mailers page is useful for comparing the core build, and the broader Custom Packaging Products range helps if the order also needs inserts, labels, or matching outer cartons. Packaging decisions tend to travel together.
For budget planning, a simple rule helps. Low-cost options work if the mailer is disposable and the contents are light. Mid-range options cover most event merch. Premium builds make sense when the package itself is part of the brand experience, especially for launch kits and retail-style giveaways.
Event merch custom poly mailer bags production quality checklist for final approval
This is the point that saves time and money. Before production starts, treat the event merch Custom Poly Mailer Bags production quality checklist as a hard approval gate. No soft yes. No "we can fix that later." Later is where mistakes become freight problems and reprint invoices.
- Artwork file - correct dieline, bleed, safe zone, and vector logos.
- Text size - legal copy, URLs, and small type remain readable at final size.
- Color expectation - Pantone reference confirmed, or CMYK match agreed in writing.
- Logo placement - centered where intended, not drifting into a fold or seam.
- Closure orientation - adhesive strip faces the correct side for the pack-out method.
- Physical fit - merch slides in without bulging seams or wrinkling the face panel.
- Pack-out detail - bundle count, carton label, carton strength, and nested bag behavior.
- Finish check - gloss, matte, or soft-touch surface matches the handling plan.
- Sample consistency - the sample matches the proof closely enough to approve the run.
Inspect the proof for barcode position, seam interference, and any graphic element that sits too close to the edge. If the bag will carry more than one SKU, test the real mix together. A flat mockup can hide a fit issue very neatly, which is not useful.
A good proof is not a nice picture. It is a stress test for the factory and a sanity check for the buyer.
For premium campaigns, a pre-production sample is often worth the delay. It adds time, but it reduces the odds of discovering that the closure is upside down, the logo cuts into a seam, or the bag is too thin for the actual contents.
Common mistakes that cause rejects, reprints, or late deliveries
The most common artwork mistake is still the classic one: low-resolution logos exported from the wrong file type and treated like production art. Another frequent issue is type that is too small, too light, or built with thin gradients that disappear on film. A screen mockup can hide those problems. The printer cannot.
Spec mistakes are just as common. Buyers choose a thin bag for merch with sharp corners, or a matte finish because it sounds refined and then discover it scuffs faster during handling. Others order a large mailer for a compact item and wonder why the pack-out looks loose and cheap. Size matching is not glamorous, but it is usually the difference between a tidy shipment and an awkward one.
Timeline mistakes are easier to predict than to fix. People assume the event calendar will pause while art is almost ready. It will not. If proof approval slips by three days, production does not regain those days on its own. Freight delays, customs clearance, and carton handling still exist, so a late approval can become a missed launch quickly.
Supplier communication also tells you a lot. Vague answers about film type, inconsistent sample quality, unexplained price changes, and confusion over whether the bag is stock film or custom film are warning signs. That is not flexibility. It is process drift.
Expert tips for cleaner branding and fewer production surprises
Simple almost always prints better. On a small or medium mailer, fewer colors and stronger contrast are easier to read than a crowded layout with multiple focal points. One clean graphic lands harder than five competing elements.
Test the sample with the actual merch. Not a placeholder hoodie. Not a folded shirt that is close enough. The real item. Weight, stiffness, and shape all change how the bag closes and how the front panel looks once packed.
Ask for a sample when the order depends on brand color accuracy, has a tight event date, or needs a premium presentation standard. Then lock the spec in writing. Name one approval owner. Leave room for normal production friction, because there will always be some.
If the shipment uses cartons or outer shippers, FSC-certified corrugate is worth considering for those secondary components. That does not change the poly mailer itself, but it can improve the packaging story around it and matters for teams that track sustainability claims closely.
Good packaging design is not decoration. It is a set of decisions: how much empty space is acceptable, which surface gets the logo, whether gloss will look too bright under venue lighting, whether matte will scuff too fast, and how much overbuild the order can absorb before it starts to feel wasteful.
From a buyer's point of view, the best delivery usually looks calm: clean print, tight seals, no corner crush, no sudden color shift, no apology email. That is the benchmark. Use the event merch Custom Poly Mailer Bags production quality checklist again before sign-off, then check the cartons again on arrival.
FAQ
How do I check print quality on event merch custom poly mailer bags before production?
Review the proof for logo placement, color consistency, readable small type, and any seam interference. If possible, ask for a sample or a full layout proof that shows the complete print area, not just the front panel. Confirm whether the supplier is matching Pantone references or offering a CMYK approximation, because those are different standards and different tolerances.
What MOQ is typical for custom poly mailer bags for event merch?
MOQ depends on bag size, print complexity, and whether the supplier is using stock film or a custom build. Smaller runs usually carry a higher unit price because setup costs get spread across fewer bags. If the event is small, compare a lower-MOQ order against a simpler design that still protects the merch and looks intentional.
How long is the usual turnaround for production and shipping?
A common schedule is 1-3 business days for proofing, 5-10 business days for samples if needed, 10-18 business days for production, plus freight time. The exact timing changes with artwork readiness, print method, order size, and route. Build in extra days for revisions and transit.
What artwork file format works best for custom poly mailer production?
Vector files are best for logos and type because they stay sharp at size. Include the correct dieline, bleed, and safe zone so artwork does not run into seams or closures. Confirm whether the supplier wants Pantone, CMYK, or both, and do not assume a PDF alone tells the printer enough.
How do I test whether the bag will protect merch during an event shipment?
Pack the actual merch, then check fit, stress points, and whether the closure stays sealed after handling. Watch for puncture risk from rigid inserts, sharp edges, or bulky items that push against the seams. For premium kits or longer shipping routes, ask for a sample drop test or rough-handling check before approving the full run.
If one rule is worth keeping, it is this: the event merch Custom Poly Mailer Bags production quality checklist is cheaper than reprints, faster than arguing with a damaged shipment, and more useful than hoping the bags will behave themselves once production starts.

