Five Panel Caps Material and Sizing Guide for Bulk Orders
The quickest way to miss on a cap order is to focus on artwork before construction. A useful Five Panel Caps material and sizing guide starts with fabric, structure, and fit, because those choices decide whether the cap wears well, holds its shape, and survives inspection.
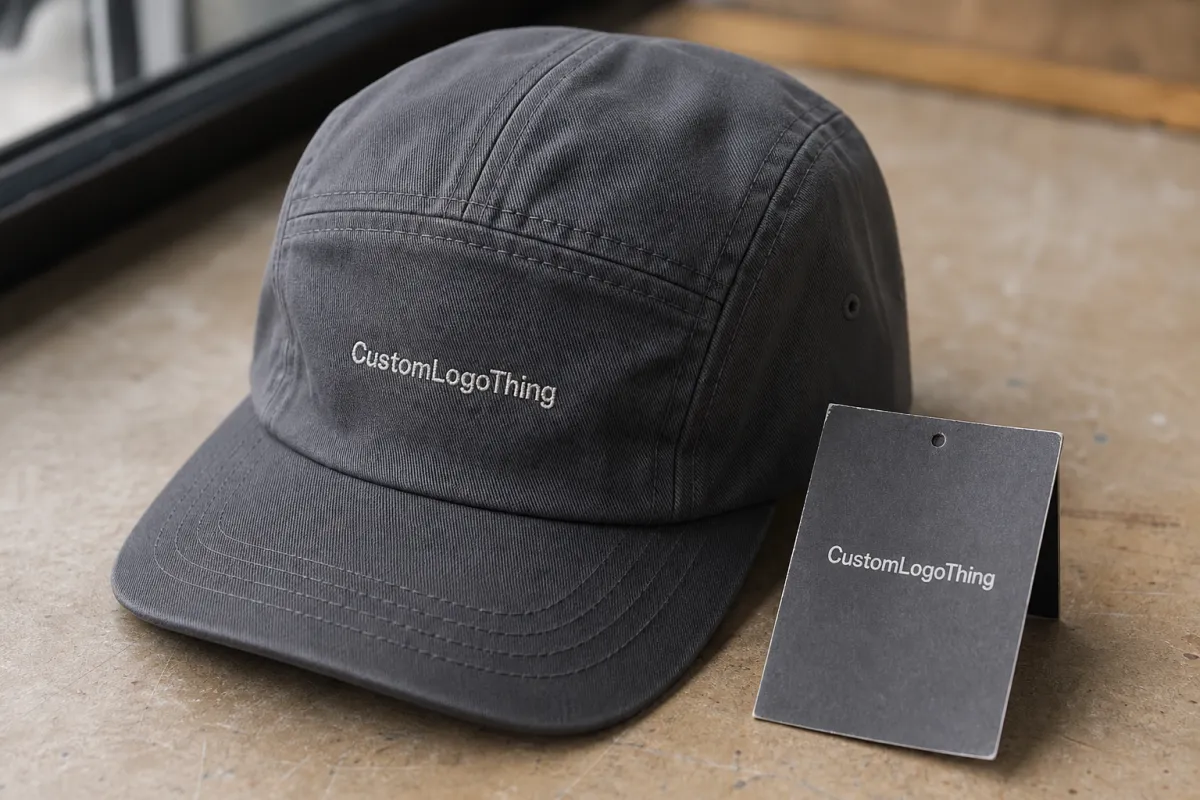
Five-panel caps have a cleaner front than many six-panel styles, which makes them strong for embroidery, patches, woven labels, and print. That same simplicity also exposes mistakes quickly. If the fabric is too soft, the front collapses. If it is too stiff, the cap feels boxy. If the size range is wrong, the whole run becomes hard to sell or issue.
For buyers, the real decision is not which logo method looks best in a mockup. It is whether the cap fits the intended wearer, matches the decoration, and lands within budget and lead time. That is the practical value of a Five Panel Caps material and sizing guide: it keeps the spec focused on the parts that affect the final order.
Five Panel Caps Material and Sizing Guide Basics
A five-panel cap usually has one front panel, two side panels, and two rear panels. The shape creates a lower-profile silhouette and a flatter decoration zone than many traditional caps. That is useful, but it also means the front panel has to carry more of the visual and structural load.
Most failed cap orders come down to the same basics: the wrong fabric for the decoration, a crown that sits too shallow, or a closure that does not suit the wearer. These are not dramatic errors, but they are the ones that make a cap feel cheap in hand.
Think about the cap in three parts:
- Outer fabric - visible material and hand feel.
- Internal structure - support for the front panel.
- Fit system - closure and size range.
That breakdown is more useful than starting with decoration. A cap that fits poorly will be rejected even if the embroidery is clean. A cap that fits well but collapses under stitching will not wear well. Good ordering solves both.
Brand use matters too. Streetwear often works with a flatter, more relaxed crown. Retail programs usually need tighter stitching and better color control. Staff uniforms need a forgiving fit and materials that keep their shape through repeated use.
For shipping and packaging, some buyers also reference transit and material standards from organizations such as ISTA and responsibly sourced carton options such as FSC certified boxes or inserts. Those are not cap standards, but they matter when the goods leave production and need to arrive without crushed fronts or bent brims.
Fabric and Structure Choices That Change the Fit
Fabric changes the cap immediately. Cotton twill is the safest default because it feels familiar, wears comfortably, and gives a balanced surface for decoration. Brushed cotton feels softer and more casual. Nylon and ripstop lean technical and handle abrasion better. Polyester blends usually help with color consistency across a bulk run.
The rule is simple: stiffer fabric usually holds shape better, while softer fabric drapes more naturally. Neither is always better. A firm front panel helps embroidery stay crisp, especially with dense fill stitches or small lettering. A softer front can feel more relaxed, but it is more likely to show puckering or collapse after wear.
Internal reinforcement matters just as much as the shell fabric. Interfacing, lining, and panel support determine whether the cap feels controlled or flimsy. Light reinforcement can work for a small logo or patch. Dense embroidery on a thin front panel usually needs more support.
Here is a practical comparison:
| Fabric / Build | Feel | Best Use | Typical Tradeoff |
|---|---|---|---|
| Cotton twill | Balanced, familiar | Retail caps, general merch | Wrinkles more than synthetics |
| Brushed cotton | Soft, broken-in | Lifestyle brands, relaxed fit | Less crisp with dense embroidery |
| Nylon / ripstop | Light, technical | Outdoor, active, utility styles | Less traditional hand feel |
| Poly blend with reinforcement | Stable, consistent | Bulk programs, repeat color orders | Can feel less natural than cotton |
Fabric weight is another quiet variable. A lighter 120-150 gsm fabric can feel airy, but it may not support heavier embroidery well. Midweight 180-240 gsm fabrics usually balance structure and comfort more effectively for bulk orders. Heavier fabrics are worth it only when the design and use case justify them.
If sustainability is part of the brief, ask about recycled content, post-consumer waste input, and packaging materials. Corrugated cardboard, kraft wrap, and simple inserts usually make more sense than decorative overpacking that adds cost without improving the product.
Crown Depth, Closure Type, and Size Range
Sizing on a cap is not just circumference. Crown depth, front panel height, sweatband placement, and closure design all change how the cap actually wears. Two caps with the same nominal size can feel different if one sits shallow and the other drops deeper into the crown.
Low-profile caps sit closer to the head and usually look cleaner. Mid-profile caps give more room and suit a wider range of wearers. If the crown is too shallow, the cap rides up. If it is too deep, it can swallow the head and lose shape in profile.
Closure choice also affects the experience:
- Snapback - easy adjustment, common for giveaways and streetwear.
- Strapback or buckle - cleaner finish, often better for retail.
- Fitted - exact sizing, less forgiving, more precise fit control.
- Elastic or stretch - softer range, good for comfort-first programs.
For mixed audiences, adjustable styles are usually the safest option. If the cap is for staff, events, or broad retail, ask for the full circumference range instead of relying on “one size fits most.” That phrase looks tidy and tells you very little about the real fit.
A useful sizing spec should include:
- Target head circumference range in cm or inches.
- Crown depth or front panel height.
- Closure type and adjustment range.
- Intended audience: adult, youth, or mixed.
One detail many buyers miss: a cap can technically fit and still wear badly if the sweatband sits too high, the crown is too shallow, or the closure lands in an awkward spot. A sample should be tried on by more than one person.
Cost, MOQ, and Unit Price Drivers
Cap pricing is shaped by more than the blank hat. Fabric, embroidery stitch count, patch construction, labels, packaging, and labor all affect the final quote. If you want a useful comparison, you need to separate the core cap from the optional upgrades.
MOQ usually changes the unit price more than buyers expect. Higher quantities spread setup costs across more pieces, so the per-unit price drops. Smaller runs keep the same prep work but divide it across fewer caps, which pushes the price up.
For a basic custom five-panel cap, buyers often see a rough range of $2.80-$5.50 per unit at 500-1,000 pieces, depending on fabric, decoration, and structure. Larger quantities can lower the unit price further if the design stays simple. Add dense embroidery, specialty patches, private labels, or premium packaging, and the total climbs quickly.
These are the main cost drivers:
- Decoration method - flat embroidery, 3D embroidery, woven patch, print, or mixed methods.
- Stitch count - more stitches mean more machine time.
- Custom trims - labels, taping, sweatband branding, underbill print.
- Packaging - polybags, tissue, retail boxes, or inserts.
Hidden charges can sit outside the headline unit price. Digitizing fees, color matching, sample revisions, and packaging upgrades often show up later if they were never specified. A quote that hides the real scope is not a good quote.
“The cheapest sample is expensive if it teaches you the wrong fit.”
When comparing suppliers, keep every variable identical: fabric weight, closure type, decoration method, and packaging. Without that, the numbers are not comparable. You are not looking at the same product even if the photos look close.
For shipping cartons, corrugated cardboard remains the practical default because it protects shape better than flimsy mailers and handles stacking more reliably. Kraft wrap and recyclable inserts can improve presentation without overcomplicating the pack-out.
Production Steps and Turnaround Timeline
Production follows a predictable sequence: brief, artwork review, spec confirmation, proof or sample, approval, bulk manufacturing, quality check, and final packing. None of that is glamorous, but it prevents expensive mistakes. The fastest orders are usually the ones where the spec stopped changing early.
Sampling takes longer than many buyers expect. Depending on design complexity, proofing can take several days to a couple of weeks. Bulk production moves faster once the sample is approved, but only if the key details stay fixed. Changing the stitch count or front reinforcement after approval is a reset, not a small edit.
Reasonable timeline expectations often look like this:
- Sampling / proofing: about 5-12 business days.
- Bulk production: about 12-20 business days after approval.
- Shipping: depends on method, distance, and customs.
What keeps a production run moving?
- Confirmed fabric stock.
- Final logo files and Pantone references.
- Approved closure and label placement.
- Packaging instructions before sewing starts.
Quality control should happen through the run, not just at the end. On larger orders, slight shade shifts, thread tension changes, and label misplacement can appear in the middle of production. A responsible factory checks the first pieces, the middle of the run, and the packed goods before shipment.
If sustainability matters, it belongs in production planning. Ask whether cartons are recyclable, whether inserts can use kraft paper instead of mixed plastic, and whether any packaging components can be specified as FSC certified.
How to Build a Clean Spec Before You Request a Quote
A clean spec speeds up quoting and lowers the odds of rework. Start with the use case. Is the cap for retail, a promo run, staff uniforms, or a fashion release? That answer changes the whole decision tree, from fabric to closure to decoration.
Then move in this order:
- Choose the target wearer and fit range.
- Pick two or three fabric options.
- Decide on structure: soft, medium, or reinforced.
- Select the closure type.
- Confirm the decoration method.
- Set the target price and quantity.
Send reference photos. Send logo files in vector format if possible. Send Pantone references if color accuracy matters. If you want a flatter front, say so. If you want firmer support for embroidery, say that too.
The measurements that make a quote actually useful are straightforward:
- Head circumference range.
- Preferred crown height.
- Front panel firmness.
- Decoration zone size.
- Packaging requirement.
If the supplier cannot restate the spec clearly, the order is not ready. That usually means the brief still has gaps.
Common Sizing and Artwork Mistakes to Avoid
The most common sizing mistake is assuming all adult heads behave the same way. They do not. Some need a deeper crown. Some need more room at the back. Some need a tighter closure because the cap shifts during movement. One sample, tried on by one person, can create false confidence very quickly.
Artwork mistakes follow a similar pattern. Heavy embroidery on a soft front panel can pucker. Dense stitch counts can pull the fabric inward. Patches placed too low on the curve can distort. Print on the wrong fabric can look fine in a proof and muddy in hand.
Match the material to the artwork:
- Heavy embroidery - works better on firmer fronts.
- Light logos - easier on softer caps.
- Patches - useful when you want clean edges and less fabric distortion.
- Printed details - need a surface that accepts ink cleanly.
Watch shrinkage and shade variation as well. Cotton can move slightly after washing or steaming. Blended fabrics can vary across dye lots. And a cap that looks sharp in a studio image may feel completely different after a full day of wear.
If the order includes retail packaging, confirm that the cap still fits the carton or sleeve without crushing the front panel. Simple corrugated protection is usually better than forcing the cap into a box that was designed for a flatter product.
What to Measure, Compare, and Order Next
Before approving production, measure the target head range, compare two or three fabrics, choose one closure style, and decide whether the front panel needs reinforcement. That is the shortest useful version of the process, and it is usually enough to prevent avoidable mistakes.
Compare these three factors side by side before you commit:
- Comfort - how it fits across different heads.
- Cost - what the real unit price includes.
- Decoration performance - how the logo behaves on the chosen fabric.
The smartest order is rarely the cheapest sample. It is the one that balances wear, branding, and production efficiency. If a cap looks good but fits poorly, people stop wearing it. If it fits well but the logo distorts, the brand looks unfinished. If both are right, the order does its job quietly.
That is the core of the five panel caps Material and Sizing guide: choose the fabric for the finish you want, choose the structure for the decoration you need, and choose the size range for the people who will actually wear it.
FAQ
What is the best material for five panel caps if I want a soft fit?
Cotton twill or brushed cotton usually gives the softest wearable feel without looking cheap. If you want a relaxed shape, ask for less rigid front panel support, but expect more drape and less resistance to dense embroidery.
How do I size five panel caps for a mixed head-size audience?
Ask for the full adjustable circumference range instead of relying on “one size fits most.” Snapback or strapback closures are usually safer than fitted sizing when the audience is mixed, especially for giveaways and retail.
Do embroidered five panel caps need a stiff front panel?
Dense embroidery usually looks cleaner on a firmer or reinforced front panel because it reduces puckering. If you want a softer cap, keep the stitch count lighter, use a smaller logo, or switch to a patch.
What affects the unit cost of five panel caps the most?
MOQ, fabric type, decoration method, and added custom details like woven labels or special packaging have the biggest impact. Complex artwork and high stitch counts usually cost more than simple flat embroidery or a basic patch.
How long does five panel cap production usually take?
Sampling and approval often take longer than bulk production, so lock the spec early if the deadline matters. Always ask for both production time and shipping time, because the cap is not really delivered until it is in your hands.


