A Frosted Zipper Bags sample approval checklist saves money because a pouch that looks clean on screen can still arrive with a stiff zipper, a wandering seal, or artwork that prints darker than expected on frosted film. The sample is where appearance, fit, and function meet real production limits. It is also where buyers learn whether the bag will hold up on a packing line, not just in a mockup.
Why the first frosted zipper bags sample approval checklist decides whether a frosted pouch feels premium or risky
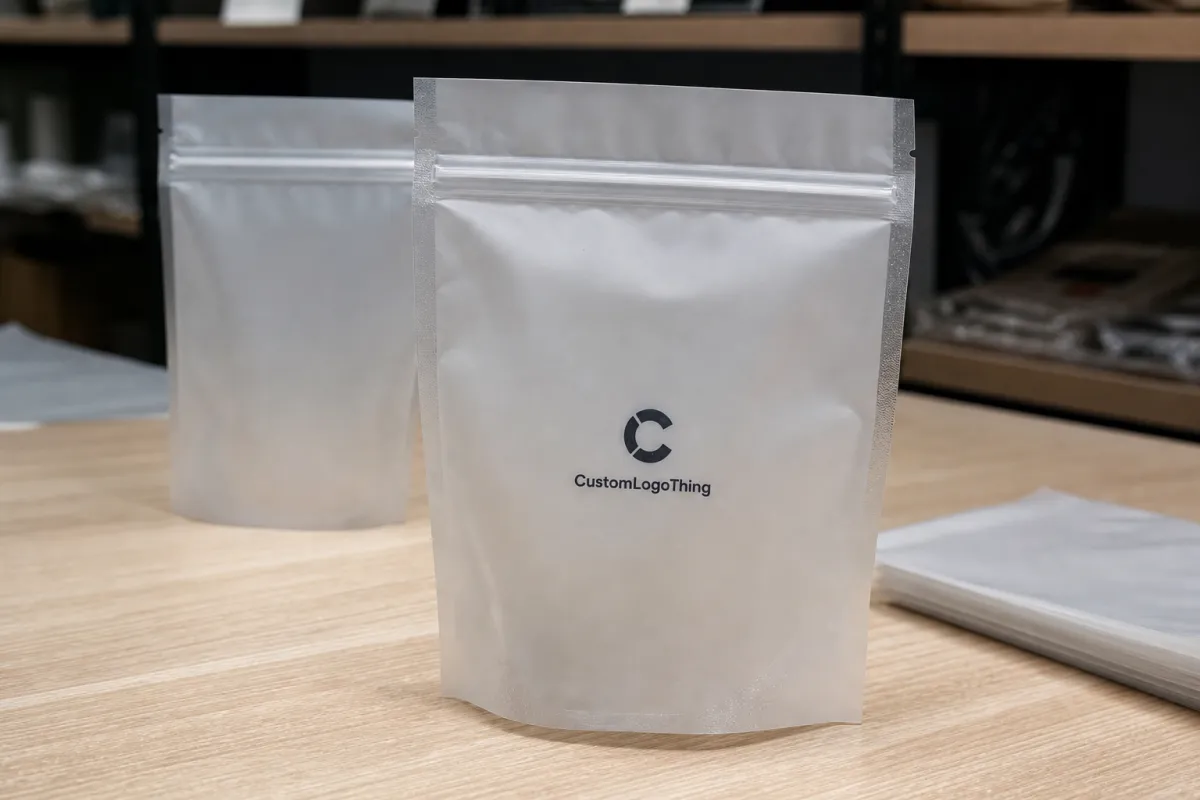
The first physical sample changes the conversation fast. A frosted zipper pouch can look precise in a digital proof, then expose tiny flaws in hand: a logo sits a millimeter low, the zipper track binds at the edges, or the print reads muddy because the film is more translucent than expected. That is why the Frosted Zipper Bags sample approval checklist matters. It replaces guesswork with evidence.
Buyers usually judge more than appearance. They want to know whether the pouch fills cleanly, whether the product sits centered, how many times the zipper can be opened and closed without strain, and whether the bag still feels premium once the product is inside. Frost level changes that reading. A light frost keeps the panel brighter and the graphics sharper. A heavier matte finish softens the look, but it can also mute color and make white ink or underprint more important than the artwork file suggested.
Small issues often look harmless at first. A zipper track that stops 2 mm short may still function, but it can make opening less consistent and create an uneven line across the top. A seal margin that is only slightly narrower than spec may pass a quick glance, yet it leaves less room for machine variation during production. Once the order runs in volume, those differences become expensive to fix.
The practical mindset is simple: approve what you can verify. If the sample proves the material, the closure, the print, and the fit, production becomes a controlled release rather than a bet.
How the approval process works from artwork release to final sample sign-off
The approval path usually starts with the dieline. That is where the team checks bag dimensions, zipper placement, seal width, bleed, safe zones, and any hang-hole or tear-notch detail. After that comes the artwork proof, then the physical sample, then final sign-off. Keeping those steps separate matters because the changes available early are not the same as the changes available after tooling and film are locked.
A practical sequence looks like this:
- Dieline review - confirm width, height, gusset depth, zipper position, and any special cutout or hanging detail.
- Artwork proof - check copy, color breaks, barcode placement, and white-ink coverage on frosted film.
- Sample build - request a physical unit that reflects the intended thickness and zipper style.
- Receipt and inspection - compare the sample against the spec sheet, not just against memory.
- Revision round - collect all required fixes before asking for another sample.
- Final sign-off - release production only after the approved sample and final art match.
There is a real difference between a proof and a production sample. A proof can show whether the logo fits the panel. The sample shows whether the zipper feels smooth, whether the seal edge is clean under natural light, and whether the film thickness matches expectations. A supplier may approve the artwork and still need physical approval before the order can move forward.
Timelines vary, but a reasonable planning range is 2-4 business days for proof review, 5-12 business days for sample production, and a few more days for shipping depending on the lane. The slowest part is often not manufacturing. It is waiting for feedback from packaging, operations, and brand teams that each notice different issues. The fastest approvals usually come from one owner collecting all comments before they go back to the supplier.
Practical rule: if the sample has not been held, opened, closed, measured, and compared to the proof, it is not ready for final approval.
Cost, MOQ, and quote variables that shape your unit price
Pricing for Frosted Zipper Bags is rarely about one number. It is a stack of choices: bag size, film thickness, frost level, zipper style, print coverage, and the number of colors or layers in the artwork. A small pouch with one-color print will price very differently from a larger bag with full-bleed graphics and white underprint. The most useful quote is not just the cheapest one; it is the one that explains why the number landed where it did.
MOQ matters. Smaller orders almost always carry a higher unit cost because setup, color matching, and press adjustment have to be spread across fewer pieces. That is not a warning sign; it is how the economics work. The useful question is whether the supplier explains the breakpoint clearly. MOQ can also shift if the structure changes. A custom zipper, a thicker film, or added hardware often changes the minimum order.
| Spec choice | Typical price effect at 5,000 pieces | What it usually means in practice |
|---|---|---|
| 100-120 micron film | Baseline | Lighter feel, lower material cost, suitable for simple retail use |
| 130-160 micron film | About 8% to 15% higher | More body, better hand feel, often easier to stack and pack |
| Heavy frost or matte surface | About 5% to 12% higher | Softens visibility, changes how color and white ink read on shelf |
| Full-coverage print with white underprint | About 12% to 25% higher | More press time and more ink handling, especially on translucent material |
| Special zipper profile or slider hardware | About $0.04 to $0.12 more per unit | Better closure feel, but extra assembly and more inspection points |
For a straightforward frosted zipper bag program, many buyers see pricing around $0.18-$0.28 per unit at 5,000 pieces. Medium sizes with more print coverage often land around $0.24-$0.38, while larger bags, heavier film, or more demanding artwork can move into the $0.32-$0.55 range. These are working ranges, not promises. Freight, duty, carton format, and inspection requirements all affect landed cost. Sample shipping is another line item people forget; express delivery can add $25-$80 depending on the lane and package weight.
For context on packaging standards and transit language, the Institute of Packaging Professionals is a useful reference, and ISTA methods are widely recognized across the industry. Those references help buyers and suppliers use the same terms for strength, handling, and distribution testing.
Step-by-step checklist for size, seal, print, and zipper performance
This is the part that saves orders. A frosted zipper Bags Sample Approval Checklist should be used like an inspection sheet, not a formality. Compare the sample to the real product, not just the CAD drawing, and inspect it under good light with clean hands. If possible, test it the way it will be used on the packing line.
1. Size and fit
Measure the internal width and usable height, then compare them with the packed item. A difference of 1-2 mm may not matter in a roomy pouch, but it can matter for rigid corners, narrow filling funnels, or products that need a tight throat opening. Headspace matters too. Too little and the zipper strains. Too much and the pouch looks underfilled.
2. Seal area
Check the seal margin for even width, straight edges, and clean bonding across the top and side seams. A typical seal width may sit around 6-10 mm depending on the structure, but consistency matters more than the exact number. If the edge looks wavy, cloudy, or thin in one corner, that is where a future leak or split can start.
3. Print quality
Inspect color accuracy, logo placement, text sharpness, and barcode readability under both bright light and softer indoor light. Frosted film changes how ink reads, especially with pale grays, light blues, and transparent areas. If the artwork depends on white underprint, check that it is even and does not create a chalky halo around fine text. A barcode must scan cleanly. If it does not, the problem is operational, not cosmetic.
4. Zipper performance
Open and close the zipper several times, then check whether the track engages evenly from end to end. The closure should feel secure without requiring excessive force. If the zipper pops open at one edge, feels gritty, or needs two hands to guide it together, flag it. A quick 10-15 cycle test often reveals a weak track or a misaligned profile before production starts.
5. Surface and finish
Look for scuffs, haze, panel distortion, odor, and uneven frost patterns. A small scuff may disappear once the bag is packed into a carton, but it can look obvious under retail lighting. If the pouch will ship long distances, compare the sample against basic transit expectations and ask whether the seal should also be validated with simple handling or stress tests. For bond integrity, ASTM F88 is a common reference for seal strength discussions.
Good sample logic: the eye approves the look, but the hand approves the function.
Common mistakes that create rework, delay, and avoidable freight charges
The easiest mistake is approving from photos alone. A picture cannot tell you how much force the zipper needs, whether the seal holds under pressure, or how the frosted surface behaves when bent. It can also hide small but costly issues, like a corner radius that drifts from the proof or a zipper line that sits off center.
Vague feedback causes another kind of delay. Comments like “looks fine” or “make it better” leave the supplier guessing. Better notes are specific: move the logo 3 mm higher, widen the seal by 2 mm, lighten the gray by one step, or make the zipper easier to grip. Precise changes reduce revision rounds.
Skipping measurements is another trap. A pouch that seems close enough can still create problems on the line, especially for rigid products or multi-component kits. If the bag is 4 mm narrower than planned, filling slows down, the product may sit unevenly, and shelf presentation changes. Freight charges can become the hidden tax on indecision too. One missed issue can lead to a second express sample, and the extra shipment sometimes costs more than the correction itself.
- Photo-only approval - hides zipper feel and seal integrity.
- Loose feedback - forces the supplier to guess at revisions.
- No measurement check - leads to packout problems later.
- Too many reviewers - creates conflicting instructions.
- Rush sign-off - lets barcode or artwork errors slip through.
The cleanest way to avoid rework is to treat the sample like a release gate. If one detail is off, note it before the order moves forward. A small fix before production is usually cheap; the same fix after the run starts can mean scrap, rework, or a launch delay that spreads into other SKUs.
Expert ways to shorten turnaround without missing quality issues
Speed comes from clarity, not pressure. If the buyer wants a shorter cycle, the best move is to narrow the decision path. One page is often enough: list the must-check items, leave space for pass/fail notes, and assign one person to make the final call. That alone can save days of back-and-forth.
Review the sample under real packing conditions. Put the intended product inside, close the bag the way the line worker will close it, and see whether the zipper still behaves well. A pouch that looks perfect empty may feel tight once the product weight and shape are inside. That is especially true for rigid cosmetics, snack formats, accessory kits, and anything with sharp corners.
If a second sample is needed, ask for close-up photos of the exact change points, not broad shots that blur the details. Suppliers can usually move faster when feedback is consolidated. One clean revision list is better than five scattered emails. The same idea applies to future orders: keep a standing spec sheet with dimensions, material notes, approved artwork files, color rules, barcode requirements, and carton count.
For repeat buyers, that file becomes the difference between a long approval cycle and a short one. It also protects against drift, because the next person can compare the new sample to the approved standard instead of relying on memory.
- Use one approval owner.
- Test the sample with a real product.
- Send all revisions in one message.
- Lock the spec sheet before production.
That approach saves time because it prevents avoidable mistakes.
Finish the approval and release production
Once the sample passes, put the approval in writing and attach the exact sample reference the supplier should follow. That record should match the locked artwork, the bag dimensions, the material callout, and any special packing notes. If there is a barcode, a retail hang hole, or a carton count requirement, confirm it here rather than assuming earlier emails cover it.
A clean handoff usually looks like this: confirm the quote, confirm the timeline, approve the sample, release the order, and then track the first production run against the approved standard. If the supplier sends a preproduction photo or first-off reference, compare it to the signed sample. That first check is where small drift gets caught before a whole batch is affected.
Save the approved sample in a labeled bag or folder. It becomes the benchmark for incoming inspection, and it helps when the next reorder happens months later with a different teammate involved. In packaging, a physical reference is often more useful than any email thread because it shows the exact frost level, zipper feel, and print finish everyone agreed to.
Use the same Frosted Zipper Bags sample approval checklist on every reprint, every size change, and every new SKU family. It keeps the approval standard stable, catches drift early, and makes the next production run easier to release with confidence.
FAQ
What belongs on a frosted zipper bag sample approval checklist?
Include dimensions, material feel, frost level, print quality, zipper engagement, seal strength, and any special finish or barcode requirement. Add a written pass/fail note for each item so the supplier knows exactly what must change before production.
How many sample rounds are normal before approving frosted zipper bags?
One round is common when the artwork and structure are already well defined. A second round is often needed if the first sample shows sizing, zipper, or print corrections that affect the final packout.
What details most affect frosted zipper bag pricing?
Bag size, film thickness, zipper style, print coverage, finish level, and order quantity usually have the biggest impact on unit cost. Rush timing, custom structure changes, and extra revision cycles can also raise the quoted price.
How do I test zipper quality on a sample before approval?
Open and close the zipper multiple times, then check whether it tracks smoothly, locks evenly, and stays aligned across the full width. If the closure feels gritty, pops open, or requires excessive force, flag it before signing off.
What should I send after sample approval to avoid delays?
Send the final signed approval, the approved sample reference, the locked artwork files, and any final packing instructions in one message. Confirm quantity, delivery timing, and contact details so production starts from the same version everyone reviewed.

