For brands buying custom pouches, logo placement on Frosted Zipper Bags is a production decision, not just a design choice. Frosted film softens contrast, the zipper and seals reduce usable space, and the filled bag can change what stays visible in photos and on shelf. A logo that looks balanced in a mockup can feel too small, too low, or too close to a seam once the bag is packed.
Frosted Zipper Plastic Bags are common in apparel, cosmetics, supplements, accessories, and small electronics because they look cleaner than clear poly bags and feel more finished than plain storage packaging. The key question for buyers is not whether the bag looks good empty, but whether the logo stays readable after the product goes inside, the bag is sealed, and the shipment reaches the customer.
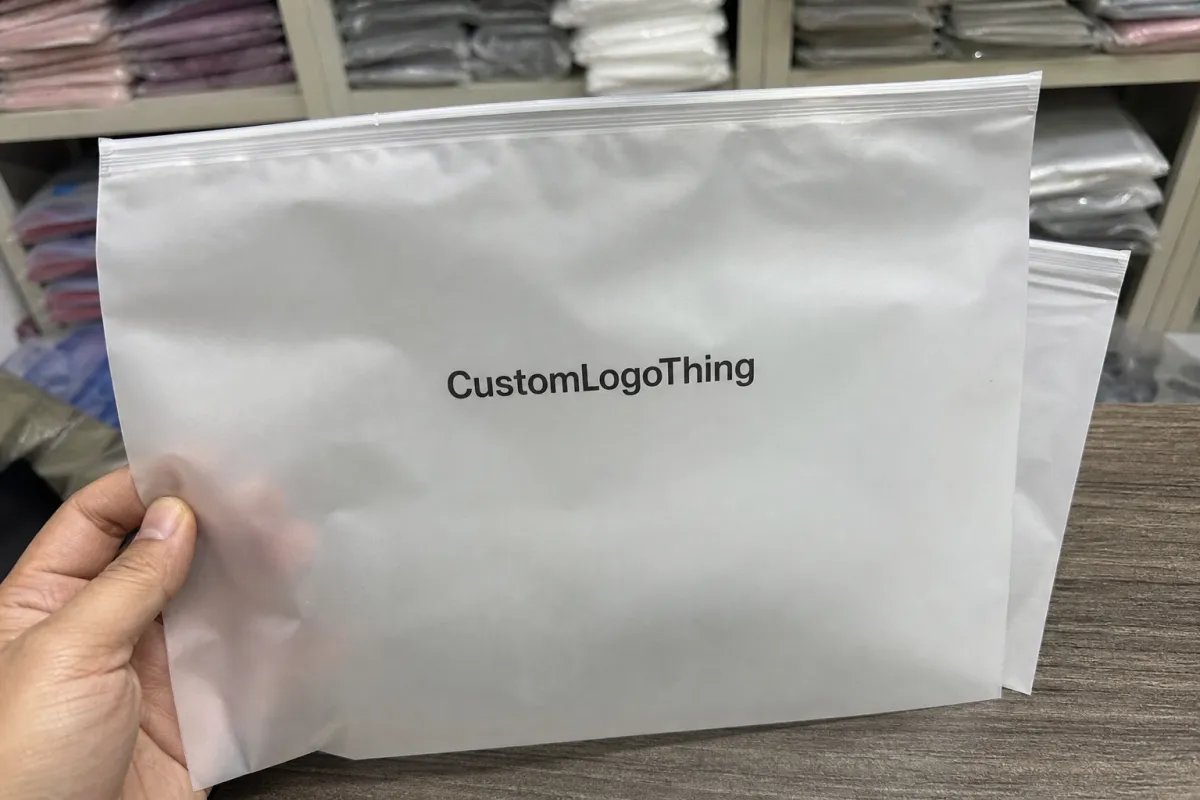
Frosted Zipper Plastic Bags Logo Placement Basics
Logo placement should be planned with the bag structure first. Centered front printing, upper-front placement, lower-front placement, and back-panel printing each create a different reading experience. The right choice depends on how much visual space the product occupies, how often the bag will be photographed, and whether the brand wants the front panel to feel bold or minimal.
Frosted film changes how artwork reads because it diffuses light and slightly softens fine details. Thin type, delicate icons, and tight spacing usually lose clarity faster than bold shapes with clean margins. That is why a simple logo with more open space often performs better than a detailed mark squeezed into a decorative layout.
“A bag can be printed correctly and still feel wrong if the logo sits too low, too close to a seal, or too small for the fill level. The print is only one variable; the other is how the bag behaves once product goes inside it.”
From a buyer’s standpoint, the most important decision is where the logo will still be visible after packing. Hands cover panels, contents shift, and the zipper line can cut into the artwork area. If the bag will be used for ecommerce photography, the logo should sit where it survives both the product fill and the camera angle.
How Artwork Prints On Frosted Film
Three print methods are most common for Frosted Zipper Bags: screen printing, flexographic printing, and digital printing. Screen printing is usually best for bold spot-color logos because it gives stronger ink coverage and better opacity. Flexographic printing works well for repeat jobs and simpler graphics. Digital printing is useful when the artwork needs quicker proofing, more variation, or smaller batches.
One technical detail matters more than most: whether the logo needs a white underbase. On frosted film, direct dark printing can look softer than expected, especially if the contents are dark or patterned. A white base layer separates the artwork from the substrate and improves contrast at normal viewing distance. If the logo is already simple and high-contrast, that helps the art hold up in photos and on shelf.
Placement also needs to respect the seals and folds. Anything too close to the zipper line can distort during sealing. A design that crosses a gusset or weld area may look uneven from bag to bag. The print may be correct, but the structure underneath is moving, so the artwork zone has to stay inside a stable area of the pouch.
Multi-color artwork adds registration risk. The more colors, the more visible a slight shift becomes. Buyers who want clean production usually get better results from a single strong mark, moderate spacing, and fewer small details than from a crowded graphic with gradients and hairline elements. For frosted film, restraint often looks more premium than complexity.
Suppliers often use testing and handling standards to check whether the bag survives real use. Resources from ISTA and the PMMI/packaging community help frame the discussion around shipping and handling conditions. They do not set the logo position, but they do help define whether a layout will still work after packing and transit.
Key Design Factors For Clean Shelf Readability
Logo size is usually the first readability issue. A mark that looks balanced on screen can become too small once the pouch is filled. On frosted film, small type and fine lines fade faster, so a slightly larger and simpler logo is often the safer choice.
Contrast is the next priority. Dark ink on pale frosted film is the most dependable combination. White ink can work well when the design is intentional and the product behind it supports the contrast. Subtle color shifts, though, are easier to lose under retail lighting or in mobile photos. If the bag must be read quickly, high contrast beats nuance.
Placement zone changes the brand message. A centered upper-third logo feels clean and retail-ready. A lower-third placement leaves more open space near the zipper and can help if fill height varies. A back-panel logo keeps the front panel quiet, which can work when the bag also carries size marks, care text, or instructions. Double-sided print improves visibility, but it also adds cost and tighter proofing.
Product shape matters more than teams expect. A folded garment, accessory set, or irregular item can cover part of the front panel and shift the visible print area. If the fill height is not stable, the logo should avoid the zone most likely to be blocked by contents. In translucent packaging, the product itself becomes part of the layout.
Useful placement comparisons:
| Placement Option | Best For | Visual Effect | Common Risk |
|---|---|---|---|
| Centered front panel | Strong brand identity and simple presentation | Balanced in photos and on shelf | Can feel crowded if the logo is oversized |
| Upper third front panel | Ecommerce unboxing and retail-ready bags | Easy to scan and visually neat | Can land too close to the zipper if the dieline is not checked carefully |
| Lower third front panel | Products with variable fill heights | Keeps the top area open and clean | May disappear behind the product if the fill sits low |
| Back panel | Minimal front design or regulatory text needs | Subtle and controlled | Less impact in product photography |
| Double-sided print | Higher visibility from multiple angles | Stronger brand presence | Higher cost and tighter registration requirements |
Good placement also affects perceived quality. Clean spacing and consistent alignment can make a standard pouch feel more premium without changing the material. That matters for buyers comparing samples, because visual discipline often signals better production control.
Step-by-Step Logo Placement Workflow
The workflow should start with exact dimensions, not an estimate. Confirm bag width, height, zipper position, seal allowance, gusset depth if present, and the expected fill height. That is the only way to keep the logo clear of folds, seals, and the area most likely to be hidden by the product.
Next, choose the main viewing side. For ecommerce, the front panel usually carries the primary logo because it appears in product photography and unboxing content. In some cases, the front can stay minimal while the back carries instructions or secondary branding. The choice depends on how much text the bag needs and how it will be displayed when packed.
Then build a mockup at true scale with the actual product inside the bag. Flat artwork often looks more spacious than the filled pouch will be. This step catches placement problems early, especially when the bag is soft, the product is uneven, or the logo is near the zipper line.
A practical sequence looks like this:
- Confirm bag dimensions, seal zones, and zipper position.
- Choose the main viewing side and any secondary side.
- Place the logo with safe margins around seams and folds.
- Check legibility at true size, not only on a computer screen.
- Review a proof with the fill height marked clearly.
- Approve the print-ready file only after clearance checks pass.
A preproduction sample is worth it whenever the artwork is small, multi-color, or placed near a seal. The sample answers the practical questions that matter most: does the logo read, does the contrast hold, and does the placement survive a filled bag? Once approved, keep that layout locked to the SKU so reorders do not drift.
Cost, MOQ, And Quote Drivers
Pricing depends on more than bag size. Unit cost changes with film thickness, ink coverage, number of print colors, and whether the logo appears on one side or both. A simple single-color mark is easier to price than a wraparound design with a white underbase and tight registration.
MOQ changes the quote because setup work has to be spread across the order. Screen setup, plate costs, and press calibration are easier to absorb on a larger run than on a small pilot. That is why a low MOQ usually carries a higher per-unit cost, even if the bag itself seems simple.
Placement can affect cost too. A centered logo with generous open space is easier to produce than artwork pushed close to a seal line or fold. If the supplier has to verify clearance around the zipper or side welds, that adds proofing time and sometimes artwork cleanup.
Typical market ranges vary by region, material thickness, and order size, but the main quote drivers are consistent:
| Driver | Lower Cost Direction | Higher Cost Direction |
|---|---|---|
| Ink coverage | Small single-color logo | Large solids or full-panel coverage |
| Print sides | One side only | Two-sided or repeated branding |
| Artwork detail | Bold shapes and clean type | Fine text, gradients, and complex line art |
| Run size | Large MOQ spread across more units | Small batch with the same setup burden |
| Special options | Standard frosted zipper bag | Custom features, specialty finishes, or extra approvals |
For launch planning, the important issue is schedule as much as price. A lower quote is less useful if the proof cycle runs long enough to miss the shipment window. Clean artwork, quick approval, and clear placement instructions usually save more than aggressive back-and-forth over small line items.
Process, Timeline, And Turnaround
The process usually starts with an inquiry, then dieline review, artwork adjustment, proof approval, sampling if needed, bulk production, and freight booking. Most delays happen during proofing, not shipping. A week lost to revisions is often more damaging than a week lost in transit.
The fastest approvals come from complete input: a vector logo, exact bag size, print side preference, and a clear note about centering or alignment. A single decision-maker on the brand side also helps. Too many reviewers can turn a simple proof into a long comment loop.
Sampling and bulk production solve different problems. A sample checks logo clarity, color behavior, and clearance from the zipper and seams. The bulk run checks repeatability, especially with white underbase printing or multi-color registration. Skipping either step to save time usually costs more later.
Timelines vary by supplier and print method, but a custom run generally needs more than a few days from approval to shipping. A simple design with a clean dieline moves faster than one that needs redraws, color matching, or a second proof. If the bag supports a launch or seasonal drop, the layout should be approved before the inventory deadline gets tight.
If sustainability language appears in the package story, keep the claims accurate. References from the Forest Stewardship Council and the EPA recycling guidance can help support the wording used on inserts or ecommerce listings. That does not change logo placement, but it does affect how the packaging is described.
Common Mistakes, Expert Tips, And Next Steps
The most common mistake is placing the logo too close to the zipper, bottom seam, or gusset fold. Those areas flex and distort under pressure, so the artwork may look fine on a proof and cramped on the finished bag. If the layout feels tight on the dieline, it is probably too tight in production.
Another problem is designing for an empty pouch instead of a filled one. In a flat mockup, the logo may seem centered and spacious. Once product goes inside, the visible area shrinks and the contents can block the mark. This is especially true for soft goods and irregular items.
A third mistake is overcomplicating the artwork. Frosted film is rarely the best place for multiple focal points, tiny taglines, and decorative borders all at once. The strongest layouts usually use one clear logo, enough negative space, and a type size that still reads in phone photos.
These habits usually improve results:
- Use bold typography before decorative typography.
- Ask for a real-size proof, not only a flat image.
- Test a high-contrast version first if the logo is new.
- Keep one focal point instead of crowding the panel.
- Check how the bag looks under store lighting and phone camera lighting.
If the layout is still undecided, start with production questions: exact dimensions, primary viewing side, number of colors, and whether fill height stays stable. Those answers usually point to the right placement faster than a long round of aesthetic opinions. Before final approval, compare the proof against the actual bag, confirm safe margins, and lock the approved version for reorders so the logo stays consistent from one run to the next.
Where should a logo go on frosted zipper plastic bags for ecommerce branding?
Use the most visible flat panel and keep the artwork clear of the zipper, seams, and fold lines. Centering in the upper or middle front panel often reads best once the bag is filled and photographed.
Does frosted film change how a logo color looks on the bag?
Yes, the matte translucent surface softens contrast and can mute delicate colors. Bold artwork, strong dark tones, or a white underbase usually stay more readable.
What print method works best for logo placement on frosted zipper bags?
Screen printing is often preferred for strong opacity and clean spot colors. Digital or flexographic printing can also work well when the artwork, quantity, and budget fit the job.
How do MOQ and pricing affect logo placement decisions?
Higher coverage, multiple colors, and double-sided printing usually raise cost. If the MOQ is small, simpler placement and fewer ink layers often keep the quote more manageable.
What should I send before asking for a quote on custom frosted zipper bags?
Send the bag dimensions, product fill weight, artwork file, print side preference, and target quantity. A real-size mockup or reference photo helps the supplier confirm placement before proofing begins.

