Buyer Fit Snapshot
| Best fit | Packing Materials Selection Option projects where brand print, material claims, artwork control, MOQ, and repeat-order consistency need to be specified before quoting. |
|---|---|
| Quote inputs | Share finished size, material target, print colors, finish, packing count, annual reorder estimate, ship-to region, and any compliance wording. |
| Proofing check | Approve dieline scale, logo placement, barcode or warning zones, color tolerance, closure strength, and carton packing before bulk production. |
| Main risk | Vague material claims, crowded artwork, missing packing details, or unclear freight terms can make a low unit price expensive after revisions. |
Fast answer: Packing Materials Selection Option: Material, Print, Proofing, and Reorder Risk should be specified like a repeatable production item. The safest quote records material, print method, finish, artwork proof, packing count, and reorder notes in one written spec.
Production checks before approval
Compare the actual filled-product size with the drawing, then confirm tolerance on folds, seals, hang holes, label areas, and retail display edges. Reserve space for logos, QR codes, warning copy, and material claims before decorative graphics fill the panel.
Quote comparison points
Review material grade, print process, finish, sampling route, tooling charges, carton quantity, and freight assumptions side by side. A quote is only useful when the supplier can repeat the same color, closure quality, and packing count on the next order.
Packing Materials How to Choose: Why the Right Match Matters
“Packing materials how to choose” sounds straightforward until you’re standing on a warehouse floor at 6:15 a.m. in Louisville, Kentucky, holding a mug that arrived pristine in one shipment and in three sharp pieces in the next. The difference was half an inch of cushioning, a 3-inch strip of tape, and the way the carton was tucked. I’ve seen that happen more times than I can count, and that is why packing materials how to choose is never just a material question; it’s a protection-system question. I remember one Monday morning when a pallet of 1,200 carefully prepared orders came back with enough breakage to make everyone stare at the floor for a full ten seconds. No one said it, but everybody was thinking the same thing: the box looked fine, which is exactly the problem.
In practical terms, packing materials include corrugated cartons, kraft paper, bubble wrap, foam inserts, molded pulp, air pillows, tape, and void fill. Each one does a different job. A carton provides structure, kraft paper stabilizes movement or fills small gaps, bubble wrap shields surfaces from abrasion, and foam inserts hold a product in place with tighter tolerances than most people expect. If you’re working through packing materials how to choose, think function first, not category first. Otherwise you end up buying “shipping stuff” instead of a system that actually protects the product. On a recent sourcing comparison in Dongguan, China, I saw two quotes that looked almost interchangeable at first glance: one carton at $0.19 per unit for 5,000 pieces and another at $0.27 per unit for 5,000 pieces. The cheaper box failed a 24-inch drop test twice in a row; the more expensive one held because the board spec was 32 ECT with a 350gsm C1S artboard wrap. The invoice told one story, the cartons told another.
I learned that lesson early while walking a fulfillment line in a New Jersey apparel and accessories operation that shipped both delicate branded boxes and heavier gift sets. They were using the same large kraft mailer for everything. On paper, that looked efficient. In reality, the heavier kits were crushing the lighter ones in totes, and the light items were skating around inside oversized packs. The warehouse manager told me, “We thought buying one stronger box would solve it.” It didn’t. The right answer was packing materials how to choose by weight, shape, and movement risk, not by convenience. Honestly, I still think that’s one of the most expensive shortcuts people try to take. In that plant, the monthly damage bill averaged $4,800 across 18,000 shipments, and nearly all of it came from the same overbuilt-but-underfit pack pattern.
Choosing well is not about the “strongest” material. It’s about matching product fragility, shipping method, storage conditions, and pack-out speed to the right material combination. I’ve seen a 32 ECT corrugated shipper outperform a heavier-looking box simply because the interior fit was tighter and the void space was controlled. I’ve also seen a premium rigid mailer fail because the contents had room to shift three inches side to side during parcel handling. The carton wasn’t the only issue, but it was a big one. Packaging can be annoyingly theatrical like that: the thing that looks toughest is sometimes the one that quits first. In a test run I watched in Monterrey, Mexico, a 1.8 mm greyboard rigid box looked more premium than a brown corrugated mailer, yet it cracked at the corner crease after just one compression cycle from stacked pallets.
Bad material selection creates hidden costs that don’t show up on a quote sheet. Returns eat margin, chargebacks from retail partners sting, customer complaints take time, and dimensional weight can quietly inflate shipping spend by 12% to 28% if the pack is oversized. When teams ask me about packing materials how to choose, I always ask, “What does damage cost you in one month, and what does a repack take in labor minutes?” That answer usually changes the conversation fast. Numbers have a way of knocking some sense into the room. One DTC brand I reviewed in Atlanta was paying $0.22 for a carton and another $0.06 for paper void fill, but the hidden repack labor added 41 seconds per order—enough to turn a “cheap” pack into a $1.14 fulfillment problem.
We’ll keep this straightforward. I’ll walk through a simple decision framework I’ve used with startups shipping their first 500 orders a month and with national warehouse teams pushing 15,000 parcels a day. If you can classify the product, define the shipping risk, and understand how materials behave under pressure, packing materials how to choose becomes a repeatable process instead of guesswork. That matters, because guesswork is expensive and, frankly, exhausting. A seven-person operations team in Leeds, England reduced their carton-related claims by 31% over 90 days simply by standardizing three pack formats instead of letting ten different packers improvise.
How Packing Materials Work in Real Shipping Conditions
Most packaging fails in transit for predictable reasons: shock, vibration, compression, puncture, or moisture. That’s the real backdrop for packing materials how to choose. A material may look fine on a bench, but if it can’t absorb a 30-inch drop, resist top-load pressure from stacked parcels, or keep a product from rattling inside the box, it won’t earn its place on the pack line. The shipping network does not care how nice it looked in sourcing samples, which is a rude but useful fact. On a cross-country route from Chicago to Phoenix, I’ve seen cartons spend 4 to 6 days in trailers that reached 118°F in midsummer, then land in a 38°F warehouse overnight. Materials that “passed” at room temperature often told a different story after that thermal swing.
Cushioning protects against shock. Void fill stops items from shifting. Structural packaging like corrugated cardboard carries compression load. Surface protection keeps finishes from scuffing. Moisture resistance matters too, especially for long dwell times in cross-dock environments or international lanes with variable humidity. These are the details that separate good pack design from optimistic pack design, and they matter every time you revisit packing materials how to choose. I’ve lost count of how many “perfect” packs fell apart the moment humidity or rough handling joined the party. In Savannah, Georgia, a shipment of coated metal parts failed after 72 hours in a dock area with 86% humidity because the tape adhesive lost grip on the carton seams.
Parcel networks are rougher than many brand teams imagine. A box may be handled 6 to 12 times, dropped from conveyor heights, tossed onto a truck, and stacked under heavier freight. Palletized freight is a different animal; here, compression and stretch wrap integrity matter more than repeated drops. Local delivery is gentler in some cases, but weather exposure and quick handoffs can still cause trouble. That’s why packing materials how to choose has to account for the route, not just the product. If your packaging only works under ideal conditions, it doesn’t really work. A 14-pound countertop appliance sent on a pallet from Shenzhen to Los Angeles may need 2,500 psi edge crush strength and corner protection, while the same item shipped by parcel from Ohio to Michigan may fail because the insert shifts during six extra handoffs.
Here’s how common materials behave in the field:
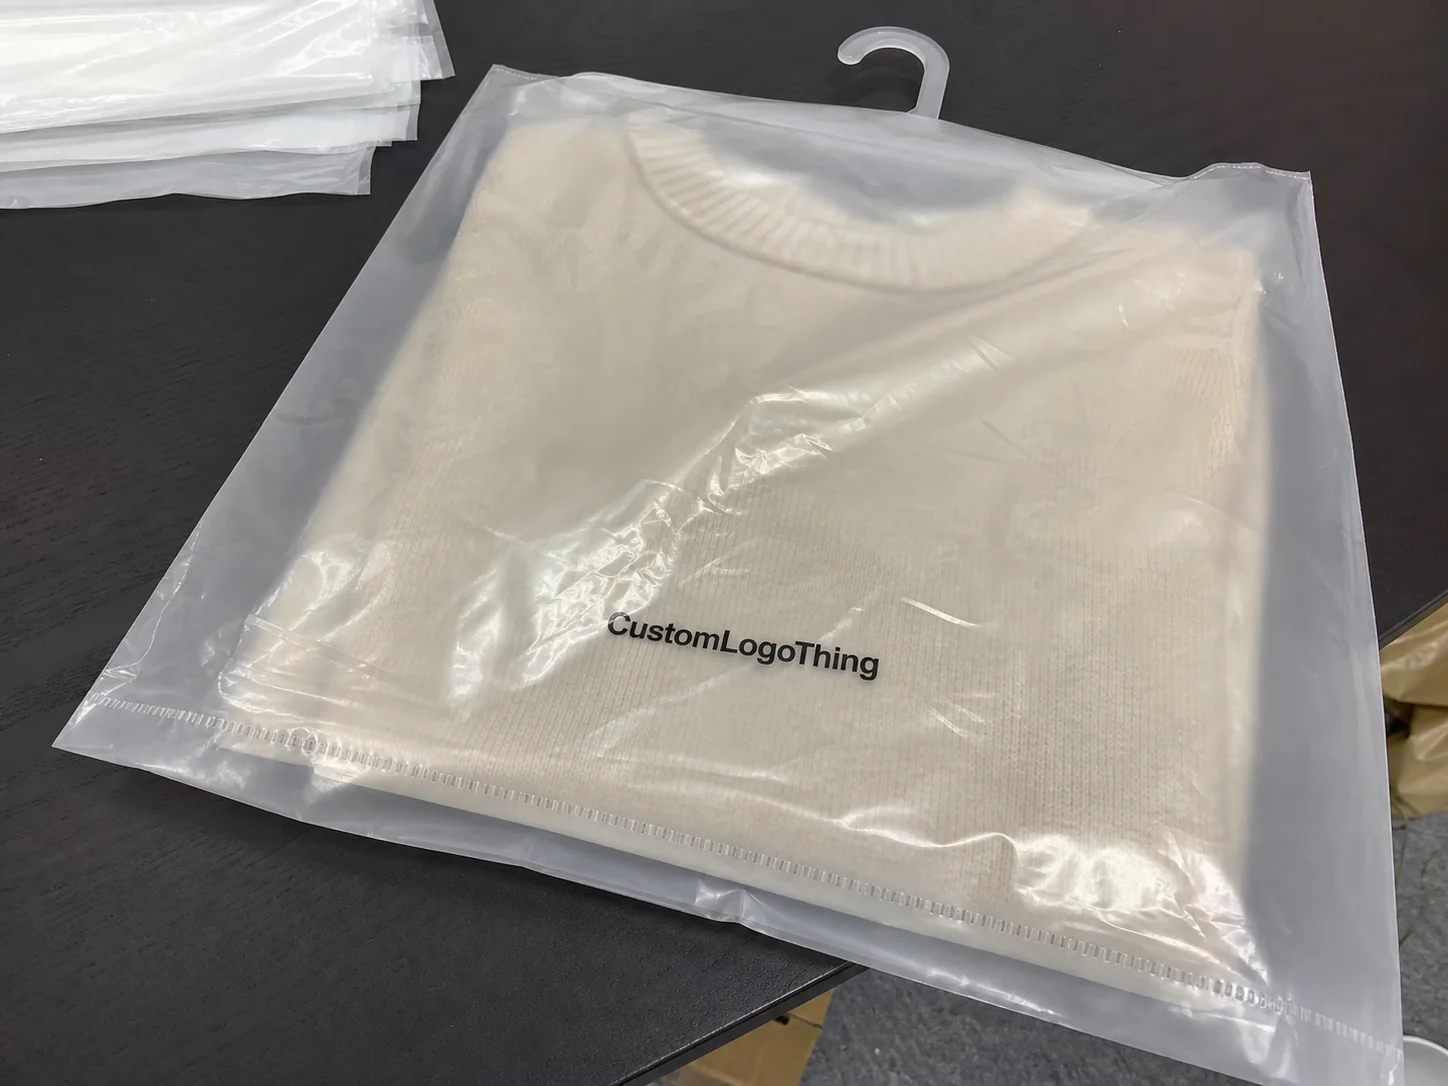
- Corrugated board provides structure and crush resistance, especially when matched with the right flute and board grade, such as B-flute for printability or double-wall BC-flute for heavier items.
- Foam absorbs impact well and can be die-cut for precise product fit, including 10 mm or 20 mm thickness profiles for tight cavity control.
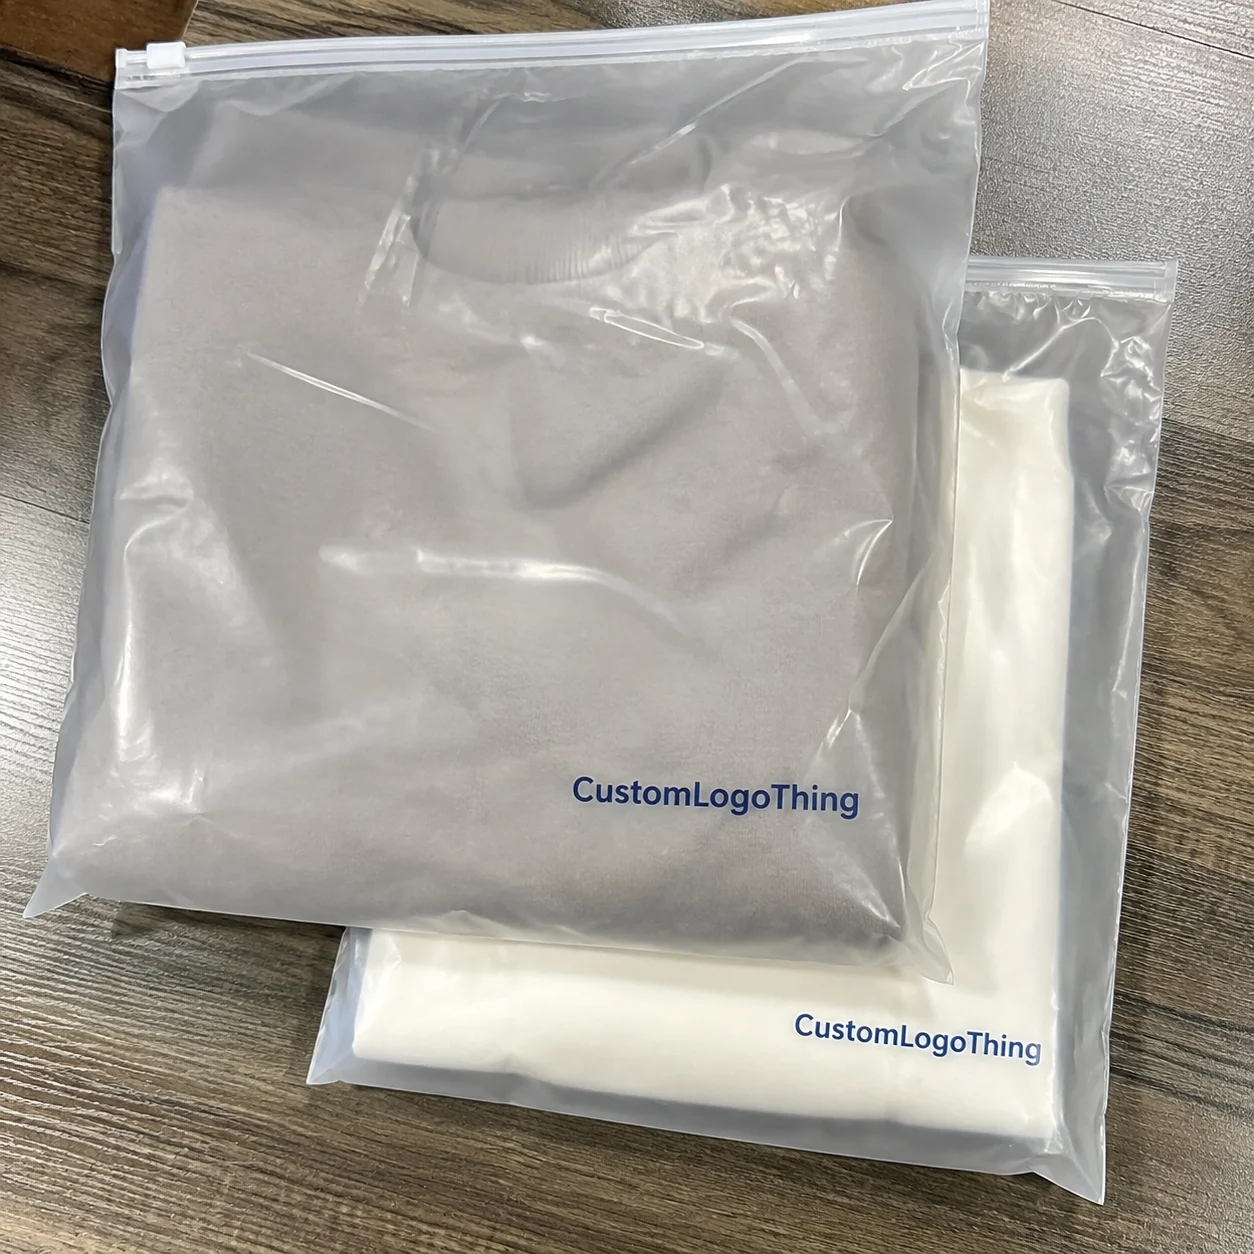
- Bubble wrap is excellent for surface protection and moderate cushioning around irregular items, especially when using 3/16-inch bubbles for lighter goods.
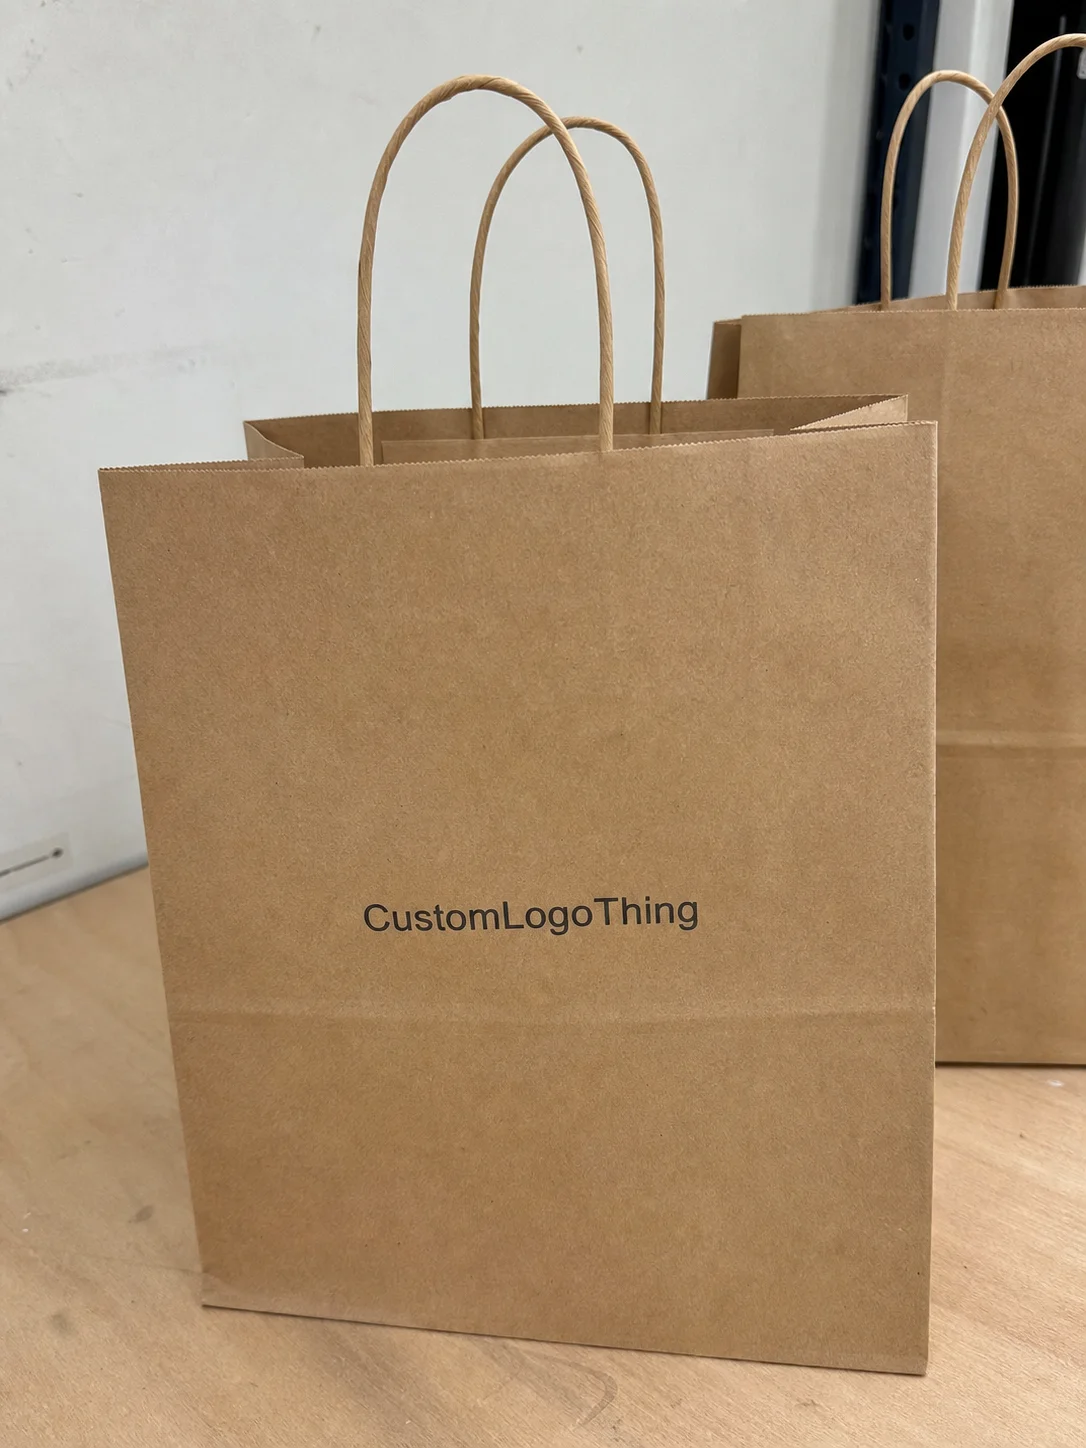
- Kraft paper and paper-based void fill stabilize items and support more recyclable pack formats, often at $18 to $28 per 40 lb roll depending on supplier and region.
- Molded pulp can cradle items securely, especially in electronics, glassware, and personal care packs, with common thicknesses between 2.5 mm and 5 mm.
Package engineering is where these decisions come together. If the carton is too large, you create movement. If it’s too small, you create pressure points. If the closure method is weak, all the cushion in the world won’t help. I once visited a cosmetics plant in Pennsylvania where the carton itself was fine, but the glue-seal closure had a 9% failure rate in humid summer storage because the team had not tested tape adhesion after 48 hours at elevated moisture. That’s the kind of detail people miss when they approach packing materials how to choose as a purchasing exercise instead of an engineering one. And yes, somebody had to explain that with a straight face while holding a sticky, half-open carton. The fix was not glamorous: switch from a standard 48 mm tape to a 2.4 mil acrylic adhesive tape and add a 15-second dwell time after sealing.
“We were chasing a box price of 11 cents and losing 84 cents every time a bottle broke.” That was a client’s line, and I still use it in meetings because it sums up the whole problem so neatly.
The practical principle is simple: the outer shipper, the inner protection, and the closure method must function as one unit. If one piece is underbuilt, the whole system suffers. That’s why I keep coming back to packing materials how to choose as a system decision, not a single-item choice. In practice, that means matching a 200 lb/in burst-strength carton with a 45 lb test rating to a product that weighs 1.2 pounds is not enough if the interior has 2 inches of free movement.
Packing Materials How to Choose Based on Product and Shipping Needs
The first question in packing materials how to choose is always: what are you shipping? A 2-ounce skincare bottle, a 14-pound countertop device, and a framed art print all need different protection. Weight matters, but so does fragility, surface finish, temperature sensitivity, shape, and whether the product is a single unit or part of a multi-pack. A 6-inch glass jar with a gold foil label behaves very differently from a 6-inch stainless steel tumbler, even if both weigh 9 ounces on the scale. One needs surface protection from scuffs; the other may need anti-scratch sleeves and a divider to stop metal-on-metal contact.
For example, a glass jar with a matte label can scuff during transit even if it never breaks. A polished metal part may arrive structurally fine but cosmetically damaged because the insert allowed rub marks. A lightweight plastic component can actually be trickier than a heavy one if it’s hollow and prone to deformation. That’s why packing materials how to choose has to account for the product’s weakest point, not just its gross weight. I tend to think of it as asking, “What will fail first?” rather than, “What weighs the most?” One beauty brand in Dallas had a 1.6% breakage rate on a 3-ounce glass serum bottle simply because the cap rattled against the shoulder of the bottle inside a carton that was 0.75 inches too tall.
Shipping variables change the answer too. Parcel shipments usually need stronger drop protection and better void control. Freight shipments need compression resistance and pallet stability. International shipping adds customs delays, temperature swings, and longer transit windows. A product that survives 2-day domestic parcel service may fail after 18 days in a port hold or bonded warehouse. If you’re serious about packing materials how to choose, you need to map the route as carefully as the item itself. A lane from Guangzhou to Rotterdam can expose cartons to 70%+ humidity for 11 days; a regional route from Toronto to Montreal may see fewer shocks but more repeated scanning and conveyor handling.
Carton style and board grade also matter. A standard RSC may be enough for a durable product, but a die-cut mailer might be better for presentation and speed. A 32 ECT carton can be fine for many consumer items, but heavier or more fragile products may need stronger board construction. I’ve seen teams over-specify board because they were nervous, then pay for it in shipping weight and carton storage space. I’ve also seen them under-specify and spend much more on claims. Balance matters, and that balance is the heart of packing materials how to choose. A 275# test single-wall carton often works for lightweight apparel, while a double-wall 44 ECT shipper can be the better answer for a 10-pound kit moving through retail distribution centers in Dallas-Fort Worth.
Cost should be measured across the full packaging equation, not just the unit line. A carton at $0.18 may look attractive until it needs a secondary insert, extra tape, and 25 seconds of labor to pack. A slightly more expensive custom insert might reduce pack time by 12 seconds, cut damage by 40%, and lower dimensional weight by 1 pound. That’s real money. When I help teams with packing materials how to choose, I always ask them to track:
- Unit material cost
- Labor seconds per pack
- Damage rate by SKU
- Storage footprint in the warehouse
- Total landed packaging cost per shipped order
Sustainability and brand presentation matter too. If you can use recycled materials, reduce plastic, and keep the design neat, that’s better for customers and often easier for the warehouse. But I’ll be blunt: sustainability only works when it protects the product. An elegant pack made from FSC certified board is great, but not if it arrives with broken contents because the insert was too shallow or the carton was undersized. Same story with biodegradable packaging; it still has to perform in the real shipping lane. A compostable mailer in a 90-day supply chain through Singapore may not be the right choice if it loses tensile strength at 78% humidity after 48 hours.
Brand experience is especially important for DTC companies. A well-fit carton with clean print, an easy-open tear strip, and minimal excess void fill can feel polished without being wasteful. I worked with a subscription snack brand in Austin that moved from oversized mailers and loose paper fill to custom-fit corrugated and molded pulp trays. Their damage rate dropped from 2.7% to 0.8%, yes, but their customer reviews also improved because opening the box felt intentional rather than chaotic. That’s another angle to packing materials how to choose that people sometimes underestimate. The switch also cut their outbound carton footprint by 18%, which mattered when storage space in the Texas warehouse was running at 92% capacity.
| Material Option | Typical Use | Approx. Unit Cost | Strengths | Tradeoffs |
|---|---|---|---|---|
| Corrugated carton + kraft paper | E-commerce, light consumer goods | $0.14–$0.32 | Low cost, recyclable, easy to pack | Limited impact protection for fragile items |
| Die-cut carton + molded pulp insert | Cosmetics, electronics, glassware | $0.28–$0.85 | Excellent fit, better presentation, lower movement | Higher tooling and sampling effort |
| Corrugated box + foam inserts | High-fragility or precision parts | $0.35–$1.10 | Strong impact absorption, tight control | Less eco-friendly perception, more custom fabrication |
| Mailer + bubble wrap + void fill | Mixed SKU fulfillment, low to medium fragility | $0.10–$0.40 | Flexible, easy to source, quick to pack | Can become bulky and inconsistent if overused |
That table is exactly why packing materials how to choose cannot be reduced to “paper good, plastic bad” or “cheap box good, custom box bad.” The right choice depends on product risk, labor, and the shipping environment. I’ve seen a $0.24 pack outperform a $0.62 pack simply because it was designed for the actual lane and not for a theoretical one. The warehouse floor is very good at exposing theories that don’t travel well. In one plant outside Ho Chi Minh City, the winning pack was a 30 mm molded pulp cradle inside a 34 ECT mailer, not the glossy premium box that marketing preferred.
Step-by-Step Process to Select the Best Packing Materials
If you want a process you can hand to a warehouse supervisor or a startup founder, this is the one I use for packing materials how to choose. It’s simple enough to follow, but detailed enough to prevent expensive mistakes. I’ve used versions of this in cramped back rooms, polished boardrooms, and one very loud distribution center in Secaucus, New Jersey where the forklift horn seemed to have personal grievances.
- Measure and classify the product. Record exact dimensions, weight, edge geometry, finish type, breakability, and any sensitive parts like screens, pumps, corners, or threaded closures. A 0.5 mm measurement error can matter on a tight insert, especially if the insert is cut from 3 mm EVA foam or 1.5 mm molded fiber.
- Define the shipping method and risk profile. Parcel, freight, local courier, or international each creates different hazards. Add in likely drop points, stacking pressure, and temperature exposure. A 4-pound item moving from Nashville to Miami faces a different set of conditions than the same item shipping palletized from Columbus to Denver.
- Choose the outer container first. Start with the carton style and board grade, then build the interior around that. This is where many teams reverse the logic and end up with a pretty insert inside the wrong box. For example, a 24 x 18 x 12-inch double-wall carton may be the correct shell for a small appliance, even if a smaller carton looks cheaper on paper.
- Select internal cushioning and void fill. Use foam, molded pulp, kraft paper, bubble wrap, or air pillows based on how much shock absorption and movement control you need. Air pillows are light and inexpensive at roughly $0.03 to $0.06 per 24-inch pillow chain, but they don’t replace a true retainment insert for fragile glass.
- Decide on the closure method. Tape type, adhesive strength, glue-seal, or locking tabs all affect shipping reliability. A poor seal can undo everything else. A 2.6 mil hot-melt tape may work well in dry climates, while a 2.4 mil acrylic tape is often better for cold rooms in Minneapolis or Montreal.
- Prototype at least two or three combinations. I like to compare a conservative option, a cost-optimized option, and a production-speed option. For a 500-piece pilot, that can mean testing a $0.31 unit pack, a $0.22 unit pack, and a $0.18 unit pack side by side.
- Test under real handling conditions. Drop, shake, stack, and check for rub marks or scuffing. A visual pass is not enough. Run at least three 24-inch drops on each corner, one face drop, and one edge drop before you sign off.
- Choose the version that performs best at the lowest total cost. That means looking at damage, pack time, and shipping efficiency together. The best answer is often the one that saves 9 seconds per pack and cuts claims by 1.5 percentage points, not the one with the cheapest material line.
The biggest mistake I see in packing materials how to choose is starting with the filler instead of the product. A team sees bubble wrap on a shelf and tries to make it work for everything. Then they see molded pulp and want to use it for every item because it looks sustainable. Neither approach is disciplined enough for real operations. I get the temptation, though. It’s much easier to order “the stuff in the warehouse” than to stop and think through every SKU. In one sourcing round near Pune, India, a team ordered 20,000 sheets of kraft paper at $0.04 per sheet before confirming that their sharp-edged metal part actually needed die-cut corner guards.
I had one client in Ohio, a small parts distributor, who kept changing void fill every month because the purchasing team was chasing pennies. The warehouse staff hated it because every material changed the pack pattern. After we standardized three pack specs for their top 20 SKUs, packing speed improved by about 18%, and their defect reporting got much cleaner. That’s a perfect example of why packing materials how to choose should include the people actually doing the packing. The people on the line almost always know more than the spreadsheet does. In their case, the best-performing combination was a 32 ECT carton, 2 inches of paper void fill, and a pre-set tape length of 24 inches.
Another practical point: document the final method. A work instruction with carton size, insert orientation, tape length, and accepted substitutes keeps the line consistent. Without that, two packers can build two different outcomes from the same materials. Consistency matters just as much as design when you’re working through packing materials how to choose. And yes, I have watched two perfectly reasonable employees argue for 15 minutes over which way a carton flap should fold, which is a deeply unglamorous way to spend a Tuesday. A one-page SOP with photos from your Dallas or Memphis operation can prevent that entire problem.
Process, Timeline, and Testing Before You Standardize
How long does packing materials how to choose usually take? For a simple retail or e-commerce setup, you might approve a material and carton combination in 3 to 7 business days if the product is already measured and the samples arrive quickly. If you need custom inserts, printed cartons, or die-cut structures, the process often stretches to 2 to 4 weeks because of sample revisions, fit checks, and transit testing. A printed carton with a custom insert sourced from Shenzhen or Xiamen usually takes 12 to 15 business days from proof approval to first sampling if the factory slot is open.
The workflow usually follows a predictable path. First comes product review, where dimensions, fragility, and shipping conditions are documented. Then comes carton or insert design, often in dieline form or a CAD-style spec. Next is sample production, followed by fit testing and shipping simulation. For projects governed more tightly, you may also see reference to ISTA methods or industry tests aligned with ISTA testing standards, which are useful when you need a repeatable way to measure pack performance. A standard ISTA 3A-style test cycle can take 2 to 4 hours per sample set, depending on the lab queue and the number of drops requested.
Delays usually come from bad inputs. I’ve seen teams send “about 10 inches” instead of 10.125 inches, or forget to mention that the product has a protruding cap that shifts when temperature changes. Those small misses create sample rework. I’ve also seen a fulfillment manager approve a structure before checking line speed, only to find the insert looked great but took 22 extra seconds to pack. That’s why packing materials how to choose should include both engineering and operations in the same review. Otherwise you end up with a beautiful pack that the team quietly resents. One team in Nashville had to remake an entire insert because the lip on the bottle added 4 mm of height only after the cold-chain product was chilled overnight.
Testing should include destructive checks, not just pass/fail visual inspection. If a carton can survive a gentle hand carry but fails a 30-inch corner drop, it’s not ready. If a molded pulp insert holds the product still but scratches a glossy finish after vibration, that’s a problem. If the tape peels after humidity exposure, the closure method needs work. The people on the line often catch issues drawings miss because they feel the pack in real time. I like to see at least 10 sample units per variation, because one pretty pack can lie and ten stubborn ones usually cannot.
I usually recommend at least three rounds of practical validation:
- Fit check: Does the item sit correctly without force?
- Handling check: Can it survive standard warehouse movement and parcel abuse?
- Pack-out check: Can staff build it quickly and consistently across a shift?
That third check matters more than many teams expect. A pack design that is technically perfect but slows the line by 15 seconds per unit can be a bad business decision. I’ve watched supervisors quietly phase out “beautiful” packaging because labor cost swallowed the savings. That’s one of those hard truths in packing materials how to choose that doesn’t show up in a spec sheet. It’s also the kind of truth that gets people grumbling in the break room after lunch. If labor is $19.50 per hour and a design adds 15 seconds, you are adding roughly $0.08 in labor per shipment before the first carton even ships.
Build time into your project plan for revisions. A little extra effort before standardization often prevents expensive rework, spoilage, carrier claims, and rushed inventory changes later. I’ve seen one company spend $8,500 on emergency carton reprints because they approved artwork before final insert depth was confirmed. That is the kind of lesson you only want to learn once, preferably not on a Friday afternoon with a looming outbound schedule. In the best case, a custom carton and insert program can move from proof approval to production in 2 to 3 weeks; in the worst case, a missing measurement can add another 10 days and an extra round of freight charges from Kunshan to your receiving dock.
Common Mistakes When Choosing Packing Materials
The first mistake is using one material for every product. It sounds efficient, but it usually creates either overprotection or underprotection. A single corrugated carton style might work for 60% of your line, but the remaining 40% could be silently eroding margin through damage or wasted filler. That’s a classic failure in packing materials how to choose. I’ve seen this happen when a company falls in love with one “standard box” and then acts surprised when everything else rebels against it. In a Houston warehouse I visited, the standard carton made sense for books and apparel, but it crushed a 9-ounce glass candle jar unless the team added a $0.11 molded divider.
The second mistake is overpacking. People assume “more cushion” means “more safe,” but extra material can actually increase movement if it’s packed loosely, and it often raises cost without improving performance. I’ve seen boxes stuffed with so much bubble wrap that the product still shifted because the wrap was compressed unevenly. More material is not always better. Sometimes it just means more mess to clean up and more tape to peel off with your teeth. One cosmetics line in Miami added an extra 18 inches of bubble wrap per order and still had scuffing because the wrap created a spring effect inside the carton.
Third, teams ignore void space. If the carton is too large, you burn through kraft paper or air pillows, and the product can still move. A right-sized carton often beats a larger box with extra filler because it stabilizes the product and reduces shipping volume. That’s why packing materials how to choose should start with fit, not filler. Fit is the part that saves you from both damage and annoyance. A right-sized carton can also reduce DIM weight by 1 to 2 pounds, which matters when you’re shipping 3,000 orders a week from a regional DC in Pennsylvania.
Fourth, buyers focus only on unit price. A box at $0.12 can look attractive next to a $0.26 custom pack, but if the cheaper option increases breakage, adds 20 seconds of packing labor, or pushes dimensional weight up by 1.5 pounds, the “cheap” choice is expensive in disguise. I’d rather see teams compare total landed packaging cost than chase the lowest quote. The invoice is only one small slice of the story. One supplier in Vietnam quoted a mailer at $0.09 and another at $0.14; once the first one was taped twice and stuffed with extra filler, its real cost landed closer to $0.21.
Fifth, sustainability gets treated as an afterthought or a marketing slogan. Customers want packaging that is easier to recycle, and many brands are moving toward recycled materials, post-consumer waste content, and FSC certified board. That’s good directionally. But if the material doesn’t protect the product, the customer experience still suffers. The best answer to packing materials how to choose balances environmental goals with shipping reality. A 100% recycled board that collapses in a humid Atlanta summer is not a win just because the fiber content looks good on a slide.
Another issue I see often is poor communication between procurement and operations. Procurement may buy 10,000 units of a carton based on price, while the warehouse needs a slightly different depth to speed the line. When that happens, the whole system pays for the mismatch. Honestly, I think the most expensive packaging mistakes are usually coordination mistakes dressed up as cost savings. They don’t look dramatic until the claims file starts growing. In one case out of Newark, a one-inch change in insert depth forced the team to repack 7,500 units because the planned pallet configuration no longer fit the retail master carton.
Expert Tips for Smarter Packing Materials Selection
If your top-selling SKUs have stable dimensions, standardize their pack specs. That sounds obvious, but many companies still let every packer improvise. A documented standard reduces guesswork, cuts training time, and makes packing materials how to choose much easier to repeat across shifts and locations. I’ve watched teams gain a surprising amount of control just by writing down what they were already doing well. One brand in Toronto reduced new-hire training from 4 hours to 90 minutes after creating photo-based pack instructions for its top 12 SKUs.
Request samples and inspect them in the actual warehouse environment. I mean real conditions: 68% humidity in summer, stacked totes near a loading dock, 1 p.m. rush periods, the whole thing. A material that looks fine in a conference room can behave differently when the board picks up moisture or when a carton is compressed under five other boxes. The samples that survive the glamorous lighting often fail the fluorescent-light reality check. I once watched a 350gsm C1S artboard carton warp after sitting overnight in an unconditioned space in Houston, while a plain brown corrugated sample held its shape.
Talk to suppliers who can explain board grades, insert tolerances, and closure performance, not just quote a box price. When a supplier tells me the flute profile, burst strength, and recommended pack configuration, I know they understand the job. When they only say “strong box,” I get cautious. That’s a useful filter in packing materials how to choose. Strong is not a spec. It’s an opinion. Ask for numbers like 32 ECT, 44 ECT, 275# test, 2.6 mil tape, or a 1.2 mm pulp insert, and the conversation becomes much more useful very quickly.
Track damage rates by SKU and shipping lane. A fragile item shipping regionally might need a different pack than the same item shipped nationwide. A lane with more handoffs, like many parcel networks, may need more protective cushioning than a direct freight route. A simple monthly dashboard showing breakage, scuffing, and customer claims can reveal patterns quickly. If one SKU ships 4,000 units a month and only 32 come back damaged, a 0.8% defect rate might look small until you realize it’s costing more than the packaging upgrade would have.
Keep the customer experience in view. The best packaging protects the product, reduces waste, and still feels deliberate when opened. That can mean clean print on the outer box, a neat fold of kraft paper, a molded pulp tray that presents the item well, or an FSC certified mailer that fits the brand story. A pack can be practical and pleasant at the same time, which is exactly why packing materials how to choose should include brand touchpoints, not just engineering specs. A 140 mm by 90 mm insert with a crisp tear strip can do more for repeat purchases than a flashy box that ships with bent corners.
There’s also a sustainability angle that deserves honest treatment. If you can move from mixed plastic fill to recyclable paper systems, do it. If you can use biodegradable packaging where it actually makes sense, great. But don’t force a material just because it sounds green. I’ve seen well-meaning brands switch to a compostable film that tore too easily in transit. The customer had to replace the product, which defeated the purpose entirely. That sort of thing makes everybody’s day worse, and I say that from experience. A better choice might be a recyclable kraft mailer from a supplier in Oregon or Ontario with a tested 48-hour humidity tolerance and a clean tear strip.
My rule of thumb from the factory floor is simple: if the pack can’t survive one rough lane, it’s not ready for ten smooth ones.
For brands that want to build a stronger packaging program, I often recommend a quarterly review. Revisit product changes, carrier mix, damage trends, and supplier lead times. If volume spikes or a product redesign changes the shape even a little, packing materials how to choose needs to be reviewed again. Packaging is not a one-time decision; it’s a living part of operations. A quarterly check in January, April, July, and October is enough for many teams to catch a carton change, a board shortage, or a new damage pattern before it becomes a costly surprise.
One more practical note from a supplier negotiation in Shenzhen: the difference between “standard” and “custom” insert pricing can look dramatic at first glance, but if custom cuts packing time from 28 seconds to 16 seconds, the labor savings may justify the tooling in a few months. That kind of math is why I always look beyond the invoice. In my experience, the cheapest pack is rarely the best pack. The cheapest pack is often just the one that moves the problem somewhere else. A tooling quote of $2,400 can be easier to stomach when it saves $0.09 per unit across 25,000 annual shipments.
How to Choose Packing Materials: FAQ
Start with the product’s weakest point, such as glass edges, corners, screens, finishes, or internal mechanisms. Use a rigid outer carton plus cushioning that absorbs shock and prevents movement, like foam, molded pulp, or well-fitted inserts. Then test the pack by simulating drops and side pressure before you ship at scale. A good rule is to run at least three 24-inch drop tests on a sample of 10 units before approving a final spec.
Choose materials that reduce both damage and labor, not just the cheapest unit price. Lightweight corrugated cartons, paper void fill, and right-sized inserts often keep costs in check while controlling dimensional weight. Avoid oversized boxes, because extra void space increases both filler usage and shipping expense. In many U.S. lanes, a carton that is one size smaller can cut DIM charges by $0.80 to $1.60 per parcel.
Bubble wrap is useful for surface protection and light cushioning, especially for irregular items. Foam is better when you need more precise, higher-performance impact absorption or a snug custom fit. The final choice depends on fragility, presentation needs, and how much protection the outer carton already provides. For example, 3/16-inch bubble can work for accessories, while 10 mm die-cut foam is often better for electronics and glass.
Yes, if they are matched to the product and shipping method correctly. Recyclable paper systems, molded pulp, and engineered corrugated solutions can perform very well when the design is right. The key is testing them under real shipping conditions instead of assuming all eco-friendly materials are automatically equal. A molded pulp insert from Guangdong or Ohio can outperform plastic if it’s shaped to the SKU and tested at 68% humidity.
Review them whenever the product changes, the carrier mix changes, damage rates rise, or order volume shifts significantly. A quarterly review works well for many shipping teams, while fast-growing brands may need more frequent checks. Re-evaluation helps catch cost creep, material shortages, and hidden damage trends early. If lead times stretch from 10 business days to 21 business days, that alone is a signal to revisit the spec.
How do I choose packing materials for fragile items?
Start with the product’s weakest point, such as glass edges, corners, screens, finishes, or internal mechanisms. Use a rigid outer carton plus cushioning that absorbs shock and prevents movement, like foam, molded pulp, or well-fitted inserts. Then test the pack by simulating drops and side pressure before you ship at scale. A good rule is to run at least three 24-inch drop tests on a sample of 10 units before approving a final spec.
What packing materials work best for low-cost shipping?
Choose materials that reduce both damage and labor, not just the cheapest unit price. Lightweight corrugated cartons, paper void fill, and right-sized inserts often keep costs in check while controlling dimensional weight. Avoid oversized boxes, because extra void space increases both filler usage and shipping expense. In many U.S. lanes, a carton that is one size smaller can cut DIM charges by $0.80 to $1.60 per parcel.
How do I decide between bubble wrap and foam?
Bubble wrap is useful for surface protection and light cushioning, especially for irregular items. Foam is better when you need more precise, higher-performance impact absorption or a snug custom fit. The final choice depends on fragility, presentation needs, and how much protection the outer carton already provides. For example, 3/16-inch bubble can work for accessories, while 10 mm die-cut foam is often better for electronics and glass.
Can sustainable packing materials still protect products well?
Yes, if they are matched to the product and shipping method correctly. Recyclable paper systems, molded pulp, and engineered corrugated solutions can perform very well when the design is right. The key is testing them under real shipping conditions instead of assuming all eco-friendly materials are automatically equal. A molded pulp insert from Guangdong or Ohio can outperform plastic if it’s shaped to the SKU and tested at 68% humidity.
How often should I re-evaluate my packing materials?
Review them whenever the product changes, the carrier mix changes, damage rates rise, or order volume shifts significantly. A quarterly review works well for many shipping teams, while fast-growing brands may need more frequent checks. Re-evaluation helps catch cost creep, material shortages, and hidden damage trends early. If lead times stretch from 10 business days to 21 business days, that alone is a signal to revisit the spec.
Related packaging resources
Use these related guides to compare specs, costs, quality checks, and buyer decisions before making the final call.