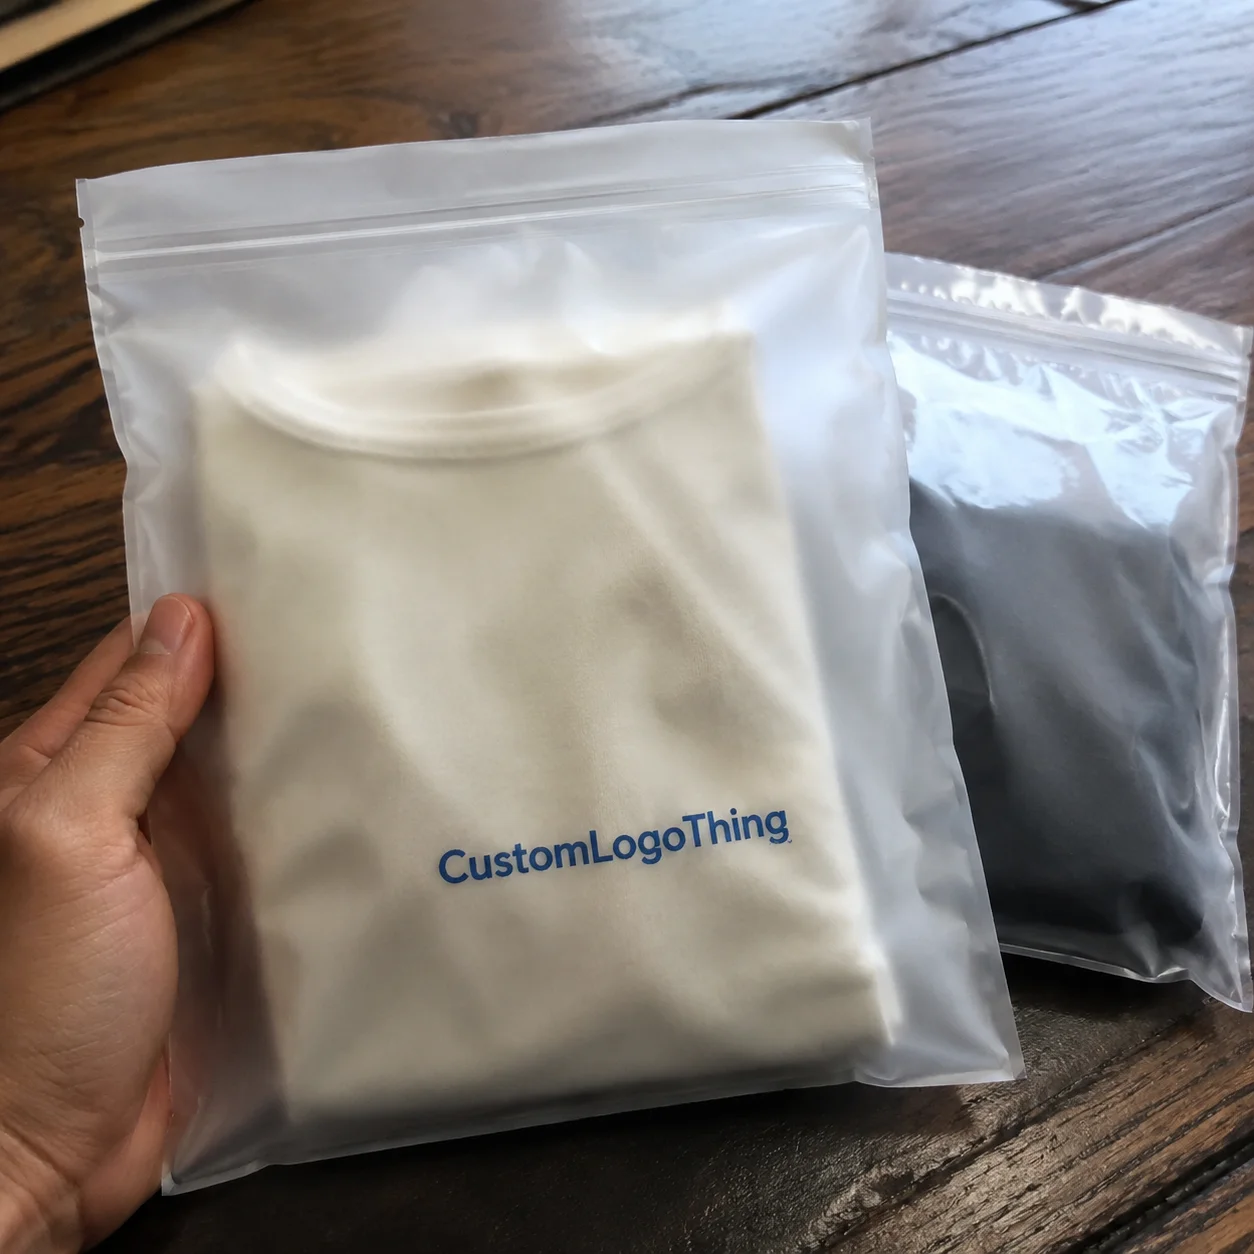
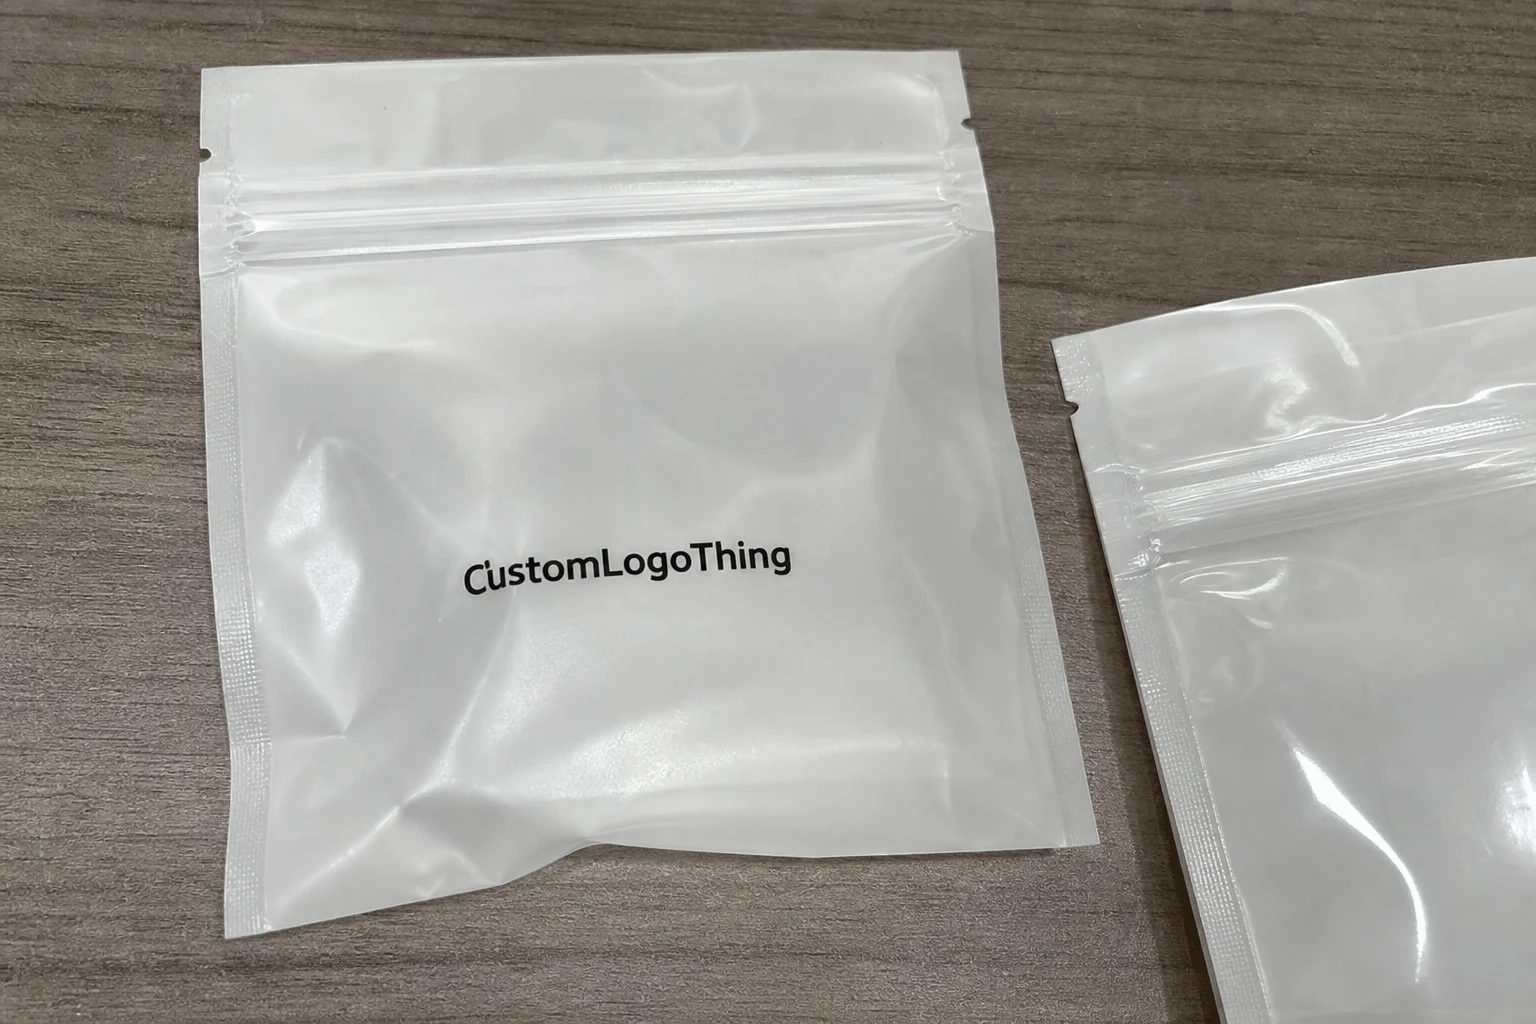
Pre Printed Poly Bags solve a problem that sounds small until it starts slowing a packing line: how do you keep packaging consistent without turning every carton into a manual labeling exercise? If you have ever seen labels wrinkle, drift off-center, or peel during transit, the case for printed film gets clearer fast.
The main advantage is consistency. The logo, warning line, barcode zone, and product information are already part of the bag, so the presentation stays the same from the first unit to the last. That visual consistency matters in retail, but it matters just as much in shipping, where a damaged label can become a customer service issue.
There is also a practical cost angle. Pre Printed Poly Bags may cost more per unit than a blank bag on paper, yet the full picture includes labor, label waste, rework, and the occasional shipment that has to be repacked because the sticker failed. Once those hidden costs enter the equation, the printed option often looks more reasonable than the first quote suggests.
For buyers comparing Custom Packaging Products with other packaging formats, the real question is not whether printed film looks better. It is whether the spec supports the product, the line speed, and the margin target without creating a bottleneck downstream.
Why Pre Printed Poly Bags Beat Last-Minute Labeling
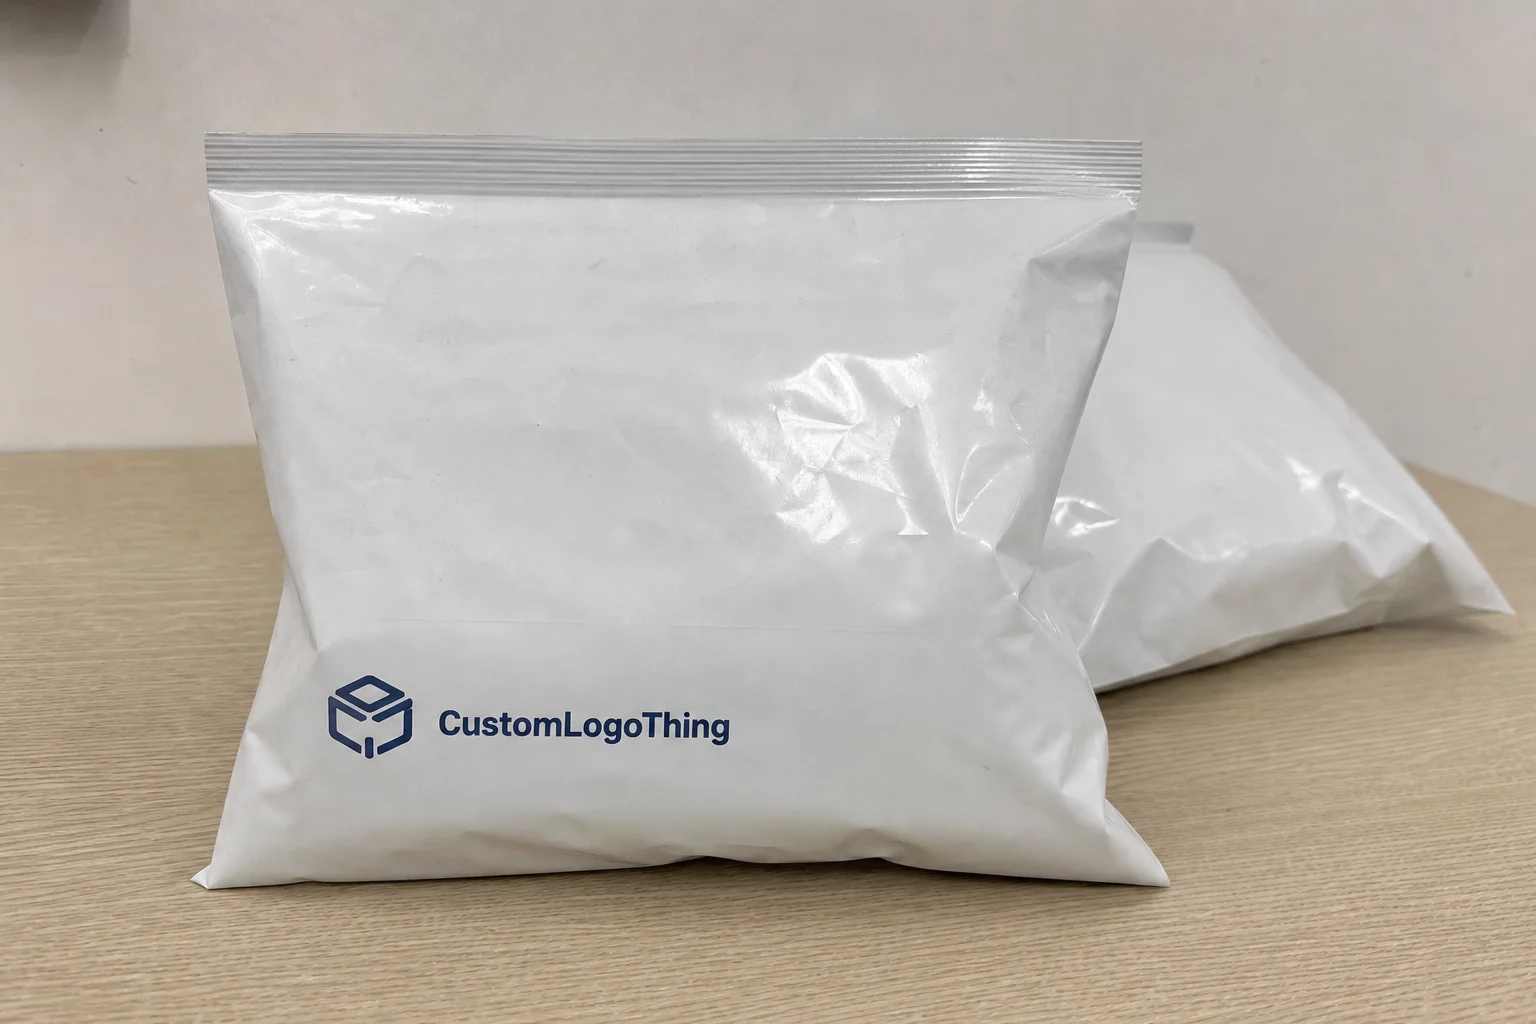
A last-minute labeling setup is usually a sign that packaging decisions were made too late. The order is already in motion, someone decides the bag needs branding, and now the team is trying to apply labels by hand while keeping the production clock moving. That works for a short run. It becomes messy quickly once volume rises.
Pre Printed Poly bags remove that variable. The print is fixed at the converter, so every bag leaves with the same artwork, the same placement, and the same finish. That predictability is valuable when the package is seen by retailers, distributors, or end customers who notice inconsistency faster than most internal teams do.
Labels still have a place. Temporary SKUs, variable data, or short-term internal identification often justify them. But using labels to replace basic branding usually creates more labor than expected, and the labor cost is rarely captured in the first budget draft. A few cents saved on materials can disappear into hours of sorting, sticking, checking, and reworking.
“If the package needs to look right every time, print the bag. If it only needs a temporary identifier, labels may be enough. Mixing both without a clear reason usually adds cost without adding value.”
That simple distinction helps buyers avoid overengineering. A good bag spec should support the product and the process, not force the process to compensate for a weak packaging decision.
For brands that also use flexible shipping formats, a useful comparison point is Custom Poly Mailers. The same logic applies: when the design, material, and production method line up with the workflow, the packaging performs better and is easier to replenish.
How Printing on Poly Film Actually Works
Printing on poly film begins with artwork setup, not ink. Before production starts, the file has to be checked for dimensions, bleed, safe zones, font size, color count, and whether the layout is actually suited to a flexible substrate. Artwork that looks fine on a screen can still fail on film if the lines are too thin or the text is too small.
From there, the print method determines the economics. Flexographic printing is common for medium and high volumes. It uses plates, which means the upfront setup takes more time and money, but the per-unit cost usually improves as quantity increases. Digital printing is better for shorter runs, multiple versions, or jobs that need faster approval with less setup. Neither method is universally better; they solve different problems.
Some bags are reverse printed, meaning the artwork is printed on the inside surface of the film and protected by the outer layer. That improves scratch resistance and gives the bag a cleaner look in handling. Surface printing is simpler and can be less expensive, but it exposes the ink to wear. For bags that are stacked tightly, shipped long distances, or handled repeatedly, that difference matters.
The structure of the bag also affects the process. Flat bags, gusseted bags, wicketed bags, header bags, and resealable styles do not all move through converting in the same way. A zipper adds one set of variables. A wicket adds another. None of that is unusual. It just affects setup, inspection, and lead time.
Reliable packaging organizations such as packaging.org are useful for broad material context, while ISTA is helpful if shipping performance is part of the spec and not just an afterthought.
Key Specs That Decide Performance and Shelf Appeal
Most quoting problems start with vague language. “We need it to feel premium” does not help a production team decide on film thickness or seal style. A better brief starts with the physical requirements and works outward from there.
Film thickness is usually measured in mil or micron. For retail and shipping bags, a common range is roughly 1.5 to 4 mil, though the right number depends on the product, the edge profile, and the handling environment. Light products with minimal abrasion can stay at the lower end. Heavy items, sharp corners, or repeated handling usually push the spec thicker.
Material choice also matters. LDPE is widely used for flexibility and clarity. LLDPE tends to bring more stretch and puncture resistance. Blends are common when a buyer needs a balance of seal behavior, softness, and durability. If product visibility is important, clarity may be the priority. If puncture resistance is more important, a tougher blend usually makes more sense than chasing the thinnest possible film.
Print coverage and color count change both appearance and price. A single-color logo on a clear bag is a different job from full-coverage artwork with multiple spot colors, dense ink, and reversed type. Film can carry strong graphics, but it is not paper stock. Heavy ink coverage can reduce transparency and change how the bag feels in hand.
Bag fit is one of the easiest specs to underestimate. Oversized bags waste material and can make a packaged product look loose or unfinished. Undersized bags slow the line and can distort seals or graphics. The right fit improves throughput and usually gives the package a cleaner, more intentional look.
Seal style and closure determine how the end user interacts with the package. Bottom seal, side seal, self-seal, open top, zipper, and header formats all have different strengths. A resealable closure can justify the extra cost for products that are opened repeatedly. A single-use shipping bag usually does not need that complexity.
Compliance should be handled early, not right before proof approval. Depending on the product, the bag may need suffocation warnings, product codes, barcode space, recycling marks, or handling instructions. Regulated products can also require material or ink approvals. If your packaging system includes paper inserts or outer labels, keep those claims aligned so the final package is not contradicting itself.
For broader sustainability context, the EPA’s guidance on source reduction is a useful reference: EPA source reduction guidance.
Cost, Pricing, and MOQ: What Changes the Quote
If the brief is vague, the quote will be vague. That is usually where pricing confusion starts. A meaningful quote needs dimensions, thickness, print method, color count, artwork coverage, bag style, and quantity. Without those details, the number that comes back is just a placeholder.
Below is a directional pricing table. It is meant to show how the economics typically move, not to promise a universal rate. Final pricing shifts with artwork, converting complexity, freight, and the exact terms of the job.
| Option | Typical Use | Setup Load | Typical Unit Cost Direction | Best Fit |
|---|---|---|---|---|
| Blank bag + label | Temporary branding or very low-volume packing | Low | Lowest bag cost, higher labor cost | Small runs, variable SKUs, short-term needs |
| Digital printed bag | Short runs and quick-turn branded packs | Medium | Moderate; often better for smaller orders | Prototype runs, seasonal products, multiple artwork versions |
| Flexographic printed bag | Recurring orders and larger quantities | Higher upfront, lower per unit at scale | Usually best at volume | Established SKUs, retail packaging, ongoing replenishment |
MOQ exists because setup work is real. Plates, press calibration, material allocation, and converting time all happen before the first acceptable bag is packed. Smaller runs carry more of that fixed cost per piece, which is why short orders can look expensive even when the materials themselves are not.
There is a rough market pattern worth keeping in mind. Simple printed bags at scale may land in the low cents range per unit, while heavier film, more colors, larger coverage, or added features can move pricing up quickly. If a quote seems unusually low, check whether it excludes setup, freight, sampling, or rework terms. That omission is common.
Hidden costs are where budgets get surprised. Artwork revisions, rush fees, special inks, zippers, perforations, venting, unusual bag formats, and shipping method all affect the final number. So does whether the quote is ex-factory, FOB, or delivered. Two quotes can look similar and still be miles apart once the assumptions are unpacked.
Compare only like for like: same dimensions, same thickness, same print coverage, same bag style, same pack count, same ship-to location. If those variables are different, the “cheaper” quote may just be quoting a different product.
Production Process and Lead Time: From Artwork to Delivery
Good production runs are usually boring. That is not a complaint; it is the goal. The process should move from quote, to artwork review, to proof approval, to production, to inspection, to shipment with as little noise as possible.
The delays tend to come from avoidable problems. Missing dielines. Low-resolution logos. Repeated copy changes after the proof is already reviewed. Color expectations that were never discussed. Compliance language that appears late. Every one of those issues adds time, and none of them are mysterious.
Lead time depends on the method and the order size. Short digital runs can move faster because the setup burden is lighter. Flexographic work usually takes longer, especially if plates or special converting steps are involved. Larger custom orders also need more inspection, and that extra checking is not wasteful. It is what keeps a job from shipping with a typo in a warning line or a color shift that should have been caught earlier.
If color match or material feel matters, ask for a physical sample or strike-off. Screens are useful for layout and content, but they do not show how the film feels in hand or how the ink behaves under store lighting. Dark artwork and fine type can look especially different once they are printed on smooth film.
Calendar buffer matters more than many buyers want to admit. Freight adds time. Customs can add more. Seasonal launches are the worst place to discover that a proof round was skipped or a file was approved too quickly. A realistic timeline beats a rushed apology almost every time.
When a packaging program includes multiple SKUs, standardizing the base bag structure can save time later. It makes reorders cleaner, simplifies inventory, and reduces the number of slightly different versions that accumulate when teams edit art files independently.
Common Mistakes Buyers Make with Branded Poly Bags
The same mistakes keep showing up because the pressure points are the same. A rushed brief, a weak proofing process, and too little attention to the physical workflow can undo a packaging decision before the first carton ships.
Choosing the wrong thickness is one of the most common problems. Too thin, and the bag tears, scuffs, or feels cheap. Too thick, and the packaging becomes stiff, expensive, or harder to pack efficiently. Buyers often overspecify after one bad experience, then pay for durability they never needed.
Overcrowding the design is another recurring issue. A bag is not a billboard, and it is usually viewed quickly. Tiny text, multiple gradients, and too many legal notes can create visual clutter that gets worse once the bag is folded, sealed, or stacked in a case pack. Strong hierarchy and clear contrast generally perform better than trying to say everything at once.
Ignoring print limits causes expensive disappointment. Fine reversed type, photo-level detail, and delicate lines may not reproduce well on thin film. That is not a vendor excuse; it is a material limit. The best-looking artwork on a monitor can still be the wrong artwork for the substrate.
Leaving compliance copy until the end creates a chain reaction. Warnings, barcodes, recycling marks, and product identifiers affect layout. If those elements are added after proof approval, the artwork usually has to be reopened, adjusted, and re-approved. Budgets do not enjoy that sequence.
Forgetting the line workflow is just as damaging. A bag that looks fine on a spec sheet may still slow production if the team has to orient it awkwardly, open it manually, or separate it in a way that interrupts packing speed. Packaging should support the process. It should not create a new one.
The cleanest way to reduce risk is to treat the bag as a working component, not decoration. That shift changes the questions buyers ask, which usually changes the final result.
Expert Tips for Ordering the Right Bag the First Time
Start with the product, not the artwork. Product dimensions, weight, fragility, and packing method should determine the bag structure. Once those requirements are fixed, the design can be tuned to fit the package instead of fighting it.
Keep the branding bold. High-contrast graphics survive the realities of film better than delicate visual details. Poly film reflects light and moves quickly through packing hands, which is a difficult environment for thin lines and low-contrast text. If the logo needs to be readable from a distance, simplify it until it can be read at a glance.
Ask for a prototype or printed sample if color, legibility, or finish matters. A screen proof shows layout. A physical sample shows whether the ink density, seal behavior, and material feel are actually acceptable. Those are different checks, and confusing them can lead to a lot of unnecessary rework.
If you manage several SKUs, one bag structure with variable print zones is often smarter than building a different converting spec for each product. Fewer structures make reordering easier, inventory cleaner, and price comparisons more honest. Artwork can vary without forcing the factory to rebuild the job every time.
A simple approval checklist usually catches the problems that create delays:
- Product dimensions and weight
- Bag style and closure type
- Film thickness target
- Material type
- Print colors and coverage
- Compliance text and barcode placement
- Delivery date and ship-to location
The list is plain because the failure points are plain. Most packaging mistakes happen not because the bag is complicated, but because the basics were assumed instead of confirmed.
Next Steps to Spec, Quote, and Launch Confidently
If you are ready to buy pre printed poly bags, the most reliable route is straightforward: lock the functional specs, request quotes on the same basis, and approve artwork only after the details are aligned. That sequence keeps the project from drifting into revision loops that cost time and money.
Send product dimensions, quantity, print colors, bag format, thickness target, artwork files, and any required warnings or regulatory copy. Include how the bags will be packed if that affects the line, and share a real delivery deadline rather than a loose target. A quote can only be as accurate as the brief behind it.
Ask how many proof rounds are included and whether the price covers plates, sampling, freight, and rework conditions. Those details are easy to skip during early conversations, then hard to recover later when the invoice lands with items nobody expected.
Work backward from launch and leave a buffer for proofing, production, transit, and one round of correction if needed. Keep a single master spec sheet so future reorders do not slowly mutate into a different bag every time someone edits the artwork or switches vendors.
The practical way to source pre printed poly bags is not complicated: define the job, compare identical specs, and choose the format that supports the product and the process. When those pieces line up, the packaging stops being friction and starts doing its actual work.
What are pre printed poly bags used for?
They are used for retail packaging, product protection, shipping, and compliance messaging. They also reduce manual labeling and help keep the presentation consistent across every unit.
Are pre printed poly bags cheaper than adding labels later?
Not always on the unit price, but often yes on total packaging cost once labor, label waste, and misapplication are counted. They tend to make more sense when volume is steady or the package has to look polished.
What affects the cost of pre printed poly bags the most?
Bag size, thickness, print colors, print coverage, and order quantity are the biggest drivers. Artwork changes, rush jobs, special features, and unusual converting steps can also move pricing upward.
How long does production usually take?
Short digital runs can move faster, while flexographic jobs and larger custom orders need more setup and inspection. Artwork approval, proofing, shipping method, and order size all affect the final timeline.
What should I send to get an accurate quote for pre printed poly bags?
Send product dimensions, bag style, thickness target, quantity, print colors, artwork files, and required compliance text. If possible, include packing method and delivery deadline so the quote reflects real production conditions.