A premium hoodie can photograph beautifully, ship in a clean e-commerce box, and still feel forgettable if the first thing the customer touches is a flimsy, glossy, overstuffed bag with a loose card floating around inside. A Printed Matte Zipper bags apparel Packaging Insert Checklist keeps the bag, finish, closure, branding, and insert materials working as one unit instead of five separate decisions that fight each other at the packing table.
That matters more than many apparel teams expect. The bag is not just a sleeve. It affects first-touch feel, garment presentation, barcode visibility, return instructions, fulfillment speed, and sometimes compliance messaging. If the insert is too large, too sharp, too thick, or parked under the zipper track, even a well-made garment can arrive looking crushed and underplanned. Great. The product survived production and lost the room at unboxing.
Printed Matte Zipper Bags Apparel Packaging Insert Checklist
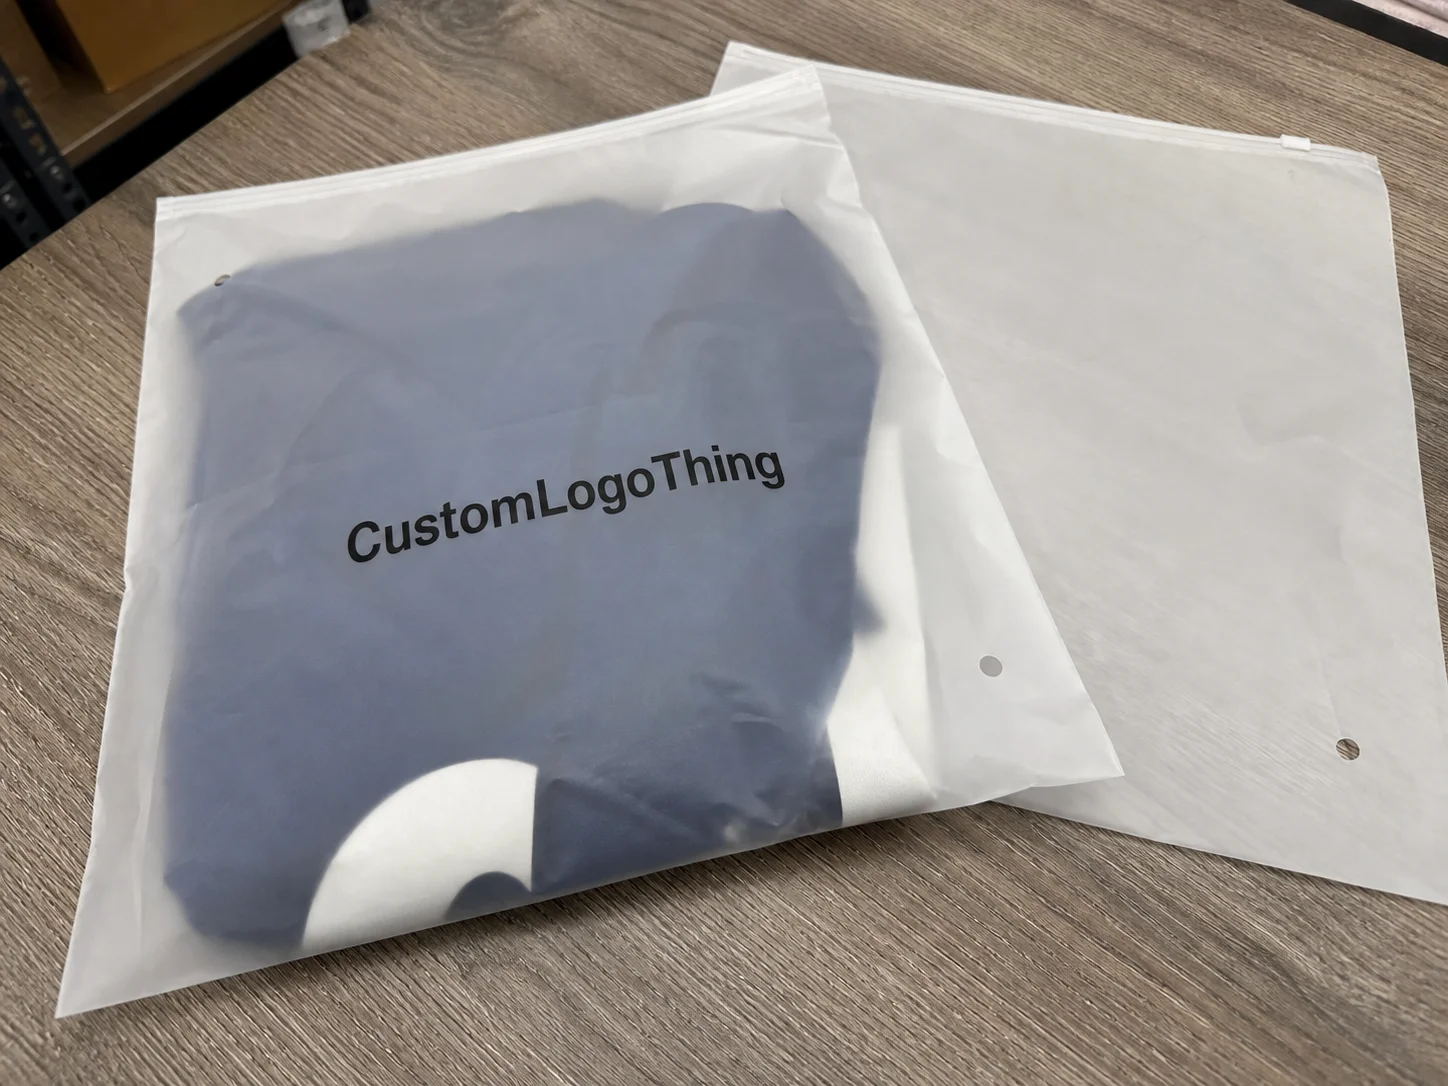
Printed Matte Zipper Bags are flexible apparel bags made with a resealable zipper track, a low-glare surface, and custom print applied by flexographic, gravure, or digital printing. The right method depends on artwork, volume, color requirements, and budget. Most buyers call them “poly bags,” but that undersells the job. For apparel, they behave more like structured product packaging with rules for sizing, print placement, closure strength, and insert planning.
The matte effect can come from the film, a coating, or a laminate surface. The zipper profile is usually heat-sealed during converting. Print has to be positioned around seals, fold lines, punched holes, warnings, and the garment’s natural bulk. Good package branding looks calm and deliberate. Poor planning makes the same matte bag look wrinkled, crowded, and weirdly cheap.
An apparel packaging insert can be a size card, care card, thank-you card, QR code card, return instruction card, tissue sheet, hangtag, desiccant, warning label, folded information sheet, or a small warranty document. Some brands need one simple card. Others need different insert sets for wholesale, retail, and direct-to-consumer orders because each channel asks the package to do a different job.
The insert checklist matters because every piece has to fit the bag footprint. A 4 x 6 inch card may sit nicely in a folded tee pack. The same card can press a hard rectangle into a lightweight performance top. A desiccant pouch may help during long transit or humid storage, but it should not sit against the front face if the product is meant to photograph well when opened.
Packaging floor rule: test the bag, garment, and insert stack together. A clean dieline on a screen does not prove the zipper will close neatly around a folded fleece hoodie.
For apparel brands, merch teams, e-commerce operators, and product developers, the checklist is mainly a revision-control tool. It forces decisions on dimensions, print, insert copy, SKU versions, compliance marks, and pack-out sequence before money gets committed to plates, samples, or production inventory.
How Matte Zipper Apparel Bags Work from Film to Finished Pack
The process usually starts with plastic film supplied in rolls. The film is extruded or sourced to a target gauge, surface-treated for ink adhesion, printed, finished or laminated if needed, then converted into bags using heat seals, zipper profiles, cut openings, lip areas, hang holes, or vent holes. Each step changes how the finished pack feels in hand and behaves during fulfillment.
PE film is common because it feels soft, flexible, and forgiving around folded apparel. PP film tends to feel crisper and can hold a flatter structure, though it may be less forgiving around bulky garments. Recycled-content film can work when it meets the print, strength, and clarity needs of the job. Test it first. Recycled blends can vary in haze, stiffness, seal behavior, and odor more than buyers expect.
Matte is not one specification. A matte film may give a natural frosted look with moderate scuff resistance. A matte coating can create a cleaner low-sheen surface but may need rub testing, especially with dark ink coverage. A matte laminate can feel more controlled and premium, though it may add cost and stiffness. Buyers often approve matte by appearance alone, then get surprised by handling marks once cartons are packed tightly. That is a preventable mistake.
The zipper needs a practical middle ground. It should grip well enough to stay closed through warehouse handling, carton compression, parcel shipping, and customer opening. It should not be so tight that the customer has to yank the bag and tear the side seal. For apparel, a zipper that opens smoothly with two hands is usually better than one that feels overly stiff and “secure” in a sample room.
Print placement needs careful mapping. Logos, size callouts, recycling marks, suffocation warnings, QR codes, and insert visibility all sit near side seams, zipper tracks, bottom seals, punched holes, and garment folds. A logo that looks centered on an empty bag may shift visually once a 280gsm sweatshirt adds loft behind it.
The insert connects directly to the bag mechanics. If the insert is too thick, too rigid, or positioned too close to the zipper, the filled pack can bow and the zipper may not close evenly. The front face can also look messy, especially on frosted film. Treat the insert as part of the bag structure, not as a last-minute marketing extra.
Key Specs to Confirm Before Artwork, Inserts, and Sampling
Start with the folded garment, not the size label. A small tee, oversized hoodie, leggings set, and cap-and-tee bundle can all need different internal space even if the retail size sounds simple. Measure the product after it is folded the way it will actually ship, including tissue, hangtag, collar insert, or any branded component that remains inside the bag.
Core dimensions include usable width, usable height below the zipper, lip height above the zipper, side seal allowance, bottom seal allowance, optional hang hole, and vent hole placement. A vent hole can help air escape during packing, which reduces ballooning in cartons. It is not right for every product, storage condition, or dust-sensitive item.
Film thickness needs a plain conversation. Many apparel zipper bags fall roughly in the 2 to 4 mil range, though exact choices vary by material, size, and supplier. Thinner film can lower unit cost and reduce material weight, but it may wrinkle, puncture, or feel too light for premium apparel. Heavier film can feel more substantial, yet it can increase shipping weight, add stiffness, and make slim packs feel overbuilt.
Finish and color change the whole presentation. Matte clear film gives better product visibility. Matte frosted film softens the view and can hide minor garment variation. Tinted matte film can support brand color, but it may affect barcode contrast and product color perception. Opaque matte film gives the cleanest graphic surface but removes customer visibility unless artwork or insert design compensates for that.
Artwork specs should include print colors, spot color matching, white ink backing, barcode or QR code readability, safe zones, bleed, and whether the design is one-sided or two-sided. If a QR code is printed on a flexible matte surface, leave a generous quiet zone and avoid placing it near wrinkles, curves, or seals. For standards-based shipping performance, resources from ISTA can help teams think beyond the flat artwork file.
Insert specs deserve the same discipline. Confirm card size, paper weight, coating, corner radius, fold format, language versions, variable QR codes, and whether inserts are hand-loaded, machine-fed, or supplied separately to the fulfillment team. A 300gsm card with sharp corners may feel premium in the hand, but it can leave pressure marks in soft knits if the bag is packed tightly.
| Specification Choice | Best Fit | Buyer Watchout |
|---|---|---|
| Matte PE zipper bag | Soft tees, hoodies, casual apparel, flexible packs | Can wrinkle if undersized or packed under carton pressure |
| Matte PP zipper bag | Crisper retail presentation and flatter folded products | May feel less forgiving around bulky garments |
| Opaque matte film | Strong package branding and clean graphic panels | Hides garment color unless SKU labeling is excellent |
| Printed insert card | Care, return, loyalty, warranty, and QR messaging | Needs size and placement testing inside the filled bag |
If you are also coordinating mailers, cartons, tissue, or other Custom Packaging Products, keep the bag specs in the same packaging matrix. Boxes, zipper bags, cards, labels, and tissue should not be specified in isolation if they are going into the same fulfillment flow.
Process, Timeline, and Lead Time for a Clean Packaging Order
A clean order follows a practical sequence: confirm garment fold size, choose film and finish, draft the insert list, build the dieline or print template, review artwork, produce a proof or sample, approve production, manufacture, inspect, pack, and ship. Skipping steps rarely saves time. It usually moves the problem to the most expensive point in the schedule.
Lead time depends on material availability, print method, zipper profile, number of sizes, color matching requirements, insert complexity, production queue, and whether the job needs a physical pre-production sample. Digital printing may help with smaller runs or variable artwork. Flexographic and gravure production are usually more efficient when volume and repeat artwork justify setup.
As a planning range, simple repeat orders can sometimes move in a few weeks after artwork approval. New custom jobs with sampling, color matching, inserts, and freight planning often need four to eight weeks or more. Overseas production, specialty films, high SKU counts, and holiday-season queues can push that longer. Nobody loves hearing that in a launch meeting. Better there than after the goods are waiting for packaging.
The proofing stage has two jobs. A digital proof checks layout, text, warning placement, barcode size, QR code placement, and general color intent. A physical sample checks film feel, zipper function, opacity, print appearance, insert fit, carton behavior, and the way the finished pack photographs under normal light.
Apparel launches often slip because packaging starts after garment production, even though bag sizing and insert language should be planned while garment specs are still being finalized. If a garment changes from a lightweight tee to a heavier fleece, the bag size and insert placement may both need adjustment. One change can affect the dieline, carton count, and freight volume.
Approvals should be centralized. One person should sign off on dimensions, artwork, insert copy, compliance marks, carton labels, and ship-to details. Without that control, marketing may approve a beautiful front graphic while operations notices the barcode is hidden. Or compliance may add warning text after plates are prepared. Neither scenario is fun.
Build a buffer for freight, customs when applicable, warehouse receiving, kitting, and fulfillment testing. Even lightweight matte zipper bags can take up carton space because they are packed flat in bundles. Pre-inserted packaging may change carton count and receiving workflow. Keep those timing details visible before launch pressure gets loud.
Cost, Pricing, and MOQ Factors That Change the Quote
Unit cost is shaped by film type, bag size, film thickness, zipper style, print coverage, color count, matte finish method, order quantity, and whether inserts are printed, packed, or bundled with the bags. Freight matters too. The bags are lightweight, but cartons can become bulky, especially if packaging is pre-kitted with cards or tissue.
MOQ is a real pricing lever because custom printed plastic bags become more efficient at higher volumes. Setup, plate preparation, tooling, color matching, press setup, and make-ready time are spread across more pieces. A one-color logo on a standard matte PE zipper bag is usually simpler than full-coverage artwork, multiple SKU sizes, opaque film, and tight spot-color matching.
For rough budget framing, simple custom apparel zipper bags can land in the low cents per piece at higher volumes, while smaller runs, heavier film, full-coverage print, specialty matte finishes, and insert kitting can push costs much higher. Exact pricing moves fast because resin costs, freight, print method, and order quantity all matter. A quote without bag dimensions and insert handling details is mostly a guess wearing a spreadsheet costume.
Insert costs move the quote too. Card stock, coating, print sides, folds, version count, QR code testing, language variants, and insert sequence all affect handling. One card per bag is straightforward. A care card, return card, promo card, and desiccant pouch in a specific order takes more control and may add labor at the packing or kitting stage.
Ask for clear alternatives rather than one flat quote. A good-better-best comparison might include two film thicknesses, one-color versus multi-color print, standard MOQ versus higher price-break quantities, and inserts packed separately versus pre-kitted. From a packaging buyer’s point of view, that side-by-side view is much easier to evaluate than a single number with hidden assumptions.
For sustainability claims, be careful with wording. Recycled-content film, recyclable film structures, and FSC-certified paper inserts are different claims with different evidence needs. If paper inserts are part of the program, the Forest Stewardship Council is a useful reference for certified paper sourcing. Do not print a recycling icon, FSC mark, or environmental statement unless the material and supplier documentation support it.
| Quote Factor | Lower-Complexity Option | Higher-Complexity Option |
|---|---|---|
| One-color logo, one side | Full coverage, two sides, spot color matching | |
| Film | Standard matte PE | Opaque, tinted, laminated, or recycled-content film |
| Sizes | One shared apparel bag size | Separate sizes for tees, hoodies, sets, and accessories |
| Inserts | Single loose card | Multiple versioned cards, QR codes, folds, and kitting |
| Packing | Bags bulk packed by size | Bags pre-kitted with inserts and SKU labels |
Attach the checklist to the quote request. It helps suppliers price the real job instead of guessing at insert handling, print coverage, warning text, or SKU splits.
Step-by-Step Checklist for Building the Apparel Insert Set
Step one is identifying the customer job each insert must perform. Care instructions reduce garment damage. Return cards reduce support tickets. QR codes can send buyers to fit videos, warranty forms, review pages, or exchange portals. Brand story cards can add warmth, but only if they earn their space inside the pack.
Step two is deciding what belongs on the bag versus inside the bag. Compliance marks, recycling icons, suffocation warnings, and size indicators may work best on the printed bag if they need to be visible before opening. Care details, promotional messaging, and longer return instructions often sit better on a card because the customer can remove and read them without fighting the film.
Step three is sizing the insert to the folded garment and bag window. The card should not buckle, block the zipper, hide important branding, or create sharp pressure marks. For thin leggings or ribbed knitwear, a smaller rounded-corner card can be kinder to the product than a large square-edged insert.
Step four is choosing paper and finish based on feel and function. Uncoated cards feel tactile and natural, but they can scuff and absorb oil from handling. Coated cards print more crisply and improve small type. Very heavy stock can look premium, yet it may be awkward in slim apparel packs. For many apparel insert cards, the sweet spot is a sturdy card that bends slightly rather than a rigid board that fights the bag.
Step five is proofing every insert like a production component. Check spelling, barcode scans, QR links, return addresses, size labels, legal wording, and language versions before the bag order moves forward. Run QR tests on a phone under normal warehouse light, not only on a designer’s monitor.
Step six is documenting the pack-out order. A useful instruction might read: garment folded front-facing, tissue wrapped once, card facing front, desiccant behind garment, zipper closed, barcode facing outward, carton label matched to SKU. That level of detail can prevent mixed inserts across sizes and reduce repacking work.
- Define the purpose of every insert.
- Separate bag-print information from removable card information.
- Match insert size to garment fold and bag face.
- Select paper weight, coating, corners, and fold format.
- Proof copy, scans, links, language versions, and compliance text.
- Write the exact pack-out order for fulfillment.
If your team manages several product packaging formats, keep this checklist near your broader packaging design files. It pairs naturally with tissue, stickers, hangtags, mailers, and Custom Packaging Products used across the same apparel line.
Common Mistakes That Make Matte Zipper Bags Look Cheap
Under-sizing is the most common problem. If the garment is squeezed into the bag, the matte surface wrinkles, the zipper strains, and even a high-quality print can look poorly planned. The pack should have enough room for garment loft without looking loose and sloppy.
Zipper placement is another frequent miss. Artwork or inserts placed too close to the zipper can be hidden, distorted, or damaged during repeated opening and closing. Leave a practical safety zone around the zipper track, especially for QR codes, small type, and logos that need clean visibility.
Overloading the pack hurts the experience. Four inserts may sound generous in a planning meeting, but customers often read only the first useful card. Extra cards add material cost, increase hand-packing time, and make the bag feel cluttered. A tight insert set usually beats a crowded one.
Matte scuffing deserves honest attention. Matte finishes can show rub marks more than glossy surfaces, especially with dark ink coverage or tight carton packing. Test a filled bag against normal handling: sliding into cartons, stacking under weight, pulling from bundles, and rubbing against other bags during pick-and-pack work.
Poor contrast shows up often in buyer files. Low-glare matte film can look elegant, but small type, pale ink, and translucent film may reduce readability. If the insert carries important return or care details, make sure the text works on the actual paper and under the bag’s actual opacity.
Operational mistakes are just as costly as design mistakes. Teams approve artwork without dieline safe zones, test empty bags instead of filled packs, mix insert versions across SKUs, forget suffocation warnings where required, or fail to match carton labels to bag sizes. A checklist helps because it pulls those details into one decision path.
Next Steps Before You Approve Production
Gather the practical details first: folded garment dimensions, target bag sizes, artwork files, insert copy, SKU list, order quantity, launch date, ship-to location, and any compliance requirements. If even one of those items is unclear, artwork approval may be premature.
Build a packaging matrix that lists each apparel SKU, bag size, print version, insert version, barcode, carton quantity, and fulfillment note. It does not have to be fancy. A spreadsheet with clear rows can keep purchasing, creative, operations, and warehouse teams aligned.
Request a dieline or layout template before final art is locked, especially if the design includes QR codes, warning text, size markers, or artwork near the zipper and side seals. A proper template should show usable height below the zipper, lip area, seal allowances, print safe zones, and any punch holes.
Approve a sample with the actual garment and insert stack inside. Check zipper closure, hand feel, opacity, scuffing, print alignment, barcode scans, QR links, and how the finished pack photographs for e-commerce or wholesale receiving. A sample without the real garment proves only part of the job.
Ask suppliers direct questions: What matte films are available? What thickness options fit the garment? What are the MOQ tiers? Is proofing digital, physical, or both? What is the production lead time after approval? Can inserts be packed separately or pre-kitted? How are cartons labeled? Is recycled-content film suitable for the design and performance target?
For teams coordinating bags with mailers, inserts, labels, and other branded packaging pieces, Custom Packaging Products can keep the buying conversation organized around the full pack, not just one component. Before approving artwork, pricing, sampling, or production, use the checklist so the finished apparel package feels intentional from the first touch.
FAQs
What should be included in a printed matte zipper bags insert checklist for apparel?
Include bag dimensions, film type, thickness, matte finish, zipper style, print colors, artwork safe zones, compliance marks, insert size, insert material, SKU versions, barcode or QR requirements, and pack-out order. Also confirm whether inserts ship loose, arrive pre-kitted, or are loaded by the fulfillment team.
Are matte zipper bags good for premium apparel packaging?
Yes, matte zipper bags can give apparel a softer, more refined retail feel because the surface reduces glare and makes simple branding look more intentional. They still need the right film thickness, careful carton packing, and scuff testing because matte surfaces may show handling marks more easily than glossy bags.
How do I choose the right size for printed matte zipper apparel bags?
Measure the garment after it is folded the way it will ship, then add enough room for the zipper, seals, garment loft, and any insert cards. Do not size the bag from the garment label alone; a heavyweight hoodie and lightweight tee with the same size label can need very different packaging space.
What affects the cost of custom printed matte zipper bags for apparel?
Major pricing factors include bag size, film thickness, material type, matte finish method, zipper style, print coverage, number of ink colors, order quantity, and freight. Insert-related costs depend on card stock, coating, print sides, folds, version count, QR testing, and whether inserts are packed separately or combined with the bags.
How long does the production timeline take for printed matte zipper bags with inserts?
Timeline depends on artwork readiness, material availability, proofing requirements, print method, order quantity, insert complexity, production queue, and shipping method. Plan extra time for dieline review, physical sampling when needed, approval revisions, carton labeling, warehouse receiving, and fulfillment testing before launch.


