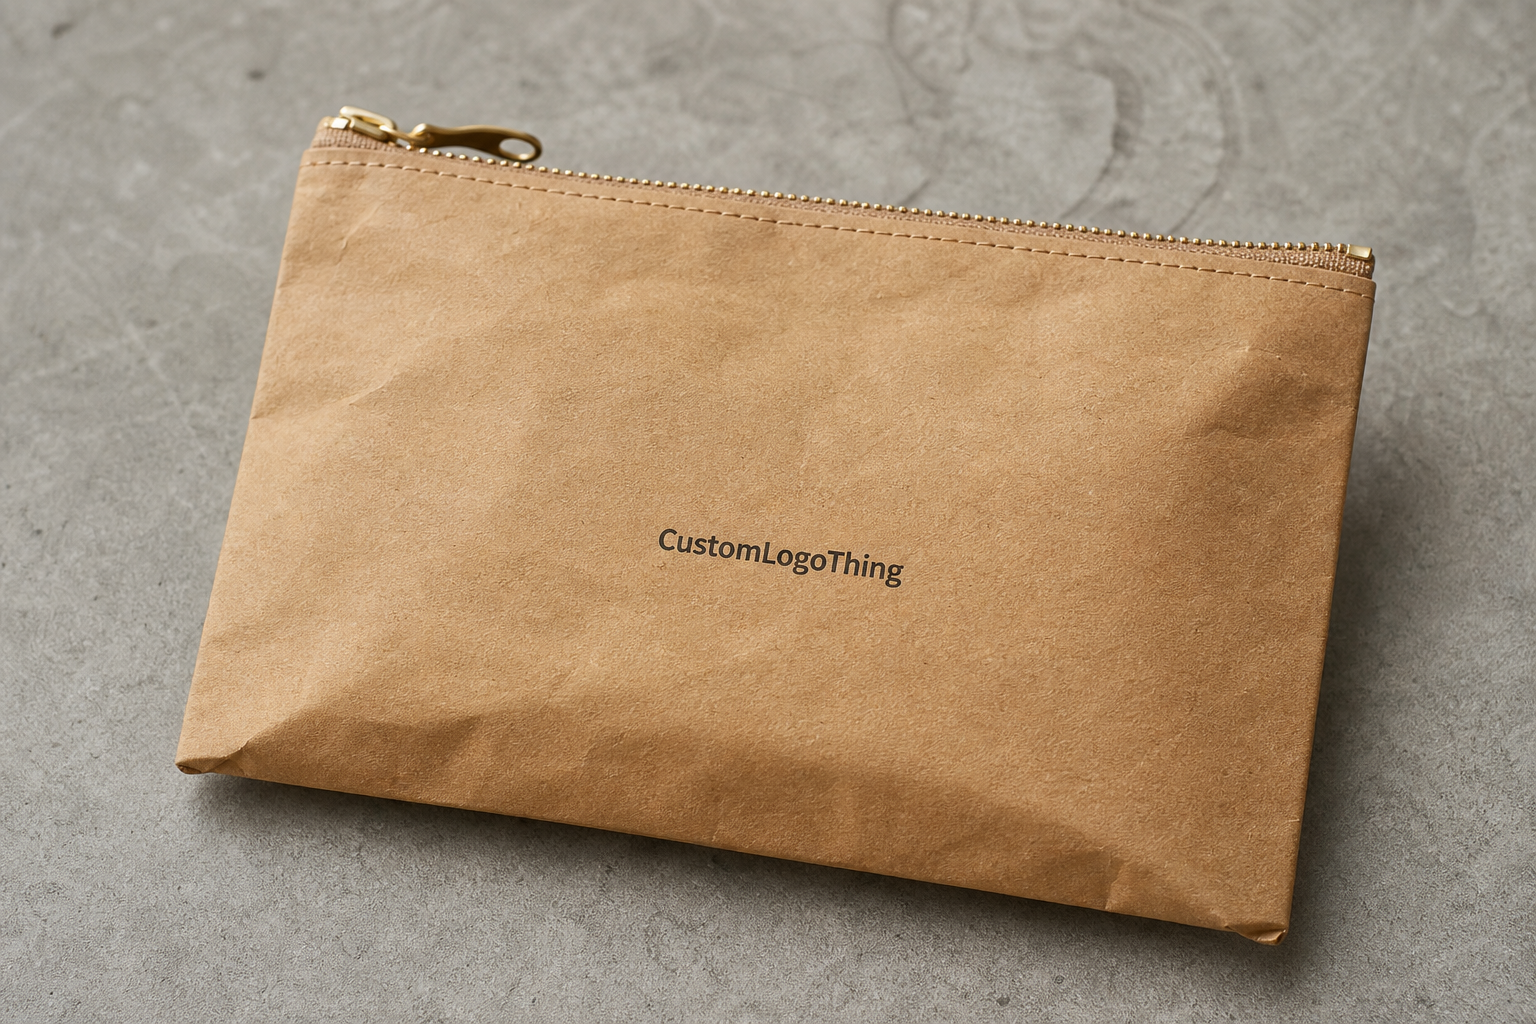
Private Label Zipper Pouches for Apparel Suppliers are packaging, but they are also part of the product presentation. If the pouch is thin, wrinkled, or awkward to close, it makes the garment feel less finished. If it fits cleanly and prints well, it helps the item look retail-ready before the customer ever touches the fabric.
For apparel buyers, the real decision is not whether to use a zipper pouch. It is which film, thickness, closure, finish, and carton pack make sense for how the goods are folded, shipped, stored, and reopened. A pouch that works for retail display may be a poor fit for warehouse handling. A premium finish may look better but push the cost outside your target margin. The best spec is usually the one that balances appearance, function, and freight efficiency.
That is why the strongest orders are usually the most disciplined ones: clear dimensions, final artwork, a realistic thickness target, and a sample that proves the zipper closes properly. Packaging does not need to be dramatic. It just needs to avoid becoming a problem.
Why Private Label Zipper Pouches for Apparel Supplier Orders Matter
Apparel packaging has to protect the product, organize fulfillment, and support the brand at the same time. That matters most for underwear, socks, activewear, loungewear, tees, and small bundled sets, where buyers expect clean presentation and repeated handling. A pouch keeps units together, reduces mix-ups, and helps the item arrive in a condition that looks intentional.
The visual differences are usually small but important. Clear LDPE shows the product well. Frosted or matte film hides handling marks and reduces glare. Gloss can create a sharper shelf presence, but it also shows scuffs more easily. A standard zipper is usually the lowest-cost option. A slider feels easier to use but adds cost. None of these choices is abstract; each one changes how the pack performs in a warehouse, on a peg, or in a carton.
A pouch that fits badly makes the garment look cheaper than it is. Buyers will usually forgive simple packaging, but they notice a bag that wrinkles, pops open, or looks undersized.
For programs that also use hang tags, care labels, or size stickers, the pouch should match the same information hierarchy. If those pieces are designed separately, the final presentation feels disconnected. It is often smarter to coordinate pouch artwork with Custom Labels & Tags early, before the dieline is locked.
How the Private Label Workflow Actually Runs
The basic flow is straightforward: inquiry, spec review, mockup or dieline, sample, approval, bulk production, and shipment. Most delays come from incomplete input, not from production itself. A supplier cannot quote accurately on “something around this size” or “a nicer version of the current pouch.” They need actual dimensions, structure, artwork, and quantity.
The fastest quotes usually come from buyers who send six items up front:
- Pouch dimensions based on the folded garment, not the flat garment.
- Material preference such as clear LDPE, frosted film, or laminated PET/PE.
- Thickness target, usually in mil or microns.
- Closure type including standard zipper, slider, or tamper-evident seal.
- Artwork files in vector format with print colors identified.
- Order volume and destination so freight and packing are quoted realistically.
Artwork is a common bottleneck. Low-resolution files, live fonts, and vague color references create extra proof rounds. Each round increases the chance of a new interpretation and another delay. Final dimensions, outlined fonts, and clear logo placement notes usually produce a faster proof and fewer surprises in bulk production.
Suppliers are worth comparing on the questions they ask, not the promises they make. A vendor that checks zipper style, carton pack, and intended use before quoting usually understands the product better than one that simply says yes to everything. That is a useful sign that the order will be managed from the spec sheet instead of improvised later.
Sizing, Film, and Seal Options That Affect Fit
Sizing basics
Start with the folded product, then add room for easy insertion and zipper closure. A pouch that is too tight stresses the seal and creates creases. A pouch that is too large wastes material and looks loose in retail display. For many apparel items, 10 to 20 mm of clearance on each side is a practical starting point.
Common starter sizes for light apparel include 6 x 9 inches, 8 x 10 inches, and 9 x 12 inches. These are not standards; they are just useful starting points. Socks and small accessories need less. Hoodies, multi-piece sets, and items with inserts usually need more depth or a gusset. If the pouch will hang, confirm whether a euro hole or other header feature is needed before the dieline is approved.
Material choices
Clear LDPE is still the default because it is flexible, inexpensive, and easy to seal. A thickness around 2.0 to 3.0 mil is common for lighter apparel packs. Thinner film can feel fragile. Thicker film improves stiffness and puncture resistance, but it raises material cost.
Laminated PET/PE structures usually cost more, but they print more cleanly and feel more premium in hand. Finish matters too. Matte reduces glare and hides fingerprints. Gloss sharpens color and creates shelf shine, but it also shows scratches more easily. For warehouse-heavy programs, matte is often the safer choice. For display-led assortments, gloss can be worth the extra cost if the print quality is strong.
Closure and print tradeoffs
Standard zipper is the best value for most apparel packs. It keeps units together, opens and closes easily, and adds little complexity. A slider zipper can improve user comfort and read as more premium, but it costs more. Tamper-evident builds make sense when first-open integrity matters. They are not necessary for every line.
Construction details matter as much as the main spec. Print zones need to stay clear of seals and edge distortion. Heavy ink coverage on thin film can cause curl. If the pouch will be stacked flat, even minor seal irregularities become visible. These are the kinds of defects that can look minor on a proof and obvious in a finished carton.
| Option | Best Use | Typical Unit Cost at 5,000 | Main Tradeoff |
|---|---|---|---|
| Stock clear LDPE zipper pouch | Simple apparel storage and packing | $0.08-$0.18 | Lowest branding impact |
| Custom printed clear pouch | Retail-ready presentation with logo | $0.18-$0.32 | Setup and ink coverage add cost |
| Laminated matte pouch | Premium apparel and gift sets | $0.28-$0.55 | Better appearance, higher MOQ pressure |
| Slide zipper or tamper-evident build | Retail handling and repeated openings | $0.30-$0.65 | Convenient, but not the lowest-cost path |
Cost, MOQ, and Quote Inputs That Change the Price
Price is driven by size, film thickness, closure style, print colors, finish, and carton configuration. In practice, “premium” usually means more material, more labor, or more setup time.
Smaller runs almost always cost more per unit. A 1,000-piece order may be materially higher than a 5,000-piece or 10,000-piece order because setup is spread across fewer bags. Custom setup fees often land somewhere in the $35 to $150 range, depending on artwork prep and print complexity. Samples can add another $25 to $80. Freight is separate and should be quoted separately from the start.
Do not compare suppliers by unit price alone. Compare landed cost. A low per-piece quote can hide expensive setup, inefficient carton packing, or freight that was guessed instead of priced. If one supplier packs more efficiently, the apparently higher quote may be cheaper once the goods arrive.
Ask for tiered pricing at 1,000, 3,000, and 5,000 pieces, then ask for a reprint quote on the same artwork. That gives you a better view of the supplier’s real cost structure. It also shows whether the quote makes sense at scale. If the price barely changes with volume, the setup may be padded. If it drops sharply, the factory probably has real scale in that product type.
If sustainability claims matter, ask for documentation before approval. For shipping validation on outer cartons, ISTA is a useful reference. For paper inserts or cartons, FSC is the cleaner standard to request. Do not confuse a logo printed on a pouch with an actual certification.
Lead Time, Sampling, and Production Steps That Slip Orders
A realistic schedule usually runs through five stages: quote, artwork check, sample or mockup, approval, bulk production, and shipping. Sampling can take a few business days to two weeks, depending on whether the pouch is stock-based or fully custom. Bulk production often takes another couple of weeks after approval. Shipping adds its own timeline, especially if the order moves by ocean instead of air.
The most common lead-time risks are predictable. Artwork changes after proofing. Quantity changes after the job is scheduled. Color changes after the sample is approved. Peak-season congestion. These are not surprises; they are the result of a moving spec.
A proper sample should verify five things: fit, zipper function, print clarity, seal quality, and carton packing efficiency. If the pouch looks good but the zipper snags, it fails. If the print disappears on clear film, it fails. If the bag looks premium but increases carton count enough to hurt freight efficiency, it fails in a different way.
First orders need more buffer than reorders. Buyers who give themselves an extra week usually avoid launch pressure. Reorders move faster because the dimensions already exist and the artwork is already resolved. The first run carries the learning curve, so it is the one that benefits most from time.
If the outer carton is part of the shipping promise, ask how the supplier handles packing tests and transit stress. That detail rarely gets enough attention during quoting, but it matters for direct-to-consumer fulfillment and any program that ships through multiple nodes. A pouch that survives production but fails in distribution is still a failed pouch.
Common Mistakes That Create Rework and Returns
The most common mistake is choosing the wrong size. A pouch that is too small wrinkles the garment and strains the seal. A pouch that is too large wastes material and makes the pack look loose. Both problems show up immediately.
Artwork mistakes are nearly as costly. Low-resolution files turn fuzzy on clear film. Dark logos disappear on tinted or frosted material. Thin type can vanish when the pouch folds. If the design relies on hairline rules to look premium, it is probably relying on optimism instead of print reality.
Operational mistakes are where budgets quietly leak. Skipping sample testing. Forgetting that an insert card changes the fit. Approving a pouch before checking zipper strength. Missing the barcode safe zone. These are simple issues, which is why they are so annoying. They are also usually avoidable with a quick review from someone who understands packaging and fulfillment.
Compliance and retail handling matter too. If the pouch hangs in-store, the header has to survive handling. If the pack includes care or SKU information, the copy must stay legible after folding and stacking. If the barcode sits under glare, scan rates will suffer. Small failures become expensive once they reach a warehouse or store floor.
For most programs, a controlled pilot run is the smarter path. Test the fit. Check the zipper under repeated use. Run a few cartons through the actual warehouse process. Then scale. That is how packaging avoids becoming a recurring operational complaint.
How to Compare Suppliers and Place the First Order
Ask every supplier for the same build: same size, same film, same closure, same print method, same quantity. If one quote quietly changes the structure and still claims to be comparable, the comparison is already distorted. The only fair comparison is one where every vendor quotes the same pouch.
For private label Zipper Pouches for Apparel supplier sourcing, sample quality matters more than polished sales language. The cheapest quote often hides the weakest zipper action, the softest film, or the least careful carton pack. A supplier that answers spec questions quickly and sends a clean sample is usually easier to work with through production than a bargain quote that only looks good on paper.
- MOQ: Confirm that the minimum matches actual demand, not a hoped-for sell-through.
- Lead time: Separate sample timing from bulk timing.
- QC process: Ask how zipper function, seal integrity, and print alignment are checked.
- Reorder consistency: Confirm that the same film and print setup can be repeated without reworking the job.
- Communication speed: Slow replies during sampling usually become slower once production starts.
If garment labels, hang tags, or pack-in cards are changing too, lock those pieces before bulk approval. The pouch, label, and insert should act like one system. If they do not, the result looks improvised. Coordinating them through Custom Labels & Tags helps keep the information hierarchy consistent across the pack.
The strongest first order is simple: final dimensions, final artwork, one approval round, and a sample that proves fit and finish. Then move into a controlled production run. That process is not flashy, but it is how a pouch program stays profitable instead of becoming a stream of avoidable corrections.
Private label Zipper Pouches for Apparel suppliers work best when they are treated as a production spec, not a decoration. Get the size right, choose the film with open eyes, compare quotes on total landed cost, and insist on a sample that proves the pouch can do the job.
What is the usual MOQ for private label zipper pouches for apparel suppliers?
MOQ depends on whether the pouch is stock, custom printed, or built with a special film or closure. Stock-style pouches can start lower, while custom print usually pushes the minimum up. For planning, ask for pricing at 1,000, 3,000, and 5,000 pieces so you can see the cost curve clearly.
How do I choose the right size for private label zipper pouch orders?
Measure the folded garment first, then add enough room for easy insertion and closure. Consider inserts, hang tags, and the way the pouch will sit in a carton or on a peg. A physical sample or accurate dieline is more reliable than a rough estimate.
Are printed zipper pouches more expensive than clear private label pouches?
Usually yes. Print setup, artwork prep, and ink coverage add cost, and premium films or finishes push it further. If margin is tight, simplify the artwork before reducing quantity. That usually gives a better result than cutting the pouch spec too far.
How long does production usually take for private label zipper pouches?
Sampling often takes a few business days to two weeks, depending on complexity. Bulk production commonly takes a few additional weeks after approval, and shipping adds transit time. First orders almost always take longer than reorders because the spec still needs to be finalized.
What files do suppliers need for private label zipper pouch artwork?
Vector files are best, along with outlined fonts and clear print-color references. Include logo placement, barcode rules if needed, and any panel or safe-zone notes. A complete artwork packet shortens proofing and reduces the chance of avoidable revisions.