Restaurant Frosted Zipper Bags packaging insert checklist sounds like a paperwork chore until a bag lands on the counter and the insert bends, slides, or vanishes behind the product. Most problems are not design failures. They are fit failures, handling failures, or approval failures. That is why a buyer needs a simple spec sheet before anyone starts building artwork.
From the purchasing side, the insert has one job: stay readable long enough to do something useful. It may carry a loyalty offer, allergen note, QR code, care instruction, or short menu reminder. The bag, the contents, and the service flow all decide whether the message actually works. If the insert is part of a branded packaging program, it should be treated as real packaging, not a flyer someone added after the fact.
Good package branding is usually quiet. It fits. It prints clearly. It survives greasy hands, a rushed line, and a little condensation. It also avoids creating extra steps for staff during peak service, which is often where these projects fail. A clever design is not useful if it slows packing or gets hidden by the product itself.
Restaurant frosted zipper bags packaging insert checklist basics
The real issue with a restaurant Frosted Zipper Bags Packaging Insert checklist is coordination, not creativity. The insert has to match the bag dimensions, the zipper location, the product depth, and the exact moment it gets added to the order. Miss one of those pieces and the whole spec starts to wobble.
Think of the checklist as a bridge between design and operations. It should connect the bag size, insert size, print message, finish, and packing workflow so nobody has to guess later. A restaurant team needs to know whether the insert is added at the counter, packed in advance, stored with the bags, or inserted after the product is sealed. That sounds basic. It is also where a surprising number of bad orders begin.
Common insert jobs for restaurants include:
- Promo cards for a limited menu or seasonal offer
- Loyalty cards and repeat-order reminders
- QR codes for reviews, reorders, or digital menus
- Allergen notices and care instructions
- Menu snippets for add-ons or upsells
If the team is already buying labels, sleeves, or custom printed boxes, the insert should be planned in the same conversation. One clean spec sheet saves more money than a polished deck nobody can pack. Buyers often spend hours debating finish or imagery while skipping the mundane question that matters most: how does this item move through the line?
The insert is not only seen. It is handled, stacked, shifted, folded, and sometimes crushed by the product sitting against it. A strong headline means little if the card bends behind the item or gets clouded by moisture. The checklist should define what the insert must do at each stage, not just what it should look like on a monitor.
“If the insert disappears behind the product, the design did not fail the printer; the spec failed the packaging.”
Timing matters as much as layout in food service. A flyer packed too early gets creased. One added too late slows the line. One that relies on memory will drift over time, and drift is how otherwise tidy packaging programs turn sloppy. A good checklist keeps the insert tied to the actual service flow, not to someone’s best intentions.
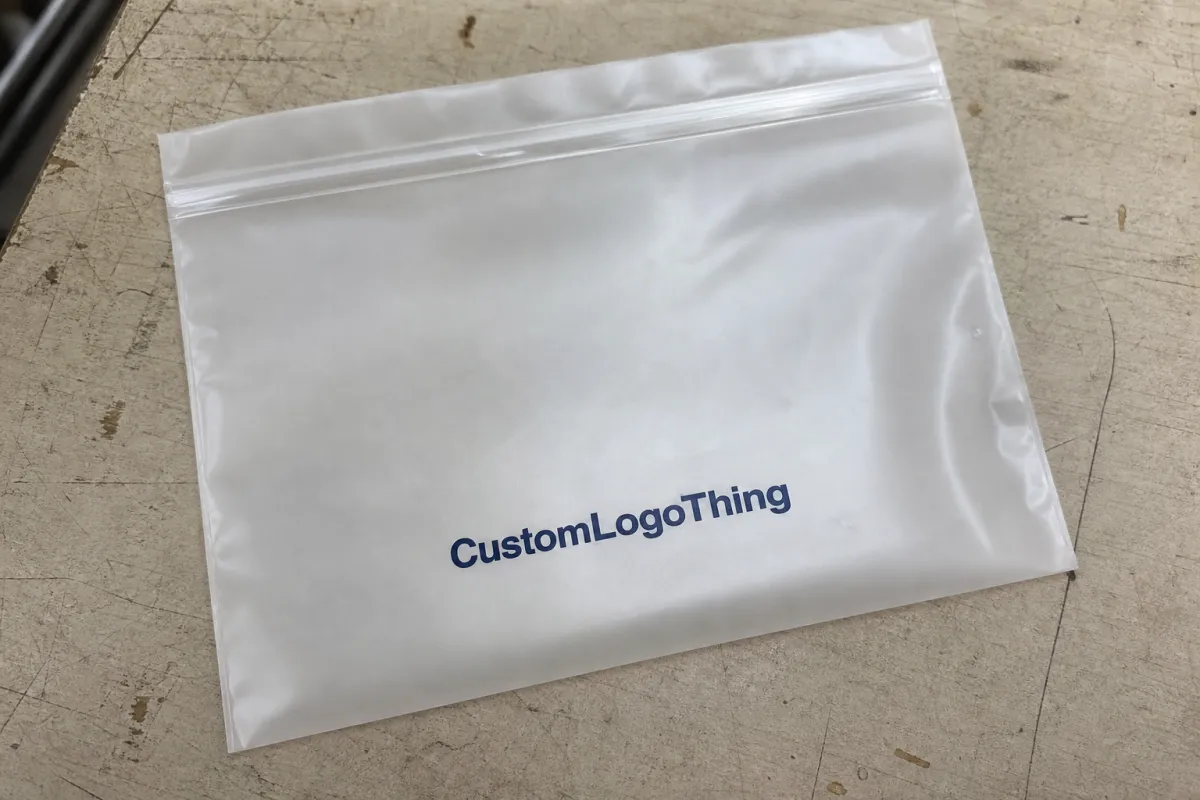
How the insert works inside a frosted zipper bag
Frosted film changes the visual equation. It softens contrast, diffuses edges, and makes small type look weaker than it did in the proof file. A bold black headline may still read well, but thin gray copy or fine line art can disappear faster than expected. The insert has to be judged through a hazy surface, not through perfect white-paper conditions on a designer’s screen.
Zipper placement matters too. If the zipper sits close to the top edge, the usable flat area shrinks. If the product is bulky, the bag swells and the insert can buckle. A card that looks correct on a dieline may fail once the bag is filled. Measure the interior space, not just the outside dimensions, then test the insert against the actual product depth. Depth steals readability faster than people think.
The most common failure modes are predictable:
- Curling from stock that is too light for the bag volume
- Sliding when the insert has no anchor point or sleeve
- Blocked reseal when the card sits too close to the zipper track
- Ink rub from coatings that are too weak for handling
- Hidden placement when the insert ends up behind the product instead of in view
Placement usually falls into four buckets: flat behind the product, front-facing for a promo, tucked into a sleeve, or packed loose for staff to add later. Each one changes the spec. A loose insert needs clear packing instructions. A front-facing promo needs stronger visual contrast. A behind-the-product insert needs enough stiffness to stay legible through the bag and product weight. That is where buyers often underestimate the material.
The simplest test is also the one people skip: proof the insert with the actual product, not an empty bag. Then check it under handling, light condensation, and a little grease transfer. If the card still reads cleanly after that, the design has a chance. If not, it was never ready for food-service use.
Material choice matters more than most people want to admit. A 14pt or 16pt card stock works for many dry-pack applications, but a heavier 18pt stock can hold position better if the bag is large or the product pushes hard against the panel. On the other hand, a thicker sheet increases cost and may create a bulky feel if staff need to slip it inside by hand. The right answer depends on the pack-out method, not on a catalog description.
For transit and pack-out behavior, it helps to borrow the testing mindset used in basic shipping standards from ISTA. The standards are not restaurant-specific, but the habit of checking vibration, compression, and repeated handling is useful whenever the insert travels with the product.
Cost, pricing, and MOQ tradeoffs
Insert pricing looks straightforward until the first revision lands. Unit cost drops as volume rises, but setup fees, shipping, and reprint risk matter more than most buyers expect on smaller runs. A quote that looks low can become expensive if the insert arrives late, the color is off, or the size misses the bag opening by a quarter inch. That is not a good trade.
The biggest pricing drivers are predictable: insert size, paper or film stock, print colors, coating, and special finishes. A 4-color one-sided insert on standard stock will usually cost less than a soft-touch, double-sided piece with foil or spot UV. Buyers comparing inserts, folded cards, and custom printed boxes should not look only at unit price. The whole packaging system matters, because a cheaper piece is not cheap if it cannot be used.
MOQ is a process signal as much as a number. Digital print can support lower quantities, while offset and specialty finishing usually push the minimum higher. If you are testing a new promo or a seasonal offer, ask for two or three quantity quotes. That exposes the real breakpoints instead of leaving everyone to guess. It also keeps the discussion honest about whether the campaign is worth scaling.
| Print approach | Typical quantity range | Approx. unit price | Best fit |
|---|---|---|---|
| Digital print | 250-1,000 | $0.42-$0.95 | Short promos, test runs, fast updates |
| Offset print | 1,000-10,000 | $0.10-$0.28 | Stable menu cards, loyalty pieces, repeat programs |
| Special finish run | 1,000-5,000 | $0.22-$0.60 | Soft-touch, spot UV, or premium branded packaging |
On smaller orders, setup can matter more than print cost. A $65 setup fee spread over 300 pieces is very different from the same fee spread across 5,000. Shipping matters too. Flat inserts are cheaper to move than pre-packed kits, but they move labor downstream. That is why the cheapest quote is often not the cheapest order.
Another detail that changes the math: ask whether the supplier prices by exact size or by sheet size. That can move the quote enough to matter, especially if the insert is being nested with other branded components in the same job. One inch of trim can affect both cost and appearance.
If you need to compare inserts against other retail packaging pieces, the current Custom Packaging Products page is a useful starting point. Different formats create different breakpoints, and a buyer should understand those before signing off.
In practice, a restaurant program often has three price tiers: a basic card for low-risk promotions, a mid-tier coated piece for higher handling, and a premium stock for launches or loyalty campaigns where the insert has to feel more permanent. The mistake is choosing the premium spec for every job. That is how a simple add-in becomes a budget leak.
Production timeline and approval steps
A clean production schedule starts with the spec sheet, not the artwork file. The path is usually simple on paper: spec sheet, dieline, proof, approval, print, finishing, kitting, shipping. In reality, each step can drift. Proof review is the first hard gate, and slow internal feedback causes more delay than the print shop does.
For a straightforward digital run, production after proof approval may land around 5-8 business days. Offset or specialty finishing can stretch to 10-18 business days, depending on coating, curing, and whether the supplier is kitting inserts with bags. Rush orders exist, but the tradeoff is obvious: higher cost, fewer revision rounds, and less room to fix mistakes.
Request a sample or press proof when any of the following are true:
- The color has to match a strict brand standard
- The QR code must scan from a frosted-bag setting
- The copy is small or legally sensitive
- The finish matters as much as the print
That is also where paper sourcing enters the conversation. If the stock itself is part of a sustainability claim, a verified option from FSC gives you a cleaner sourcing story. It does not fix a weak layout, and it does not excuse bad legibility. It only narrows one part of the risk.
Break the schedule into clear buckets: art prep, proofing, print, finishing, kitting, and shipping. Each one can slip for a different reason. Art prep slips because someone is waiting on a logo. Proofing slips because the legal line is still pending. Shipping slips because cartons were not labeled for split delivery. None of that is glamorous. All of it is real.
For restaurant buyers, there is one more timeline issue that tends to get missed. The insert may be small, but the approval chain is not. Marketing wants the headline. Operations wants the pack-out method. Legal wants the claim language. Accounting wants the final quantity. If those decisions land in sequence instead of in parallel, the calendar stretches. Sometimes the slow part is not production at all; it is internal consensus.
One useful rule: if the insert is tied to a menu launch, back up the deadline by a full week before the printed handoff date. That buffer absorbs proof changes, delivery delays, and the odd rework request. It is not conservative. It is practical.
Step-by-step insert checklist for buyers
- Confirm the bag dimensions and zipper location. Measure the flat interior area, the top clearance, and the depth once the product is inside. Do not use the outer bag size as your final guide. That is how people order the wrong insert and then spend the next week explaining why it “almost” fits.
- Define the insert job. Decide whether the piece is a promo, menu insert, loyalty card, QR card, compliance note, or care instruction. A single sheet can do more than one job, but the message hierarchy has to be clear or the card becomes noise. One primary action is usually enough.
- Choose the size, stock, and finish. Pick the flat size, whether it folds, the print side, and the coating. Heavier stock helps the insert stay visible. A matte finish can reduce glare under bright counter lighting. If the insert is going into a wetter food environment, ask for a stronger coating or lamination.
- Lock approval ownership. Name the person who controls the proof file and the person who signs off on copy. Put the sign-off date in writing. If four people can approve the same file, nobody really owns it. That is usually how revisions multiply.
- Document the packing instructions. State carton counts, staging method, and whether staff add the insert before or after sealing the bag. If the inserts ship flat, say where they are stored and who handles them. If they ship pre-packed, note how they are counted and checked.
Use the checklist with the actual order flow in mind. If the restaurant packs in a rush, the insert must be simple enough to handle with one motion. If the store has more time, a sleeve or a staged handoff may work better. The point is not to make the process more elaborate. It is to make the insert fit the way the operation already works.
For teams building a broader branded packaging system, the insert checklist should sit beside labels, sleeves, and takeout packaging specs. That keeps the whole program aligned instead of letting each piece drift in its own direction. A good package set feels considered because the parts were planned together.
Common mistakes that create reprints
The first mistake is using a generic flyer size because it is convenient. Convenient usually means wrong. The insert needs to match the bag opening, the zipper track, the product thickness, and the visual field through frosted film. A standard 5.5 x 8.5 card may be fine in one format and useless in another.
The second mistake is overloading the design. Frosted film already softens the view. Put too much copy on top of that and the message turns muddy. Short headlines, a strong QR code, and one clear next step usually work better than a crowded block of text. Buyers often try to squeeze three campaigns into one insert. That is how none of them get remembered.
Other common problems look like this:
- Ignoring condensation, grease, and handling wear
- Choosing stock that curls or scuffs too easily
- Ordering one quantity without checking the next price break
- Approving artwork before confirming phone numbers, promo dates, and QR destinations
- Forgetting that staff need a simple packing method, not a puzzle
Do not assume paper is automatically the best choice. Sometimes a heavier card works. Sometimes a coated sheet is enough. Sometimes a sleeve is smarter. If sustainability claims matter, spell them out clearly instead of making vague promises; customers and auditors are both tired of that. A verified stock from FSC can support the sourcing story, but the finish still has to survive use.
Another expensive mistake is ignoring the approval chain. A legal line that gets checked after print approval is not a surprise. It is a self-inflicted wound. The same applies to QR codes. Scan them on a phone, on weak Wi-Fi, and from a slightly curved angle. If they fail there, the customer will not be kinder than your proof checker.
Finally, never assume the lowest quote is the right one. The real cost includes delay, waste, rework, and staff time. A packaging order that lands late can cost more than the print itself. That is a boring truth, but it is still the truth. A buyer’s job is to avoid the kind of cheap that gets expensive later.
Next steps before you request a quote
Before you ask for pricing, pull the bag specs, insert dimensions, artwork, target quantity, and delivery date into one clean file. That habit cuts back on back-and-forth more than any design trick. It also gives the supplier enough information to quote the job without guessing, which improves the odds of a useful estimate on the first pass.
Ask for pricing at two quantity levels. One should be your target volume. The other should sit at the next break point. That is how you see the real unit-cost difference and decide whether the higher run makes financial sense. A quote for 1,000 pieces and a quote for 5,000 pieces can tell very different stories.
Request these details in writing:
- MOQ and unit price at each quantity
- Proof format and sample availability
- Estimated turnaround after proof approval
- Packing method: flat, with bags, or staged separately
- Any coating, finishing, or handling limits
That last point matters more than people think. If the supplier ships inserts flat, the restaurant team needs a storage plan. If the inserts are packed with the bags, the pack-out team needs a clear count. If the inserts arrive separately, someone needs to add them later without creating bottlenecks. The checklist should match the actual restaurant workflow, not the spreadsheet version of it.
If you need to compare the insert against other branded packaging pieces, the current Custom Packaging Products page is a useful starting point. The best order is usually the one that fits the operation first and the branding second.
Use the restaurant Frosted Zipper Bags packaging insert checklist one last time before sign-off. Check size, message, finish, quantity, proof, and pack-out. That extra five minutes is far cheaper than a reprint, and reprints are a terrible line item to explain later.
FAQ
What should a restaurant frosted zipper bags packaging insert checklist include?
It should cover bag size, zipper placement, and the usable insert area; the insert purpose and target audience; plus stock, finish, quantity, and who approves the proof. If any of those are missing, the order can drift fast.
How do I size an insert for frosted zipper bags?
Measure the flat interior area, not just the outer bag size. Leave clearance for the zipper, seal, and product thickness, then test the insert with the actual item before final approval. That final test catches most of the bad surprises.
What drives pricing the most on packaging inserts?
Run size and setup costs usually matter most, followed by material thickness, print colors, and finishing choices. Rush timing, shipping method, and special handling can also move the number more than buyers expect.
How long does production usually take after proof approval?
Simple digital runs can move quickly, while offset and specialty finishes take longer. Add time for proof revisions, finishing, and shipping. Rush orders cost more and leave less room for changes, which is exactly why they should be used carefully.
What should I ask a supplier before placing the order?
Ask for MOQ, unit price at two quantities, and turnaround time. Request the proof type and whether samples are available. Confirm the packing method and whether inserts ship flat, with bags, or pre-inserted. That is the real checklist, and it is the part that keeps the order from turning into a do-over.


