Retail Five Panel Caps sample checklist decisions usually fail on details that do not show up in a flat mockup. A crown that sits too tall, a front panel that feels too stiff, or a visor that curves differently from the approved reference can make a cap look off as soon as it reaches a buyer's hand or a shelf.
The five-panel format needs tighter review because the single front panel is the main canvas for decoration and the main place where shape problems show. There is less seam distraction than in a six-panel build, so fit, stitch balance, and logo placement are easier to notice. The sample is the place to catch those issues before bulk production locks them in.
Retail Five Panel Caps Sample Checklist: What Buyers Miss First
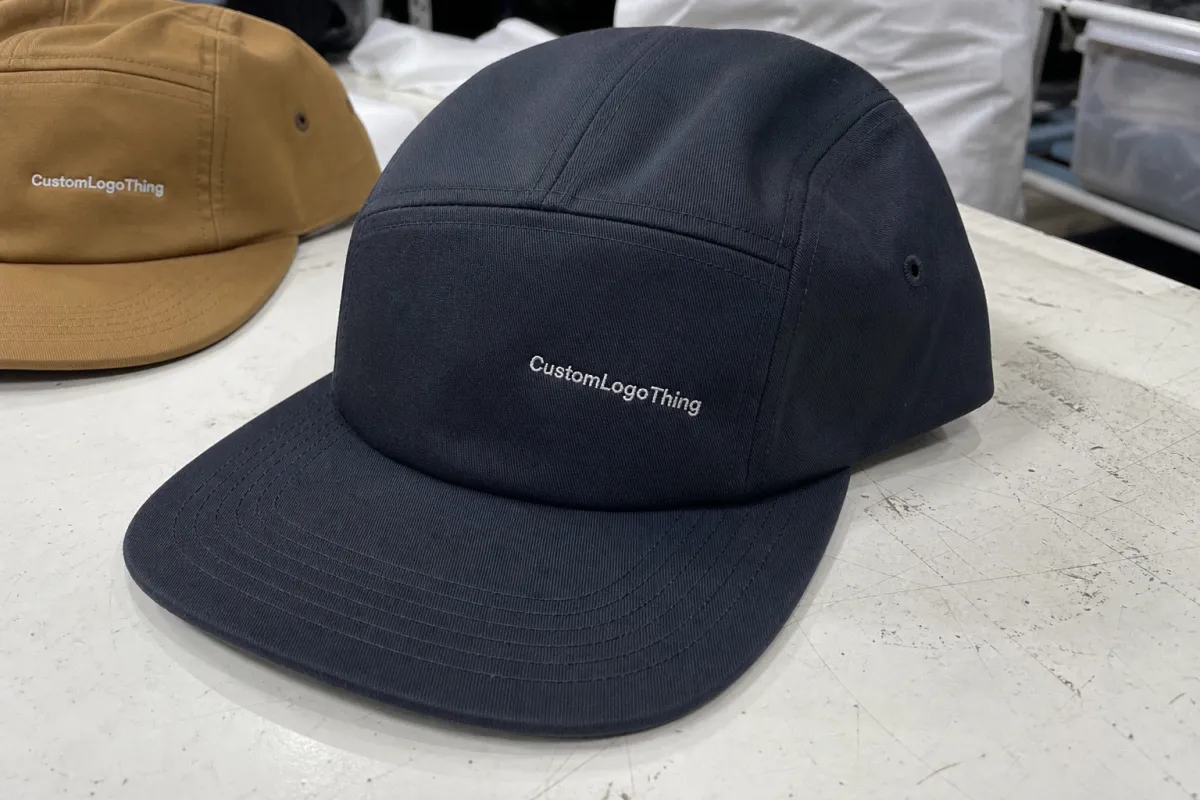
A five-panel cap has one front panel, two side panels, and two rear panels. That structure creates a cleaner front for decoration, but it also exposes problems faster. If the front panel is overbuilt, the cap reads boxy. If it is underbuilt, it collapses and looks low value.
The first misses are often tactile rather than visual. A sample may look correct in a render and still pinch at the temples, sit too shallow, or lose shape when the brim is flexed. Buyers do not inspect caps like engineers; they pick them up, turn them over, and decide quickly whether the product feels worth the price.
Check the sample as a finished unit, not as a decoration proof. Confirm crown depth, seam alignment, panel tension, visor shape, closure comfort, and logo placement on the sewn cap. A logo that lands a few millimeters high or a front panel that feels overly rigid can change the retail impression immediately.
A cap can be technically correct and still feel wrong on shelf. The difference is usually in the first-touch details: the crown, the brim, and how the front panel holds shape after sewing.
Use a physical standard, not just a digital render. A mockup can confirm artwork position, but it cannot show how the cap wears, how the brim curves after handling, or whether the front panel rebounds after pressure. That is why a strong review process depends on an actual sewn sample and a measured comparison against the spec sheet.
How Sample Approval Works for Five-Panel Caps
The sample flow usually starts with a tech pack or spec sheet that defines measurements, materials, logo placement, closure type, label requirements, and packaging notes. After that, the factory produces a blank or material reference sample, then a decorated sample once the fabric, thread, patch, or print method is confirmed. Treat those as two different approvals: structure first, decoration second.
When reviewing the cap, keep the sample beside the spec sheet, Pantone reference, and artwork file. The fabric should match the approved swatch or stay within the agreed tolerance. The logo should be measured from a fixed seam or center point, not judged by eye alone. The closure should open and close smoothly without feeling loose or sharp.
Small revisions are normal. If the first sample has a brim curve that feels flat, a front panel that collapses, or embroidery that pulls the fabric, adjust and resample. Even a small shift in stitch density, backing, or panel width can change the profile and the way the logo sits on the cap.
Once the sample is approved, it becomes the production standard. The factory is expected to repeat the same measurements, materials, trim details, and decoration methods in bulk. Any later change to insert stiffness, sweatband tape, brim curve, or hardware is a change order and can affect both cost and timing.
If the order will ship in retail cartons, ask whether packaging should be checked against transit expectations such as ISTA methods. Not every program needs formal lab testing, but you do need confidence that shipping will not crush the cap shape before it reaches the shelf.
Cost, Pricing, and MOQ Signals to Watch
Pricing is driven by fabric, panel count, stitch density, decoration method, lining, hardware, and packaging. A plain five-panel cap in standard cotton twill sits in one price band. Add embroidery, a woven patch, contrast underbrim, or custom labels, and the cost rises because setup and labor increase.
For many retail programs, production pricing often lands around $2.50 to $5.50 per unit at moderate volumes such as 500 to 1,000 pieces. Smaller runs usually cost more per unit because setup is spread over fewer caps. At 100 to 200 pieces, a 20 to 40 percent increase is common versus a larger run.
Sample-related charges need to be separated from production pricing. Embroidery digitizing may run $25 to $80 depending on logo complexity. Patch tooling or mold setup can add $50 to $150, and freight for one-off samples is another line item that buyers sometimes overlook. A clean cost comparison should show what is one-time and what repeats on every unit.
| Item | Typical Range | What Moves the Price | Buyer Check |
|---|---|---|---|
| Blank sample | $20-$45 | Fabric, closure, shipping | Confirm fit, crown depth, brim shape |
| Decorated sample | $40-$120 | Embroidery, patches, print setup | Check logo placement and color match |
| Digitizing or tooling | $25-$150 | Stitch count, patch method, mold type | Ask whether the charge is one-time or repeatable |
| Production unit price | $2.50-$5.50 at mid-volume | MOQ, trim package, decoration complexity | Compare prices at the same specs |
| Freight and carton handling | Varies by lane and carton count | Carton size, destination, service level | Separate shipping from product cost |
MOQ changes the economics more than many buyers expect. A supplier may quote one price at 300 pieces, another at 1,000, and another at 5,000, even if the cap looks identical in photos. To compare accurately, keep the same fabric weight, decoration method, closure, and packaging across every quote line.
Ask for pricing in three parts: sample cost, recurring production cost, and one-time charges. That split makes it easier to see where the savings are real and where the quote is only cheaper because it leaves out setup work.
Production Steps and Timeline From Spec Sheet to Final Sample
The sample process usually moves through five steps: artwork review, material sourcing, cutting and sewing, decoration, and final inspection. A simple blank sample can sometimes turn around in 7 to 10 business days after the spec is confirmed. Decorated samples, especially those with embroidery, woven labels, or custom patches, more often need 10 to 15 business days.
Lead time depends on the slowest material in the build. Washed cotton, recycled polyester, specialty mesh, or custom-dyed fabric can extend the schedule because the factory needs matching yardage before cutting begins. Custom labels and hangtags can add another approval round if color accuracy or paper stock matters to the retail presentation.
Build in review time on your side as well. If internal teams need several days to compare the sample against the spec sheet and collect comments from merchandising or sales, that belongs in the calendar. The schedule is only realistic if buyer review is treated as part of the process, not as an afterthought.
- Day 1-2: artwork and spec review.
- Day 3-6: fabric, trim, and closure sourcing.
- Day 7-10: cutting, sewing, and decoration.
- Day 11-12: finishing, trimming, and inspection.
- Day 13+: buyer review, comments, and revision if needed.
If the order will ship in retail packaging, confirm carton counts, fold direction, and whether caps should be nested or lightly stuffed to hold shape. A cap can be well made and still arrive looking careless if the packing method flattens the front panel or distorts the visor.
Fit, Materials, and Decoration Checks That Decide Sell-Through
Fit is a retail conversion issue, not just a comfort issue. Check crown height, front-panel structure, brim curve, and head opening on an actual person if possible. A shallow crown can feel modern and sporty, while a cap that sits too tall can feel awkward or generic.
Fabric handfeel matters more than many buyers expect. Cotton twill, brushed cotton, recycled polyester, and nylon blends each wear differently. Breathability changes with weave density and lining, and that affects comfort in warmer climates. A sweatband that is too thin can feel cheap; one that is too bulky can press at the forehead.
Decoration is where the front panel either works or fails. Embroidery should read clearly from a few feet away without puckering the fabric. Patches should sit flat with no edge lift. Print should stay sharp at retail distance and not blur into the panel texture. If the artwork is detailed, ask to see a stitch simulation or sewn reference before approval.
Interior details matter too. Seam tape should be neat and evenly applied. Label placement should not scratch the skin or interfere with the closure. On snapbacks and buckle closures, the adjustment path should feel smooth rather than sharp. These are the details buyers notice when they turn the cap over in their hands.
If the retail kit includes a hangtag, barcode sticker, or folded insert card, make sure the paper stock and print quality match the rest of the presentation. The paper does not need to be fancy, but it does need to look deliberate.
The easiest way to judge a sample is simple: if it looks balanced on a table, feels comfortable on a head, and the logo still reads clearly at arm's length, you are close.
Common Sample Mistakes That Create Delays or Returns
Approving from mockups only is the biggest mistake. A digital proof can confirm artwork placement, but it cannot show how the cap sits, how the brim curves under pressure, or whether the front panel collapses once the wearer moves. Physical sampling exists to catch those differences.
Color mismatch is another common problem. Screens lie, and fabric dye lots vary. Compare the sample against a physical swatch or approved standard, not against a laptop display. This matters even more with deep blacks, muted earth tones, and bright brand colors, where small shifts are easy to miss until the cap reaches the sales floor.
Measurement shortcuts create avoidable disputes. Crown depth, panel symmetry, brim dimensions, and closure length should all be checked before sign-off. A 2 to 3 mm drift may be acceptable in some builds, but only if the tolerance was agreed in advance. Without that, the factory and buyer may each think the other side is wrong.
Packaging and labeling mistakes can cause retail receiving issues that have nothing to do with the cap itself. A wrong hangtag, missing barcode, incorrect carton mark, or mismatched case count can slow intake or trigger rework. For store programs, confirm the retail label format, carton quantity, and master carton marking before production release.
These are the errors that show up most often in a Retail Five Panel Caps sample checklist review:
- Approval based on renderings instead of a sewn sample.
- No physical swatch or Pantone reference for color sign-off.
- Unwritten tolerances for crown, brim, and logo placement.
- Skipping a wear test on the actual closure and sweatband.
- Ignoring carton marks, hangtags, or barcode placement until the end.
Expert Review Checklist and Next Steps Before Sign-Off
Before sign-off, put the sample, spec sheet, swatch card, and annotated photos side by side. Read them as one set, not as separate files. If the sample matches fit, fabric, logo position, and packaging notes, it is ready to move forward. If one item is off, mark the correction clearly and send it back with a reference image.
Document the tolerances that matter most. You may allow a small shift on stitch position but require exact logo center placement relative to the front seam. You may allow a slight variation in brim curve but insist on the same closure hardware. Written tolerances keep the approval process practical and reduce disputes once bulk production starts.
Confirm the retail packaging details one more time before release: carton count, hangtag artwork, barcode placement, polybag or tissue requirements, and any warehouse labeling rules. Those details are easy to overlook because they feel administrative, but they are part of the product experience. A retail cap does not end at the stitch line.
If the sample needs changes, ask for a second round. That is normal when embroidery density, front-panel structure, or fabric handfeel needs adjustment. The point of using a retail Five Panel Caps sample checklist is to make sure the bulk order is based on a cap that already proved itself in the hand, on the head, and on the shelf.
Frequently Asked Questions
What should a retail five-panel cap sample include before approval?
A proper sample should include the correct fabric, decoration method, closure type, label placement, and packaging details, along with measurements that can be checked against the spec sheet. The closer the sample is to the final retail unit, the less risk you carry into bulk production.
How many sample rounds are normal for custom five-panel caps?
One round may be enough for a simple blank cap, but decorated styles often need two rounds, especially when you are refining logo placement, stitch density, or crown shape. If color accuracy or patch construction is involved, build extra time into the schedule.
What affects pricing on retail five-panel cap samples?
Fabric type, decoration complexity, digitizing, patch tooling, and freight all influence sample cost. Smaller quantities usually cost more per piece because setup and labor are spread across fewer units, so it helps to ask for a quote that separates one-time charges from recurring production pricing.
How long does the five-panel cap sample process usually take?
Simple samples can move in about 7 to 10 business days after spec approval, while decorated samples often take 10 to 15 business days or more depending on sourcing and revision needs. Add internal review time on your side as well, because buyer approval windows are part of the schedule.
What are the most common mistakes in a retail five-panel cap sample checklist?
Approving from images instead of a physical sample is one of the biggest mistakes, followed by skipping measurement checks or ignoring packaging details. Use the checklist one final time before sign-off so small issues get caught before bulk production locks them in.


