Streetwear Label Garment Poly Bags: Proofing Checklist
Garment Poly Bags for Streetwear labels artwork proof checklist is not a sexy phrase, but it keeps expensive mistakes from sneaking into production. That matters because packaging errors rarely show up as dramatic failures. They show up as a logo printed too low, a warning line wrapping badly, or a size callout that no longer matches the final fold. Small miss. Big headache.
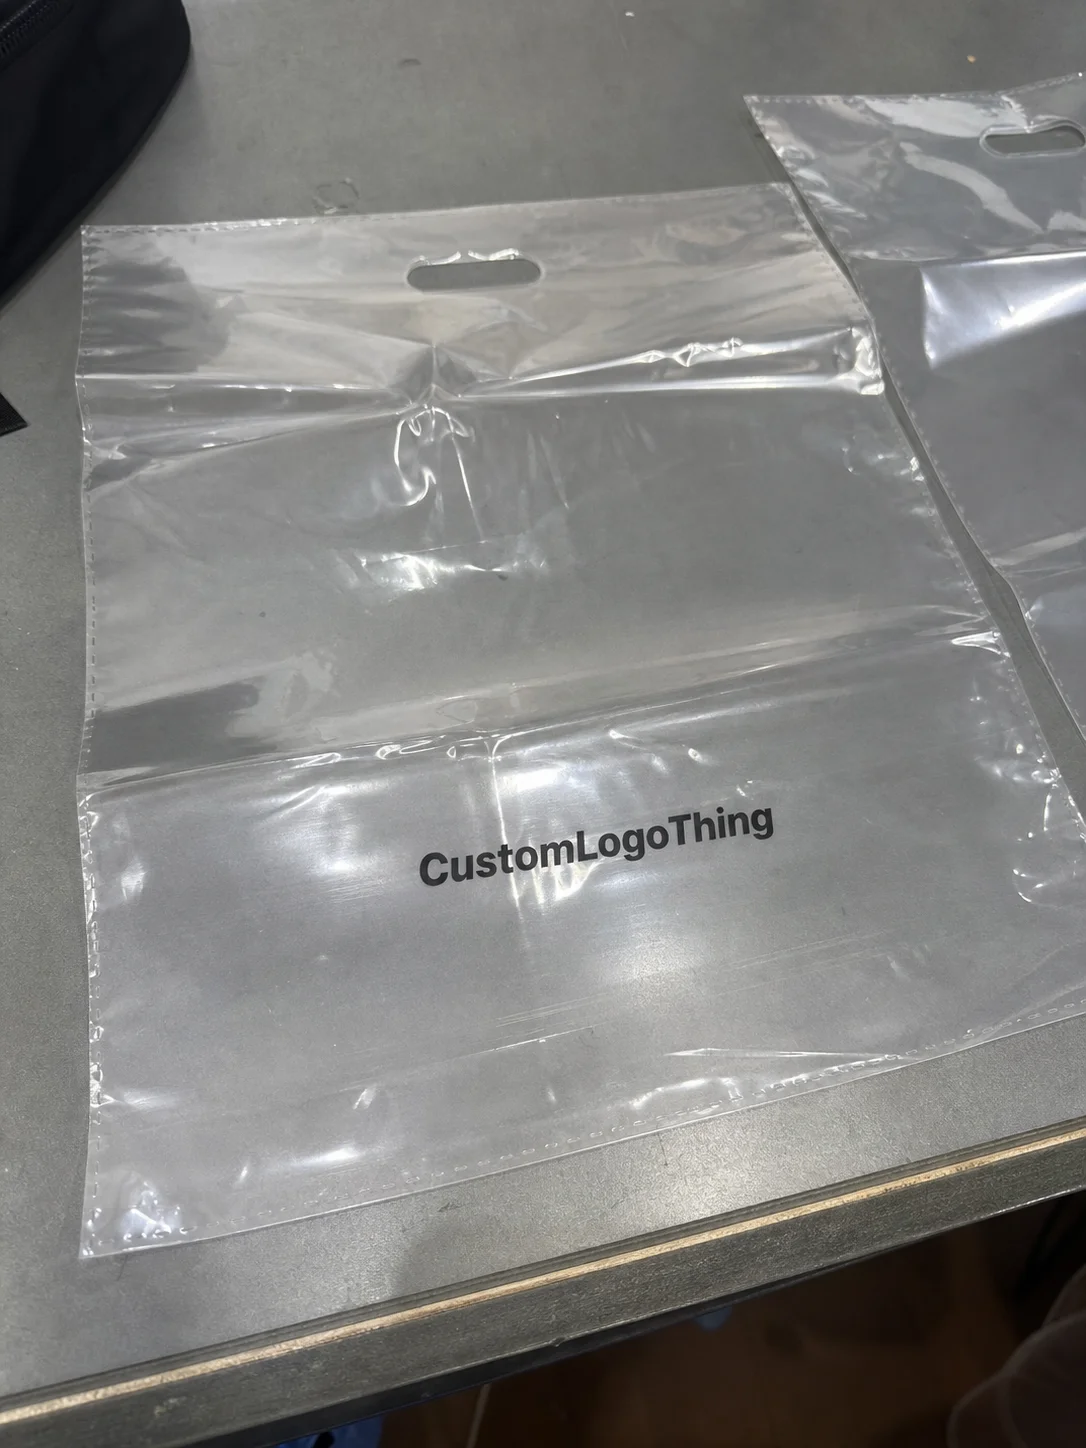
A garment poly bag is usually a polyethylene sleeve, clear or tinted, used to protect apparel and present it cleanly at retail or in fulfillment. For streetwear brands, it does a second job too: it carries the brand look after the hoodie or tee is already sold. The bag is part of the product experience. If it looks off, the whole drop feels cheaper than it should.
The proof is the control point. Not the brochure. Not the “looks good to me” email. It is where dimensions, ink placement, copy, fold method, and finishing details either line up or don’t. If they don’t, the mistake gets multiplied across the run. That is exactly why the Garment Poly Bags for streetwear labels artwork proof checklist should be treated like a production tool, not a formality.
Why the proof matters before you print streetwear poly bags
Most packaging problems are approval problems. A brand signs off on a mockup built from a generic template, then the real bag arrives with the print field too tight, the copy too close to the seal, or the barcode placed where it scans poorly. None of that is rare. It is just predictable.
Streetwear makes the issue worse, in a good way. The packaging often lands directly in the customer’s hands after the drop, the ship date, and the wait. That first physical touchpoint has to match the rest of the brand. If the bag feels thin, rushed, or visually inconsistent, it undercuts the garment before it is even unfolded.
The proof should answer practical questions, not just design questions. Does the bag fit the garment after the real fold? Does the opening still work with the closure style? Is the logo readable on the actual film? Does the layout still make sense if the hoodie is a little thicker than the sample? Those are the questions that keep orders on track.
“If the proof does not reflect the real fold, the real film, and the real handling method, it is not ready for approval.”
It also helps to keep the review grounded in real packaging performance. Transport testing guidance from ISTA and general packaging references from Packaging and the Package Machinery Manufacturers Institute are useful for thinking about durability, handling, and basic material behavior. They are not a substitute for a supplier proof, but they keep the conversation focused on function instead of pretty mockups.
Artwork proof checklist for garment poly bags
A useful Garment Poly Bags for streetwear labels artwork proof checklist starts with the file itself. Confirm the artwork matches the approved dieline, not a stale version someone pulled from a desktop folder. Then check the actual bag dimensions, any gusset depth, and the usable print area against the way the garment will be folded and packed. A tee sleeve and a heavyweight hoodie sleeve do not share the same footprint, even if the branding does.
Next, audit the copy. Brand name, product size, fiber or care statement, barcode or SKU, origin line, warning text, and handling instructions all need to be spelled exactly as intended. Placeholder text has an annoying habit of surviving too long in packaging files. Once it shows up in a proof, people assume it has already been reviewed. Usually, it has not.
Then check the visual mechanics. Small type needs to stay legible on thin film. Fine rules should not break apart. The logo needs clear space. If the bag is frosted or tinted, the print may need a white underprint to stay crisp. Without it, dark copy can turn muddy and bright colors can flatten out. Screen rendering is generous. Real film is less polite.
- Font size: Check small copy at actual print scale, not only on screen zoom.
- Contrast: Make sure text reads clearly on clear, frosted, or tinted film.
- Safe zone: Keep logos and copy away from seals, vents, trims, and edge cuts.
- Barcodes: Verify quiet space and scanability if the bag is retail-facing.
- Version control: Confirm the proof number matches the approved artwork file.
Technical problems often hide in plain sight. Art that runs into the seal area, missing white ink on dark film, vent holes cutting through text, or a hang hole crowding the main message can all ruin an otherwise clean job. If the bag includes a resealable strip, perforation, or side gusset, those details change where copy can sit without distortion. The artwork proof has to account for the actual structure, not a flat fantasy version of it.
Approval should include the people who will live with the result: production, fulfillment, and the brand owner who signs off on the final look. If the bag works visually but causes trouble in cartoning, stacking, or store presentation, that is still a failed proof. A good approval is one that survives the warehouse.
Here is a practical way to review the proof before anyone commits to print:
| Check | What to verify | Why it matters |
|---|---|---|
| Bag size | Actual width, height, and gusset against the folded garment | Prevents tight packing and awkward presentation |
| Artwork placement | Logo, warning text, barcode, and copy inside the usable print field | Avoids clipping, crowding, and unprintable areas |
| Material behavior | Clear, frosted, or tinted film and how it changes contrast | Protects legibility and brand color consistency |
| Feature conflicts | Hang holes, seals, perforations, zipper tracks, or adhesive strips | Prevents artwork from landing on structural elements |
| Version control | Proof number, revision date, and approved file match | Stops old artwork from sneaking into production |
Bag size, film, and finishing details that change the proof
The same artwork can behave very differently on a slim tee sleeve versus a wide hoodie bag. That is why physical spec comes first. A bag measuring 10 by 13 inches does not leave the same breathing room as one measuring 14 by 20 inches, and a gusset changes the usable print surface again. The proof has to be read against the actual bag size, not just the design canvas.
Film gauge changes the result too. In the market, garment poly film often falls somewhere around 1.5 to 3.0 mil, depending on garment weight, handling needs, and presentation goals. Thinner film wrinkles more and can soften fine print. Heavier film usually gives a cleaner retail look and holds shape better, but it can affect folding behavior and price. That is why the garment poly Bags for Streetwear labels artwork proof checklist should ask for the exact gauge, not “clear poly” and a shrug.
Finishing details matter more than people expect. A resealable adhesive strip may eat into the print area. A hang hole needs clearance. Perforations, zipper tracks, and side seams all change where type can sit without distortion. If the artwork was built for a flat sleeve and the real item is a zipper bag, the proof should be rebuilt before approval.
Finish color changes how ink reads. Clear, frosted, and tinted film all shift contrast. Black art may look sharp on clear film and slightly softer on frosted film. White print can disappear faster than expected on tinted film. These are small differences on a mockup and large differences in hand. For brands that ship multiple package components, aligning the sleeve with Custom Poly Mailers keeps the presentation from drifting across the full unboxing path.
Streetwear brands usually want packaging that stacks cleanly and still looks intentional when a customer opens the parcel. That means the proof should account for how the bag folds around the garment, whether the opening remains easy to access, and whether the retail view feels deliberate if the folded edge shows first. Good packaging is not just clean artwork. It is artwork that survives handling.
Cost, pricing, and MOQ tradeoffs
Pricing for garment sleeves is driven by a few boring but unavoidable variables: bag size, film thickness, number of print colors, print coverage, special finishes, and whether the layout needs custom tooling or extra prepress work. A simple one-color sleeve at 5,000 units might land around $0.14 to $0.30 per bag. Heavier film, tighter registration, extra colors, or resealable features can push that higher quickly. That range is not a promise. It is a realistic buying frame.
MOQ matters because setup costs do not vanish just because the order is small. When the run is shorter, material waste, proofing time, and press scheduling are spread across fewer pieces. Larger runs usually bring the unit price down noticeably. That is why the garment poly bags for streetwear labels artwork proof checklist should be used before quote approval, not after the order is already locked.
| Spec choice | Typical cost impact | Buyer takeaway |
|---|---|---|
| Simple clear sleeve, one print color | Lowest setup burden | Best for basic branding and tighter budgets |
| Heavier film or frosted finish | Moderate increase | Improves presentation, but may affect folding and price |
| Two to four print colors | Higher press and registration cost | Works well for strong brand marks, but needs tighter proof control |
| Resealable strip, hang hole, or perforation | Higher converting cost | Useful for retail, but it changes usable print space |
| Physical sample and multiple revision rounds | Added prepress expense | Worth it if the artwork is still changing or the fold is not locked |
A few moves keep spending under control without weakening the presentation. Standardize bag dimensions where possible. Keep the print area focused instead of covering every visible inch. Avoid extra color builds if a cleaner two-color layout does the job. And if the packaging is part of a broader launch, make sure the sleeve spec aligns with the rest of the order so the quote is built on one consistent sheet. That is usually easier to manage when the packaging stack is planned alongside Custom Packaging Products instead of being pieced together one item at a time.
Compare quotes only after normalizing the spec. Two prices that look close can be very different once film gauge, print method, packing count, freight assumptions, and proofing support are included. The garment poly bags for streetwear labels artwork proof checklist helps keep those comparisons honest. It also keeps the supplier from quoting the cheapest version of the bag you did not actually ask for. Convenient, right?
Process and timeline from file upload to shipment
The workflow is simple enough if the artwork is stable. File intake comes first, then prepress review, then a digital proof, then corrections, then final approval, then production scheduling, print, finishing, packing, and shipment. The proof stage is where the most control sits, because after signoff the order shifts from flexible to expensive very quickly.
Simple proof corrections can move fast. A typo fix, a resized warning line, or a logo nudge may turn around quickly. A layout rebuild, new size spec, or color adjustment usually resets the review because the art has to be checked from the top again. If the garment poly bags for streetwear labels artwork proof checklist is being used properly, those changes are caught before the supplier books the run.
Lead time depends on a few practical things: seasonal demand, press availability, film inventory, freight method, and whether the order has to arrive before a drop, showroom date, or retailer receiving window. For many orders, the proof is not the bottleneck. The bottleneck is waiting too long to approve it. Packaging should be locked before final garment packing is scheduled, not after the product is already staged.
For capsule releases and frequent drops, the safer approach is to treat packaging like a release asset, not a late add-on. A bag that ships on time but misses the fold or the artwork spec still creates friction downstream. A slightly slower approval that gets the bag right is usually the better trade.
Common proofing mistakes streetwear brands make
The most common mistake is approving a mockup that looks fine on a monitor but fails at actual scale. Small logos can shrink into illegibility, legal copy can crowd the trim edge, and barcodes can lose scan quality if they were never tested at print size. The garment poly bags for streetwear labels artwork proof checklist is meant to expose those problems before they become production waste.
Fold assumptions create another round of problems. If the tee, hoodie, or accessory was folded differently in the mockup than it will be in the real line, the art can end up hidden, clipped, or awkwardly centered. This is especially common with thicker fleece or bulky garments, where the flat sample looks neat but the final stack is deeper. The proof should match the real folding method, not an idealized version.
Copy errors slip through fast approvals all the time. Wrong size callouts, outdated washing instructions, missing country-of-origin text, or a brand name that differs from the marketing files happen more often than they should. Someone sees the logo, assumes the rest is fine, and the order moves on. That is not a clean approval process. That is hope wearing a clipboard.
Technical mistakes hit quality too. Low-resolution raster files can look soft on film. A transparent bag with weak contrast can make small type disappear. Forgetting knockout rules can create muddy overlaps. Approving without checking how the material behaves under warehouse lighting is another easy miss. If the pack will be handled often, the proof needs to be judged for readability, not just appearance.
There is also a process mistake that slows everything down: nobody owns final signoff. If three people think someone else approved the proof, production can stall after the order is already queued. The clean fix is to name one approval owner before the proof is sent. The garment poly bags for streetwear labels artwork proof checklist works best when responsibility is clear.
Next steps for a clean approval and smoother order
The easiest way to get a cleaner quote and a cleaner proof is to build a one-page spec sheet before the order starts. Include bag dimensions, film type, gauge, print colors, artwork version, closure type, and target quantity. If the supplier has those details upfront, the proof usually reflects the real job instead of a guess.
Before signing off, run a final check: confirm the size, read the copy, test the barcode, check the fold, and get brand approval in writing. That sounds basic, but it prevents the most common errors. The garment poly bags for streetwear labels artwork proof checklist should be used against a real folded sample whenever possible, because packaging decisions are easier to judge in hand than from a screen.
Ask for a revised proof whenever the garment fold changes, the print coverage changes, the intended retail channel changes, or the delivery deadline tightens. Each of those changes affects how the bag should be built. If the sleeve is part of a larger packaging program, make sure the bag, insert, and mailer are planned together so the launch has one consistent look instead of three competing ones.
Packaging is doing more work than most buyers realize. It protects the garment, supports the brand image, and has to fit the production schedule without creating friction. The garment poly bags for streetwear labels artwork proof checklist is most useful when it acts like a real approval tool, not a routine checkbox, because that is what keeps the order accurate from artwork to shipment.
What should be on a garment poly bag artwork proof checklist for streetwear labels?
Include bag size, film type, print colors, logo placement, barcode or SKU, warning text, and the approved artwork version. Also confirm that the fold style, safe area, and closure method match how the garment will actually be packed.
How do I review an artwork proof for custom poly bags without missing errors?
Read the proof line by line for copy accuracy, then compare the layout against the dieline and final dimensions. Zoom in on small type, fine rules, and barcode clarity, because those are usually the first things to fail on thin packaging film.
What changes most often affect pricing for streetwear garment poly bags?
Quantity, film gauge, print coverage, number of colors, and features like resealable strips or hang holes usually move price the most. A lower MOQ raises unit cost, while a cleaner spec with fewer variables is usually easier to quote accurately.
How long does the proof and production process usually take?
A straightforward digital proof can move quickly, but revisions, sample requests, and layout changes add time before production can start. Lead time also depends on material availability, press scheduling, and freight method, so the approval date matters as much as the order date.
What is the most common mistake when approving garment poly bag artwork?
Approving a proof that looks fine on screen but has the wrong size, weak contrast, or copy that does not match the final garment workflow is the mistake that shows up most often. The safest habit is to compare the proof against the actual folded product and have one person own the final signoff.


