If you are comparing a soap pvc garment Bags Packaging Insert Checklist, the first thing to understand is that a bag can look right on a screen and still fail on the line if the insert is the wrong size, the fold pattern is off, or the print clearances are too tight. That happens more often than buyers expect, especially when soap packaging and garment bags are sourced with the same “make it look clean and premium” brief, but without the practical specs that make the system work.
From a packaging buyer’s point of view, the insert is doing real work: it adds structure, supports branding, protects the product surface, and helps the item present better on a shelf or hanger. The checklist below is built to reduce revision loops and help you compare suppliers on facts rather than mockups.
Why insert packaging fails when the details are skipped
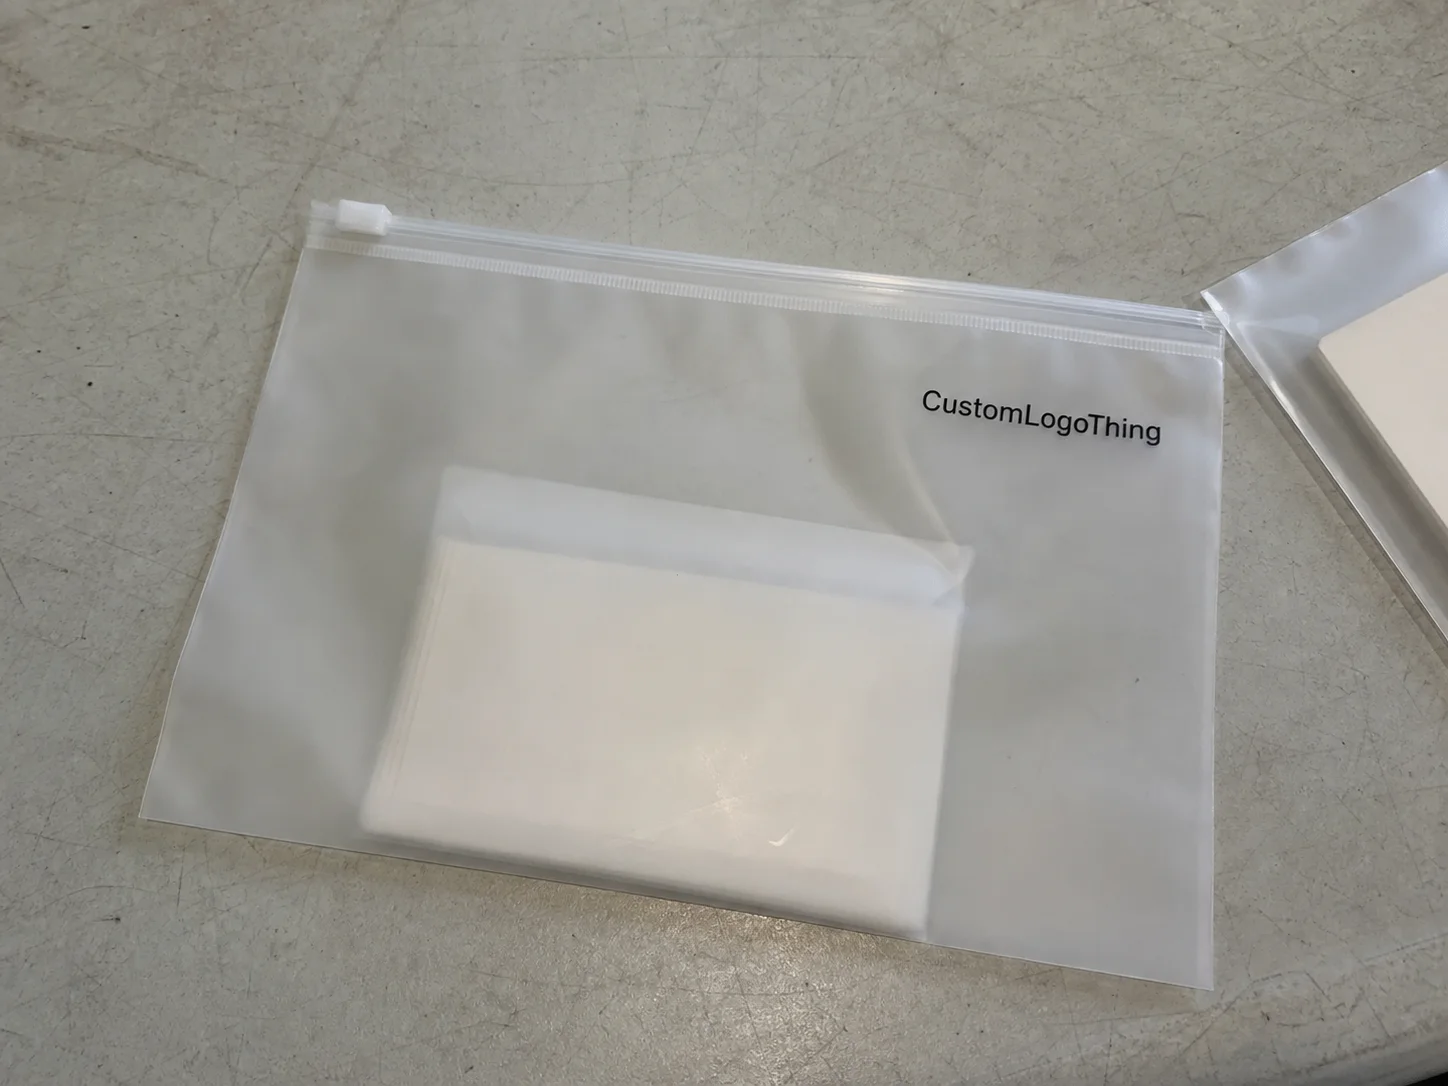
Most insert problems start with one simple mistake: the buyer approves artwork before the insert size and bag construction are fully aligned. A design may fit a flat template, yet buckle once it meets a PVC bag with a zipper track, snap closure, hanger hole, or gusset that steals a few millimeters of space on each side.
Soap inserts and garment bag inserts share the same weak points. The product can slip, soft edges can wrinkle, moisture can dull the printed surface, and anything that looks sloppy through clear PVC immediately lowers the perceived value of the package. The insert is not just decoration; it is part of the packaging system.
There are usually three insert types buyers confuse with one another:
- Decorative inserts, which mainly carry branding, product imagery, or seasonal messaging.
- Functional stiffeners, which add rigidity and keep the contents flat and neat.
- Printed brand cards, which are thinner and often used for identity, instructions, or promotional copy.
The difference matters because a decorative card printed on light stock will not perform like a rigid board insert. Likewise, a heavy board stiffener may be overkill if all you need is a clean printed panel behind a soap bar or folded garment. Start with the wrong assumption and every quote starts to look inconsistent.
A good insert should disappear into the packaging system as a problem-solver, not show up later as a source of damage, wrinkling, or rework.
There is also a production reality that gets missed: line workers want inserts that are easy to load, stack, and keep clean. A spec that looks elegant but slows packing by a few seconds per unit can quietly add labor cost. On a run of 20,000 units, those seconds become visible money.
How an insert works inside a PVC garment bag
The insert only works well when it matches the bag body, the closure style, and the final packing sequence. If the insert is too wide, it bows. If it is too narrow, it drifts and looks careless. If it is too stiff for the bag format, the edges can press against the PVC and distort the display.
For that reason, fit first, print second is still the right order of thinking. The insert should sit flat, stay visible, and avoid fighting the structure of the bag. That becomes even more important when the same insert has to serve product protection and branding at the same time.
Material choices that make sense in production
Common insert materials include coated paperboard, SBS board, kraft board, polypropylene sheet, and laminated card. Each one has a different balance of stiffness, print quality, and moisture resistance. Coated paperboard and SBS usually give the best print clarity for retail packaging, while kraft has a more natural look that can fit a subdued or eco-minded branded package. Polypropylene sheet is useful when moisture resistance and flex durability matter more than a paper feel.
If the insert will live inside clear PVC, the finish matters almost as much as the stock. A glossy coated board will read brighter, while matte can look quieter and more premium. Soft-touch adds a velvety hand feel, though it usually increases unit cost and is not always the best choice if the insert may rub against the bag during assembly.
As a rough market reality, lightweight printed cards are usually the lowest-cost option, coated SBS sits in the middle, laminated board costs more, and polypropylene is often the priciest of the common choices. That spread can be modest on 1,000 units and significant on 50,000 units, especially once packing and freight are included.
Print, finish, and visibility through PVC
Offset printing is still the best option for crisp logo work, solid brand colors, and larger production quantities. Digital printing is a practical fit for short runs, test programs, or SKU-heavy packaging where artwork changes frequently. Finishes like matte, gloss, soft-touch, and spot UV can all change the way the insert appears through clear PVC, so the proof should be reviewed under lighting that resembles real retail conditions.
Transparency levels in the bag change the visual result more than some buyers expect. A highly clear PVC sleeve will show every line and shadow, while a slightly hazy or textured film softens the image. If the insert doubles as a marketing panel, even small shifts in color density can affect how the logo and product claims are perceived.
One practical detail gets overlooked: whether the insert is loaded after filling or preloaded before packing. That choice affects edge smoothness, stiffness requirements, and how much tolerance you need around fold lines. If a line worker has to slide the insert into the bag quickly, a slightly rounded corner and a clean edge finish can save time and reduce scuffing.
For buyers comparing different packaging styles, the insert should be judged inside the actual bag format, not beside it. A board that looks acceptable on a table may show warp, glare, or color shift once it is sitting behind a product under store lighting.
Key factors that shape cost, pricing, and MOQ
Pricing for insert work is usually driven by a few hard variables, not by vague supplier language. The biggest ones are dimensions, board thickness, print coverage, coating, die-cut complexity, and the overall bag format. A simple single-sheet insert with one-color branding will almost always price lower than a multi-panel design with fold lines, spot UV, and custom cutouts.
On smaller runs, setup charges matter a lot. Plate fees, die charges, and prepress time can make a short order feel expensive on a per-unit basis, even when the material itself is modest. On larger runs, unit price usually improves, but inventory risk goes up, which is why MOQ should be discussed in the same conversation as lead time and storage space.
| Insert option | Typical use | Relative unit cost | Buyer note |
|---|---|---|---|
| Lightweight printed card | Brand panel, instructions, simple soap insert | Lowest | Good for short runs and low weight requirements |
| Coated SBS board | Retail packaging, garment display, structured presentation | Moderate | Strong print quality and good flatness |
| Laminated board insert | Premium presentation, added scuff resistance | Moderate to higher | Useful when the insert must hold up during handling |
| Polypropylene sheet | Moisture-sensitive environments, reusable display | Higher | Useful when rigidity and moisture resistance matter more than paper feel |
The useful question is not “what is cheapest?” but “what fits the use case and the sales channel?” A piece that saves two cents but wrinkles inside a clear bag costs more in the long run if it creates rejects or weakens shelf appeal. That is the part many teams overlook when comparing quotes for printed packaging components.
Ask the supplier whether the price includes flat packing, bundled packing, or insert assembly, because those details change labor and shipping cost. Also ask how efficiently the layout nests on the sheet. Better nesting reduces waste, and on larger runs that difference is real.
Keep an eye on freight dimensions too. A flat insert ships very differently from a pre-assembled piece, and shipping costs can move enough to change the best option. On some programs, that shipping math matters more than the raw print price.
For a realistic budget check, buyers often see custom insert pricing range from low-cost paper cards for short-run promotions to much higher costs for thick laminated or moisture-resistant versions. Exact numbers depend on quantity, but setup charges tend to dominate the first order and fade on reorders.
Process and timeline: from artwork to finished inserts
The production path is usually straightforward, but it only stays straightforward when the artwork is prepared correctly from the start. A typical run begins with the brief, then dieline confirmation, artwork setup, proofing, sampling, approval, print production, finishing, packing, and shipping. Any missed step can turn into a delay, and most delays are avoidable.
Where does work usually slow down? Artwork sized to the wrong dieline is one of the biggest culprits. Color expectations are another. If no proof target is approved early, the final insert can look different enough under PVC that the buyer suddenly decides it is “too dark” or “too flat,” which sends the job back into revision.
Lead time depends on how custom the insert really is. Stock-specified inserts can move faster because the material and finishing are already established. Custom printed inserts usually take longer because they need art approval and production scheduling. Special laminations, Custom Die Cuts, or unusual fold structures add more time because they introduce extra setup and inspection.
A practical schedule should include proof approval deadlines, sample timing, production days, and freight transit time. That is especially true when the insert must coordinate with a PVC bag size, hanger hole, zipper, or snap closure, because one late component can hold the whole order.
For buyers who want to keep quality controls tight, standards from organizations like ISTA can be helpful when thinking about shipment handling and package testing. Even if the insert itself is simple, the full packaging system still has to survive real-world transit.
Material sourcing and responsible fiber choices may also matter to your team, especially if your packaging claims are tied to sustainability. If that is part of the brief, check whether the paperboard is certified and whether the supply chain documentation is available from organizations such as FSC.
For a straightforward insert run, many buyers should expect a proofing cycle of a few days, then one to three weeks for production depending on quantity and finishing, with longer timelines for complex print or structural work. Freight can add several more days, especially if the job is time-sensitive and not going by the fastest route.
Step-by-step packaging insert checklist before you request a quote
Here is the practical soap PVC Garment Bags Packaging Insert checklist I would want in front of me before asking any factory for pricing. It keeps the discussion focused and reduces the back-and-forth that usually eats up a week.
- Confirm product dimensions and insert position. Measure the soap or garment, then decide exactly how the insert will sit inside the PVC bag. Flat, centered, folded behind the product, or used as a back panel all lead to different sizing.
- Decide the function. Is the insert decorative, structural, informational, or all three? That answer determines stock, thickness, and finish.
- Choose material and finish. Match stiffness, moisture exposure, and brand feel. A premium presentation often benefits from heavier board or laminated stock.
- Prepare artwork files. Include logo files, barcode content, required legal copy, care instructions, and any multilingual text. Clean source files save time and reduce proof corrections.
- State quantity and MOQ target. Ask for unit pricing at the requested volume and at the next break point. That helps you compare cost versus inventory exposure.
- Specify packing format. Say whether inserts should ship flat, bundled, or bagged separately. This affects labor and final freight volume.
- Request a proof or sample. Verify size, color, fold lines, and print readability before full production.
- Lock shipping details. Confirm delivery window, receiving rules, and whether the inserts need to arrive before bag filling starts.
A good quote should answer those points without guesswork. If a supplier cannot tell you the board thickness, print method, packing format, and lead time in the same estimate, the order is not fully defined yet. That is a sign to pause and clarify, not to force the job forward.
If you are building a broader line of branded packaging, keep the insert spec aligned with hang tags, printed sleeves, and retail components. When the visual language matches, the shelf presence feels intentional instead of patched together.
One extra check saves time later: ask whether the supplier will supply a dieline and whether the final art file should include bleed, trim, and safe zones. That sounds basic, but misread dielines still create some of the most expensive packaging mistakes.
Common mistakes buyers make with PVC bag inserts
The first mistake is choosing a visually attractive stock that is simply too thin. It might look fine on the flat proof, but once inserted it sags, curls, or shifts. That is especially frustrating when the outer bag is clear and every defect can be seen immediately.
Another common issue is forgetting how PVC changes the look of color. Clear film can make graphics appear slightly darker, flatter, or more reflective depending on the lighting and the bag finish. A proof seen on a monitor does not always translate to the final package, which is why a physical sample matters so much.
Trim tolerance and safe zones are also regular trouble spots. If text sits too close to the edge, a cut shift of even 1-2 mm can clip a logo or barcode. If fold lines are not planned correctly, a product description can disappear into the crease and look careless on the shelf.
Buyers also miss closure interference. A hanger tab, zipper track, gusset, or snap can change the usable area inside the bag more than expected. If that is not checked early, the insert may need to be redesigned after printing, which is an expensive way to learn a very basic lesson.
Compliance can be another hidden issue. If the insert carries product details, care instructions, country-of-origin text, or barcode content, those elements need to be accurate and readable. For teams selling through regulated retail channels, that detail is part of the package, not an afterthought.
Another avoidable problem is assuming every factory uses the same Packaging Insert Checklist. They do not. Some quote from a print-first perspective, others from a bag-construction perspective, and others from a shipping perspective. That is why the buyer has to control the spec.
Finally, do not let the quote hide the cost of packaging inserts as if they are a minor add-on. A bad insert can create scuffing, customer complaints, or repacking labor that costs far more than the initial savings. Cheap is only cheap if the part actually works.
Expert tips for better packaging performance and cleaner presentation
Test one physical sample inside the actual bag, not just a flat proof on screen. That one step catches fit problems, gloss issues, and alignment errors that are nearly invisible in digital files. It is also the easiest way to see whether the insert looks premium or merely acceptable.
If the insert needs to create a premium feel or resist sagging in display packaging, move up one thickness grade rather than trying to solve the issue with more ink or a fancier finish. In most cases, board weight does more for the final presentation than a last-minute artwork adjustment.
Align the insert graphics with the product face so the most important branding stays visible through the PVC. That sounds obvious, but it gets missed when teams focus too much on the insert alone and not enough on the package as a system. Strong package branding works because every visible layer supports the same message.
Rounded corners and clean edge finishing make handling easier and improve visual quality. They also reduce the chance of catching on the bag during insertion, which helps on faster packing lines. If a line operator can load the insert without forcing it, your yield usually improves.
There is also value in thinking beyond the immediate SKU. A good insert can carry seasonal messaging, care instructions, or a small cross-sell offer for related product packaging. That secondary use can make the printing spend easier to justify, especially on recurring programs.
If you need other packaging components to match the same visual standard, it may be worth reviewing the supplier’s broader range of Custom Packaging Products so the board stock, print tone, and finish choices stay consistent across the line.
For buyers who need to think about exposure to moisture, handling, or transit abuse, references such as EPA guidance on packaging materials can be useful for general material and sustainability context, even when the product itself is not food-related. The point is not to overcomplicate the job; it is to avoid choosing a spec that looks nice but cannot survive the route to the customer.
One more practical observation: if the insert will be seen under high store lighting, ask for a sample viewed at multiple angles. Gloss levels, foil accents, and dark inks can behave very differently once the bag is hanging. A package that looks refined in a flat photo can turn mirror-like in the store.
Next steps: finalize specs, compare quotes, and place the order
The cleanest path forward is simple: confirm dimensions, choose the material, prepare artwork, request a detailed quote, and review lead time before approving anything. If possible, compare at least two quote versions, one tuned for cost and one tuned for presentation, because the difference often reveals where your money is actually going.
Ask for the full breakdown. Material, print method, coating, die-cutting, assembly, packing format, and freight assumptions should all be visible. That makes it much easier to compare suppliers fairly and avoid the usual surprises after the order is placed.
Keep the approval in writing. Final size, finish, pack method, and delivery window should all be documented before production starts. That protects both sides and gives you a reliable reference if the same insert is reordered later.
Also, save a reusable spec sheet. The next run will move faster if you already know the board grade, insert dimensions, proof target, and pack format. That is one of the quiet advantages of disciplined sourcing: less friction, fewer mistakes, and better consistency across every reorder.
If you follow this soap pvc garment Bags Packaging Insert Checklist, you can compare quotes with more confidence, spot weak specs before they cost money, and place a cleaner order the first time. The value is not the checklist itself; it is the clarity it brings to a process that often gets vague right when the details matter most.
FAQ
What should be on a soap pvc garment bags packaging insert checklist?
At minimum, include product dimensions, insert material, thickness, finish, artwork files, quantity, MOQ, and the required delivery date. It also helps to state whether the insert is decorative, structural, informational, or a combination of the three, because that changes the stock and print decisions.
How do I choose the right material for a PVC garment bag insert?
Use thicker board or laminated stock if you need stiffness, premium presentation, or better moisture resistance. Use lighter materials when the insert mainly needs to show branding or product information and the bag itself provides most of the structure.
What affects the price of custom packaging inserts the most?
Size, paper or board grade, print coverage, coating, die-cut complexity, and order quantity are the biggest drivers. Setup fees and one-time tooling can matter a lot on smaller runs, so ask for a full breakdown instead of a single unit price.
How long does custom insert production usually take?
Simple runs can move faster, while custom printed or specially finished inserts take longer because of proofing and finishing steps. Ask for a timeline that includes artwork approval, sampling, production, packing, and shipping so the schedule is realistic.
Do I need a sample before ordering soap pvc garment bags packaging insert checklist items in bulk?
Yes, a physical sample is the safest way to confirm fit, color, stiffness, and print clarity inside the actual bag. Even a quick pre-production sample can prevent expensive rework on a full order.


