Acrylic Beanies Sample Approval Checklist: Start Here
The acrylic Beanies Sample Approval Checklist is the point where a product stops being a sketch and starts being a real manufacturing decision. On paper, a beanie looks simple. In production, a few millimeters of logo placement, a half-inch change in cuff depth, or a slightly softer yarn can change how the hat fits, photographs, and sells. That is why the sample stage deserves more attention than most buyers give it.
Acrylic beanies are forgiving in some ways. The fabric stretches, the knit hides small variations, and the cuff can absorb minor fit differences. They are also unforgiving in ways that matter more. A logo that sits too high, a yarn color that shifts under daylight, or a label that scratches the inside of the hat will show up immediately once the product is worn. A Sample Approval Checklist keeps those details from being lost in email threads or vague comments like “looks good overall.”
The strongest approvals are shared approvals. The merchandiser checks measurements. The brand team checks presentation. The decoration specialist checks stitch quality, patch construction, or print behavior. The factory checks whether the sample can be repeated in bulk without changing the method. A single signature can be enough for a low-risk reorder, but a new custom beanie usually needs more than one set of eyes.
If the sample only looks right on paper, it is not approved.
That line sounds severe because it protects against a very common mistake: treating a sample as a visual mockup rather than a production reference. A good acrylic beanies Sample Approval Checklist should reduce ambiguity, define the final version, and make it obvious what still needs correction before bulk production begins.
How the Sample Process and Lead Time Usually Works
Most sample issues begin before the factory makes anything. The supplier needs a finalized tech pack, artwork file, color reference, and target quantity. Missing one of those usually means the sample is built from assumptions. That may be fine for early design exploration. It is not fine for approval.
The sample path typically moves through four stages: blank sample, decorated prototype, revised sample, and pre-production sample. Each one answers a different question. The blank sample checks knit structure, hand feel, stretch, and shape. The decorated prototype shows how the logo behaves on a curved, flexible surface. The revised sample confirms whether the corrections worked. The pre-production sample should match the bulk run as closely as the factory can manage.
Lead time is often faster than bulk production, but not by much. A blank sample may take 3-7 business days. A decorated prototype usually needs 5-10. Revisions can take another 3-6 days, depending on whether the factory needs new yarn, a different patch, or a fresh embroidery setup. Any custom trim, non-stock color, or special label can add more time. The fastest way to lose a week is to approve from memory and then discover that the sample used a stock yarn shade because the brief was incomplete.
A clean approval brief should answer five basic questions:
- What is the exact fabric build: 100% acrylic or an acrylic blend?
- What decoration method is final: embroidery, woven patch, rubber patch, or print?
- What color reference controls the run: Pantone code, lab dip, or approved physical swatch?
- What quantity is being quoted: sample quantity, MOQ, and bulk target?
- What packaging is required: polybag, size sticker, hang tag, barcode, or retail carton?
If any of those answers are loose, the sample is still a draft. That is usually where production delays start.
Spec Checks That Decide Whether the Beanie Is Production-Ready
This is the part of the checklist where buyers earn their keep. A beanie can feel soft and still fail spec. It can photograph well and still wear badly. The physical sample needs to be checked against measurable details, not just a general reaction.
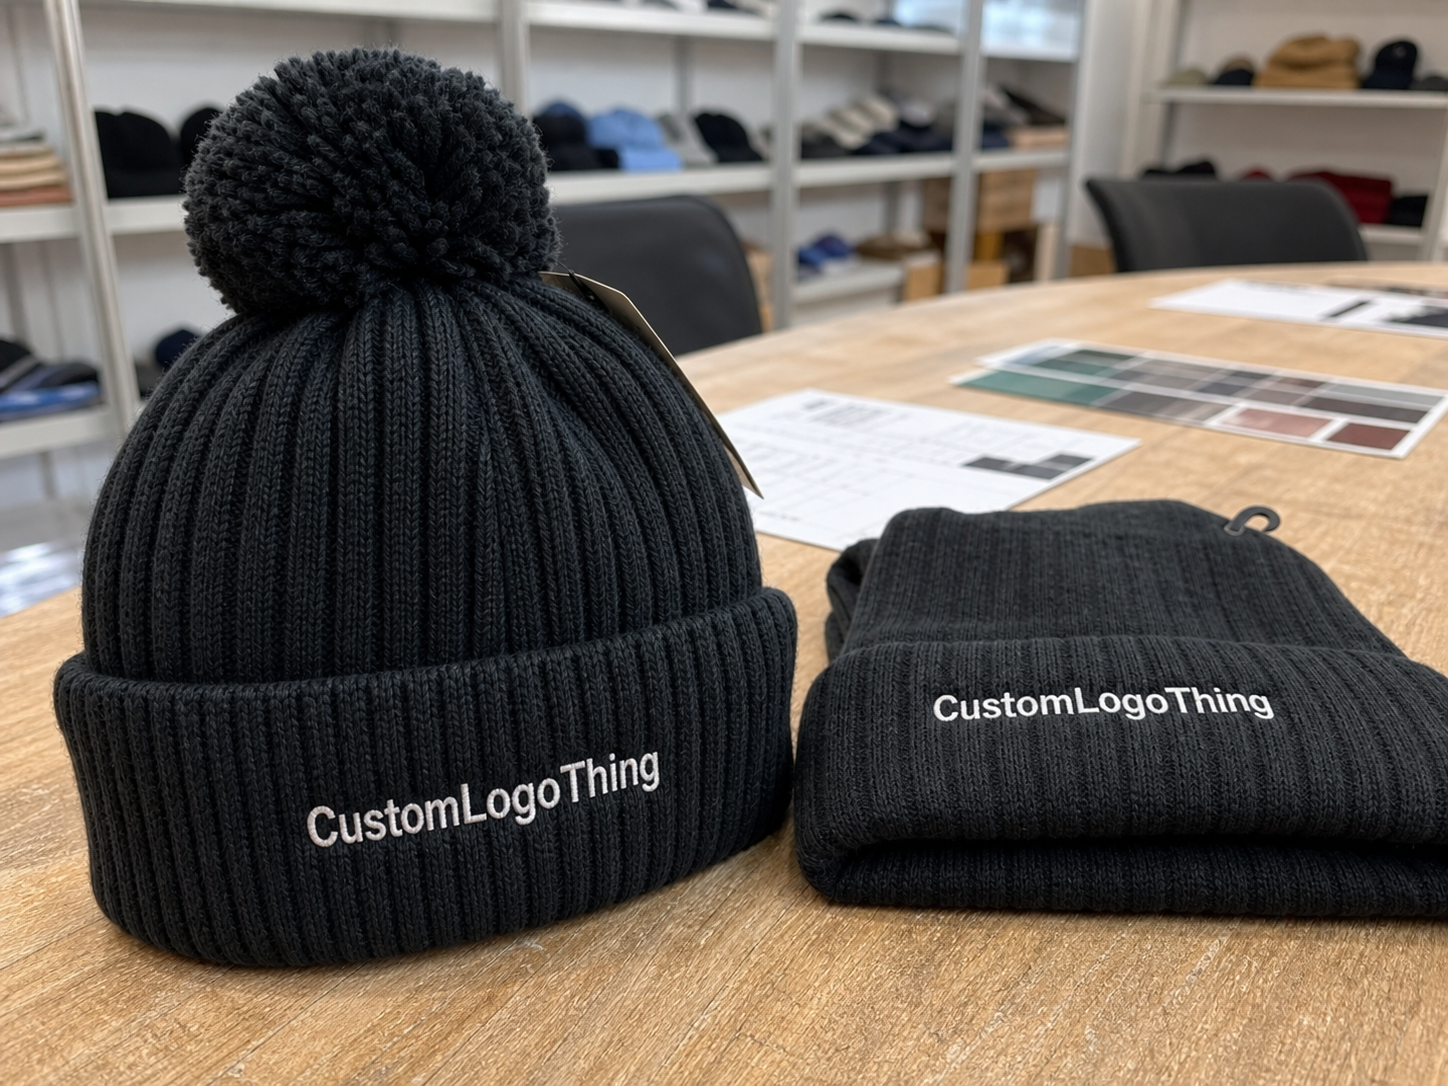
Start with the knit body. For Custom Acrylic Beanies, common reference points are a 7- to 12-gauge knit, a body length around 8.5-9.5 inches, and a cuff depth around 2.25-3.25 inches. Those ranges are not universal standards, but they are practical starting points. They help a buyer tell the difference between a short promotional fit and a deeper retail-style beanie. Check the yarn content as well. A 100% acrylic hat behaves differently from a polyester-acrylic blend, especially in softness, sheen, and recovery after stretch.
Shape matters more than many teams expect. Pull the cuff, release it, and watch how quickly the hat returns. If it stays loose or bags out, that is usually a knit or yarn issue rather than a one-off defect. The crown should sit cleanly without twisting. A small torque in the knit can become very obvious on a head, especially on darker colors or in close-up product photography.
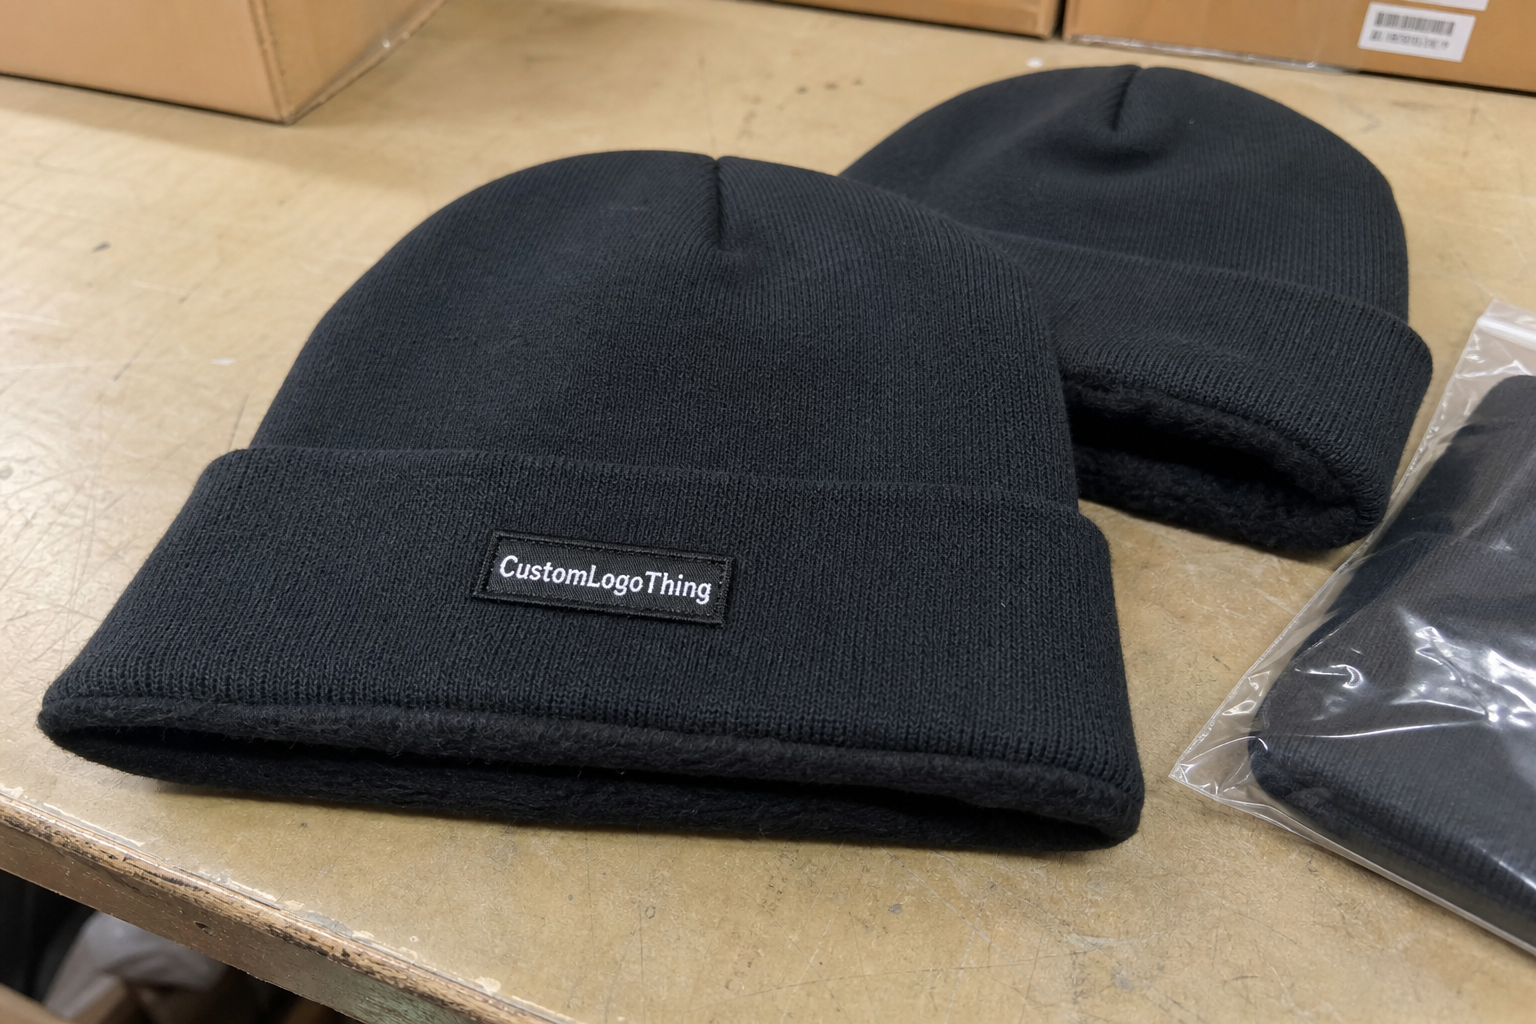
Decoration placement deserves careful measurement. A logo that appears centered on a flat table can shift once the cuff is folded or the hat is worn. Measure from the center seam, the cuff edge, and any side seam that exists. For embroidery, check stitch density so the mark does not disappear into the knit. For a patch, confirm the edge finish, the placement height, and the way the patch sits across the curve of the hat. For print, inspect cracking, bleed, and any distortion caused by the knit surface.
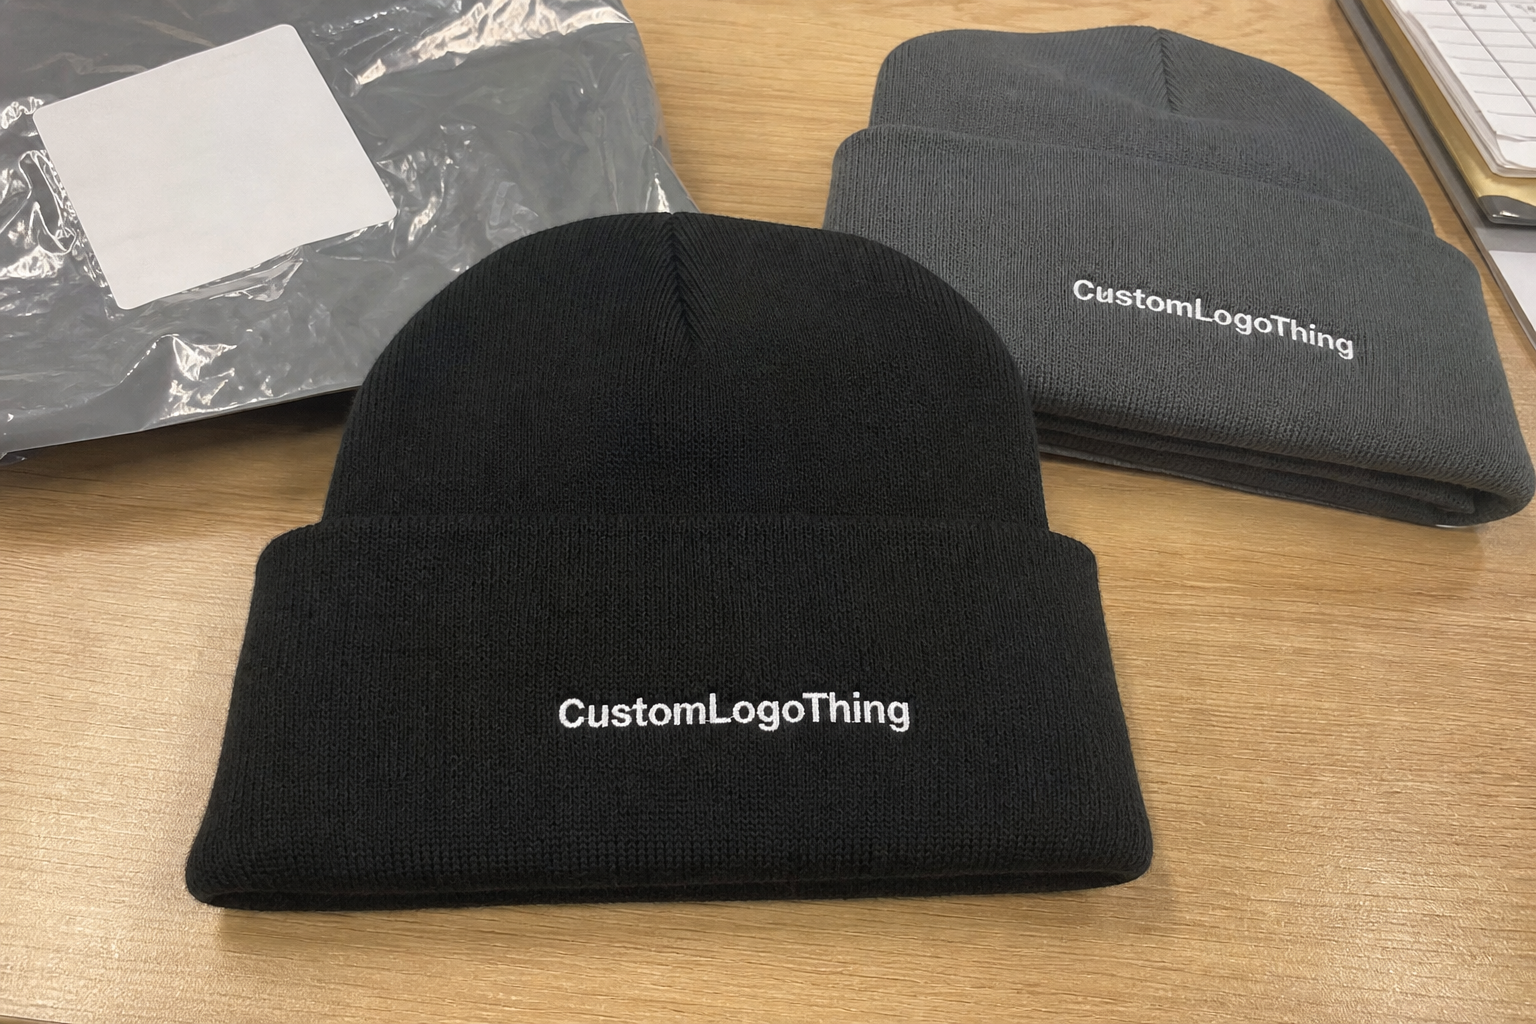
Color is another common source of disagreement. Acrylic yarn can read differently under warehouse lighting, daylight, and studio light. A sample that looks perfect on a phone screen may be too bright in person or too dull against the brand standard. Compare the sample against a physical Pantone chip, approved lab dip, or yarn swatch whenever possible. Screens compress reality. Yarn does not.
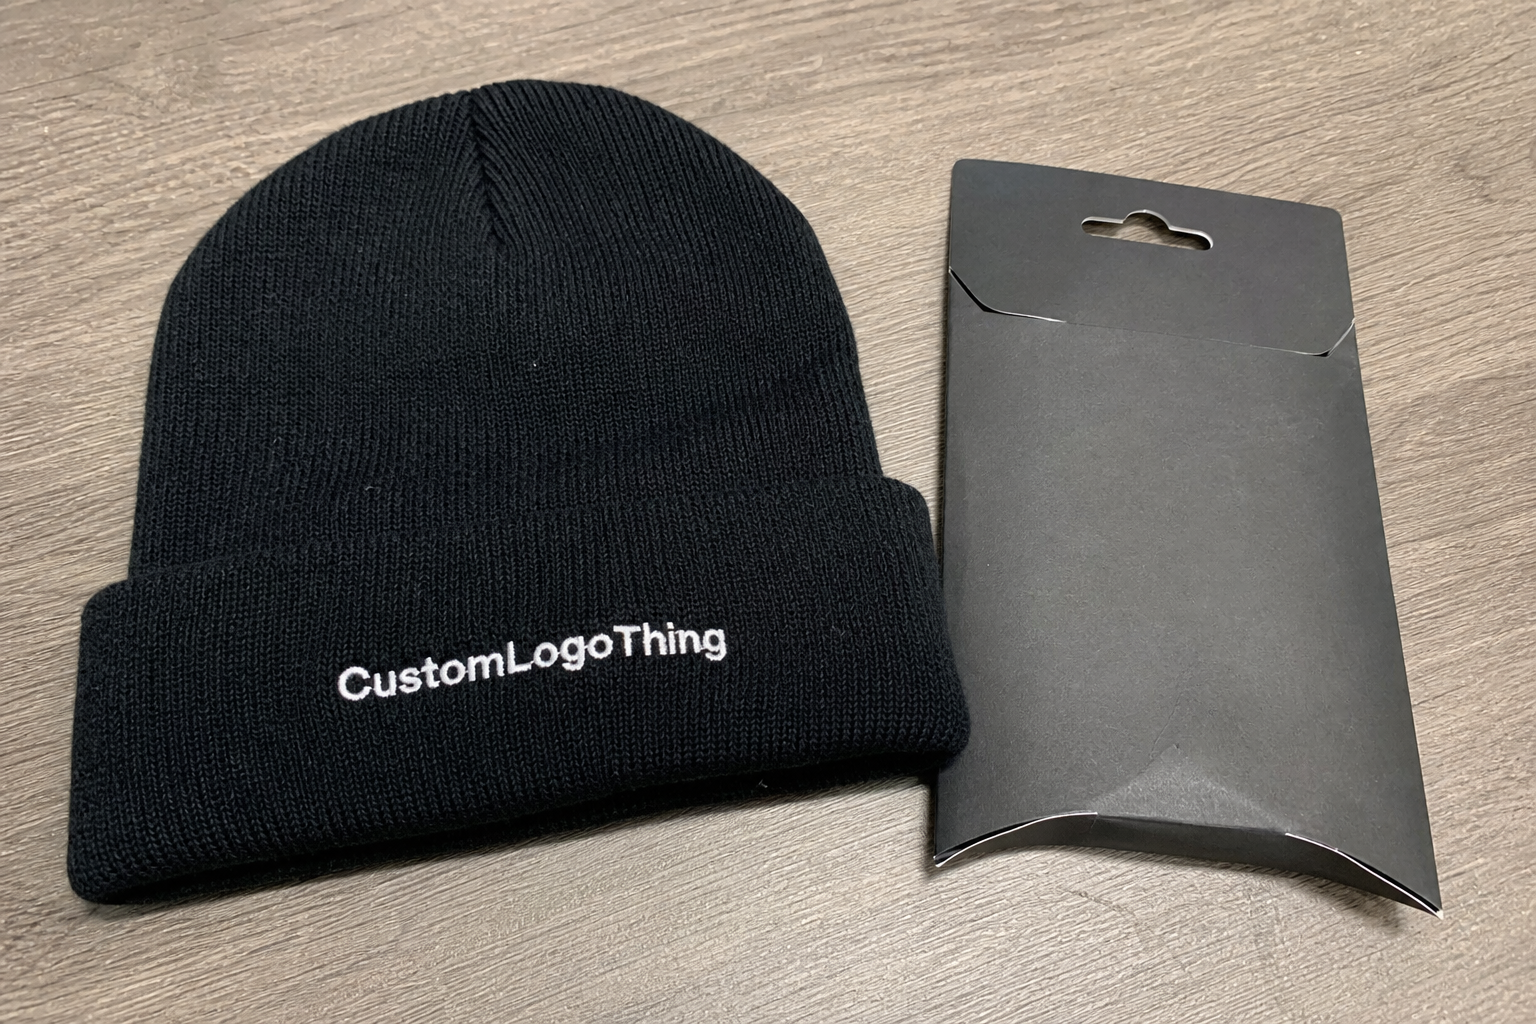
Labels and packaging belong in the same review. A well-made beanie with the wrong fiber-content label, the wrong care instruction, or a crooked hang tag is still a failed sample. If the product will ship in a retail carton or ecommerce mailer, the outer pack should be checked as part of the approval. Transport testing references from organizations such as ISTA can be useful when the order needs to survive distribution, stacking, and parcel handling.
What to measure on every sample
Keep the measurement list simple and repeatable. The point is to eliminate guesswork, not build a lab report. A practical checklist usually includes body length, cuff depth, relaxed width, stretch width, logo size, logo distance from the center line, and label position. If the factory cannot repeat a measurement twice with similar results, that is a warning sign.
What to reject without debate
Reject samples with broken stitches, loose threads across the logo, visible puckering around a patch, mismatched trim colors, or labels that do not match the spec sheet. A sample should also be rejected if the decoration method changed without written approval. That kind of switch can affect cost, hand feel, and MOQ at the same time.
Cost, Pricing, MOQ, and Quote Variables to Lock Down
Sample pricing is where buyers often get a false sense of savings. A low-cost sample does not mean a low-cost program. It only means the first version was inexpensive to produce. The real pricing picture appears after yarn, decoration, labels, and packaging are locked.
Separate sample fees from bulk pricing. In many sourcing programs, a blank beanie sample may run roughly $15-$35, a decorated prototype $30-$80, and a pre-production sample $45-$120 depending on complexity and whether the factory needs a new setup. Some suppliers credit that fee against the final order, some do not, and some only credit it after a minimum spend. There is no universal rule, so the quote needs to spell it out.
MOQ matters just as much. A factory may quote a modest sample price and still require 100-300 pieces per colorway for production, with higher minimums for custom yarn or specialized decoration. That is not a sales trick. It is the result of machine time, setup labor, and material yield. A knit beanie with a custom jacquard pattern usually carries a different minimum from a plain cuffed beanie with one small patch.
| Sample type | Typical fee | Usual turnaround | What it tells you |
|---|---|---|---|
| Blank sample | $15-$35 | 3-7 business days | Fit, yarn feel, cuff depth, and knit quality |
| Decorated prototype | $30-$80 | 5-10 business days | Logo placement, stitch density, patch behavior, and visual balance |
| Revised sample | $20-$60 | 3-6 business days | Whether the corrections actually fixed the problem |
| Pre-production sample | $45-$120 | 7-12 business days | Final trims, labels, packaging, and bulk-ready spec alignment |
The quote variables are usually easy to list and easy to miss. Yarn grade changes cost. Stitch complexity changes cost. Dense embroidery changes cost. A woven label is not priced the same as a printed one. A custom hang tag, barcode, or size sticker adds setup and assembly labor. Even the packaging format matters, because individually bagging hats takes longer than packing them loose in a carton.
If the sample reveals a different decoration method from the original quote, the bulk pricing should be updated right away. A woven patch, a rubber badge, and full embroidery can land in very different cost bands. Catch that during sample approval, not after the purchase order is already in motion.
For orders headed into retail or ecommerce channels, outer packaging can affect both price and approval. If the product needs to hold up through distribution, carton strength and packout should be discussed early. Paper sourcing can matter too, especially if your carton or hang tag program needs certification. References from FSC are often part of that conversation.
A Step-by-Step Approval Workflow for Faster Sign-Off
The quickest approvals are usually the most disciplined. That sounds counterintuitive until feedback starts arriving in fragments. One person comments in chat. Another replies to an older email. Someone else circles a photo and says it is fine. A week later nobody knows which version was approved.
- Review line by line against the tech pack. Compare the sample to the approved measurements, yarn spec, artwork file, label copy, and packaging notes in one shared document.
- Test the beanie on a head or mannequin. Flat lay photos help, but wear position changes everything. Check cuff height, stretch, logo visibility, and the silhouette from front and side.
- Compare against physical references. Use Pantone chips, yarn swatches, and packaging mockups. A screen render is not enough for color or trim approval.
- Send one consolidated response. Approve the sample or request one revision list. Keep the note short, specific, and dated so the factory can act without guessing.
- Ask for written acknowledgment. The factory should confirm which version is approved, what changed, and whether the revision affects bulk price or lead time.
A useful rule is simple: if a new person cannot understand the approval in five minutes, it is not ready to release. That keeps the sample record clean and prevents later disputes over which version was final.
Photography helps more than most teams realize. Take images of the sample under neutral light, with a ruler beside it, and store them with the signed approval. That small file folder becomes the reference when a pre-production question appears three weeks later and the original sample is no longer in circulation.
Common Mistakes That Delay Beanie Production
The easiest mistake is approving from photos only. Knit texture, yarn sheen, and stitch density rarely read the same on a phone screen. Even the color can drift depending on the camera and lighting. If the sample has not been handled in person, the approval is weaker than it looks.
Another common miss is skipping labels and care instructions. The hat itself may be fine, but if the fiber content is wrong, the care symbol is missing, or the brand name is misspelled on the tag, the whole order can stall. That matters even more for retailers with strict vendor compliance rules. A beanie can pass visual inspection and still fail because the paperwork is incomplete.
Fragmented feedback causes its own damage. Eight short messages are worse than one clear revision list because someone will eventually miss a line. The factory then corrects six items and leaves one unresolved. That usually means another sample round, another fee, and another week lost.
Wear testing is easy to ignore and expensive to skip. A beanie can look ideal on the table and loosen after being worn for ten minutes. It can twist to one side. It can sit too shallow on the forehead. It can feel scratchier than expected once the knit warms up. These are not cosmetic complaints; they affect sell-through and returns.
If the finished goods will ship in outer cartons or ecommerce mailers, ask whether the packout has been considered. A solid beanie in weak packaging still creates damage, returns, and complaints. That is where structured shipping tests, including common ISTA methods, can help reduce surprises before bulk production starts.
Do not assume minor changes are free. A logo resize, a shift from woven to embroidered, or a color correction can trigger new setup work. The sample stage is the time to ask for a revised quote, not after the order has already moved forward.
What to Do After the Sample Passes Approval
Once the sample is approved, the task changes from evaluation to control. The approved sample becomes the reference for the production run, and that reference needs to be stored where everyone can reach it. If the file is buried in one person’s inbox, the approval is weaker than it should be.
Archive the approved photos, measurements, artwork files, and sign-off date in one place. Freeze the final color standard, trim list, packaging spec, and label copy before the purchase order is released. If one version is still floating around in email, the factory may build the wrong one even after approval.
Ask for written confirmation of production tolerance, ship date, and any pre-shipment inspection milestone. If the supplier offers a pre-production sample or golden sample, tie it to the same version control as the approved record. The goal is consistency. A production run should not depend on memory.
It also helps to assign one owner for future questions. That person does not have to answer everything alone, but they should be the single source for decisions. Otherwise, small clarifications turn into conflicting instructions, and a simple beanie order starts behaving like a moving target.
Close the acrylic beanies sample approval checklist only after the same annotated version has been reviewed and confirmed by everyone who needs to sign off. That protects the bulk order, which is where the real cost of a bad sample shows up.
Frequently Asked Questions
What should be on an acrylic beanies sample approval checklist?
Include fit, stretch recovery, cuff depth, yarn feel, logo placement, stitching quality, label details, and packaging. Add a side-by-side comparison against the approved tech pack, artwork file, and color reference. Record who approved the sample and whether any small notes remain open.
How long does acrylic beanie sample approval usually take?
Most approvals take a few days after the sample arrives, but revisions can add another round of production and review time. Build in extra time if color matching, embroidery density, or packaging needs to be corrected. Ask the factory whether a revised sample changes the bulk lead time.
Does sample approval change the price or MOQ?
It can, especially if the sample reveals a new decoration method, different yarn, or a packaging upgrade. MOQ should be confirmed before approval because small development samples do not always reflect the true production minimum. Request a written quote update any time the sample changes the spec.
Why does the sample look different from the mockup?
Knit structure, tension, and crown shape can make logos and colors appear different than in a flat digital render. Lighting also matters; daylight, studio light, and warehouse light can change how acrylic yarn reads. Treat the physical sample as the real approval standard, not the artwork proof alone.
What is the safest way to give final approval?
Approve only after the sample has been checked in hand, photographed, and compared to the spec sheet. Use one written approval note that confirms color, fit, decoration, labels, packaging, and ship timing. Do not release production until the factory confirms receipt of the signed approval.