Bucket Hats Sample Approval Checklist for Faster Reorders
A bucket hats Sample Approval Checklist is the point where a nice-looking prototype either becomes a reliable production reference or quietly sets up a costly mistake. A bucket hat can look correct on a desk and still fail on a head because a 5 mm brim change alters the silhouette, the balance, and the way the crown sits. That sounds small. It is not.
In practice, approval is not a formality. It is the moment shape, hand feel, decoration, and packaging get frozen before volume spending starts. The biggest trap is the photo-perfect sample that hides production tolerances, especially on soft-crown builds, washed fabrics, or hats with dense stitching near the brim. A good checklist catches that drift early, before a full order inherits it.
“If the sample is vague, the bulk order will be vague too. A clean approval needs measurements, photos, and one written decision that everyone can stand behind.”
Bucket Hats Sample Approval Checklist: Catch Fit Issues Before Bulk
The first job of a bucket hats Sample Approval Checklist is to stop the classic mismatch between tabletop appearance and real-world fit. Bucket hats are deceptively simple, but small changes stack fast. A 5 mm brim difference can make the hat read sharper, slouchier, wider, or more premium than the approved sketch. The same is true for crown depth: 2 to 4 mm can be enough to change how the hat frames the face.
From a packaging buyer's point of view, approval is a risk gate. Once the sample is signed off, the factory starts buying bulk fabric, cutting panels, locking embroidery files, and planning pack-out. If the silhouette is off by a little, the correction cost multiplies across every unit. That is why the checklist should protect the order from spec drift, not simply confirm that the sample "looks good."
The most overlooked issue is structure. A soft crown with light interfacing will collapse differently than a hat with firmer reinforcement, even if the fabric shade is identical. The same pattern can behave differently once stitching density, seam allowance, and wash finish change the drape. That is exactly how a sample that photographs beautifully can still disappoint in bulk.
Use the checklist to verify:
- Brim width measured flat and on-head, not estimated by eye.
- Crown height from seam to top button, with an agreed tolerance.
- Panel count and seam alignment so the silhouette stays symmetrical.
- Sweatband feel because rough tape or stiff binding changes comfort.
- Fold behavior if the hat must ship packed flat or semi-collapsed.
If the buyer can only do one thing well, it is this: compare the sample to the spec sheet with a ruler, a head form, and a second pair of eyes. Not always glamorous. Very effective.
How the Sample Review Process Works From Sketch to Sign-Off
The sample path usually moves through four stages: concept file, proto sample, revision sample, and final pre-production approval. Each stage has a different job. A proto sample answers, "Can this shape exist?" A revision sample answers, "Did the changes work?" The final approval answers, "Is this the exact reference for production?" If those roles blur, the whole order gets fuzzy.
Decision-makers should annotate changes directly on the sample record. Measurements belong on a sheet, not in a thread of scattered emails. The same is true for panel shape, sweatband feel, trim placement, and logo position. A marketing lead may care most about brand appearance. Operations may care most about carton size and fold method. Merchandising may care most about margin. All three are right, but they do not always notice the same defect.
That is why written sign-off matters. "Looks good" is not a production instruction. "Approve brim width at 62 mm, crown height at 90 mm, logo centered 18 mm above the side seam, and keep the navy sweatband" is. That level of clarity turns a sample into a baseline instead of a memory.
A clean process usually looks like this:
- Send a complete tech pack with artwork, color references, and fit notes.
- Review the proto sample against the intended silhouette and decoration.
- Mark revisions in one place, with measurements and photos.
- Confirm the revised sample physically, not just by image.
- Issue one signed approval file that names the final reference sample.
The slower path is sometimes the safer path. Three comments from three people are not the same as one decision.
Cost, Pricing, MOQ, and Quote Variables That Change the Sample
Sample pricing is never just sample pricing. It reflects what the factory has to build, remake, or test before bulk can begin. Basic proto samples for a simple cotton bucket hat with standard embroidery often fall around $45-$95. Revision samples may run $25-$75 if the same base pattern is reused. A more involved pre-production sample, especially one with washed fabric, custom labels, or tight trim control, can land closer to $60-$150.
Those numbers move quickly if the buyer changes structure or decoration after the first round. A new colorway, a different sweatband, or a switch from direct embroidery to a woven patch can change not only the sample fee but also the bulk MOQ and the unit price. A low sample quote can even be misleading if the factory expects to recover costs later through extra revision charges or higher decoration setup.
| Sample stage | Typical fee | What it usually includes | Buyer takeaway |
|---|---|---|---|
| Proto sample | $45-$95 | Base pattern, core fabric, first decoration pass | Useful for shape and first-fit checks |
| Revision sample | $25-$75 | Adjusted measurements, logo moves, small material updates | Best for tightening tolerances and placement |
| Pre-production sample | $60-$150 | Final materials, final labels, final pack-out details | Use this as the production reference |
MOQ and unit cost can shift after approval if the buyer changes trim count, increases color variation, or adds a more labor-heavy decoration method. That is normal. What is not normal is discovering those costs after the order is already treated as final. The smartest comparison is not sample fee alone; it is sample fee plus probable rework cost versus the cost of approving the wrong thing and correcting hundreds or thousands of units later.
If packaging is part of the presentation, ask whether the sample fee covers the hat only or the complete pack-out. Hangtags, inserts, polybags, and carton markings often require separate setup. If your insert cards need recycled board, FSC certification can make the paper side cleaner to document.
Material, Stitching, and Decoration Specs That Need Sign-Off
This is the section where a lot of buyers get too casual. A bucket hat is not approved by feel alone. The spec sheet needs hard numbers for brim width, crown height, panel count, stitching density, lining, and sweatband construction. If the crown is meant to stand 85 mm tall and the sample measures 91 mm, that is not a styling preference. It is a change.
Material approval and color approval are related, but they are not the same. The same fabric shade can pass a visual match and still fail on drape, stiffness, or breathability. A brushed twill may feel thicker than expected. A washed cotton can soften the silhouette. A nylon blend may hold shape beautifully but trap more heat than the buyer wanted. None of that shows up in a single front-facing photo.
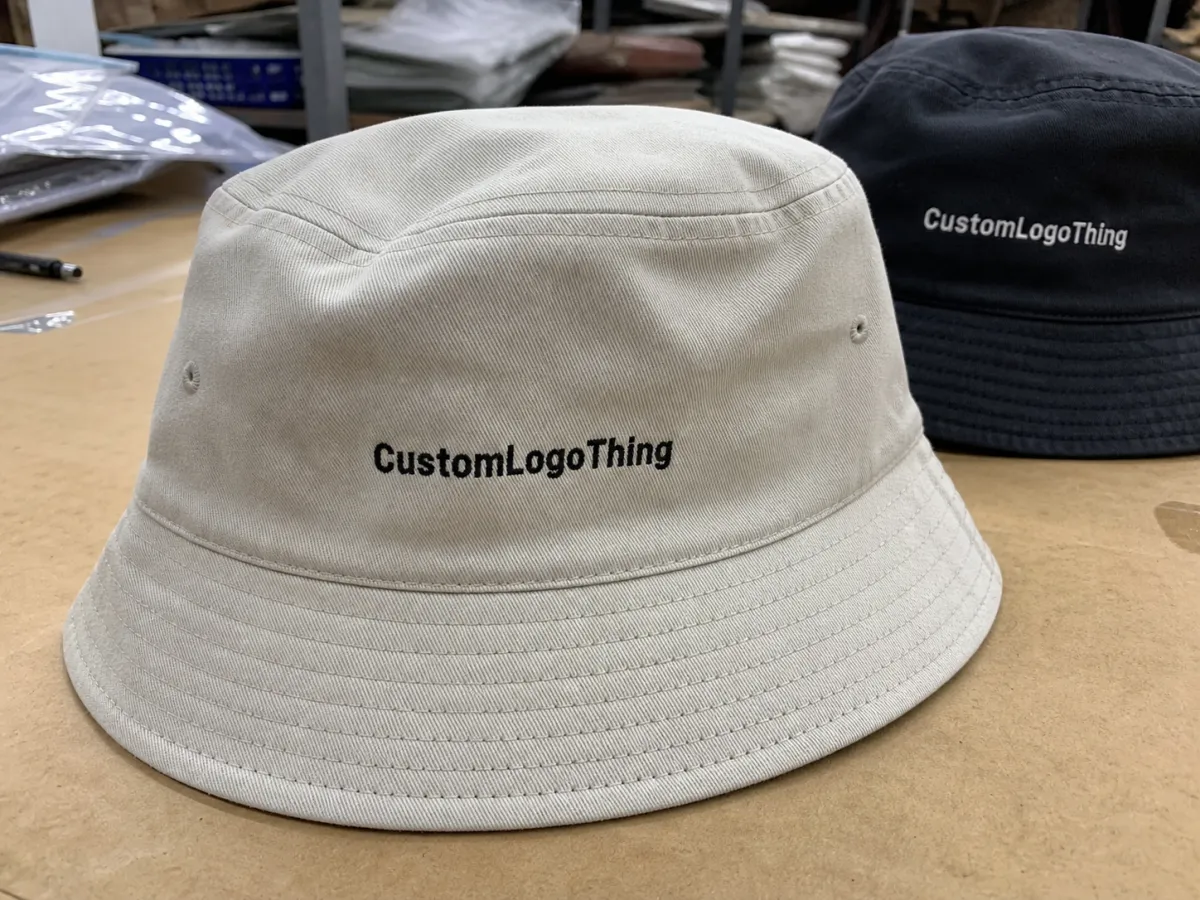
Decoration needs the same discipline. Check embroidery size, stitch count, patch placement, print registration, and thread contrast against the base fabric. A logo that reads sharply on a white sample may disappear on olive or navy once the thread sheen changes. In the real world, a 2 mm shift in patch placement can make a hat look centered in hand and off-center in pack.
Good tolerance language keeps repeat orders from drifting. Try to define acceptable variation in plain numbers:
- Brim width: +/- 3 mm.
- Crown height: +/- 4 mm.
- Logo placement: +/- 2 mm from the approved point.
- Stitch density: target range rather than "match sample."
- Color: approved against a physical swatch, not a screen.
If the hat ships folded or lightly packed, the packaging method becomes part of the product spec. For that side of the job, the transit-test mindset used by ISTA is useful because the crown can deform in a carton even when the sample looked perfect on the bench. Approval should cover the hat, the fold, and the box together.
Lead Time and Turnaround: What Delays Approval and Why
Lead time is usually more about decision speed than factory speed. A simple bucket hat sample can often be built in 5-10 business days, but that assumes the pattern exists, the fabric is on hand, and the artwork file is usable. Shipping then adds another 3-10 days, depending on the lane. One revision round can add another 4-8 business days. Two rounds can easily turn a two-week exercise into a month.
The biggest delay drivers are predictable. Fabric may need to be sourced. Artwork may need cleanup. Thread colors may need re-matching. Feedback may arrive from multiple stakeholders at different times, which forces the factory to wait for a single answer. International shipping between sample rounds can also create dead time, especially if the first sample needs to cross borders before anyone can touch it.
A fast approval path can still be risky if the team approves from photos alone. Photos are useful, but they hide density, stiffness, inside seam finish, and the way the brim sits on a head. That is why the approval calendar should always include one extra buffer for correction samples, especially when custom labels, wash effects, or special pack methods are involved.
One small planning move saves a lot of friction: lock the feedback window before the sample ships. If everyone knows they have 24 hours to reply, the process moves. If nobody knows who owns the final call, the sample sits while inboxes fill up. Slow approvals are not just annoying; they can push a seasonal order into the wrong selling window.
Common Approval Mistakes That Create Rework and Waste
The mistakes are usually ordinary, which is why they keep happening. Approving color from a screen is the first one. Screens lie. Lighting lies. Even a premium monitor can make a washed olive look more saturated than the actual fabric. If shade accuracy matters, use a physical swatch or a lab-documented reference.
Another frequent problem is fit by assumption. A sample may fit one head size well and another poorly. That matters more with soft-crown hats, where the material can collapse or flare depending on head shape. The fix is simple: test the hat on at least two head sizes and check the brim from the side, not just the front.
Feedback spread across five emails is another classic. One person wants the logo smaller. Another wants the sweatband softer. A third wants the crown taller. The factory sees three directions and no final decision. Consolidate that into one master file or one marked-up sheet, or the revisions will chase each other in circles.
Watch for these approval traps:
- Approving the sample before checking the inside construction.
- Forgetting to test fold and pack behavior.
- Letting unlabeled revisions sit side by side.
- Missing trim or label changes because the exterior looked polished.
- Signing off on a sample that was never measured against the PO.
Buyers who work across cartons and retail packs will recognize the pattern. Hidden structure matters. A neat exterior can still fail once the invisible pieces change. That logic is exactly why a bucket hat sample deserves the same discipline as a transit-tested package.
Expert Review Tips for Cleaner Approvals and Fewer Surprises
The cleanest approvals usually come from simple habits, not heroics. Start with a side-by-side comparison sheet that includes the approved sketch, the measurement table, and sample photos from the front, side, top, and inside. A single view rarely tells the whole story. Four views get much closer.
Test the hat on at least two head sizes. That sounds obvious, yet it catches crown depth and brim slant issues that flat-lay photos miss. If the brim pitches down too far, the hat can look relaxed in a photo but awkward in wear. If the crown sits too deep, the overall shape can feel heavier than intended.
Every change should live on one master document. Mark it once, then ask the factory to confirm each line item in writing. That confirmation matters. It removes "I thought you meant..." from the next production run, which is usually where rework begins.
Use a compact review workflow:
- Measure the sample against the spec sheet.
- Compare decoration to the approved artwork placement.
- Check inside finish, labels, and sweatband comfort.
- Fold the hat the way it will ship.
- Confirm the carton fill so the brim does not crush.
Packaging detail matters more than many buyers expect. If the crown ships crushed, the visual reference is no longer the same product. That is why the best Bucket Hats Sample approval checklist does not stop at the hat itself; it includes the way the hat sits inside the carton, because the box can quietly rewrite the shape.
Next Steps to Lock the Sample and Release Production
Once the sample is right, move quickly but carefully. Confirm the measurements one more time. Capture approved photos from multiple angles. Save the signed spec sheet. Label the final sample clearly so nobody mistakes it for an earlier revision. That paperwork sounds dull until a reorder lands six months later and the old prototype is all anyone can find.
Then send one consolidated approval message. Name every accepted detail and every item still pending. If the labels are approved but the carton artwork is not, say so. If the color is final but the fold method still needs confirmation, say that too. The factory can work with a precise partial approval. It cannot work with a vague one.
Archive the approved sample reference with the purchase order, artwork files, and pack-out notes. Replenishment orders depend on that record more than most teams realize. A good archive keeps the second order from becoming a fresh project.
Use this bucket hats sample approval checklist before bulk approval, then compare the signed sample against the production PO one last time before release. That last cross-check is cheap insurance, and in custom headwear it usually pays back fast.
What should be on a bucket hats sample approval checklist?
Include measurements, fabric, brim shape, crown depth, stitching, decoration placement, inside finishing, color, packaging, and any tolerated variation before bulk production starts. The best checklist also captures the approved sample photos and the exact sign-off language.
How many sample rounds are normal for bucket hat approval?
One proto and one revision are common when the artwork is clear and the factory already has a usable base pattern. More rounds are normal if the buyer changes structure, requests special washing, or needs tighter fit control than the first sample can show.
How long does bucket hat sample approval usually take?
Timing depends on fabric sourcing, factory queue, and shipping method, but revision cycles usually create the biggest delays. Fast approvals happen when feedback is consolidated, measurements are precise, and the buyer responds within one business day.
What affects sample cost versus bulk pricing for bucket hats?
Sample cost usually rises with custom trims, embroidery complexity, color matching, and extra revision work. Bulk pricing is more sensitive to MOQ, labor intensity, and whether the approved sample introduces special materials or finishes that take more time to run.
What files should I send before approving a bucket hat sample?
Send the tech pack, logo artwork, measurement sheet, color references, and any packaging instructions that affect final presentation. That file set is the practical version of a bucket hats sample approval checklist: it keeps the approved sample tied to the tech pack, not to memory.


