A bakery frosted zipper Bags Packaging Insert Checklist sounds narrow, but it solves a broad problem: frosted film softens the view of the product, so the insert has to carry more of the selling job than it would in a clear pouch. The card is not just a backdrop. It is the piece that names the flavor, signals freshness, lists what matters, and gives the bag a finished look instead of a temporary one.
That matters in more than one setting. A pastry bag seen across a market table needs quick recognition. A cookie pouch in a refrigerated case needs legibility under harsh lighting. A gift assortment packed for delivery needs enough clarity that the customer can tell what they bought before they tear the seal. In each case, the insert is part of the packaging system, not a decorative extra.
Buyers often underestimate how much visual load the insert carries once the bag turns frosted. The material mutes color and contrast, which means pale type, thin fonts, and crowded layouts lose readability faster than mockups suggest. A package can look balanced on a monitor and still feel faint, busy, or underpowered in the hand. That gap between screen and shelf is where most problems start.
What Makes a Frosted Zipper Bag Need an Insert?
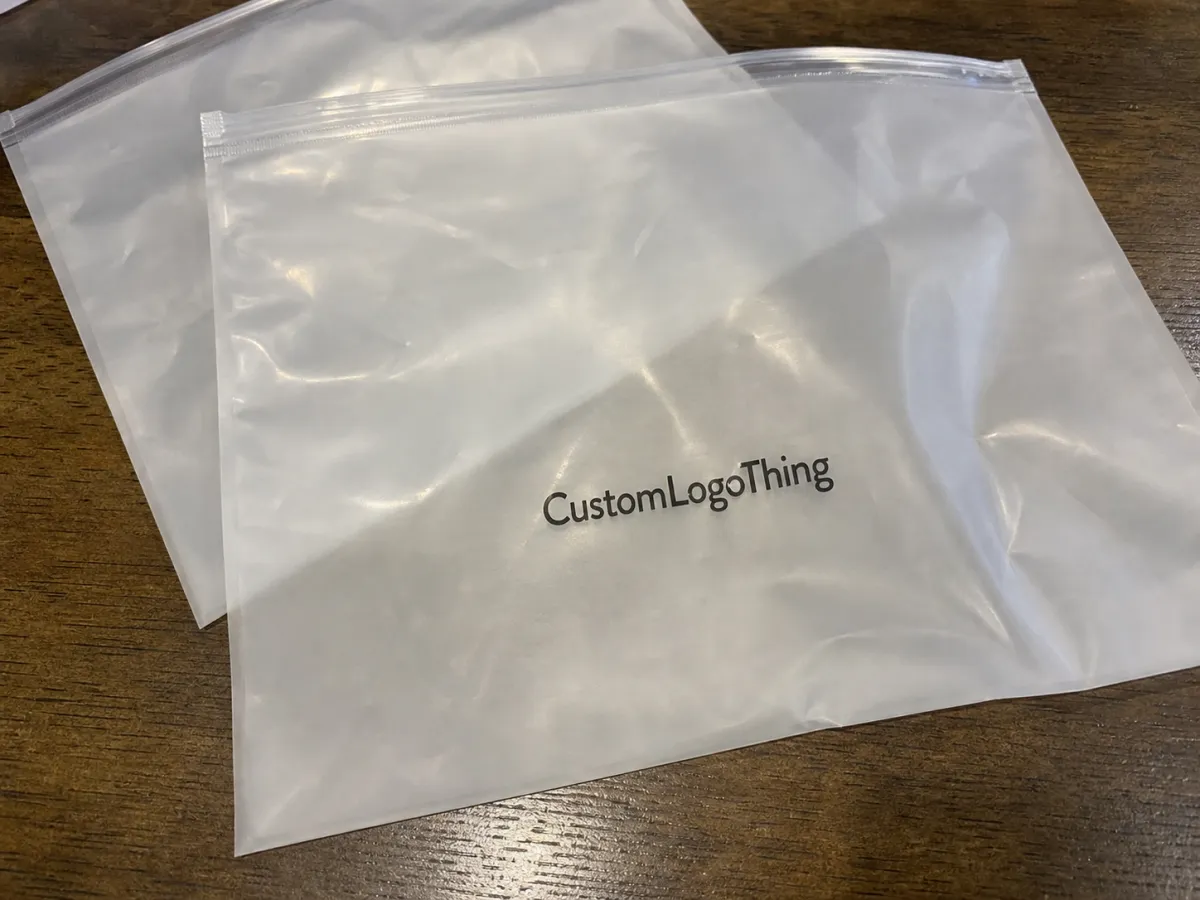
Clear bags let the product do the talking. Frosted Zipper Bags change the hierarchy. The item inside still matters, but the visible insert becomes the first thing many customers read. That shift can help a bakery that wants to emphasize seasonal flavors, brand tone, or a premium presentation. It can also expose weak design fast.
The practical issue is simple: the customer gets only a moment to decide whether the item looks familiar, appealing, and worth the price. If the product name is buried, if the bakery name is too small, or if the bag only shows a blur behind the film, the sale depends on the insert doing its job immediately. On the back end, the same card may need to carry storage instructions, allergen details, or a QR code for reorders.
That is why the insert has to be planned like a functional retail component. It should answer the fast questions first: What is this? What flavor is it? Is there any handling instruction I need? After that, it can support brand story, seasonal copy, or a short note about ingredients. The order matters. If the customer has to hunt for the basics, the design is working against the package.
There is another reason inserts matter in bakery packaging: they help standardize how a product looks across multiple channels. The same pastry might be sold at a counter, sent in a delivery box, and displayed in a pop-up market. A good insert keeps the brand recognizable even when the product presentation changes. That consistency is often worth more than a louder graphic treatment.
The biggest mistake is treating the insert as an afterthought once the bag spec is already fixed. The bag opening, zipper line, and product height all affect what part of the card remains visible. If the usable area is not mapped early, the final package can look clipped or unfinished even when the artwork itself is strong.
How the Insert Works Inside Bakery Packaging
Bakery inserts usually fall into four practical formats. A flat card is the simplest and most common. It works well for single items, short copy, and a clean shelf look. A folded card adds space without making the front feel crowded. A belly-band style insert wraps partly around the product and can work for gift sets or bundled assortments. A leaflet is best for longer content, but it needs enough body to stay flat and not curl inside the pouch.
Each format behaves differently once it is inside a Frosted Zipper Bag. A tall card may disappear behind the zipper line. A wide card can buckle against the product. A lightweight leaflet may slide around during packing and look messy by the time it reaches the customer. Those are not design abstractions; they are production issues that show up in the final assembly.
The insert should fit the usable space inside the bag, not the outer dimensions on a spec sheet. Allow for the seal area, the zipper track, and the way the bakery item sits inside the pouch. A measured dieline is worth more than a rough size estimate. If the card is too tall by even a small amount, the top edge gets hidden. If it is too small, the whole presentation can look undersized and cheap.
Readability also changes after packing. Frosted plastic reduces contrast. Product shape can shadow text. Refrigerated cases can add glare. Because of that, the hierarchy should be aggressive in the right places: bakery name first, flavor second, key descriptor third. Supporting details can move to the back panel or a folded interior page.
In practice, the best inserts are easy to scan from a few feet away and still useful when held in the hand. That usually means fewer font styles, more contrast, and a layout that gives the most important words enough breathing room. Overdesigned cards tend to look prettier on proofs than they do in a busy retail environment.
| Insert Format | Best Use | Typical Stock | Practical Notes |
|---|---|---|---|
| Flat card | Single product, short copy, clean shelf presentation | 14 pt C1S or 16 pt SBS | Lowest complexity; easiest to pack and align consistently |
| Folded card | Ingredients, story copy, storage guidance, QR code | 14 pt to 16 pt cover stock | More room, but fold placement must stay accurate |
| Belly-band insert | Gift sets, bakery assortments, premium bundles | Cover stock with scoring | Strong visual presence; needs precise fit so it does not shift |
| Leaflet | Education, multi-item kits, promotions, reordering info | Matte-coated or uncoated stock | Flexible, but paper weight matters if it must stay flat |
Material, Print, and Finish Factors That Change the Outcome
Material choice has a larger effect than many buyers expect. A thin sheet might look fine in a PDF, then curl, wrinkle, or vanish visually once it is behind frosted film. For most bakery insert cards, 14 pt C1S, 16 pt SBS, or a similar cover stock is a good starting point. It gives enough stiffness to stay present in the bag without becoming bulky or hard to stack.
Coating changes the feel and the failure mode. An aqueous coating can improve scuff resistance and protect ink during handling. Matte-coated stock reduces glare and often supports a more refined look. Uncoated paper can feel artisanal and warm, which suits some bakery brands, but it is more likely to pick up marks and show wear if the cards pass through many hands before packing.
Color contrast should be judged against frosted plastic, not against a white screen. The film softens the image, so low-contrast palettes lose power quickly. Dark type on a clean white, cream, or very light neutral background usually reads best. If the brand palette leans soft or pastel, the answer is not to abandon it entirely. Use larger type, stronger weight, and more open spacing where the customer needs information fast.
Print detail deserves the same scrutiny. Fine lines, small type, and low-resolution logos can blur once they are printed and viewed through the bag. QR codes need enough quiet space around them to scan properly, and they should not sit where the zipper, fold, or product edge can break the code area. If the code is part of the buying path, treat it like a functional element, not a decorative square.
Size and placement are just as important as the artwork. The insert has to respect the zipper line, the visible window, and the way the bakery item rests in the pouch. If the card is too tall, the top disappears. If it is too wide, the corners can crease. If it is too loose, the package loses the tidy look that frosted bags are supposed to create.
Paper sourcing matters too, especially if the packaging needs to support sustainability claims. FSC-certified stock can be a practical option when a buyer wants a recognized paper standard rather than a vague environmental statement. For shipment and handling, packaging teams sometimes reference ISTA methods to think through how inserts and bags should be packed and protected in transit. The Packaging School and packaging industry resources are useful for general context, and FSC is the right source for certified paper claims.
Bakery Frosted Zipper Bags Packaging Insert Checklist: Step by Step
Use this checklist before any proof is approved. It keeps the job focused on the things that usually cause reprints, delays, or packaging that looks fine in isolation and weak in the bag. The title may be long, but the logic is straightforward: confirm the bag, confirm the content, confirm the visual hierarchy, then confirm the production details.
Measure the bag and the product first. A polished insert that ignores the actual usable space can still fail the moment it reaches production.
- Measure the bag carefully. Confirm width, usable height, zipper position, seal area, and the way the product sits inside the pouch.
- Gather final content. Product name, flavor, ingredients, allergen statement, net weight, storage instructions, QR code, and reorder details should be approved before layout starts.
- Set the hierarchy. The bakery name and flavor need to read first, with secondary information placed where it will not compete for attention.
- Choose stock and finish. Pick the paper weight, coating, and stiffness based on how the insert will be handled, packed, and viewed through frosted material.
- Check print specs. Confirm bleed, trim, safe area, file format, and color profile so the printer is not guessing at the final setup.
- Review compliance text. Ingredient and allergen copy should be accurate, current, and easy to update when the recipe changes.
- Approve a proof. A digital proof catches layout problems; a physical sample is better when the design uses small type, folds, or a tight fit.
- Plan the packing method. Decide whether inserts ship loose, nested, or pre-packed with the bags, since labor and staging change the final cost.
The checklist should also include a few production-floor questions. Will the cards scuff when stacked? Does the ink hold up if the order is packed in warm conditions and then moved to a cooler environment? Is the QR code still scannable after print? Those details sound minor until a customer cannot read the package in a store or a packer has to sort damaged inserts by hand.
A master content sheet helps a great deal if the bakery runs seasonal flavors or rotates ingredients often. Keep the approved logo, ingredient language, allergen line, version date, and final dimensions in one place. That way, the next reorder does not rely on memory or an old file buried in someone else's inbox. For busy teams, version control is often the difference between a clean repeat run and a messy correction.
Cost, Pricing, and MOQ Questions to Sort Out Early
Pricing for bakery inserts is shaped by a handful of variables: size, stock, print coverage, one-sided or two-sided printing, folding, scoring, coating, and packing method. A simple flat insert on standard cover stock is usually the least expensive. Once a job adds full-bleed ink, a fold, or a special finish, the quote rises quickly. The print method matters too, because digital and offset jobs behave very differently at small and large volumes.
For rough planning, small digital runs of straightforward insert cards often fall in the $0.18 to $0.45 range per unit, depending on quantity, size, and coverage. Higher-volume offset work can bring that down to roughly $0.08 to $0.22 per unit for simple jobs, though setup and finishing still influence the total. Folded pieces, heavier paper, and extra packing labor add cost. These are working ranges, not fixed pricing, because paper markets, press time, and finishing capacity all move.
MOQ changes the equation in a way that buyers sometimes overlook. Moving from 500 pieces to 1,000 may not double the spend, and the unit price may improve enough to justify the larger run. The risk is over-ordering when formula labels, seasonal artwork, or flavor names are likely to change. For bakery packaging, stale inventory is a real cost. A lower unit price is not useful if the card becomes obsolete before it is used.
Ask for a quote that separates print, finishing, packing, and freight. That makes comparison easier and exposes hidden costs such as rush fees, reproof charges, heavier paper upgrades, or special handling. Landed cost is the number that matters, not just the headline unit price. If one supplier is cheaper on print but charges more for packing or shipping, the real difference may disappear.
It can also help to quote the bags and inserts together, even if they are produced in different places. Shared artwork review reduces the risk of mismatched sizing or inconsistent brand treatment across the line. For bakeries that are also sourcing labels or cartons, a coordinated approval cycle keeps the packaging family aligned instead of visually drifting from one item to the next.
| Order Type | Typical MOQ | Estimated Unit Range | Best Fit |
|---|---|---|---|
| Digital flat insert | 250-1,000 | $0.18-$0.45 | Short runs, seasonal artwork, faster changes |
| Offset flat insert | 2,500-10,000+ | $0.08-$0.22 | Stable designs, repeat orders, lower unit cost at scale |
| Folded or scored insert | 1,000-5,000 | $0.14-$0.38 | More content, more structure, higher perceived value |
Process, Timeline, and Turnaround From Proof to Delivery
A clean production schedule usually follows the same sequence: artwork prep, proofing, approval, printing, finishing, packing, and shipment. The sequence sounds ordinary, but the delays tend to happen at the edges. Someone sends an old logo file. Ingredients change after layout begins. A proof sits unapproved while other work takes priority. Small gaps like that can stretch a simple order into a longer one.
For many bakery insert jobs, turnaround after final proof approval lands around 7 to 15 business days, depending on stock availability, print method, and finishing. Rush orders are possible, but they usually cost more and leave less room for corrections. Peak bakery seasons, holidays, school events, and promotional periods can all push schedules out because demand crowds the print calendar.
Receiving and staging deserve more attention than they usually get. If the inserts show up before the bags, they need safe storage and a clear count. If the bags arrive first, the line may stall while the team waits for the printed cards. For a smaller bakery, that can mean extra handwork at the packing table. For a larger operation, it can slow fulfillment enough to affect promised ship dates.
One practical rule helps keep timelines honest: the more variables the insert has, the more time the proof stage deserves. A single-sided card with plain copy can move quickly. A folded insert with fine type, a QR code, and a premium finish needs closer review. That is not caution for its own sake. It is the normal cost of avoiding a reprint, which is almost always slower and more expensive than doing the proof properly the first time.
If the insert is part of a bigger packaging rollout, map the whole schedule across bags, labels, cartons, and any supporting components. The real risk is not that one item is late by itself. The risk is that one delay ripples into the rest of the launch.
Common Mistakes and Next Steps Before You Place the Order
The most common mistake is designing before measuring. A refined layout still fails if it ignores the zipper line or the usable panel inside the bag. The second mistake is treating ingredient copy like filler text. For bakery packaging, those lines are part of the product information, and they need the same care as the headline flavor callout.
Weak contrast is another repeat problem. Light gold on frosted plastic, tiny serif type, or busy background art with small white text all tend to disappear faster than people expect. QR codes also get mishandled. If the code sits too close to a fold, a product corner, or the top seal, scan performance drops. That is not a design preference. It is a usability issue.
Before approving a run, check four things: branding, compliance, shelf readability, and packing logic. Does the insert still look like the bakery? Does the text match the recipe and allergen requirements? Can a customer identify the product in a few seconds? Can the line pack it without extra friction? If the answer is yes across those four areas, the order is probably ready.
For repeat programs, keep the approved files, final specs, and the bakery frosted zipper Bags Packaging Insert Checklist with the order notes. That creates a cleaner reorder path and reduces the chance that a seasonal flavor, outdated ingredient line, or old artwork version sneaks back into production. In packaging, consistency is rarely accidental. It usually comes from a controlled process and a proof that was actually checked against the real bag.
What should a bakery frosted zipper bag insert checklist include?
It should cover dimensions, usable bag height, final copy, proof approval, paper stock, finish, and packing method. For bakery items, add ingredients, allergen notes, storage guidance, and any QR code or reorder details that the customer needs.
Do frosted zipper bag inserts need allergen and ingredient details?
If the insert is part of the customer-facing package, those details should be included or matched to the rest of the retail packaging. Keep the copy readable and current, especially if formulas, toppings, or supplier ingredients can change between runs.
What paper stock works best for bakery insert cards in frosted bags?
A stock with enough stiffness to stay flat usually performs better than thin paper, which can curl or disappear behind the product. For most jobs, 14 pt to 16 pt cover stock is a practical place to start, then adjust based on size and handling.
How do I estimate MOQ and unit cost for a bakery insert order?
Ask for quotes at multiple quantities so you can see how setup costs affect the per-unit rate. Compare stock, finishing, printing method, and freight separately, because the landed cost is often different from the headline unit price.
What is the best way to speed up turnaround on bakery frosted zipper bag inserts?
Send final dimensions, approved copy, and logo files upfront so proofing does not stall. Approve the proof quickly and avoid late changes, because revisions are the most common reason a simple insert order slips.

