If you are comparing decorated headwear for a launch, event, or retail program, a ceramic embroidered baseball caps Unit Cost Review should begin with the decoration spec, not the blank cap price. On a cap, stitch count, placement, and crown structure usually move the quote faster than the hat itself, and that is where many buyer-side assumptions break down.
That is also why the first useful question is not, "What does the cap cost?" It is, "What does this artwork actually require on the machine?" A logo that looks simple on a screen can become a slow run once it is digitized, fitted to a curved front panel, and approved against a real sample. The smaller the order, the more that setup work shows up in the unit cost.
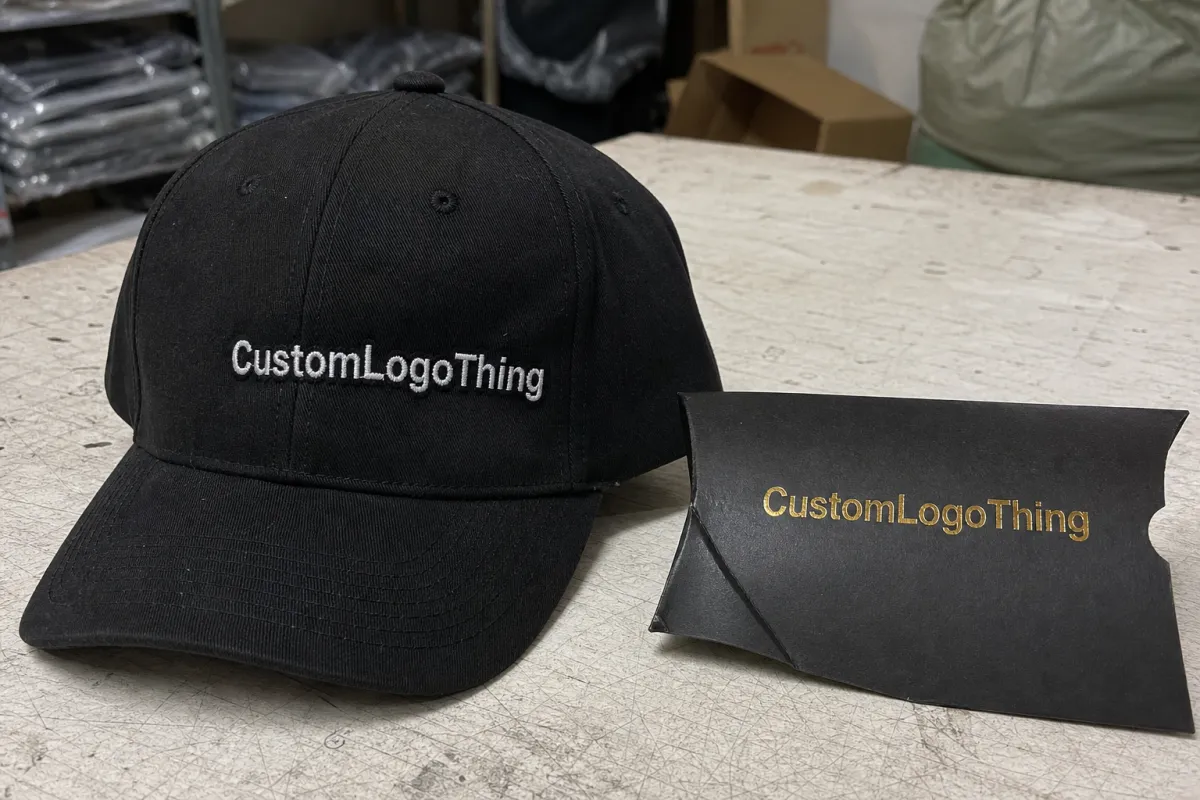
A useful cap quote is built on limits: logo size, stitch density, placement, cap style, and packing method. Leave those vague, and the price will wander.
Why the decoration spec changes the cost picture
On embroidered caps, the blank often looks inexpensive until the decoration is fully defined. A midweight cotton twill cap with a standard closure may be straightforward, but the cost can rise quickly once the logo includes dense fill areas, small text, metallic thread, or more than one placement. That is the core lesson behind any ceramic embroidered baseball caps Unit Cost Review: the embroidery program, not just the cap shell, drives the final number.
Small artwork changes can create large swings. A logo that moves from 5,000 stitches to 9,500 stitches changes machine time, thread consumption, and the chance of distortion on the crown. Add a second placement on the side or back, and the labor profile changes again because the operator is no longer running one simple front-panel sew-out. Even the same logo can price differently on a soft unstructured cap versus a structured six-panel style with buckram support.
There is also a buyer trap that shows up constantly: asking for "logo on a cap" without setting decoration limits. A supplier cannot price accurately without knowing whether the artwork needs flat embroidery, 3D puff, tonal thread, satin borders, or a mix of fill and outline stitching. Once those details are fixed, the quote becomes readable. Before that, it is only a rough estimate wearing a confident tone.
From a sourcing standpoint, the most practical way to think about cap decoration is this: setup charges, digitizing, and run time need to be spread across the order size. That is why small runs feel expensive. The fixed work is real, but it is being divided across fewer pieces. In bulk pricing, that fixed work gets absorbed better, and the cost per piece falls in a way that is easy to see on a quote.
Product build details that affect logo quality and yield
Cap construction matters because embroidery behaves differently on different shells. A structured crown holds the front panel firm and usually gives a cleaner logo face, while an unstructured cap can wrinkle or shift if the design is too dense. Panel count matters too. A six-panel baseball cap gives the decorator a different working surface than a five-panel style, especially if the logo is wide and low across the front.
Visor style and closure type play a role as well. Pre-curved visors are common in promotional programs, but they affect packing geometry and can make carton counts less efficient than a flatter profile. Snapback, strapback, hook-and-loop, and fitted closures all change the product feel, and the choice can affect perceived value even when the decoration stays the same. In retail work, that perceived value often matters as much as a small difference in blank cost.
Thread direction, backing choice, and crown stability are the technical details that separate a clean cap from a disappointing one. A cap that is not properly stabilized can pucker around the letters. Too much thread density on a curved front panel can pull the fabric and blur the logo edges. Good digitizing balances underlay, stitch sequence, and thread tension so the design stays crisp after sewing, folding, and bagging.
Common decoration zones include:
- Front panel - highest visibility, usually the most sensitive to stitch density and distortion.
- Side panel - smaller area, often used for a wordmark, icon, or secondary mark.
- Back panel - useful for brand tags or event names, but may need tighter sizing.
- Brim - less common for embroidery, but sometimes used for compact decorative text.
For sampling, ask for a view of the embroidery on the exact cap style, not just a flat logo proof. A clean stitch file can still produce a poor result if the crown profile is wrong. The most reliable sample shows the blank, the stitch pattern, the thread colors, and the final finish together. That is where you catch issues like letter compression, weak edge definition, or a logo that sits too high on the crown.
One more detail that buyers sometimes miss: embroidery yield is not only about aesthetics. If the machine has to slow down for dense areas or repeated trims, the run can lose efficiency. That is one reason suppliers prefer a stitch file that is simple where it can be simple and reinforced only where it needs visual weight.
Spec sheet essentials for a clean buyer-side comparison
If you want to compare offers fairly, the spec sheet has to do the heavy lifting. A vague request produces a vague quote. A useful sheet gives the supplier enough detail to price the cap properly and reduces the back-and-forth that slows sampling. For a buyer reviewing ceramic Embroidered Baseball Caps, the goal is apples-to-apples comparison, not a stack of numbers that hide different assumptions.
At minimum, a good buyer-side spec should cover:
- Cap style - structured or unstructured, six-panel or five-panel, crown height, visor shape, closure type.
- Fabric - cotton twill, washed cotton, polyester blend, canvas, or performance fabric.
- Decoration - embroidery size, placement, stitch type, thread colors, and whether 3D puff is needed.
- Finish - woven label, printed label, tear-away tag, polybagging, size sticker, or retail insert.
- Quantity ladder - sample quantity, first run quantity, and any reorder volume you expect.
- Delivery target - in-hand date, not just order date.
There are also tolerances worth stating up front. Logo height limits matter because embroidery on a cap has less usable real estate than a T-shirt. Fine line weight matters because thread needs room to sit cleanly. If the design has tiny type, it may need to be simplified before production; otherwise, the result can look crowded even if the proof looked fine on screen. That is not a failure of the factory. It is a mismatch between artwork ambition and the surface it has to live on.
Packaging details belong on the spec sheet too. Confirm whether caps should be individually polybagged, whether cartons need specific counts, and whether any retail-ready labeling is required. If the order includes paper inserts or hang tags, it may be worth checking whether the paper stock should be FSC-certified. For shipping performance, some buyers also align carton expectations with ISTA transit test methods, especially when product presentation matters after distribution. That may sound like a detail, but it becomes visible the moment a carton arrives crushed or a packed cap loses its shape.
The real value of a good spec sheet is fewer assumptions. It helps the supplier quote the right blank, the right stitch count, the right packing method, and the right timeline the first time.
Pricing, MOQ, and unit cost drivers for the ceramic embroidered baseball caps unit cost review
This is the part most buyers care about first, and for good reason. The cost per piece can swing a lot depending on order size, logo complexity, and the number of production steps required. A clean review should separate three things: sample cost, one-time setup, and the running price on the production order.
Typical price drivers include blank quality, stitch count, number of placements, thread colors, and whether a sew-out sample is required before the run. If the artwork needs digitizing from scratch, there may be a small one-time file prep charge. If the buyer asks for multiple revisions, that can add time more than cash, but time still matters because it can shift the job in the queue. In some programs, buyers call these hidden tooling fees, although with direct embroidery the better term is usually digitizing or setup.
MOQ changes the math. A 50-piece order will carry a much higher per-piece cost than a 300-piece order because the fixed work is spread across fewer units. At 1,000 pieces, the embroidery line runs more efficiently, and the blank cap purchase usually improves as well. That is where bulk pricing starts to show its value.
Directional pricing ranges are useful only if they are framed correctly. A simple one-color front logo on a standard twill cap can land near the lower end of the range. A dense emblem with two placements, specialty thread, and retail packing can sit much higher. If a supplier gives one flat number without asking about stitch count or placement, the quote is not ready for decision-making.
| Order size | Typical unit cost range | What pushes it up | Best fit |
|---|---|---|---|
| 50 pieces | $6.50-$11.00 | Setup charges, sample approval, small-run labor | Launch tests, event staff, short promotions |
| 100 pieces | $5.20-$8.50 | Digitizing spread across fewer units, extra revisions | Team issue, local brand drops |
| 300 pieces | $3.80-$6.20 | Multi-placement art, dense stitch files, special packing | Retail pilots, regional campaigns |
| 1,000 pieces | $2.60-$4.40 | Premium blanks, multiple colors, custom pack-out | National programs, replenishment orders |
There are straightforward ways to lower the unit cost without changing the brand feel. Use one placement instead of two. Reduce stitch density where the logo does not need visual weight. Stick to standard closures. Keep thread changes to a minimum. In many cases, shaving one or two thread colors saves more than negotiating a few cents on the blank cap.
Ask the supplier to show the sample charge, the production unit price, and any one-time setup charges separately. That structure makes it easier to compare offers and prevents a low-looking quote from hiding expensive add-ons later. It also makes reorders cleaner, because the digitized file already exists and only the production variables need to be updated.
If the program is time-sensitive, price should not be judged in isolation. A slightly higher unit cost can be a better buy if it removes sampling delays, packaging corrections, or late freight charges. The cheapest quote on paper is not always the cheapest order in practice.
Process, timeline, and production steps from sample to ship date
Most cap programs move through the same basic workflow: artwork intake, digitizing, sample approval, embroidery run, finishing, inspection, and packing. The real difference between a smooth job and a delayed one is usually found at the front end. Clear artwork and quick approvals remove a surprising amount of friction.
Digitizing is often the first real production step. A clean vector file helps, but it is not the same thing as a stitch-ready file. The digitizer has to decide stitch direction, underlay, pull compensation, and where the needle should start and stop so the logo holds its shape on a curved crown. That step usually takes one to two business days, and revision requests can add more time if the design is dense or highly detailed.
Sample approval is the next checkpoint. For straightforward logos, a sew-out sample may be ready quickly. For a more complex mark, or if the buyer wants to compare thread shades in person, the sample stage can take several extra days. From there, the production run often lands in the 7-12 business day range after approval, depending on order size and line position. Add packing and outbound freight, and the full timeline often sits around 12-18 business days after final sign-off.
Buyers who need to move faster should focus on three things:
- Send final artwork in the cleanest possible file format.
- Lock quantity before the sample is approved.
- Respond quickly to stitch proof questions and sample photos.
That discipline matters even more on a replenishment order, because the second run should match the first one closely. Repeatability is one of the main advantages of embroidery: once the stitch file and cap profile are set, reorders can stay visually consistent if the process is controlled. The hidden cost of poor control is not always obvious at the quote stage. It shows up when one shipment lands slightly taller, tighter, or darker than the last.
For orders that include retail packing or mixed-carton shipping, pack-out details deserve the same attention as the decoration itself. If the cartons need to survive distributor handling, transit testing standards from ISTA are worth referencing early. If the program includes paper inserts or printed wraps, FSC-certified materials can support a buyer's sourcing requirements without changing the decorated cap itself.
What a reliable supplier should disclose before pricing
A reliable supplier should not hide behind a single number. Before quoting, it should be clear whether the price includes digitizing, sample approval, standard packaging, and carton counts. If any of those are excluded, the quote should say so plainly. That is not a sales issue; it is a control issue.
Good suppliers also flag production risks early. Dense embroidery on a soft crown may need a backing change. Fine lettering may need simplification. Metallic thread may require slower machine speeds. None of that is dramatic, but each one changes the schedule or the cost structure. The buyers who get the best results are usually the ones who accept those constraints before production starts, not after the sample reveals them.
There is a practical difference between a supplier that can decorate a cap and one that can manage the whole order. The latter thinks about how the caps will be counted, bagged, labeled, and shipped. That matters because a clean decoration can still become a poor receiving experience if carton counts are wrong or mixed sizes are not separated correctly.
This is also where honest lead times matter. A quote that ignores sample time or rush freight is incomplete. A quote that includes them is more useful, even if the number is higher. Buyers do not need optimism here. They need a schedule that can survive contact with production.
That approach is what separates a steady supplier from a speculative one: clear assumptions, readable pricing, and a process that can be repeated without re-litigating every detail. Not flashy. Just useful.
Next steps to request a sharper quote and avoid rework
If you want a quote that can actually be used for buying, send the supplier the logo file, cap style, color target, quantity ladder, and delivery date together. That gives the pricing team enough information to judge stitch count, decoration placement, and blank selection in one pass. A partial request almost always turns into follow-up questions, and follow-up questions usually delay the quote.
Before pricing begins, confirm whether the order needs a sample, a rush schedule, special packing, or mixed sizes. Those details change the production plan, and the earlier they are visible, the less likely you are to face a revision later. If the job is for a launch or event, lock the latest acceptable ship date as well, because "ASAP" is not a schedule.
The practical sequence is simple:
- Review the mockup and confirm logo size, placement, and thread colors.
- Approve the stitch sample only after the crown and finish look right.
- Lock the quantity and packing details.
- Release production once the approval notes are final.
Used this way, a ceramic embroidered baseball caps Unit Cost Review becomes a buying tool, not a guess. It helps you compare MOQ, setup charges, and bulk pricing with real context, and it reduces the chance of rework once the order is already moving. That is the cleanest path to a cap program that prices fairly, runs predictably, and arrives ready to use.
What drives ceramic embroidered baseball caps unit cost the most?
Stitch count, logo size, and the number of embroidery placements usually move the price faster than the base cap choice. Setup work, sample approval, and special packing can also add cost if those details are not defined up front.
How does MOQ affect pricing on ceramic embroidered baseball caps?
Lower quantities usually carry a higher per-piece price because digitizing and setup charges are spread across fewer units. Higher MOQs often improve bulk pricing, but only if the design stays stable and does not need repeated revisions.
What specs do you need for an accurate quote?
Send the cap style, fabric preference, embroidery placement, logo size, thread colors, and target quantity. Include packaging details and delivery timing so the quote reflects the real order, not just the decoration.
Can I lower the unit cost without changing the logo too much?
Yes, often by simplifying stitch density, reducing placements, using standard cap styles, or limiting thread changes. The best savings usually come from design tweaks that keep the brand recognizable while making production easier.
What is a realistic timeline after sample approval?
Production timing depends on order size, queue position, and finishing steps, but sample approval is the key trigger. Clear artwork and fast sign-off usually shorten the timeline more than any other single step.


