A ceramic Frosted Zipper Bags Packaging Insert checklist is not a formality. For breakable goods, the insert has to do practical work: it needs to fit the bag, remain readable through a frosted finish, carry the right handling information, and support the product without making the package feel cluttered or improvised. If any one of those pieces is off, the final result usually looks cheaper than the product inside.
Ceramic items make the job more demanding than a standard accessory insert. They are heavier, more fragile, and more likely to need clear instructions about opening, inspection, care, and damage reporting. The bag protects the item; the insert explains how to treat it. If those two parts are not planned together, the package tends to drift out of alignment in both appearance and function.
That is why the checklist matters for retail packaging, e-commerce kits, and wholesale assortments. The goal is not decorative paper inside a pouch. The goal is a small printed piece that fits the pack-out, survives production, and gives the buyer the right information at the right moment.
Ceramic Frosted Zipper Bags Packaging Insert Checklist: What Usually Gets Missed
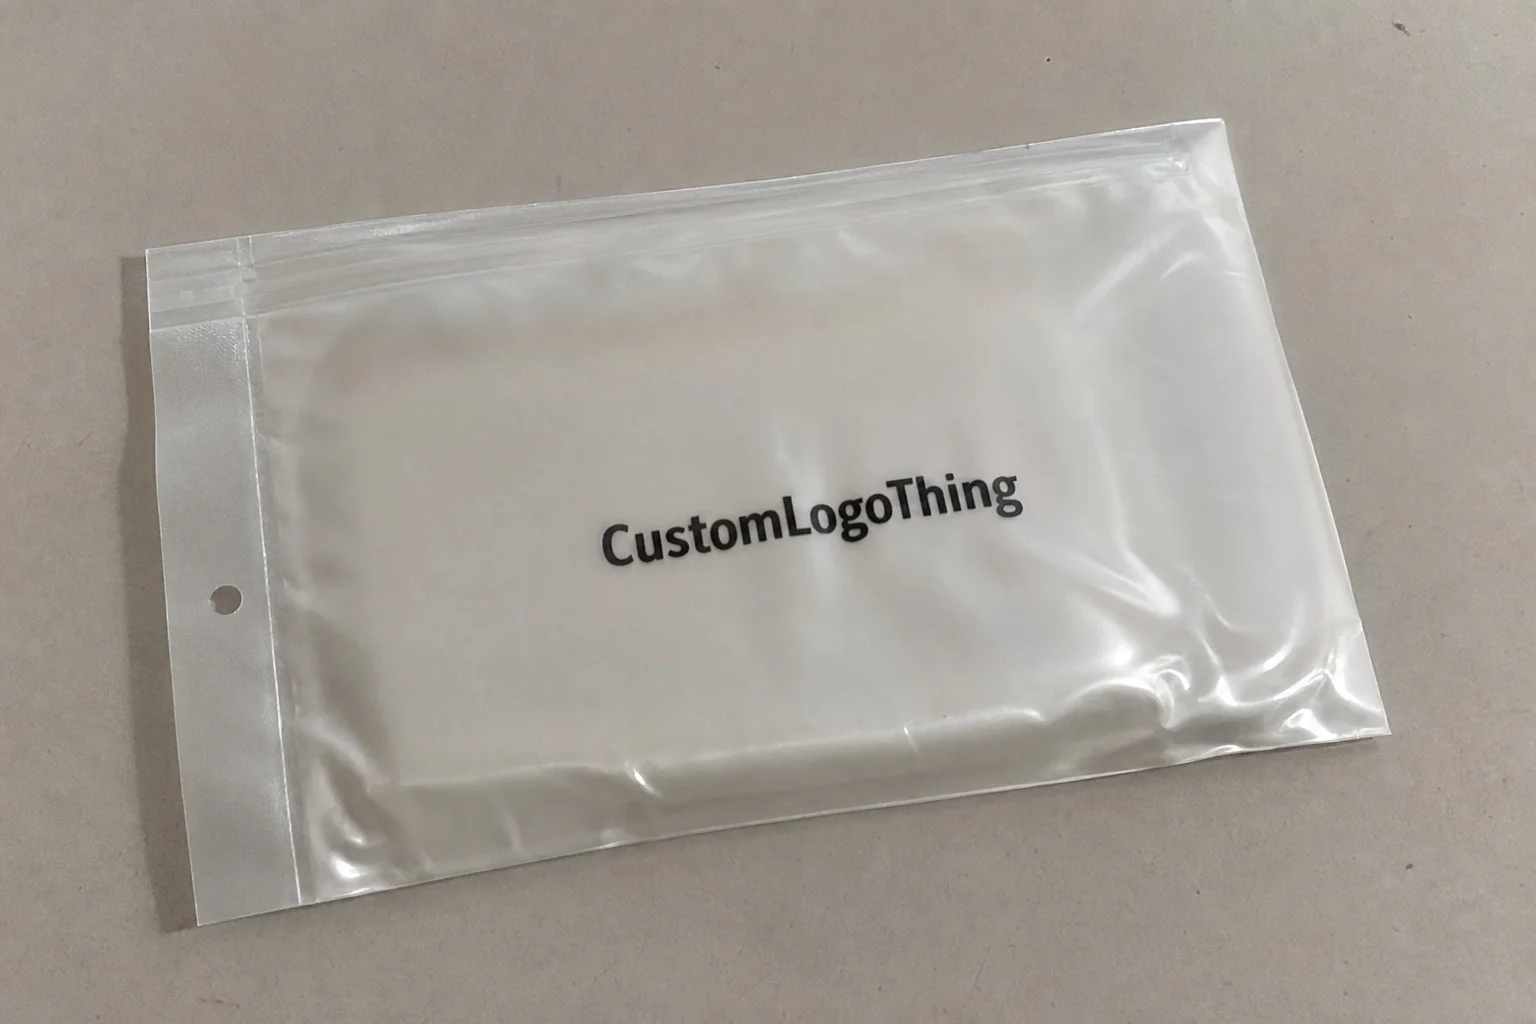
The most common mistakes are rarely dramatic. They are practical misses that show up late: the wrong finished size, a fold that lands in the wrong place, copy that reads fine on a screen but disappears behind frosted plastic, or a card stock choice that bends badly inside the bag. Each one is small on its own. Together, they create rework.
Another frequent miss is assuming the insert only needs to look good. For ceramic products, it also has to answer likely questions quickly. What is this piece? How should it be handled? What should the customer check first? What happens if it arrives damaged? A clean insert reduces confusion before it becomes a support issue.
The checklist also needs to account for brand consistency. If the outer packaging feels premium and the insert looks like a rushed handout, the whole package loses balance. Buyers notice that even when they do not say it directly. A strong insert supports the product story without competing with it.
“If the insert cannot be read at a glance, it is not doing its job. It is just occupying space.”
The best checklists are simple enough to use every time and strict enough to stop guesswork. For a ceramic item in a frosted zipper bag, that means locking size, stock, print method, contrast, folding method, and final approval path before artwork is released.
How the Insert and Bag Work Together
The bag controls the first impression. The insert controls the explanation. Frosted Zipper Bags soften what sits behind them, which means contrast matters more than usual. Thin type, pale gray text, and crowded layouts become difficult to read once the material diffuses light. A design that looks polished in PDF form can turn muddy in the actual pouch.
That is why the insert should be designed for the bag, not just for the brand deck. Bold black text on a white field still works because it survives the visual noise created by frosted plastic. A restrained palette can work too, but only if the key message remains legible at a glance. Decorative effects are secondary. Readability is the test.
Physical fit matters just as much. An insert that is too large can cause the zipper bag to bulge or close awkwardly. An insert that is too small can shift around and look unfinished. In ceramic packaging, where the item already carries weight and sharp edges, a clean fit makes the whole package feel more controlled.
Common insert uses include care notes, thank-you cards, QR code cards, product warnings, warranty slips, recycling guidance, and simple brand messages. Some brands also coordinate the insert with mailers, sleeves, or custom printed boxes so the buyer sees one visual system across the full package. That usually works better than trying to make every component shout on its own.
If the insert has more than one job, rank the jobs by priority. For most ceramic products, the first lines should tell the buyer what the item is, how to handle it, and what to do if something is damaged. The brand story can sit below that. Promotional content should come only after the practical details are clear.
Key Specs That Control Results
Size is the first spec to lock. Not a rough estimate, not the bag size from memory, and not a copy of the last job. Use the actual final dimensions of the frosted zipper bag, then confirm the insert size, fold position, and safe margin around the edges. If the card has to sit flat, the fold line becomes a structural decision, not a design detail.
Stock choice is the next decision. For straightforward instructions or care notes, 80-120 gsm uncoated text stock is often enough. It is easy to read, easy to fold, and inexpensive enough for repeat use. If the insert also needs to feel like a branded card, 200-250 gsm card can work well. It gives more presence in the hand, though it may add cost and can be less flexible if the bag is tight.
If the package may travel through humid or rough shipping conditions, a coated sheet or synthetic stock can make sense. That usually increases the price, but it may also protect readability and reduce wrinkling. The better choice depends on how the package is handled, not on what looks attractive in a sample book.
Color choice has a direct effect on readability. High contrast wins. A narrow palette with one accent color is usually more effective than a busy layout full of muted tones. Through frosted plastic, the insert needs to read quickly, not compete with itself. Heavy use of fine rules, pale type, or light gray body copy should be avoided unless the bag material has already been tested with the exact print.
For traceability and compliance, the insert may need some combination of the following:
- Logo and brand name
- SKU or product code
- Care instructions
- Handling or breakage warning
- Barcode or QR code
- Country of origin or material note, if required
- Recycling guidance, if the claim is accurate and allowed
If the package will be tested for transit stress, standards from ISTA are useful because they focus on real shipping hazards such as drops, vibration, and compression. If you need a recognizable paper sourcing reference, FSC remains one of the clearest certifications to specify when the sourcing claim is valid.
Always request a dieline or production template before final artwork is approved. Screen measurements are not enough. A template shows the real fold, trim, and safety zone, which is where many packaging problems get caught before they turn into waste.
Process and Timeline: From Quote to Production
A clean workflow is usually the cheapest workflow. For a typical insert job, the order should be brief, template review, artwork setup, proof approval, production, packing, and shipping. If one of those steps is skipped or rushed, the delay usually returns later in the schedule with more cost attached.
The most efficient jobs are straightforward: one language, one stock, a limited color count, no specialty finish, and a clear quantity. More versions, more folds, multi-language layouts, and inserts that must coordinate with broader product packaging all take longer. That is normal. Complexity is not a problem, but it does change the timeline.
For a simple run, production often takes about 7-12 business days after proof approval. More complex jobs, or jobs that need specialty finishing, collation, or several rounds of changes, may take 12-18 business days or longer. If the inserts must arrive alongside a product launch or with a larger custom packaging order, build slack into the schedule rather than assuming everything will be approved on the first pass.
The biggest delays usually come from avoidable issues on the buyer side:
- Artwork is incomplete.
- Measurements are still changing.
- Legal text is not final.
- Multiple people are sending separate revisions.
That last one causes the most damage. One owner and one final file make the process far more predictable.
For a first run, leave room for at least one sample correction if the insert has to fit a specific frosted zipper bag or coordinate with a ceramic pack-out. Reorders are easier because the structure already exists. The first order is where the real testing happens.
Cost, Pricing, and MOQ Factors
Pricing for a ceramic insert is shaped by a small set of variables: size, stock, print coverage, finishing, fold complexity, quantity, and whether a custom dieline is required. The setup work does not shrink just because the order is small, so low quantities usually carry a higher unit price.
For reference, simple one-color inserts on standard stock often land around $0.08-$0.18 per unit at higher quantities. Full-color branded versions can move into the $0.15-$0.35 per unit range depending on coverage, paper choice, and finishing. Premium folded inserts or specialty pieces can go higher, especially if they need coatings, die cuts, or manual collation. Small runs cost more per piece. That is normal manufacturing math.
| Insert Type | Typical MOQ | Approx. Unit Cost | Best For |
|---|---|---|---|
| Single-color care card | 500-1,000 pcs | $0.08-$0.18 | Basic instructions, SKU notes, simple branded packaging |
| Full-color branded insert | 1,000-3,000 pcs | $0.15-$0.35 | Retail packaging, QR codes, stronger package branding |
| Premium folded insert | 2,500+ pcs | $0.28-$0.60 | Multi-language content, premium product packaging, add-on offers |
Ask for setup fees, proof charges, tooling or die costs, and freight as separate line items. A quote that bundles everything without explanation is harder to evaluate and usually harder to compare. If a supplier cannot show where the cost sits, it will show up later in the total.
A thicker stock can raise the unit price slightly, but it may also reduce complaints and reprints. For ceramic goods, that tradeoff often makes sense. Paying a few cents more for an insert is usually easier than replacing a damaged launch run or fielding avoidable support requests.
Request at least two quantity breaks. A useful comparison is 1,000, 3,000, and 5,000 pieces. The step-down between tiers shows whether a larger order genuinely saves enough to justify inventory. Sometimes the savings are clear. Sometimes the smaller order is the more sensible choice.
Step-by-Step Checklist for Specifying the Insert
This is the working version of the ceramic frosted zipper Bags Packaging Insert Checklist. It keeps the decisions tied to the actual package rather than to a generic print spec.
- Define the ceramic item. Identify the product, the level of fragility, and the first thing the buyer should do after opening the bag.
- Set the insert purpose. Decide whether the card is for care instructions, brand story, compliance, QR code traffic, or a mix of those roles.
- Confirm the bag spec. Lock the final bag dimensions, zipper placement, frosted finish, and whether the insert will be loose or folded.
- Choose the stock. Match the paper weight and finish to the feel of the ceramic item and the broader packaging system.
- Write the copy. Keep the sentences short, direct, and readable through the bag. Remove filler.
- Place the brand elements. Position logo, colors, and tone so they support the package instead of crowding it.
- Check compliance needs. Add warnings, barcode, QR code, recycling note, or origin text if they are required.
- Review the proof against the actual bag. Measure against the real pouch, not just the monitor file.
- Approve one final version. Consolidate feedback before production starts.
- Lock the timeline. Confirm quantity, ship date, and whether the inserts should arrive bulk packed or collated.
That sequence works because it keeps the printed piece tied to the physical product. A ceramic insert is not a standalone graphic exercise. It is part of a packaging system that has to survive handling, shipping, and the occasional rough opening.
One useful habit is to draft the insert around the buyer’s first three actions: open, inspect, and care for the item. If the copy does not help with those steps, it is probably too long.
If you are building one master content block for multiple channels, that is usually better than writing a separate version for every order. Brands selling through e-commerce, wholesale, and gift sets can keep one core insert and change only the SKU, barcode, or language panel. That approach reduces errors and keeps the packaging consistent.
Common Mistakes That Drive Reprints
Low contrast is the biggest repeat problem. Soft gray text, thin type, and tiny notes all become harder to read behind frosted plastic. The second common issue is ordering the insert before the bag dimensions are final. The phrase “it should still fit” is not a production specification, and it usually leads to a second run.
Overloaded layouts create trouble too. Too many claims, too many icons, too much copy. The insert starts to look busy, and the message gets weaker. For ceramic goods, clarity matters more than visual tricks. If the customer needs a wall of text to understand the package, the card is doing too much.
Mismatch is another failure mode. A premium ceramic item in a frosted zipper bag should have an insert that feels deliberate. If the card looks like a rough flyer, the entire package reads downmarket, even if the product itself is well made.
Approval chaos can ruin an otherwise clean job. Multiple reviewers sending separate revisions tends to create version drift. One person edits the copy, another moves the logo, and a third adds a compliance line no one else saw. The fix is simple: one owner, one master file, one approval path.
If the insert includes claims about material content, recycling, or sourcing, verify them before print. Do not fill gaps with language that merely sounds official. A bad claim is more expensive than a blank space.
Expert Tips and Next Steps
Request a physical sample if the insert has to fit a specific frosted zipper bag or protect a fragile ceramic item. A sample shows how the card sits in the pouch, whether the fold lands where it should, and whether the text holds up once the plastic softens the contrast. A PDF cannot tell you that.
Keep one master spec sheet for every insert job. Record dimensions, stock, finish, print count, quantity breaks, proof status, and ship date. That habit makes supplier comparisons easier and makes reorders less dependent on memory. It is not glamorous, but it prevents a lot of avoidable confusion.
If the insert is part of a larger packaging line, make sure it matches the rest of the system: mailer, sleeve, label, or custom printed boxes. Consistency matters more than isolated decoration. Good package branding usually comes from several careful decisions that hold together, not from one dramatic graphic move.
Before scaling up, run a basic pre-flight check:
- Bag dimensions confirmed
- Insert size and fold locked
- Stock selected
- Colors approved
- Copy proofed
- Compliance text checked
- Quantity break reviewed
- Ship date realistic
Then request a quote with at least two quantity tiers and one sample option. That gives you a clean comparison on cost, quality, and turnaround instead of trying to infer which supplier will behave best after the order starts.
The practical version is simple: use the ceramic Frosted Zipper Bags Packaging Insert checklist to make the insert legible, the fit correct, and the production path predictable. That is what good packaging does. It removes questions before the customer ever has to ask them.
What should be on a ceramic frosted zipper bags packaging insert checklist?
Include bag size, insert size, fold style, paper stock, print colors, proof requirements, compliance copy, care instructions, branding, and any barcode or QR code needs. If the ceramic item is fragile, add handling and breakage guidance so the insert does real work.
How do I keep the insert readable inside frosted zipper bags packaging?
Use strong contrast, larger type, and a clean layout with enough margin around the key message. Test the design at actual size, because a monitor mockup will not show how the frosted finish softens the text.
What affects pricing for ceramic frosted zipper bag inserts the most?
Quantity, stock choice, color count, finishing, and whether a custom dieline or fold is required. Setup costs matter more on short runs, so unit price usually improves as quantity increases.
How long does production usually take for custom packaging inserts?
It depends on artwork readiness, proof approval speed, quantity, and whether the order needs custom finishing. Simple runs are often 7-12 business days after approval; first runs and more complex jobs usually take longer.
What is the biggest mistake in a packaging insert checklist for frosted zipper bags?
Skipping a real size check against the final bag and ending up with an insert that is hard to read or awkward to fit. Overloading the insert with too much text is the other easy way to make a package feel messy.


